Sewing Pillows!

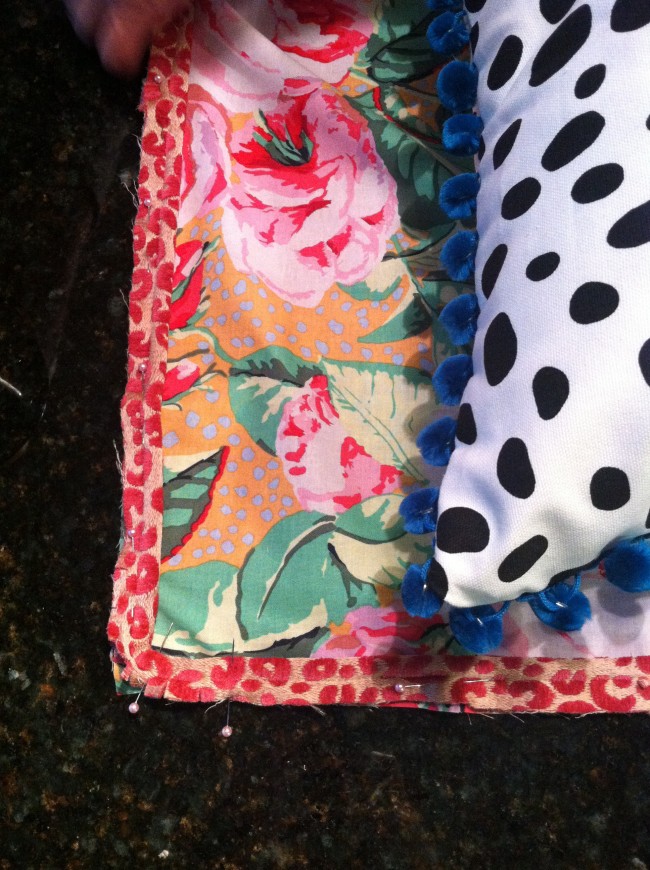
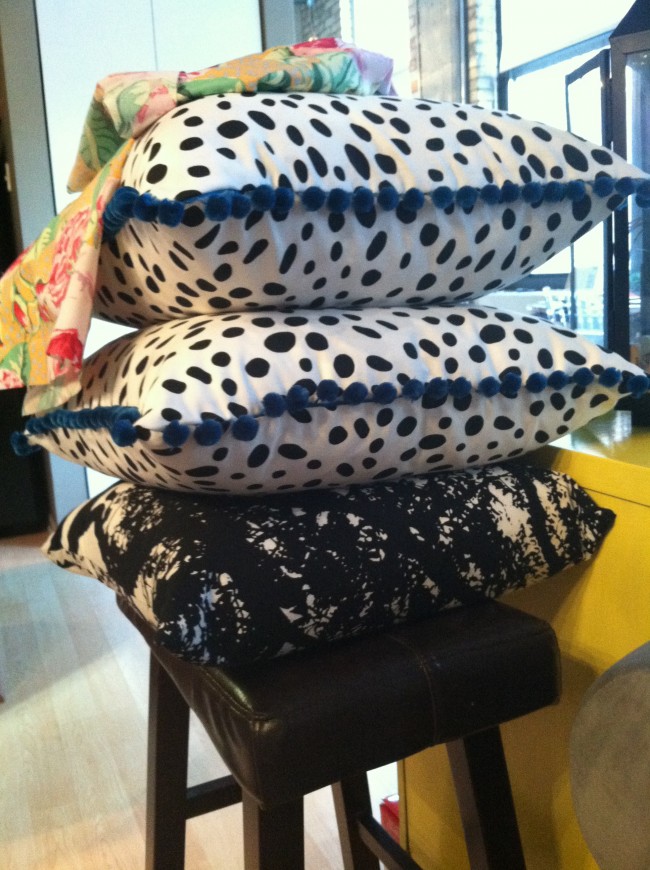
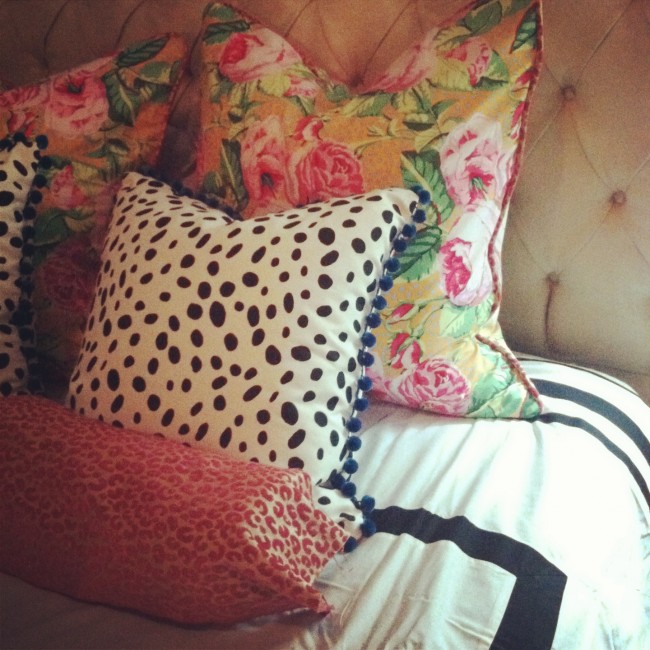
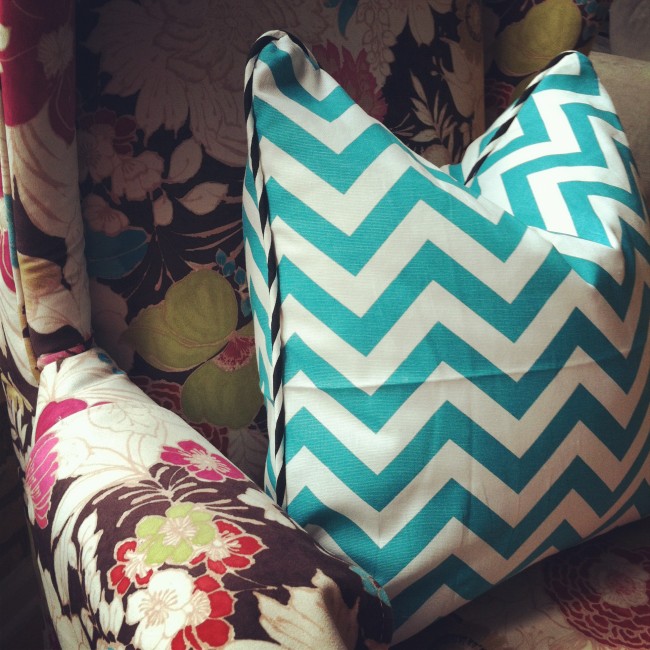
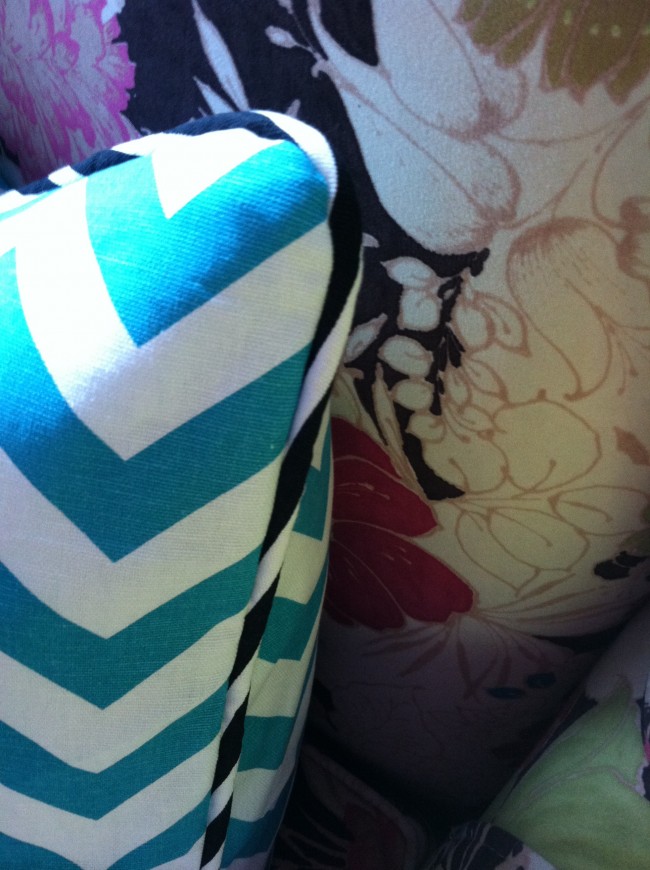
This weekend I was so excited to have my mom in town and do some sewing with her. I have made a couple things before but by no means am an expert at sewing. So we spent a lovely Saturday making pillows for my bed. I picked out the floral fabric a while back and ended up picking the furbish dalmatian print for the second pillow. I made a trim for the floral pillow out of a pink leopard print fabric I got here in town and used turq pom poms for the dalmatian.

print mixing in progress

first round of pillows done

pillow heaven!

I got a new duvet at pbteen. Couldn’t believe I found such a nice simple duvet at pbteen of all places but I think it works! I wanted something that wouldn’t distract from the fun pillow prints! Next on the list is a roll pillow in pink leopard. I propped it up here just to get an idea of what it would look like all together…think I’m going to love it!

What do you think??

Orchid Inspiration: This months House Beautiful

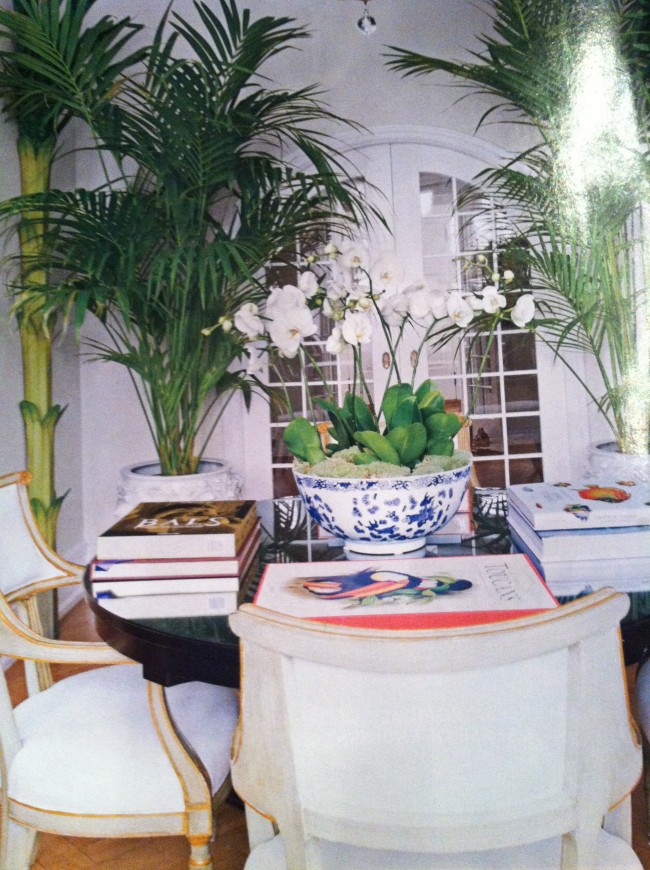
So this weekend I was paging through my new House Beautiful and saw this beautiful table scape:

House Beautiful: October 2013. Orchids

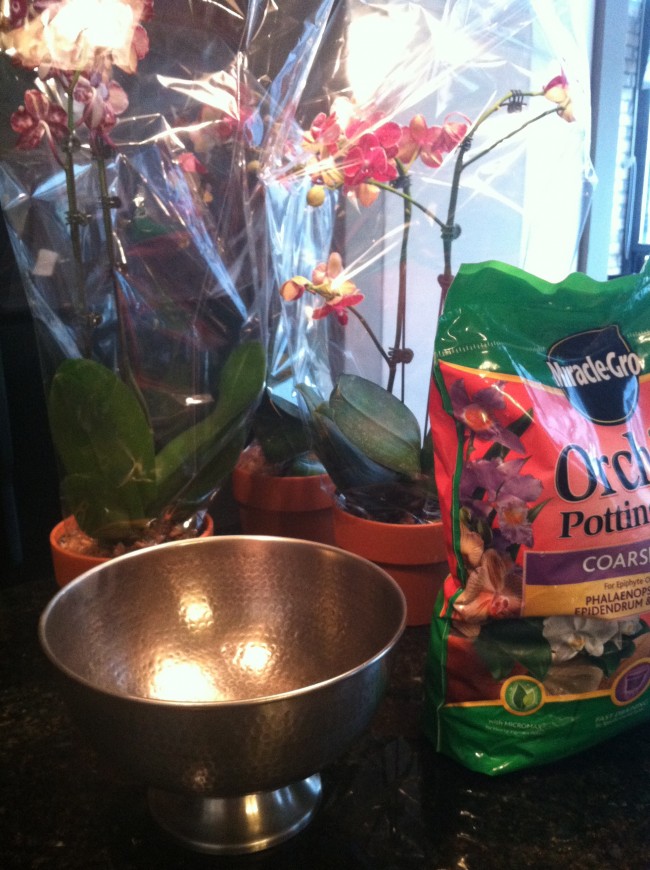
I absolutely love the orchid center piece. I have always loved orchids but I have only had one once – it did last quiet a while (3 years) but then out of the blue it just died. I have been wanting to try them again in my house and thought this would be a perfect way to try them. So I went out and bought some!

How to: Orchid Table Center Piece

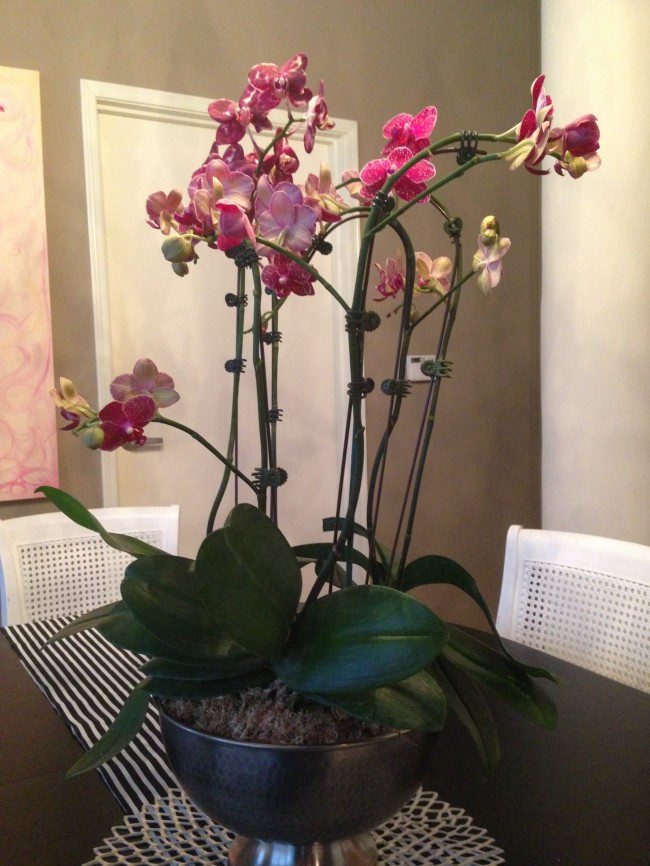
So I looked up a couple how to’s online. Really all I did was take them out of the pot, add new soil into the new bowl I had and then put the new plant in.

New Orchid Center Piece

Wish me luck  I hope they like their new home.

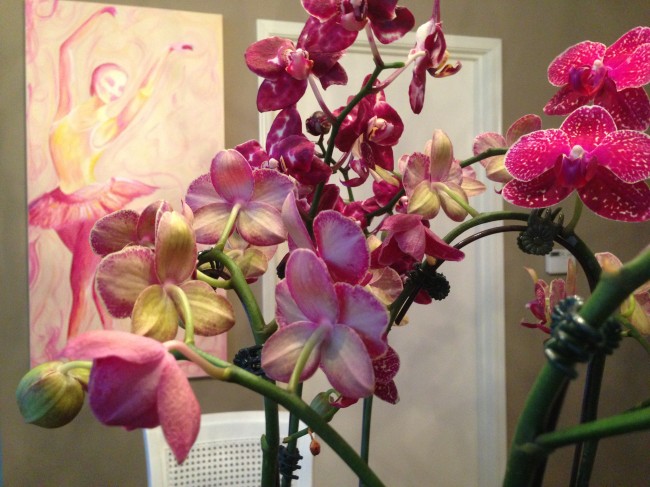
Upclose Orchids

Upholstering Chair: Part 5

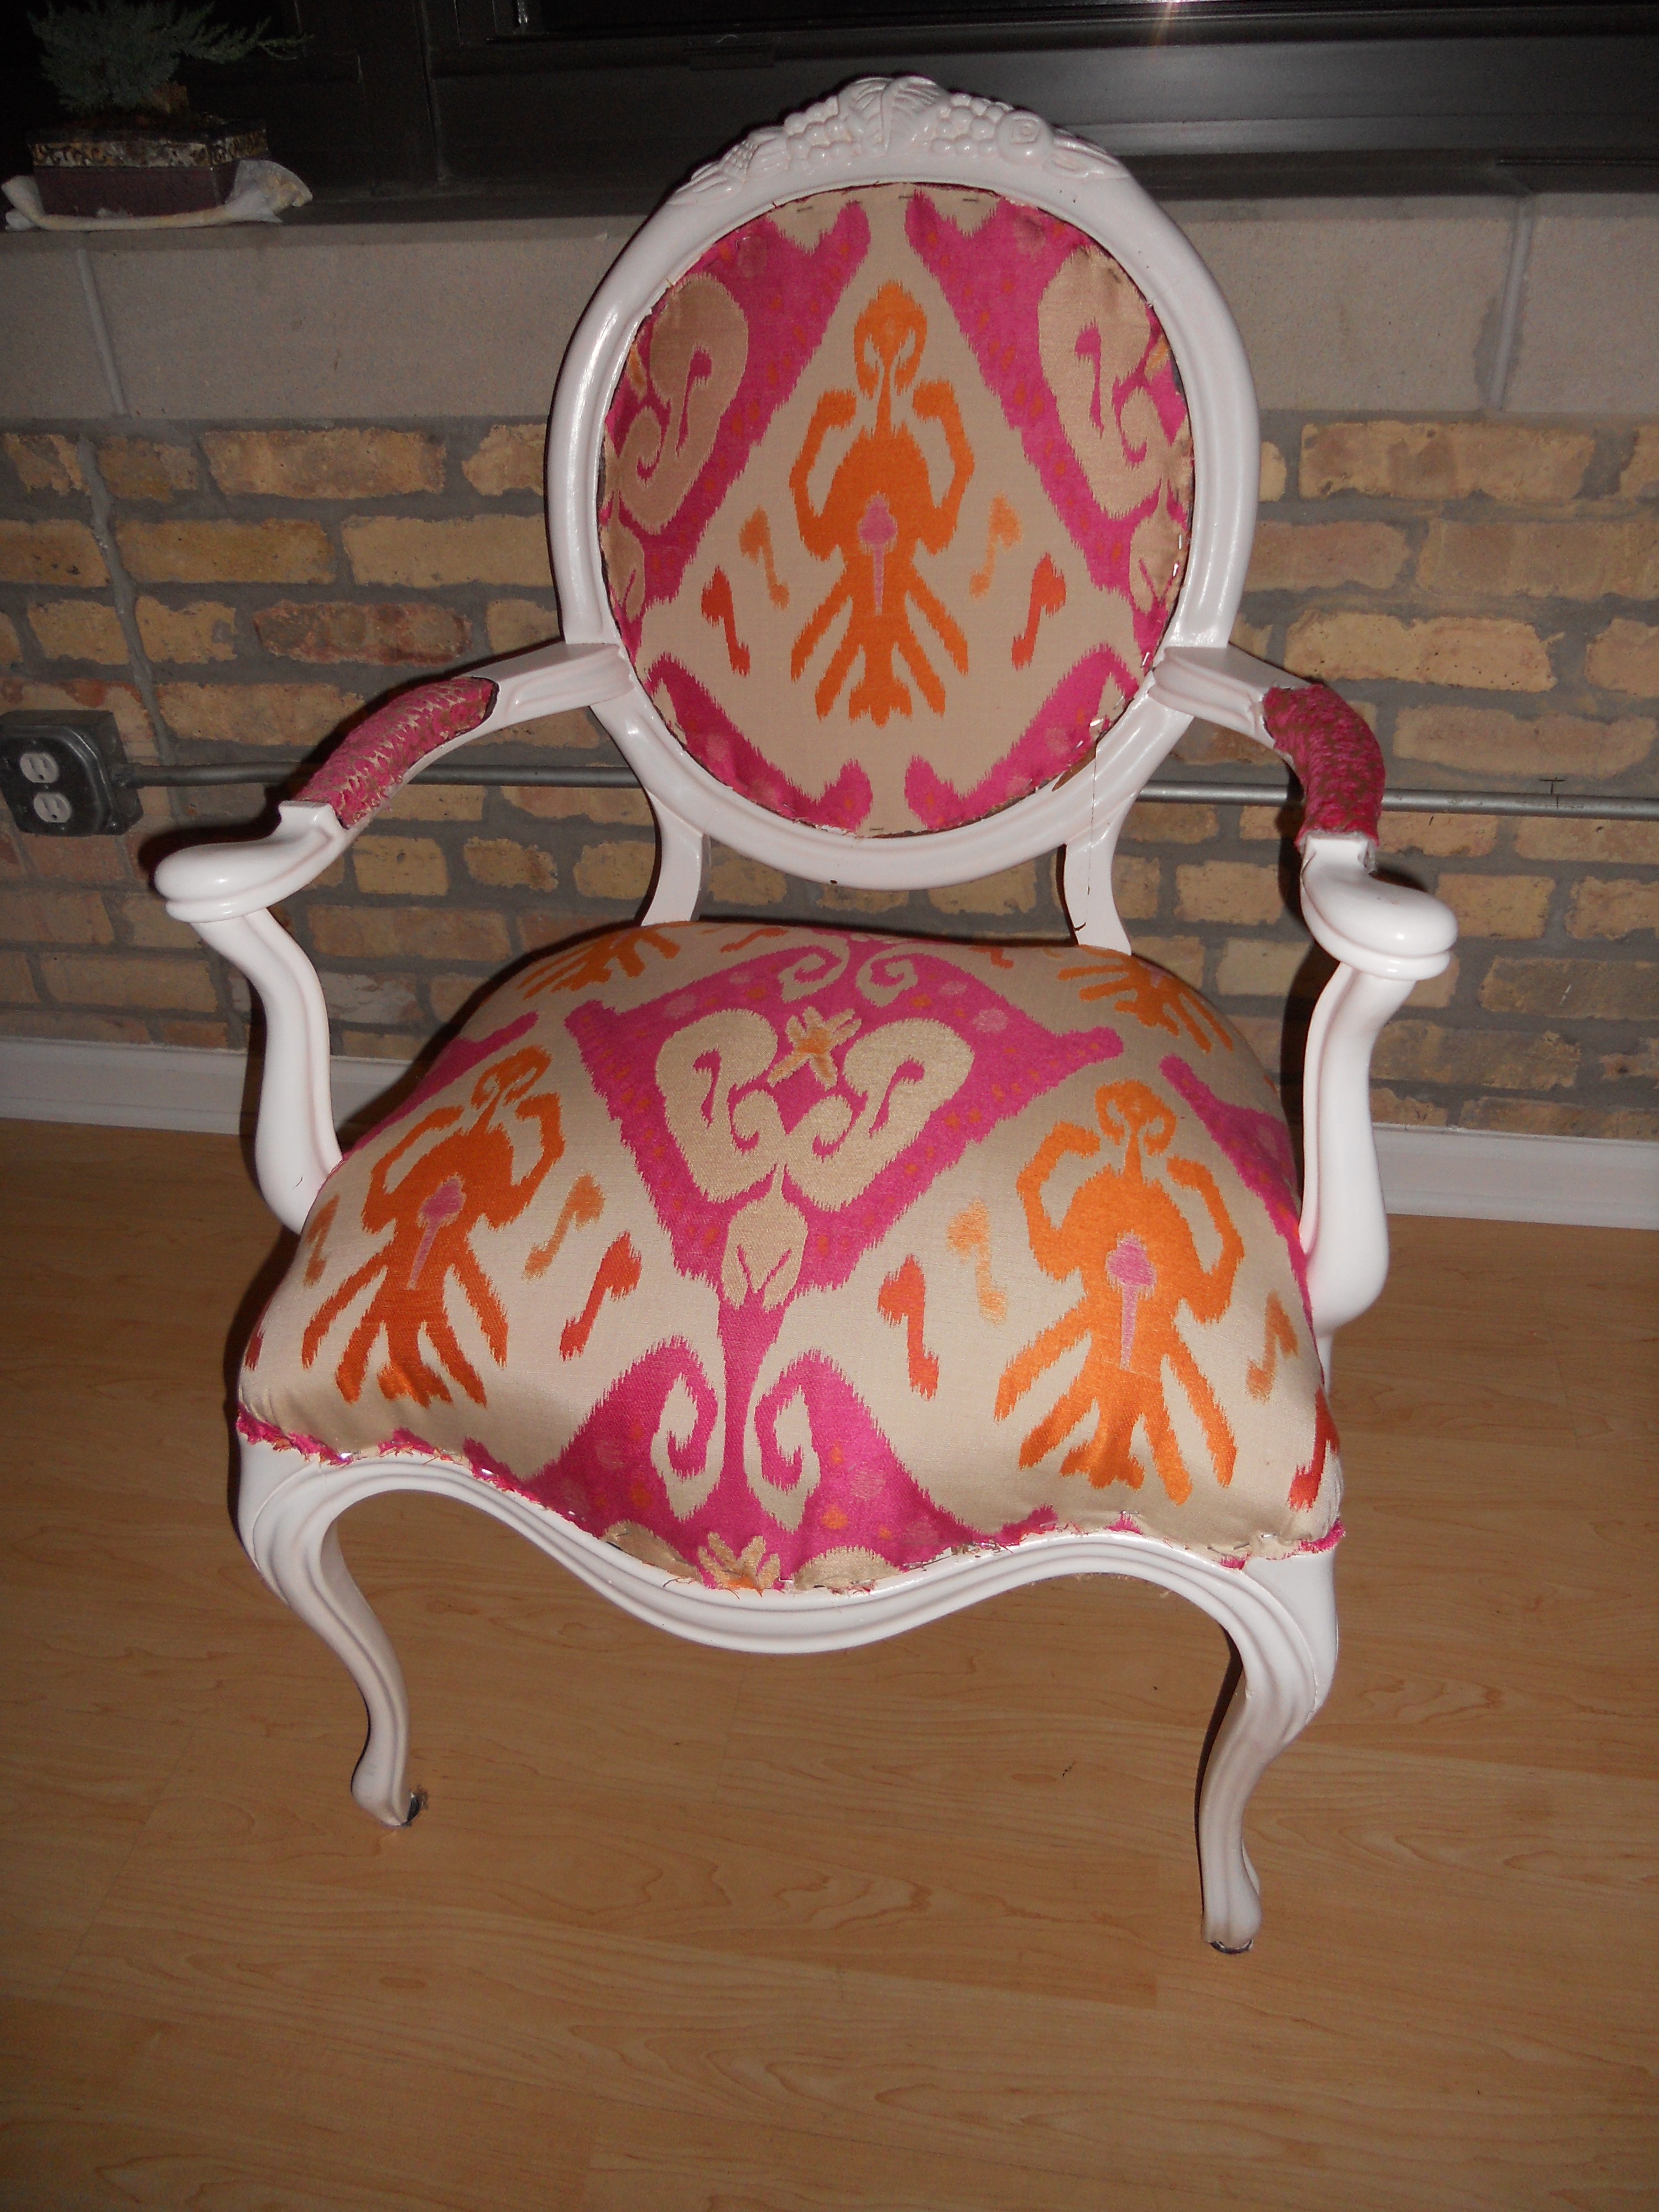
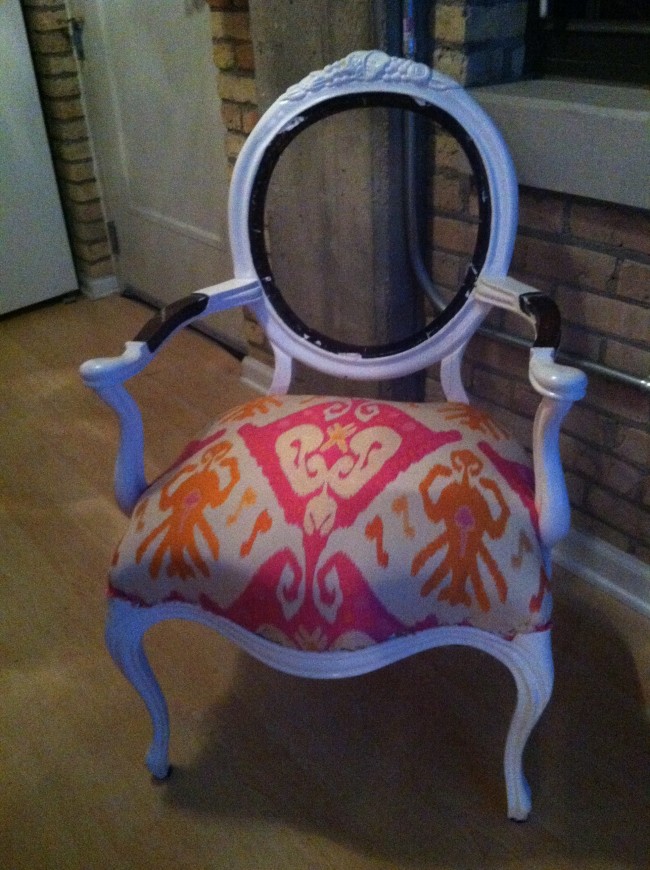
I am happy to announce the chair that I have been working on for a while is finally DONE! See my previous post here.

I found this chair on craigslist for $25 a while back and have been working on refinishing it. But between work, full time MBA and wedding planning (and not having a sewing machine to finish the last details) I haven’t had chance to finish before this weekend. As of the last step the only thing I had to do was the double cording for the trim.

So here we go! First I had to sew the double cording. I had never done this before. I have done single cording but for this project I wanted to use double. I used some good how do’s from bloggers I love. I found them very helpful see them here and here.
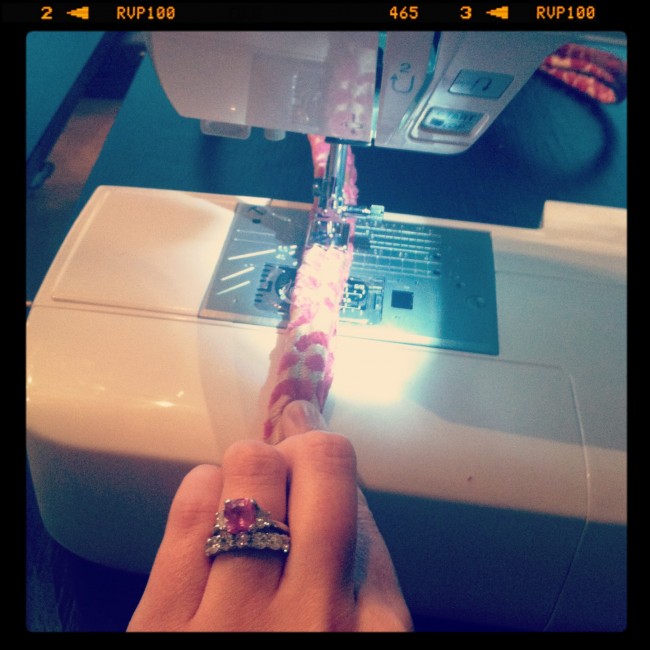
Sewing Double Cording

First I had to sew the cording. When I finally bought my sewing maching a couple months ago I bought a cording foot. It is heaven. If you want to make cording/piping for any project. I recommend getting one. I think mine was only about $20. It guides the sewing so nicely it practically sews itself.
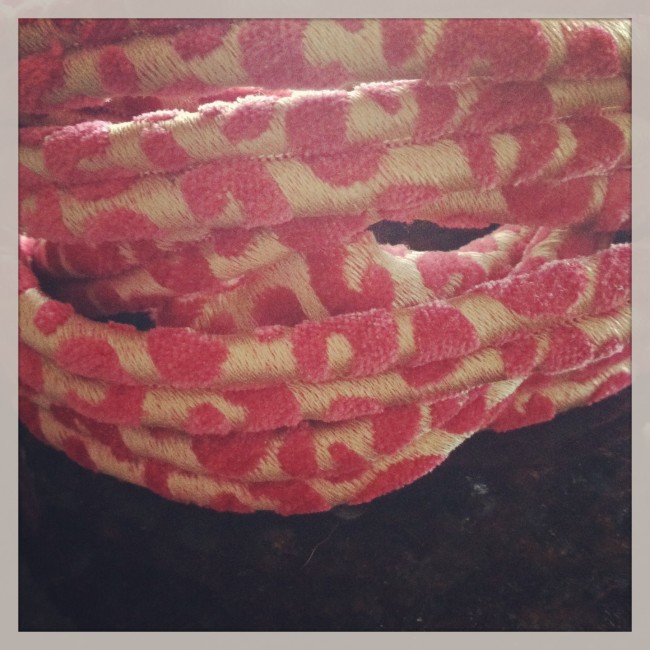
Double Cording

It’s surprising how much cording you need to make for a full chair. I would say I probably used over 30 yards to do the whole thing.
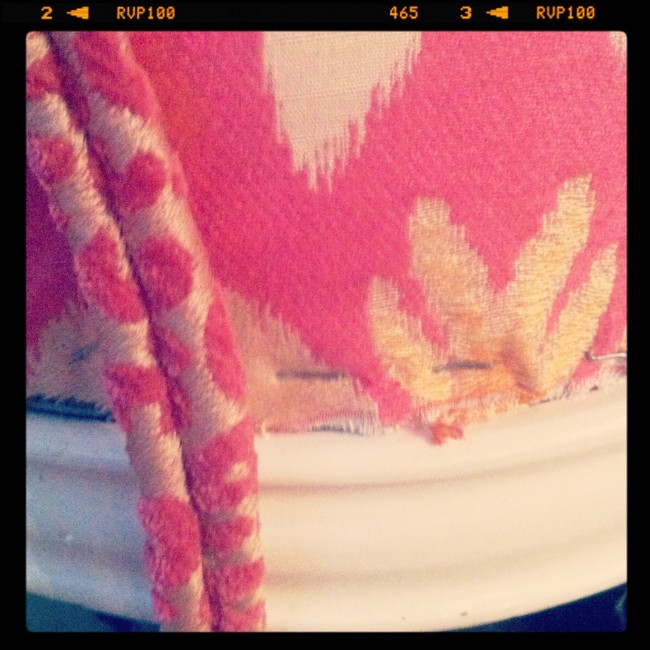
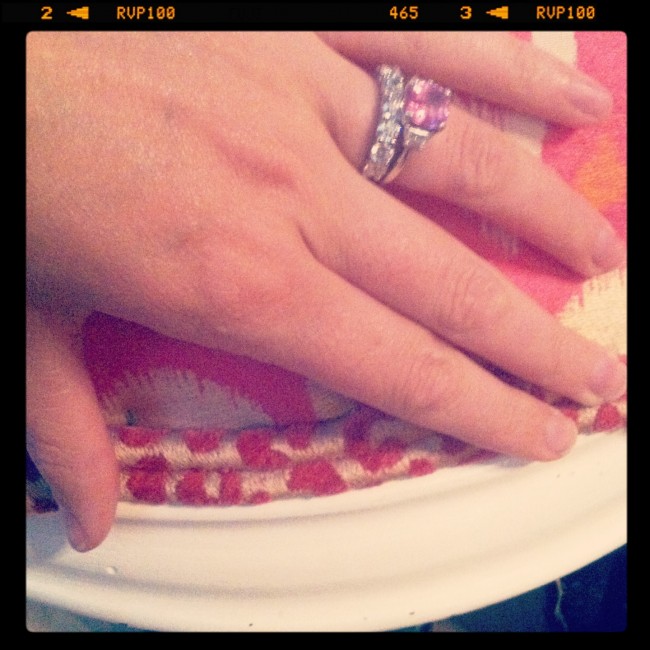
Double Cording

Trim!

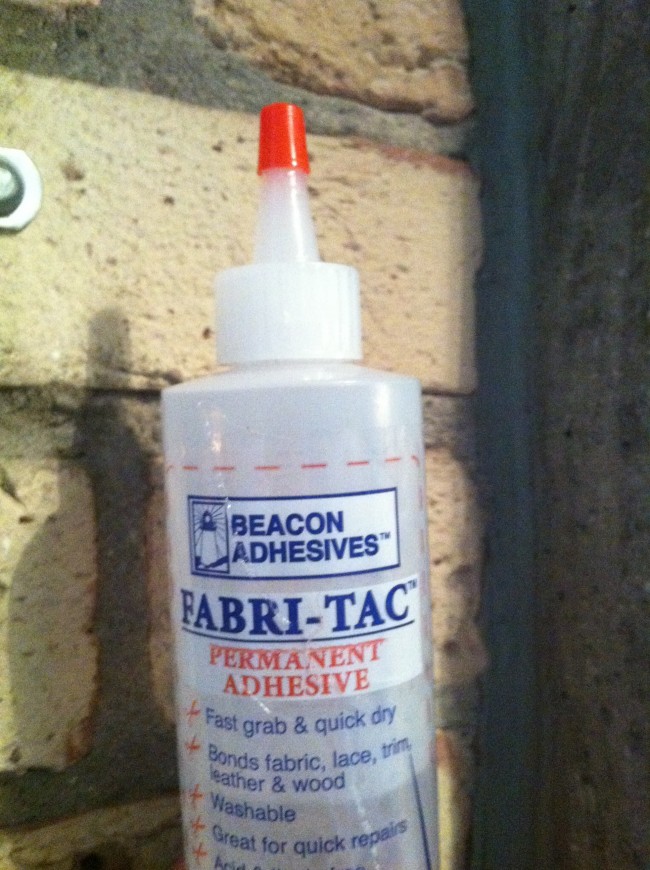
Fabric Glue

The different Blog call for different glues. This is the one I used for the trim and it worked great! Be careful – it dries fast!
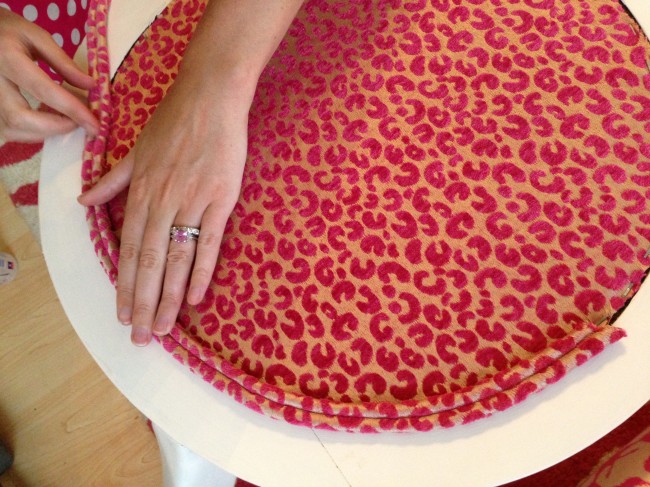
Adding the Trim

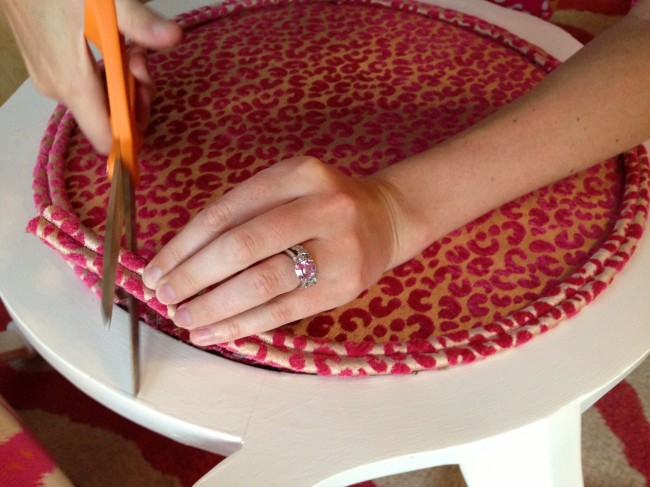
Next was just gluing it down. I did small sections at a time because the glue dries so fast. I put glue on the chair I found it worked better than putting it on the double cording itself.

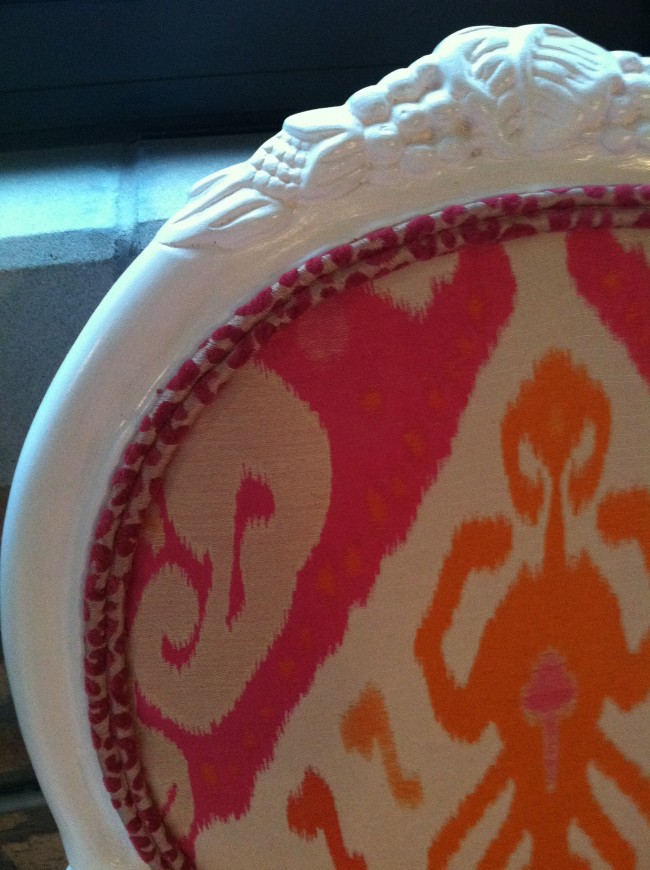
The cording is so nice. I hides lots of mistakes.

Adding the Trim

Adding the Trim

I just put the ends and put some fray – check on it. I have seen different ways to handle the ends. In my upholstery class I took we overlapped fabric on the one send to make it more seamless. This way it easier and you can barley tell there is a seam. Just cutting is the way Little Green Notebook recommended so I took her word for it!
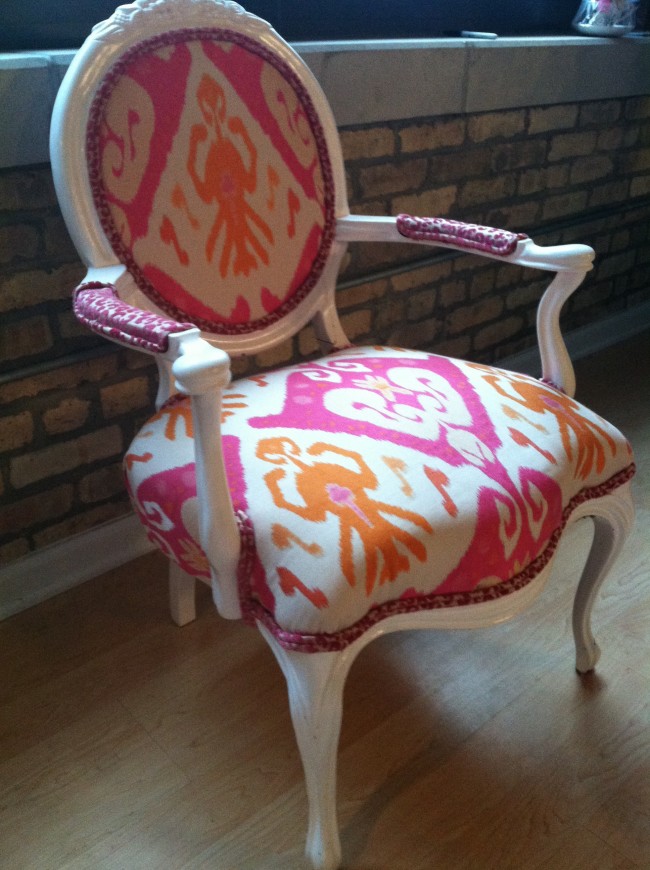
Final DIY Upholstery

Final DIY Arm Chair - Upholstery

Final DIY Upholstery

Final DIY Upholstery Arm Chair

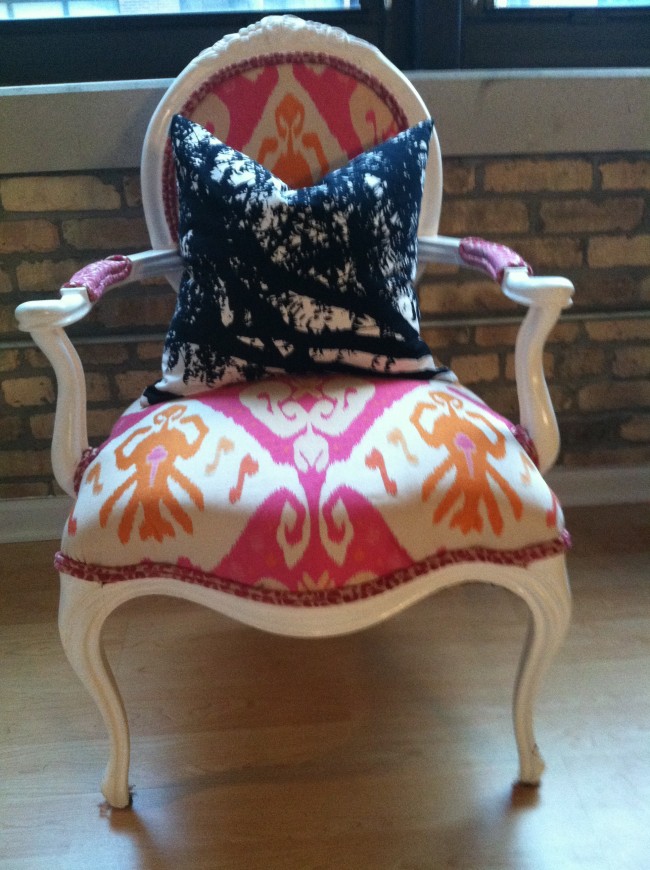
Ta Da! Here is the final. I know it took a while but in reality I didn’t spend that much time doing it. It only took long because of my busy schedule and not having time to do it right in a row!

What do you think?
Happy Monday

Hope everyone had a great Easter weekend. I had a lot of fun but as always it was busy. I had Friday off so I had some time to play with my new sewing machine. I am not a big sewer but I am excited to start learning…

Here is my first pillow I have every made. I made a couple mistakes but all i all – not too bad. I have a stack of fabric waiting for me to make more. Just have to find mroe free time!

new pillow

close up piping

Upholstering Chair: Part 4

 Over break I FINALLY had time to work on my chair again. Click here for part 3. And it is continuing to go smoothly.

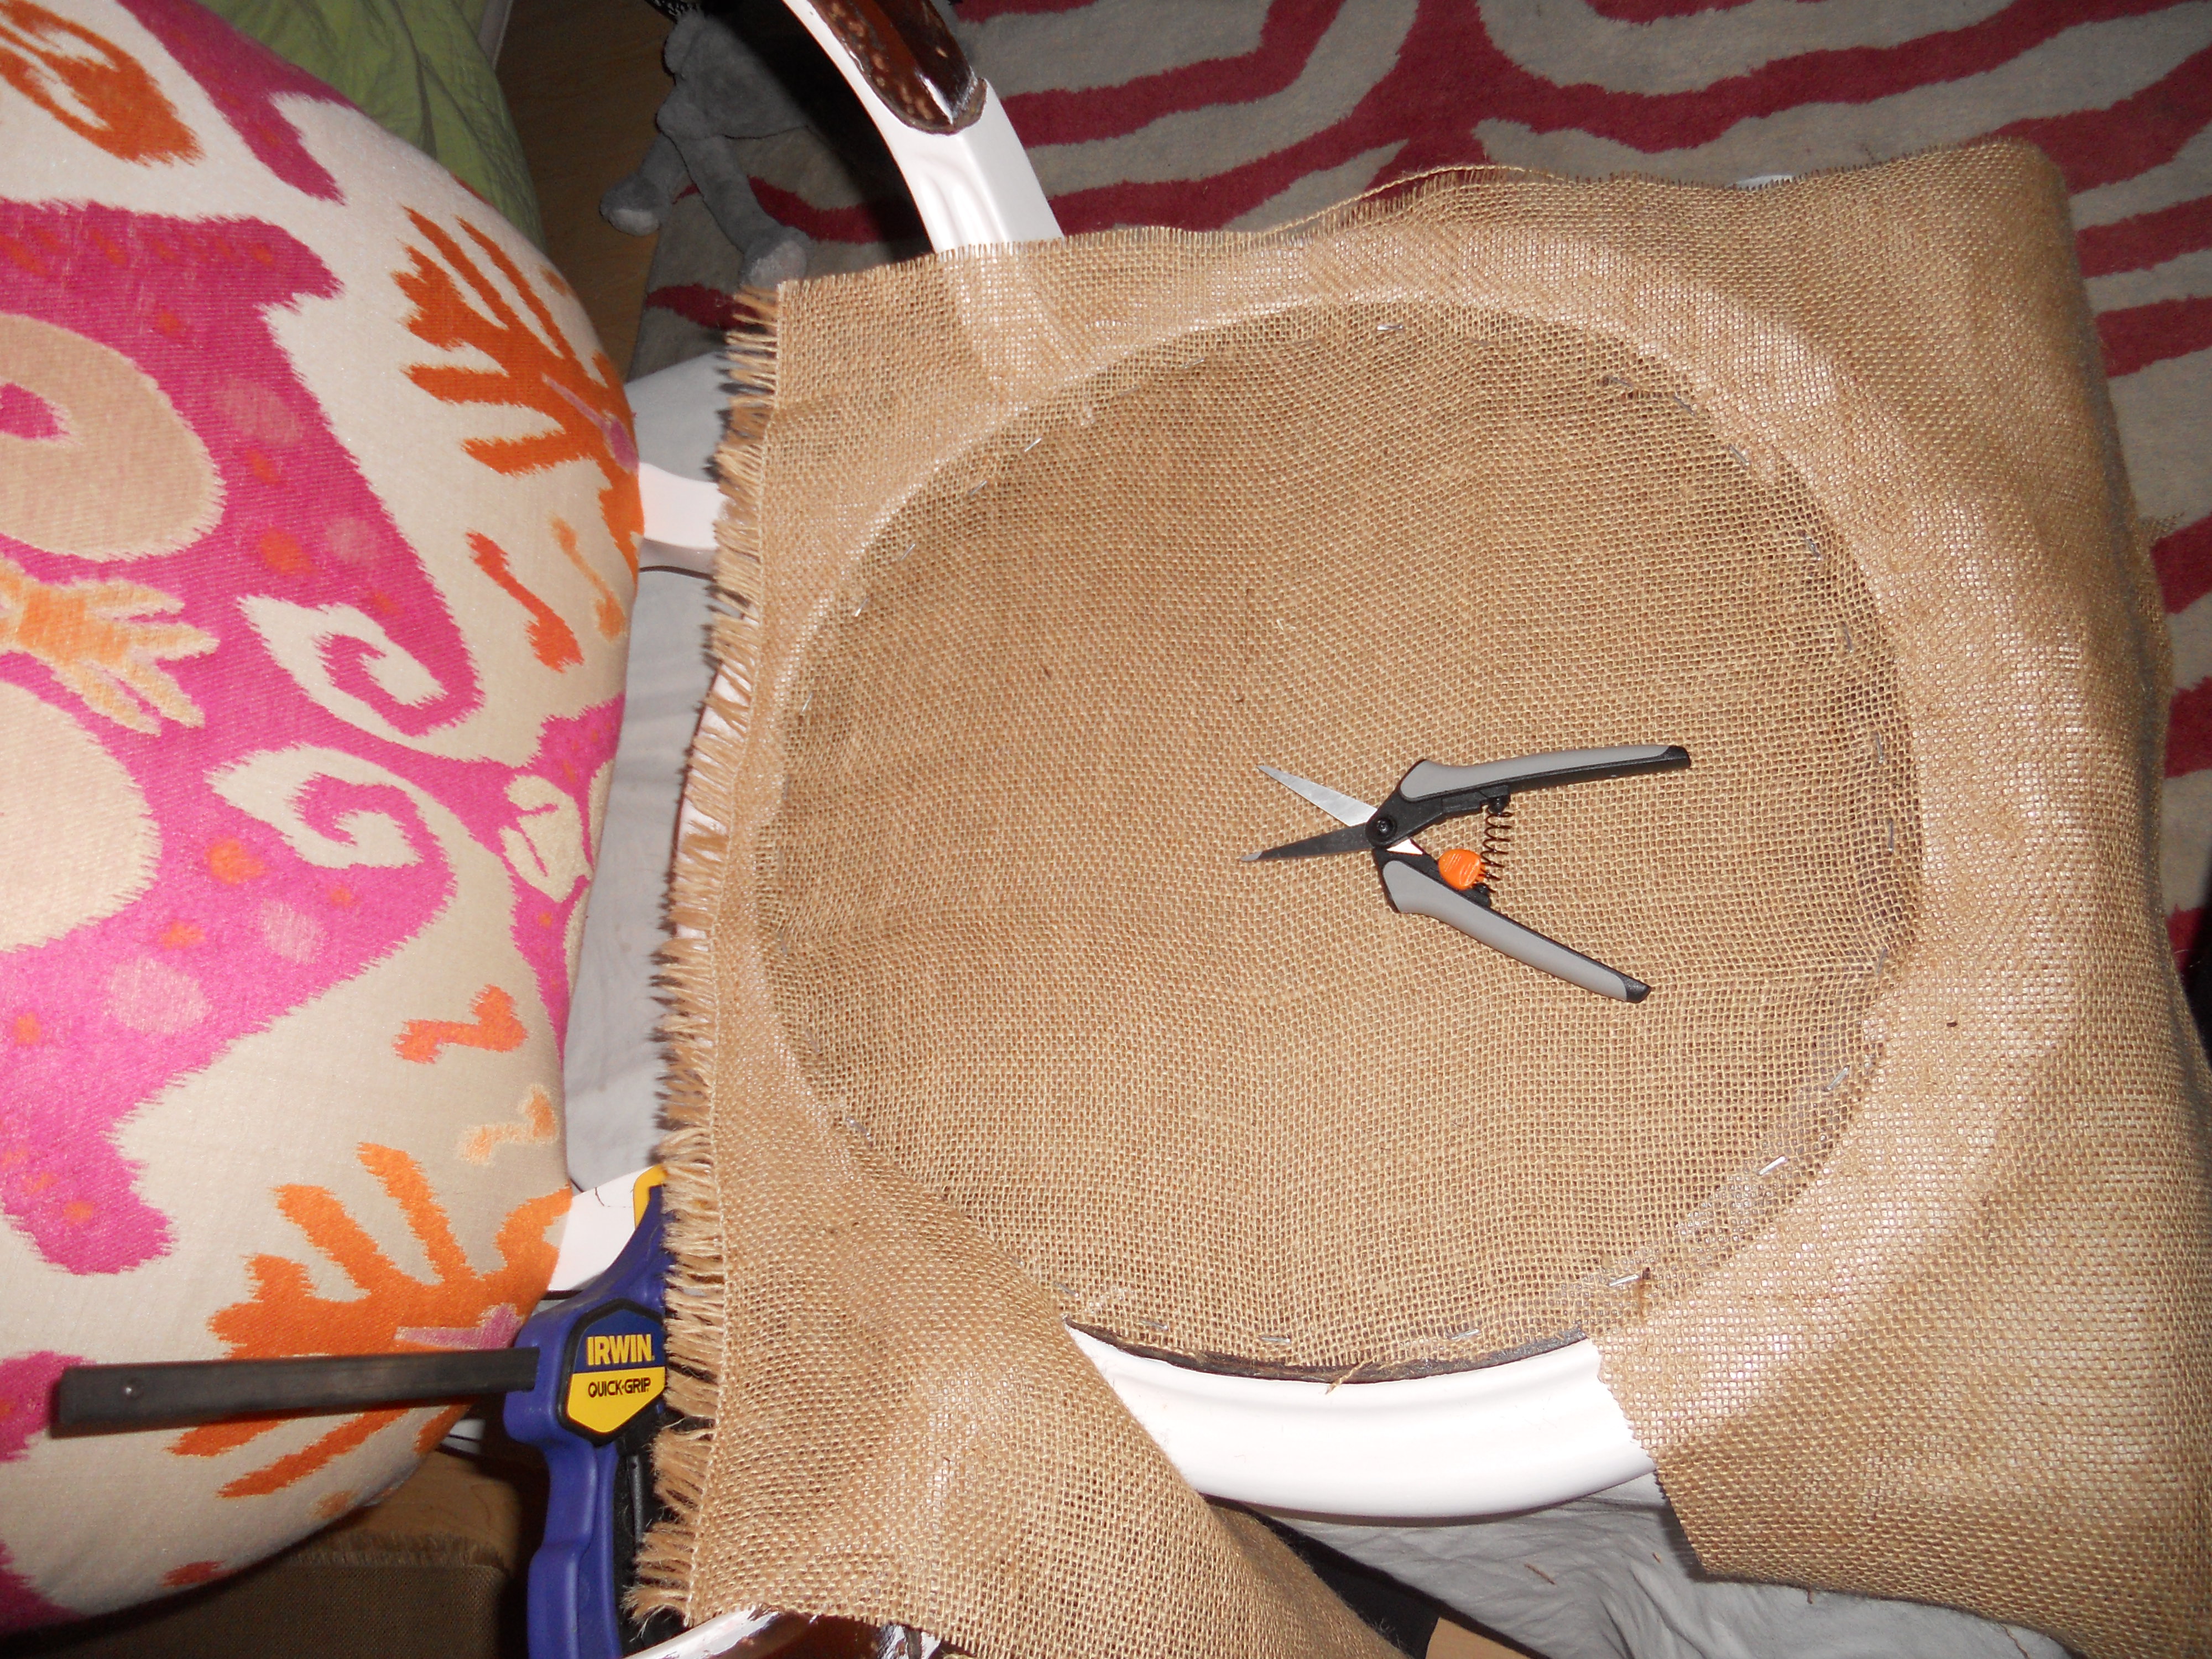
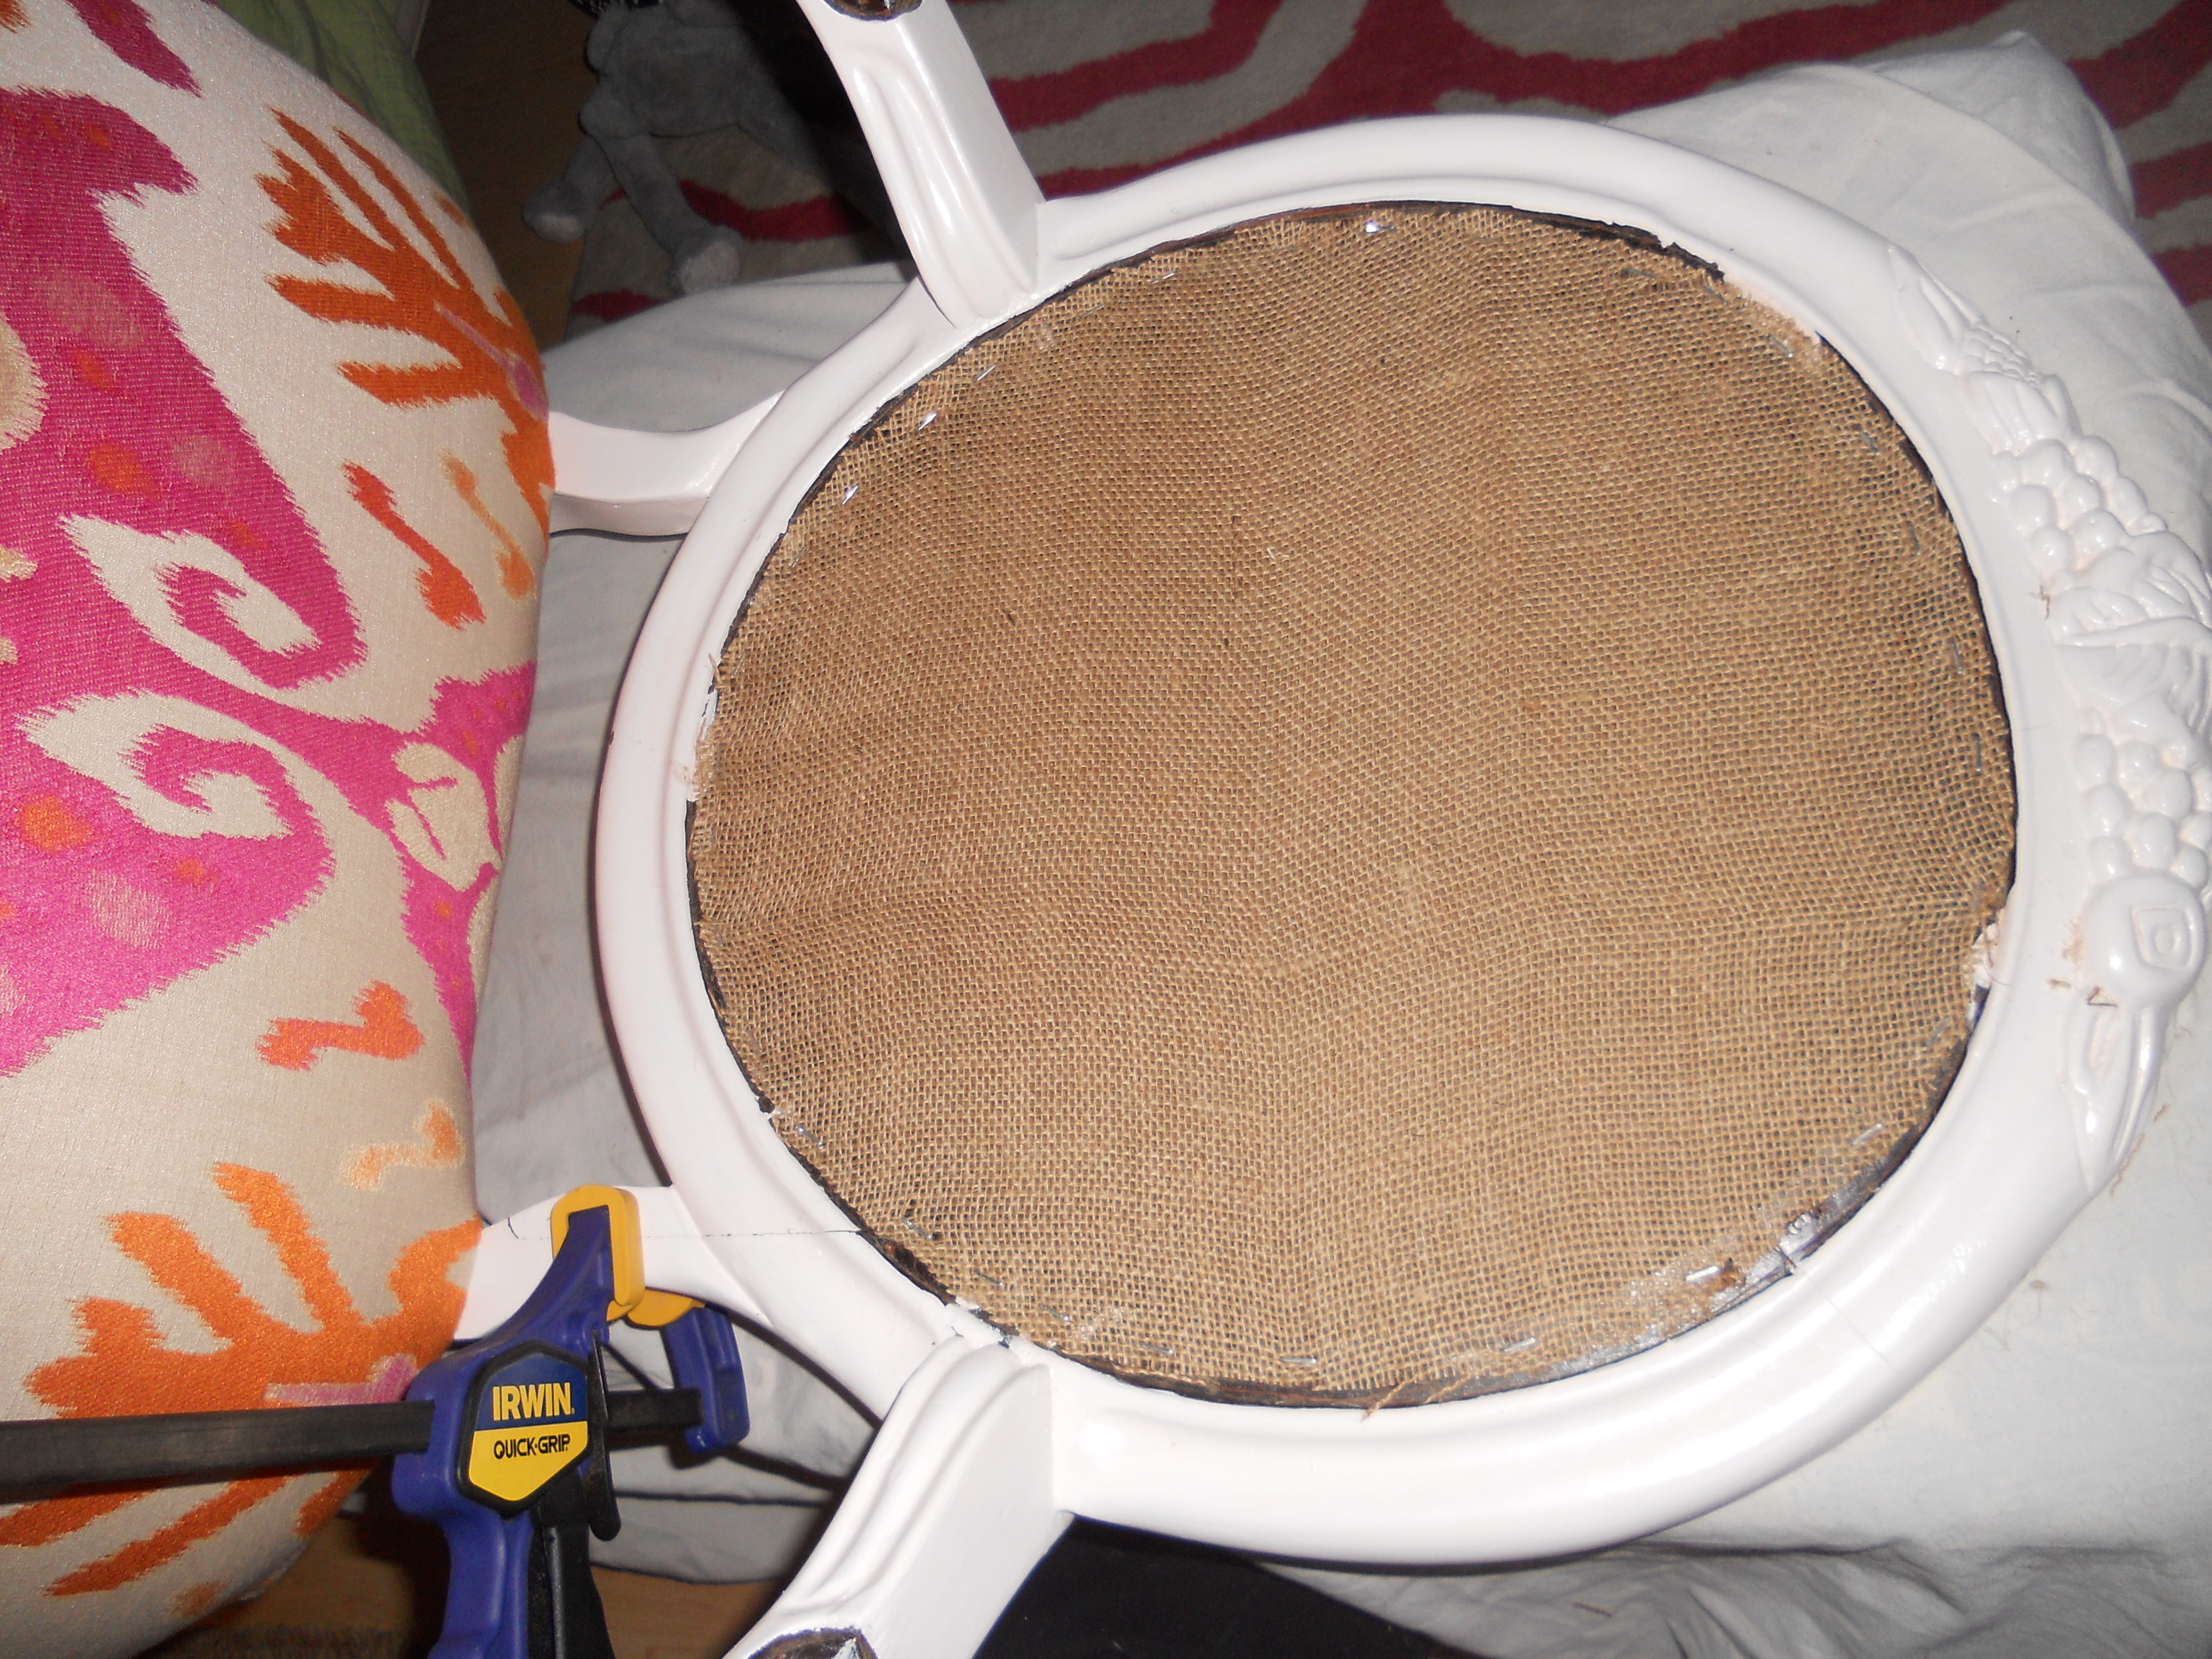
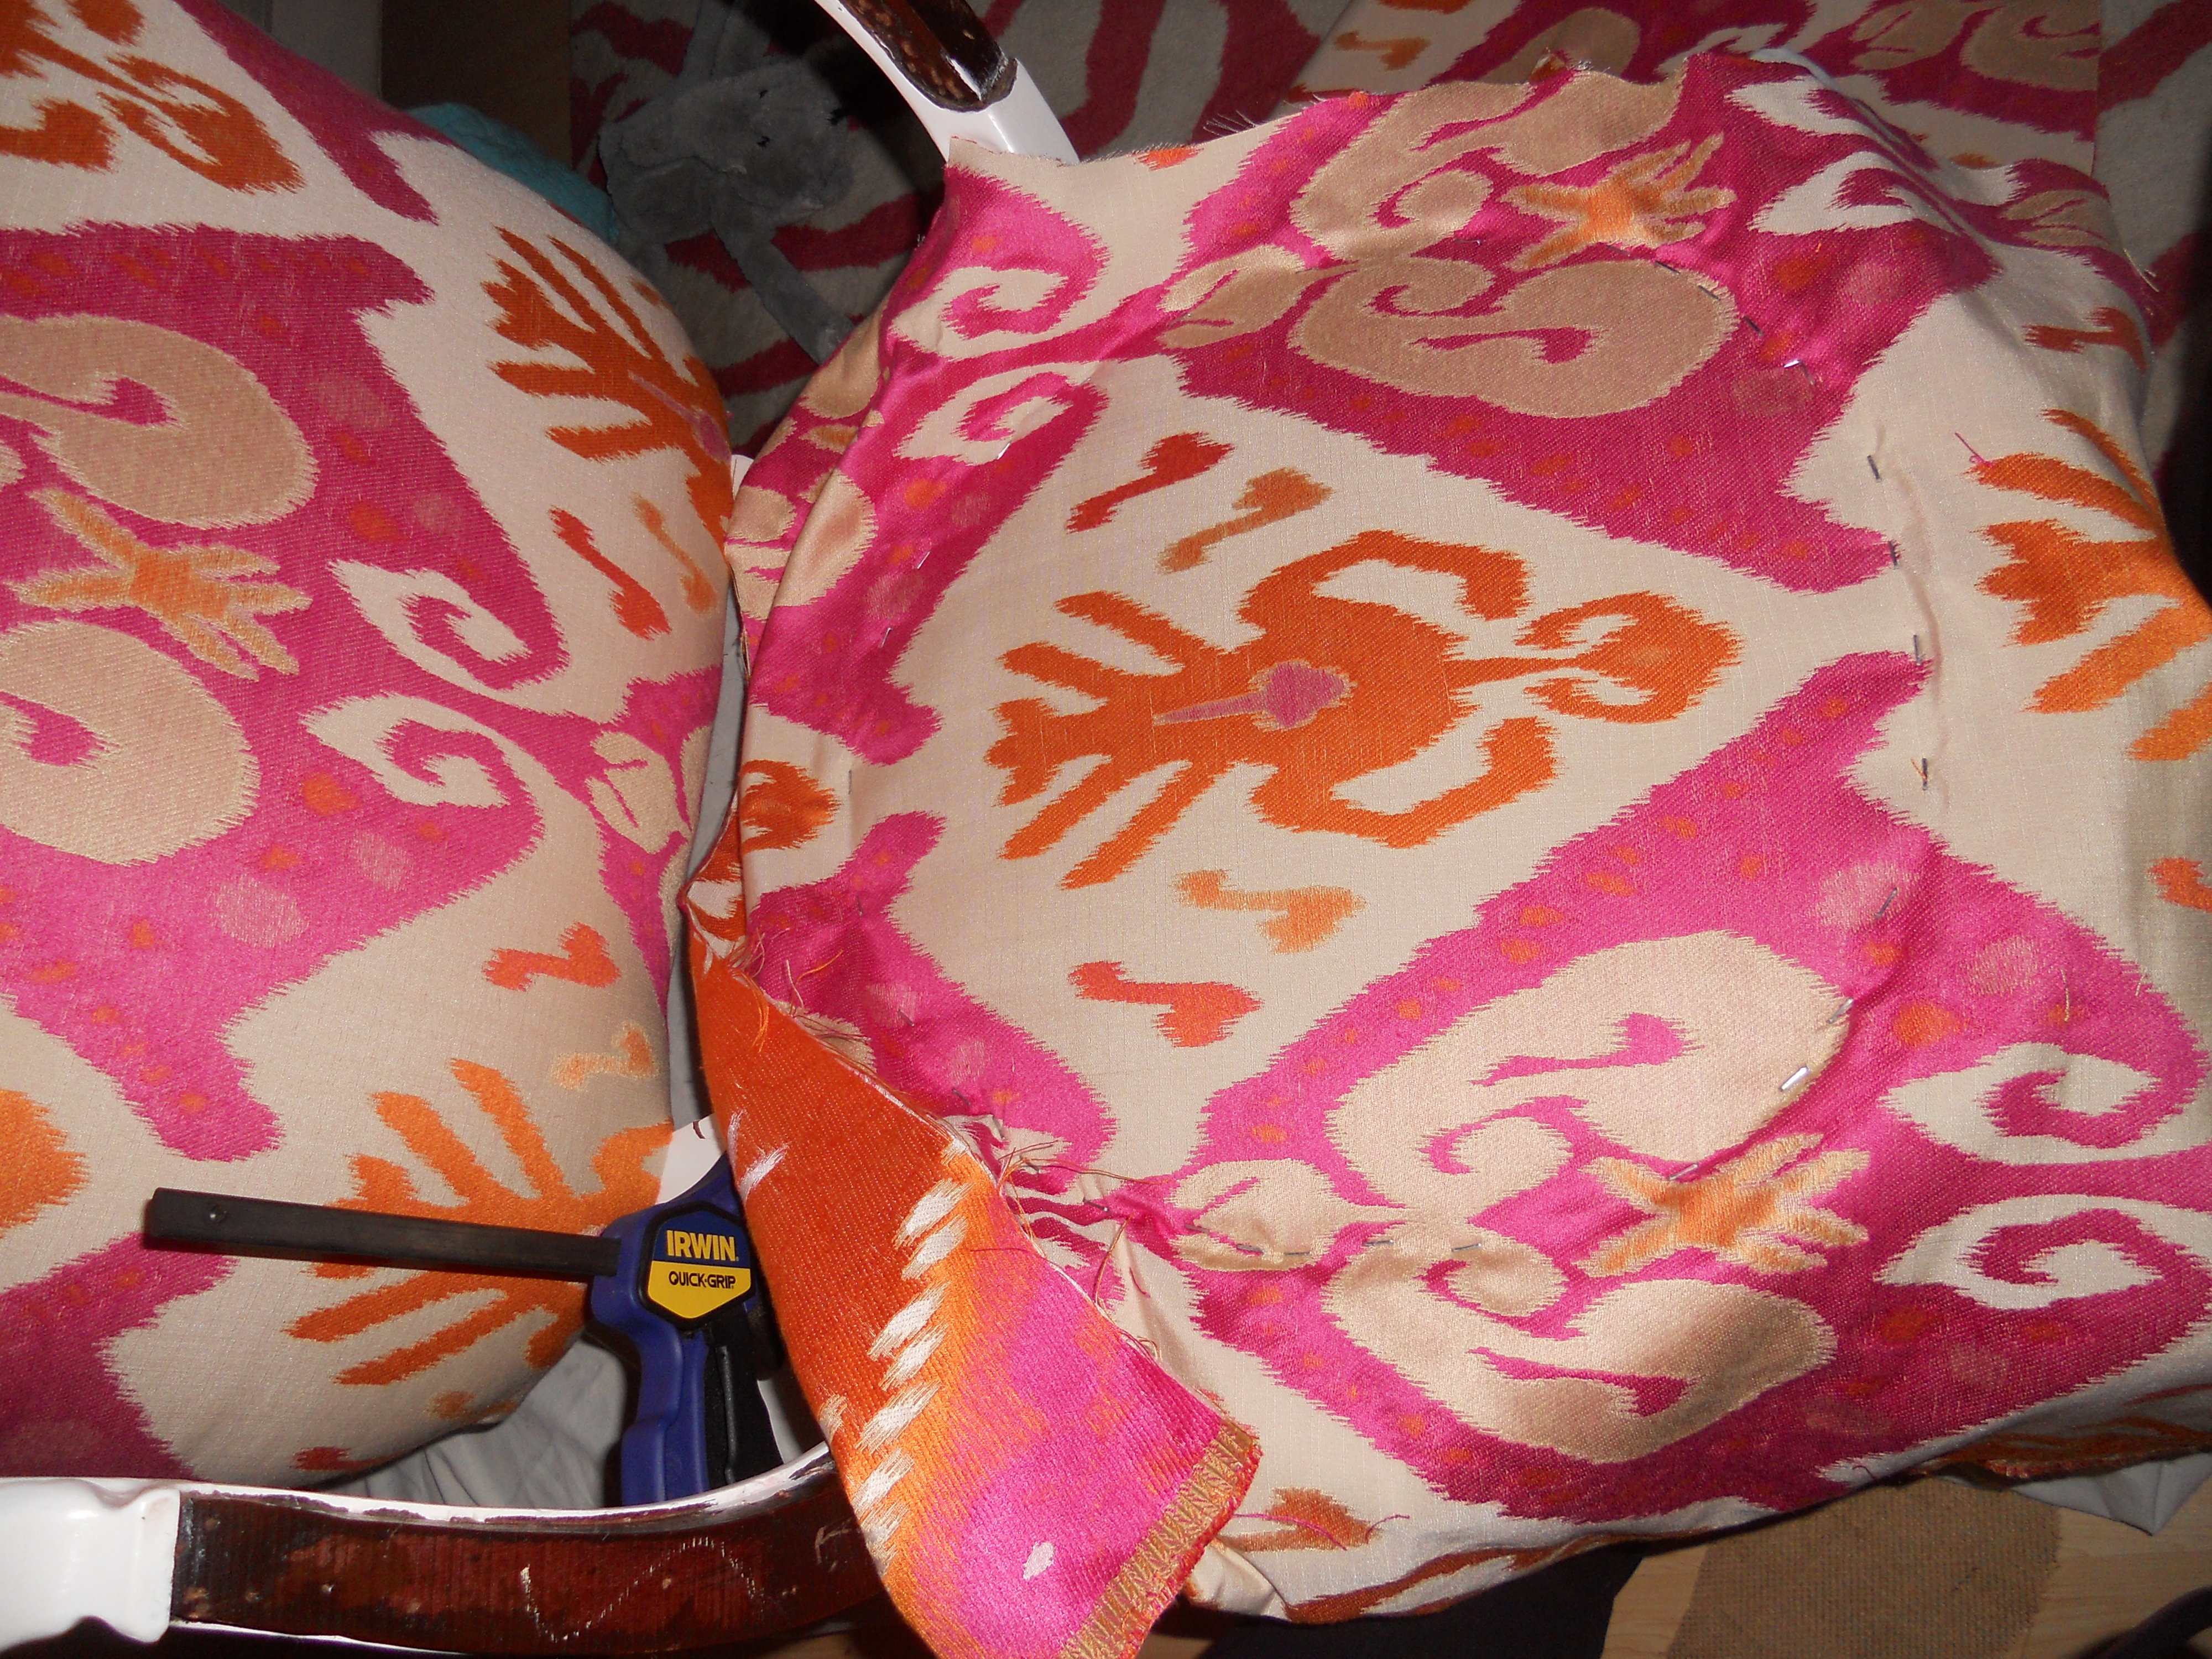
DSCN0648First I stapled the burlap to the back of the chair. I cut the burlap to a square bigger than the back of the chair. Pull really tight. Then you can cut the burlap to size after.

DSCN0649

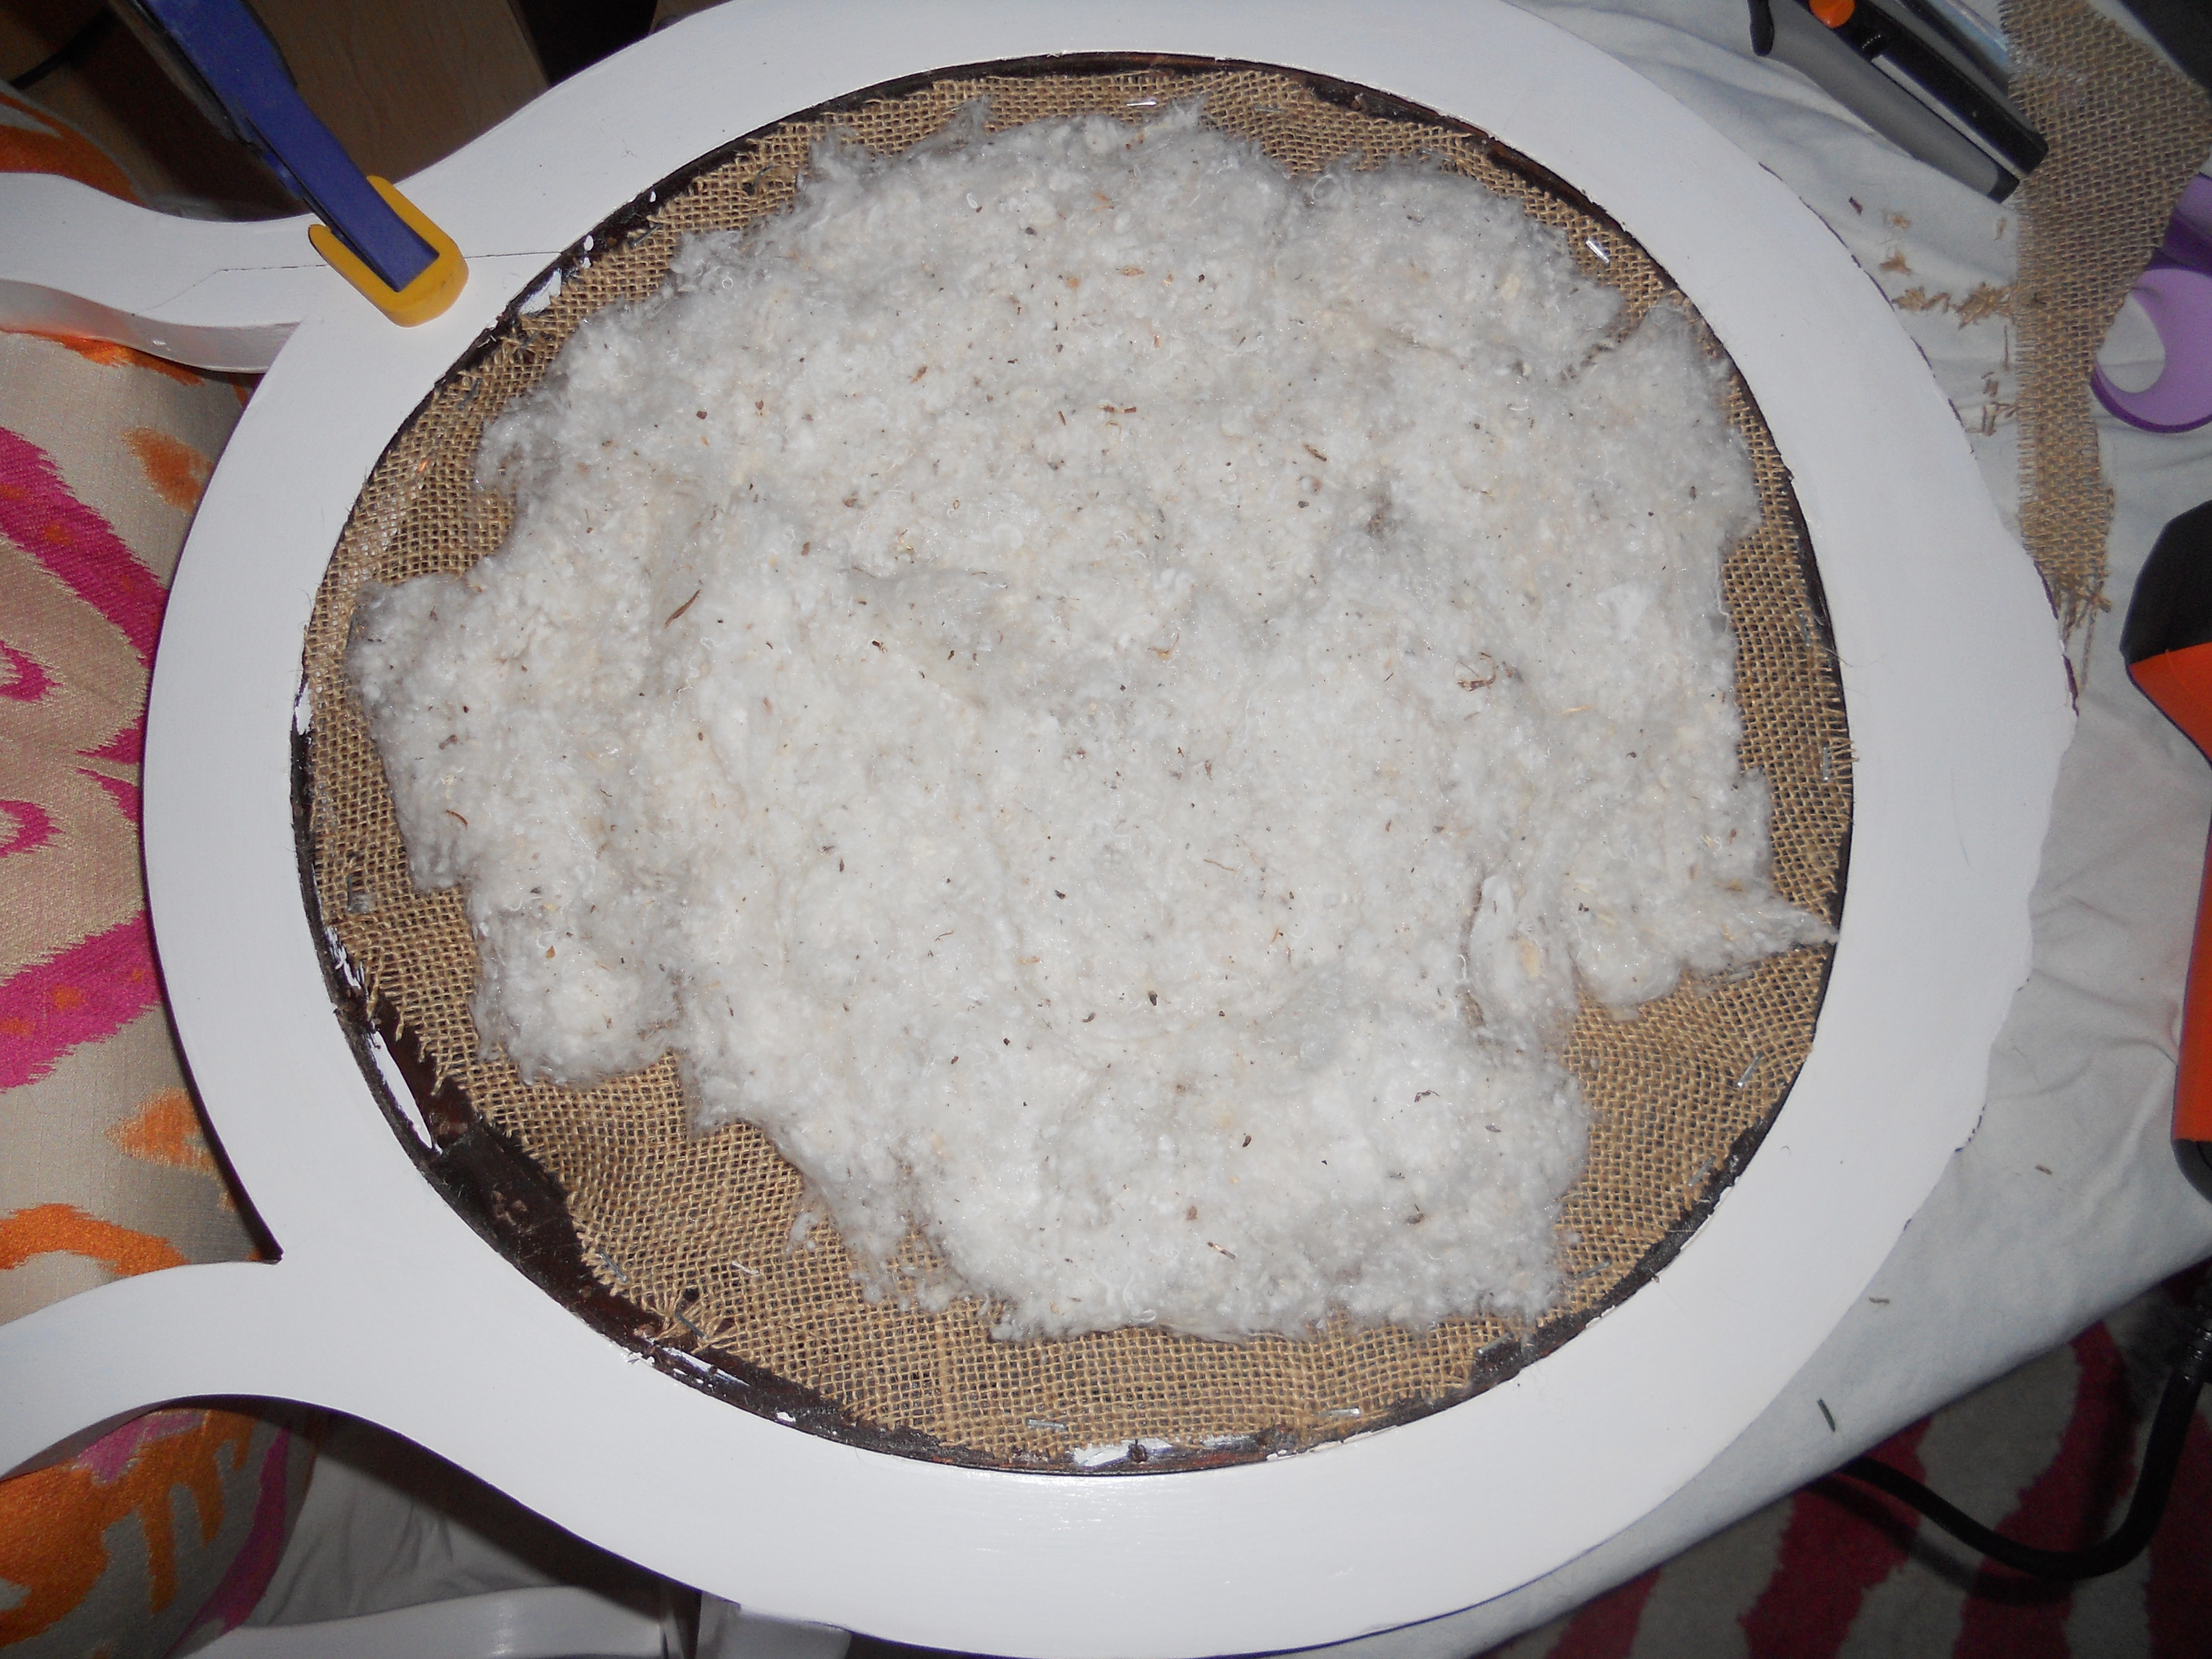
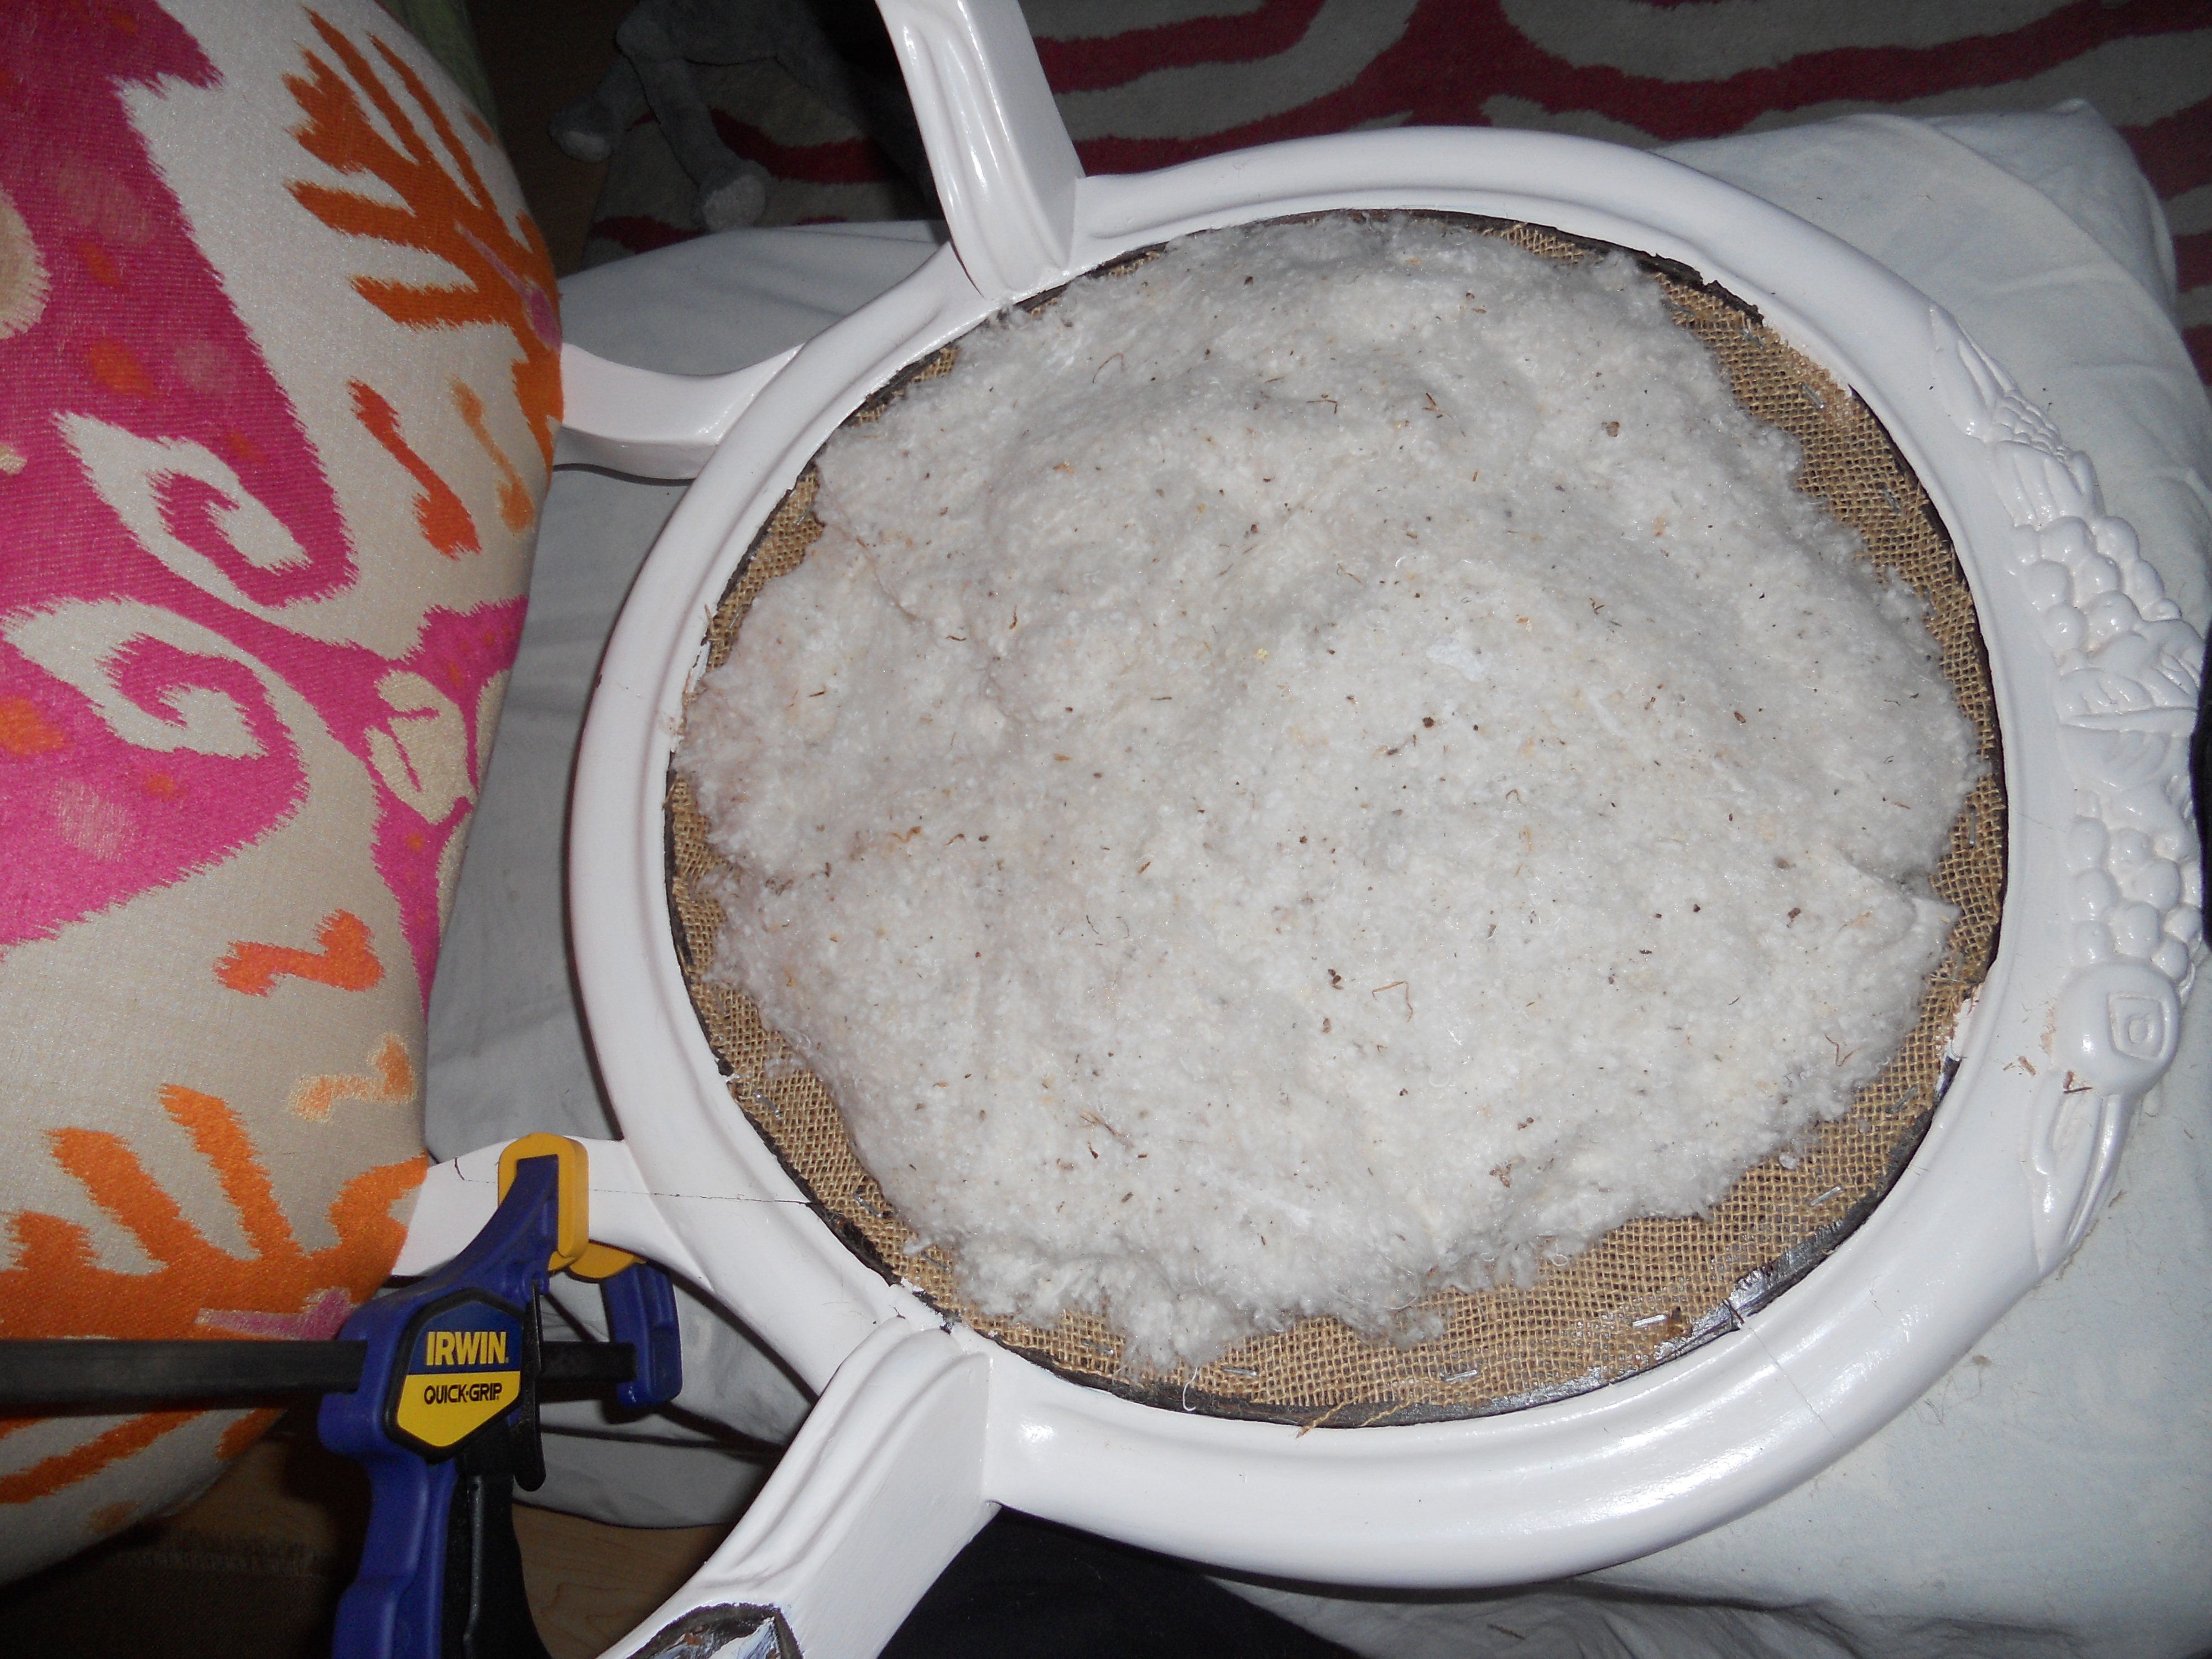
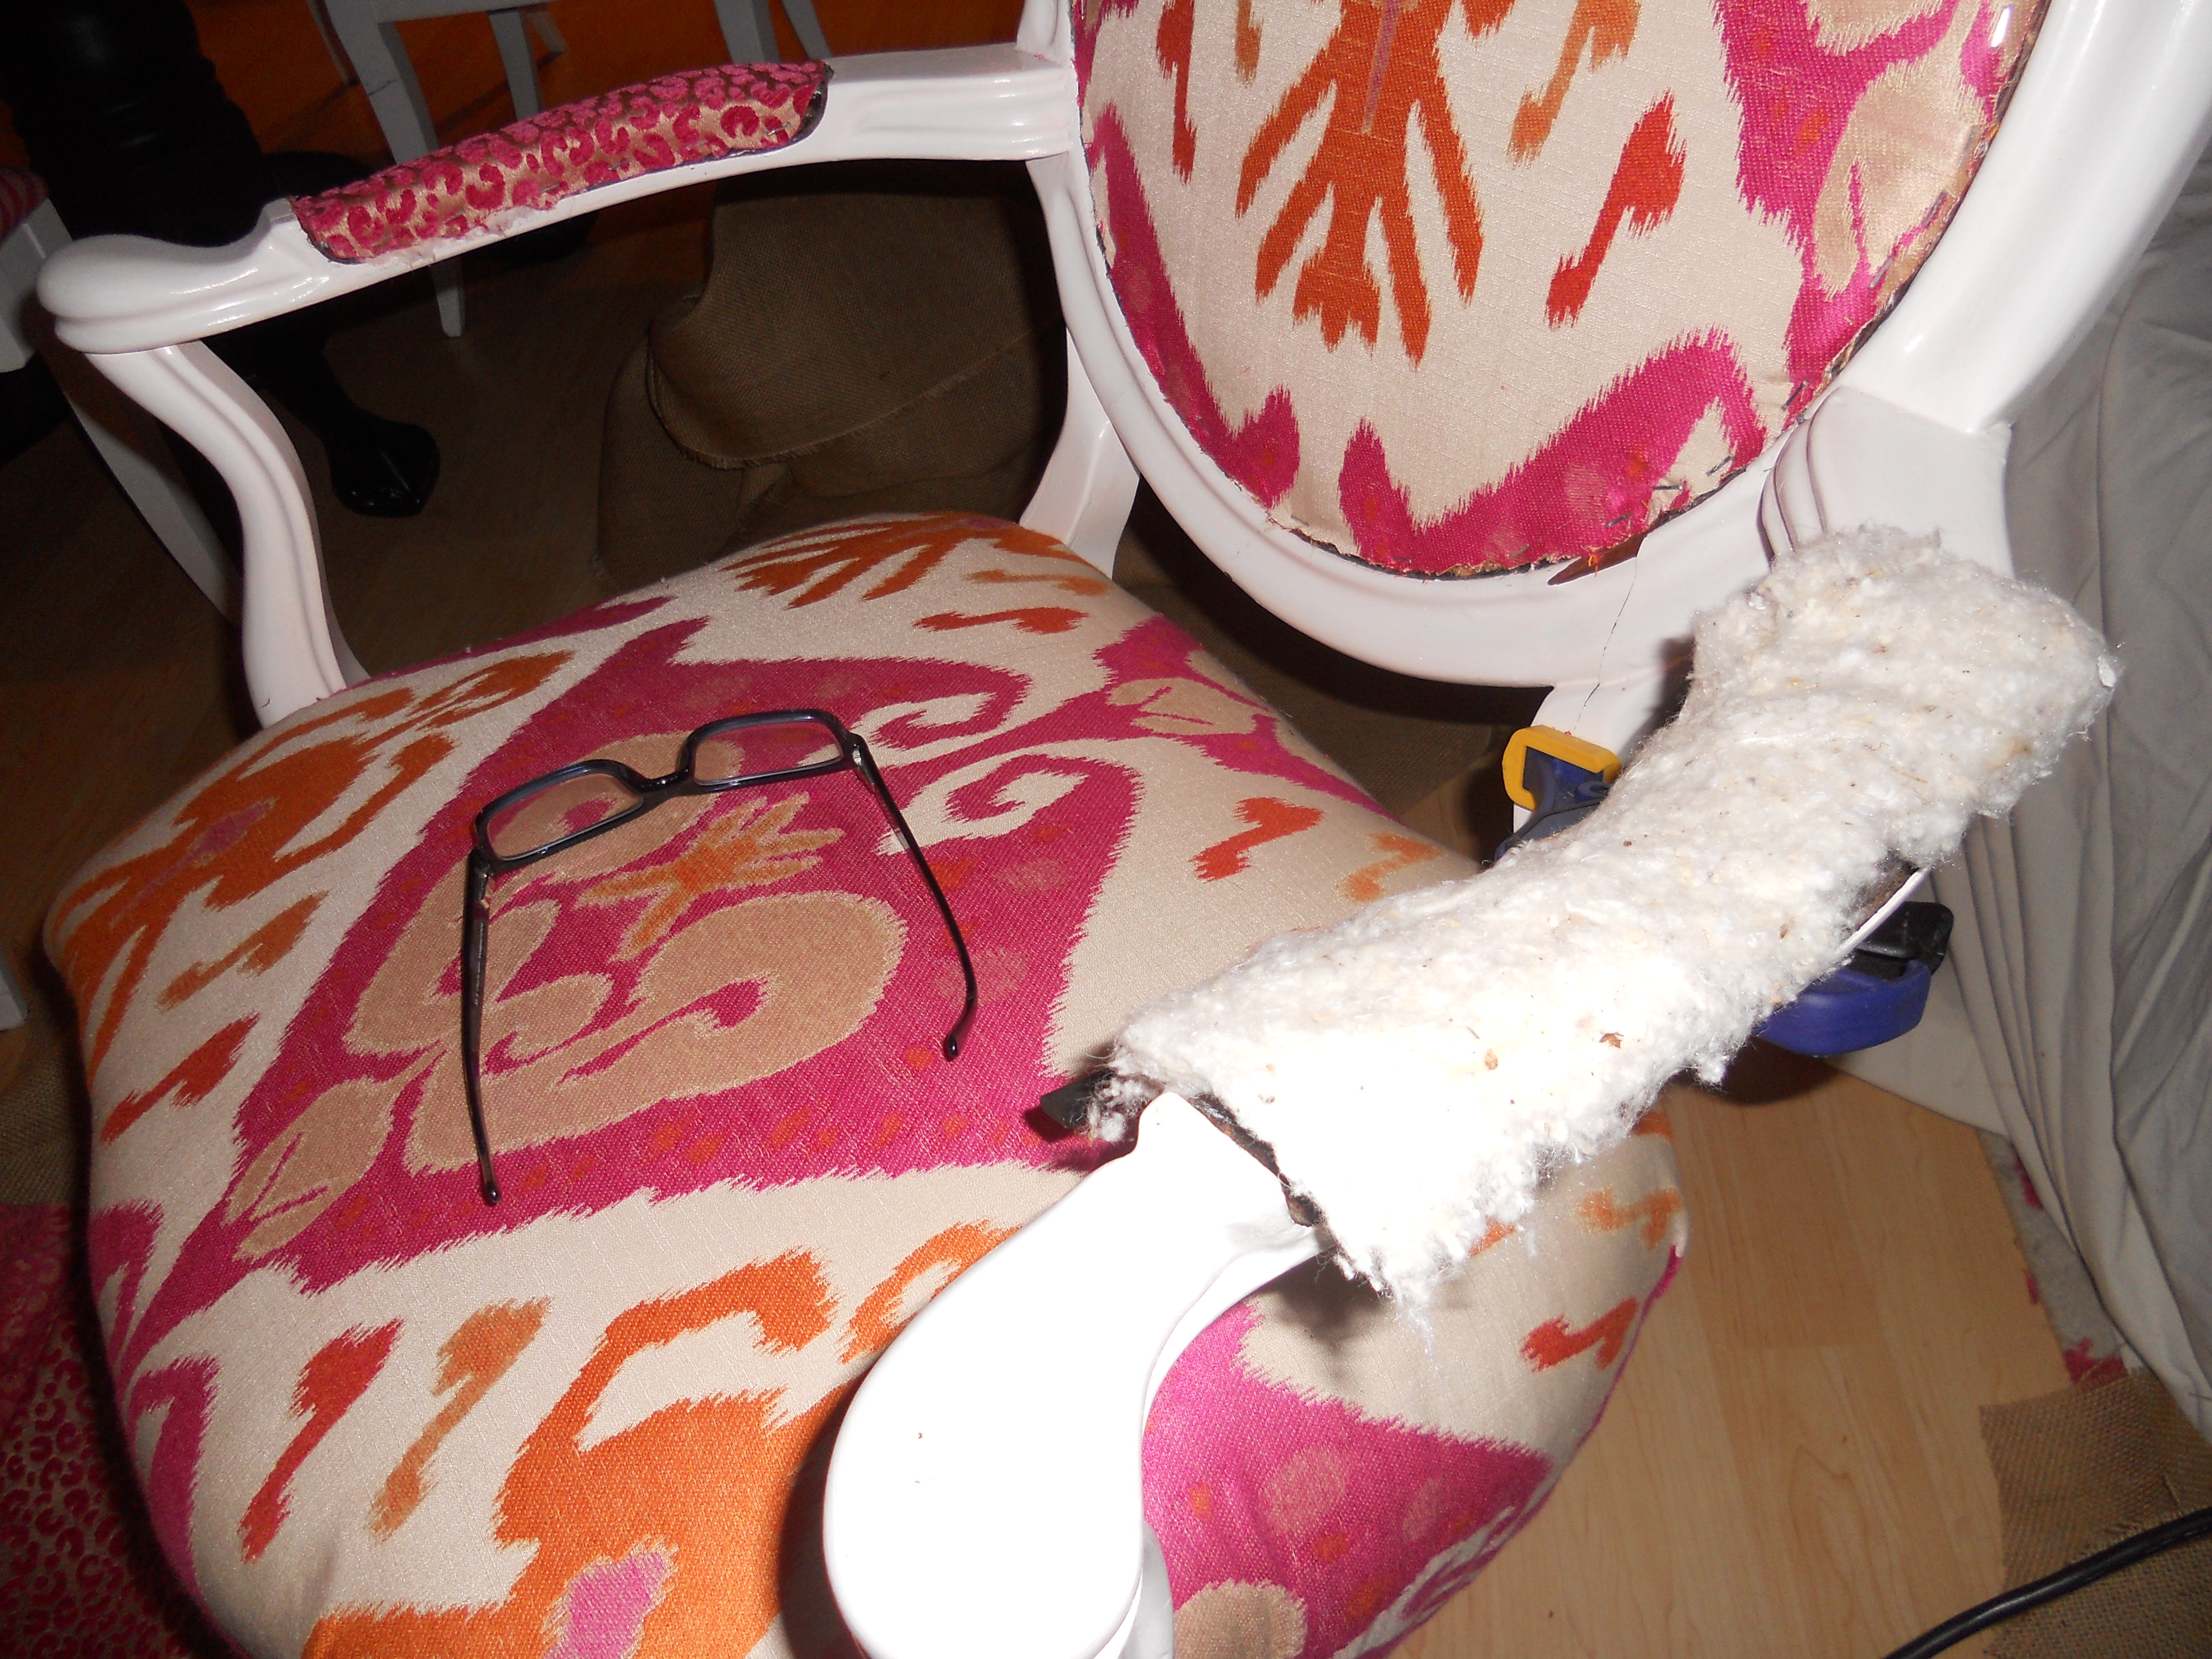
 Next I used cotton stuffing to give the back a bit of padding.

DSCN0644

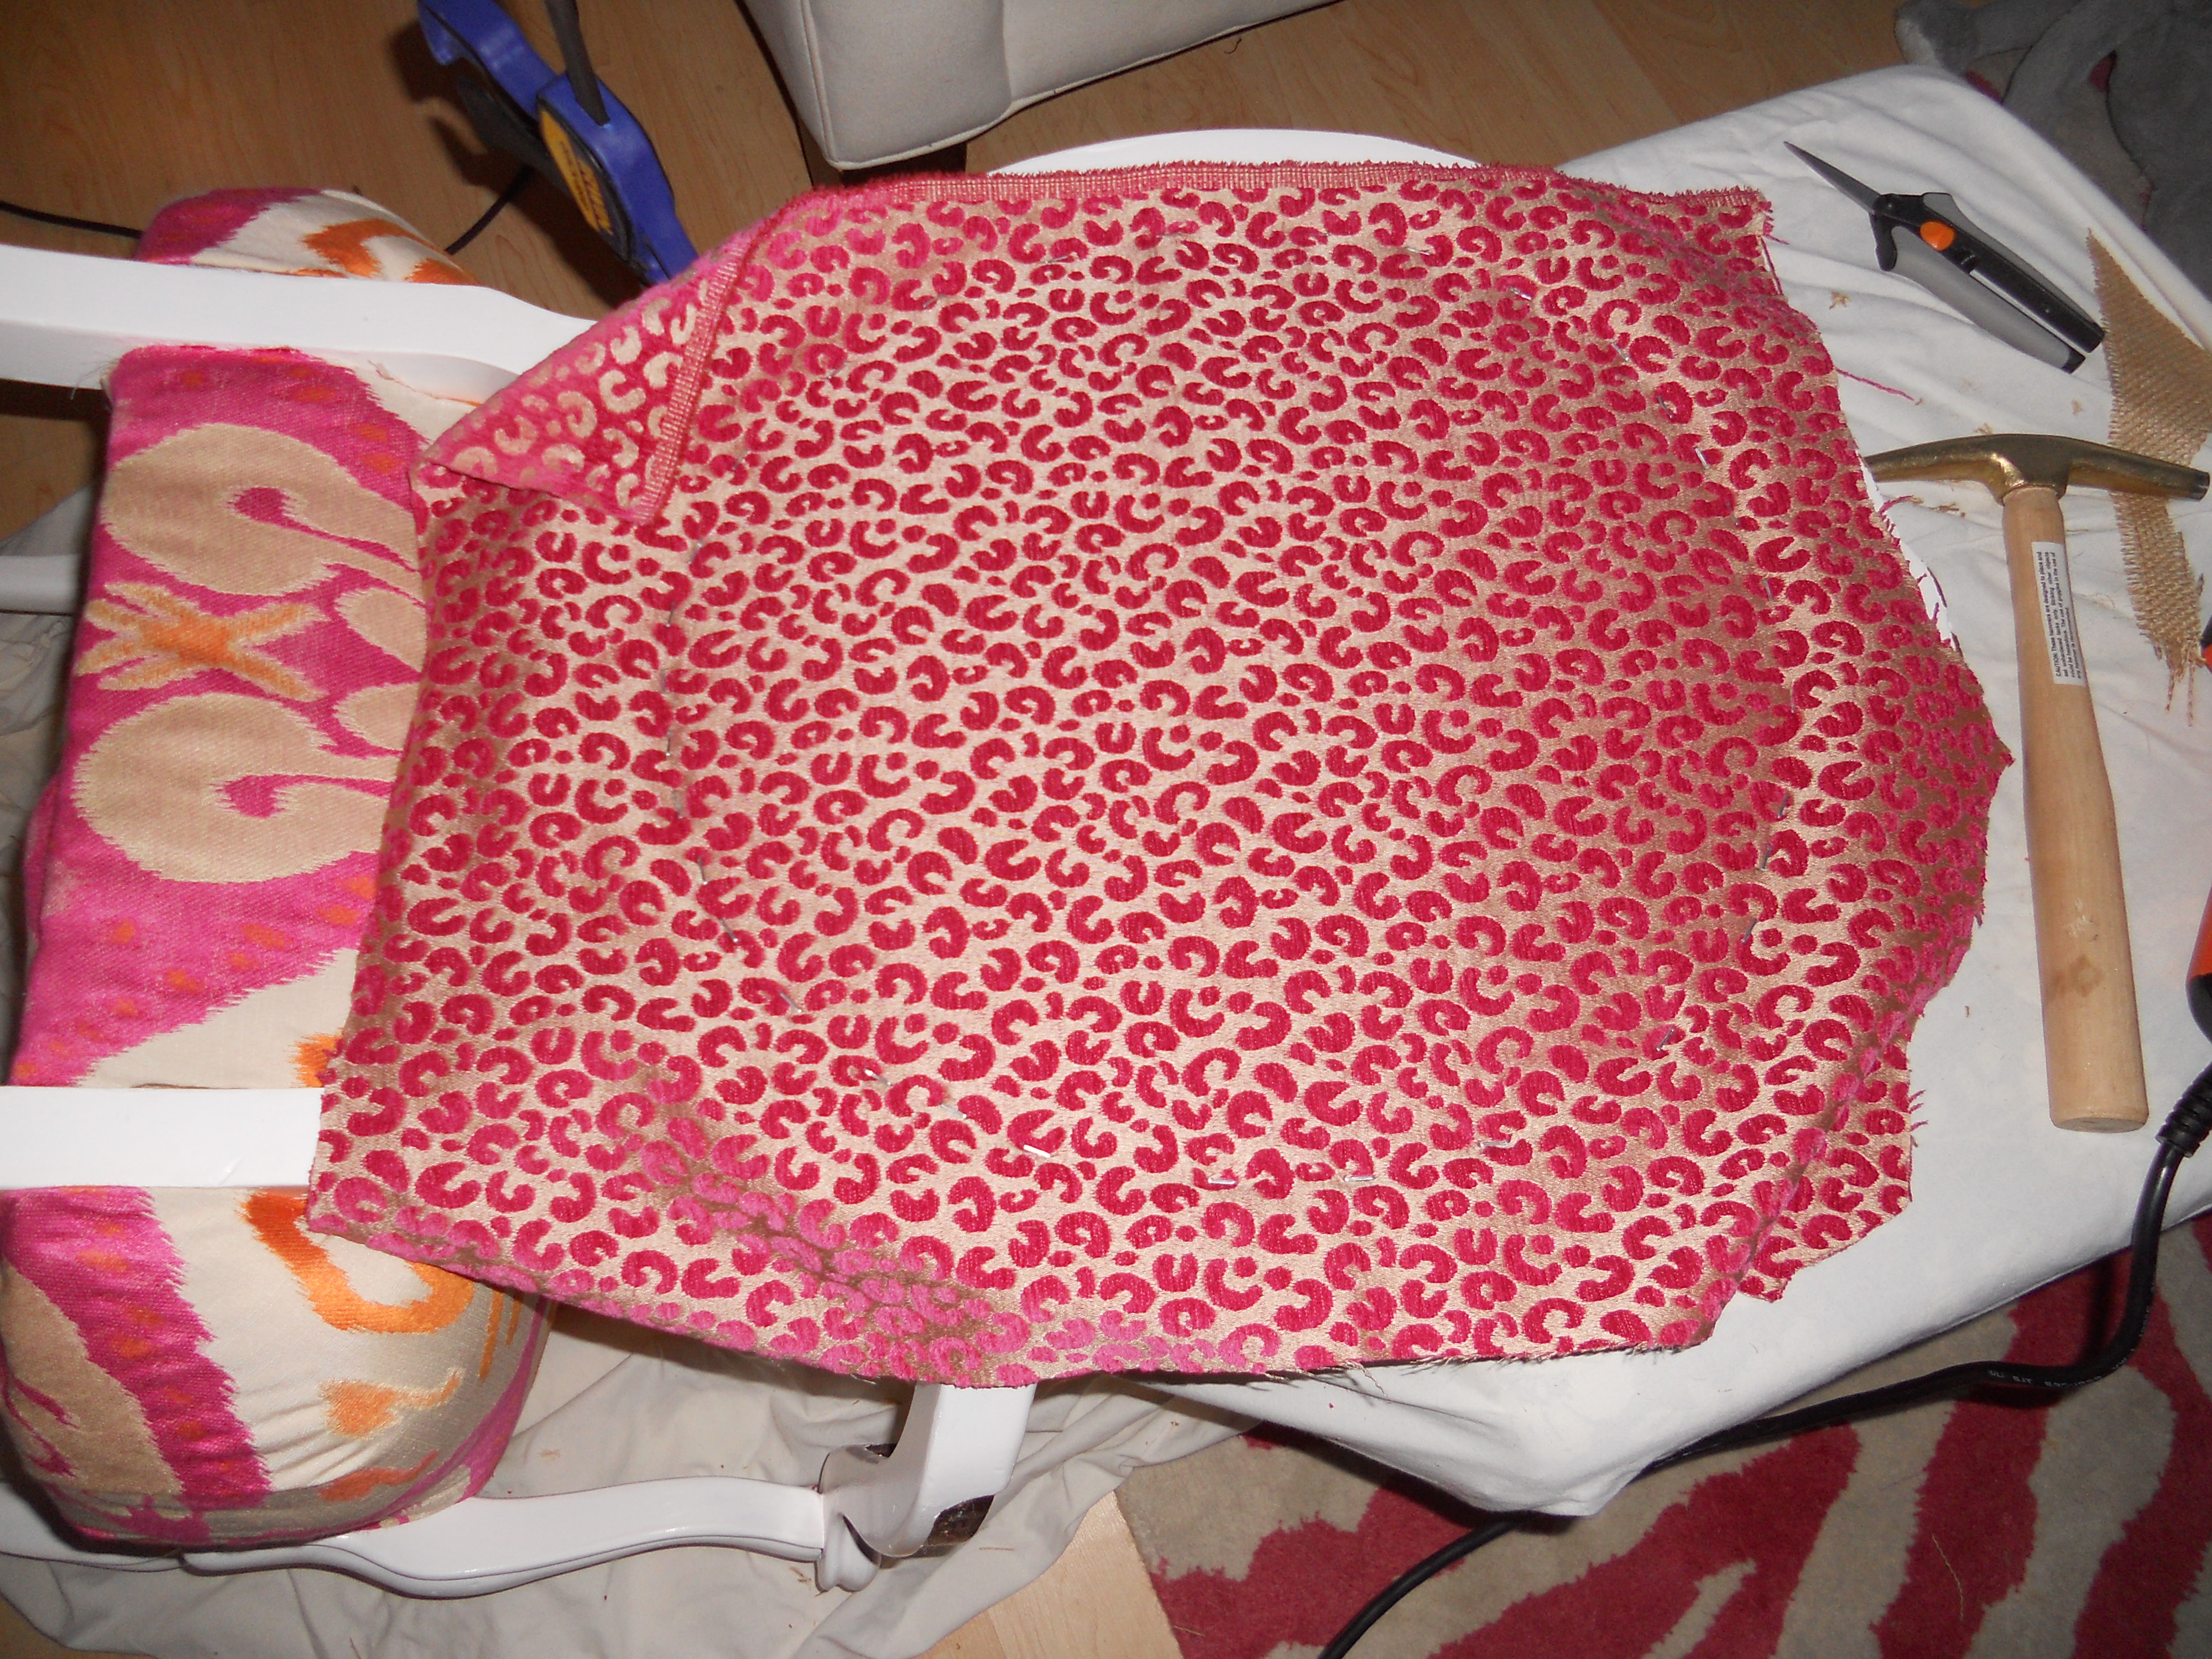
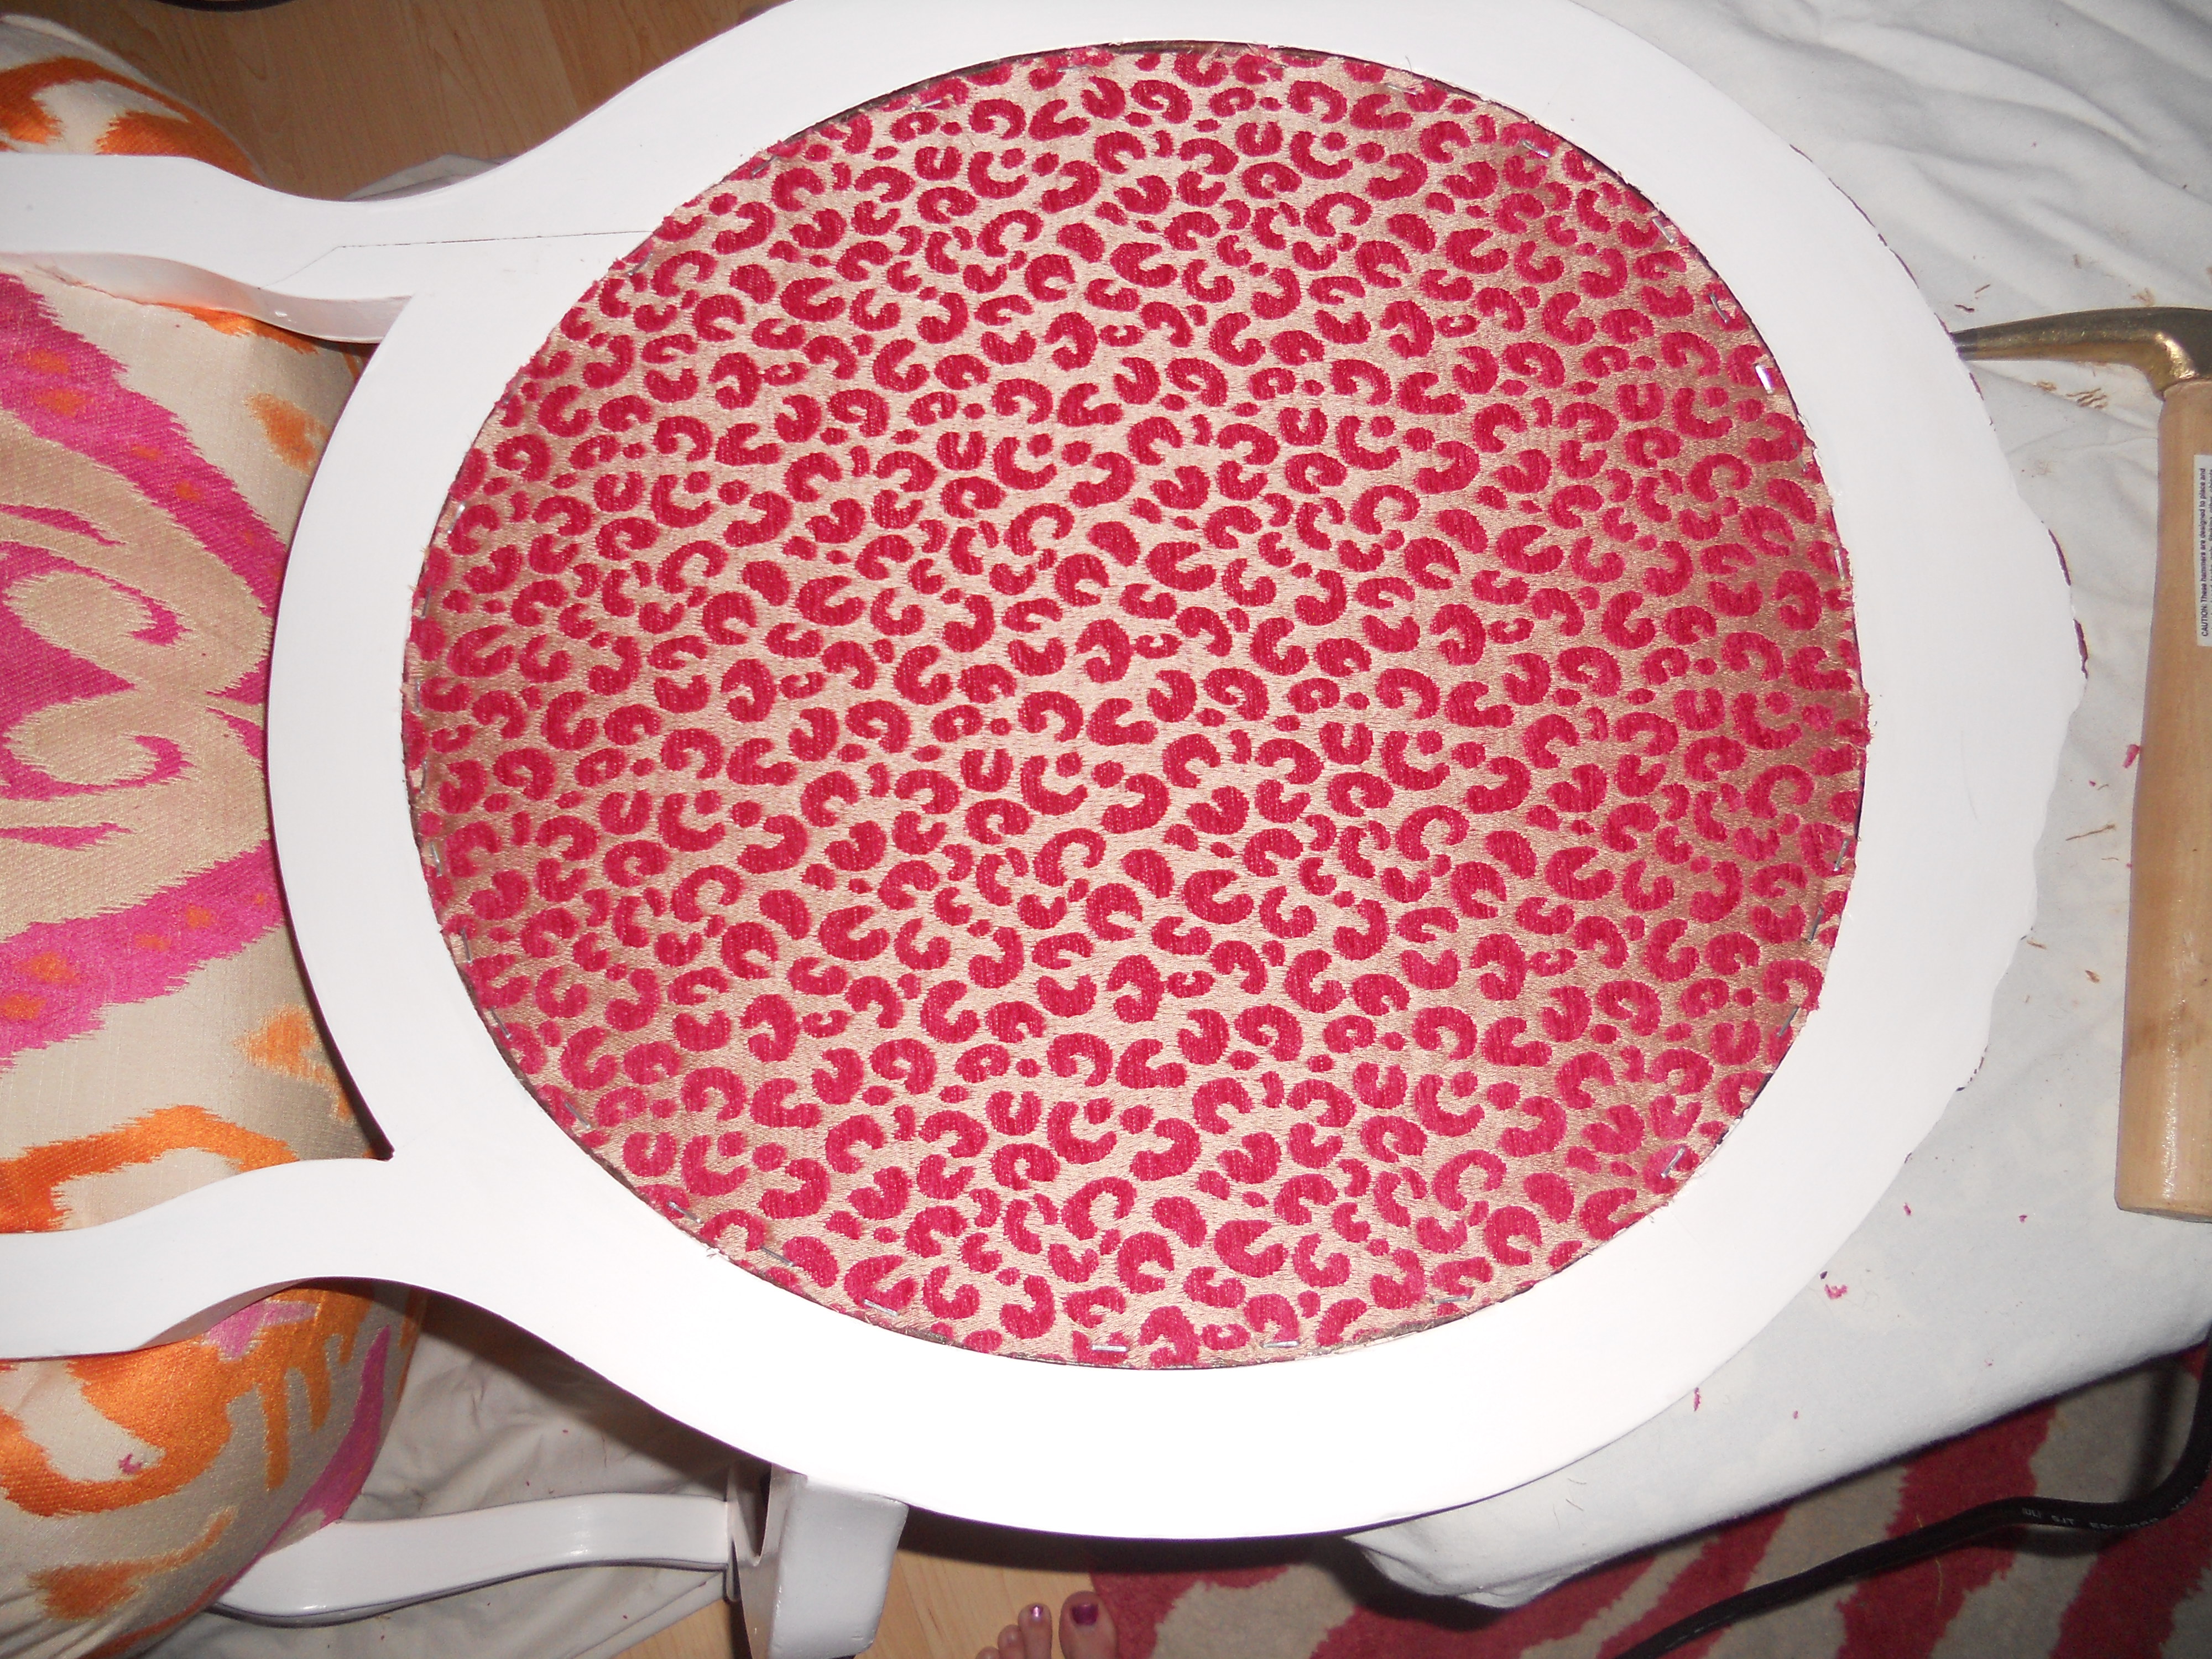
DSCN0645  Next do the same thing to with the fabric. Cut to a bigger size. Pull tight, staple, and cut. For the back I used a different fabric, leapoard for a bit of print mixing.

DSCN0646

 Next I just had to do the same thing with the front.

DSCN0650

DSCN0651

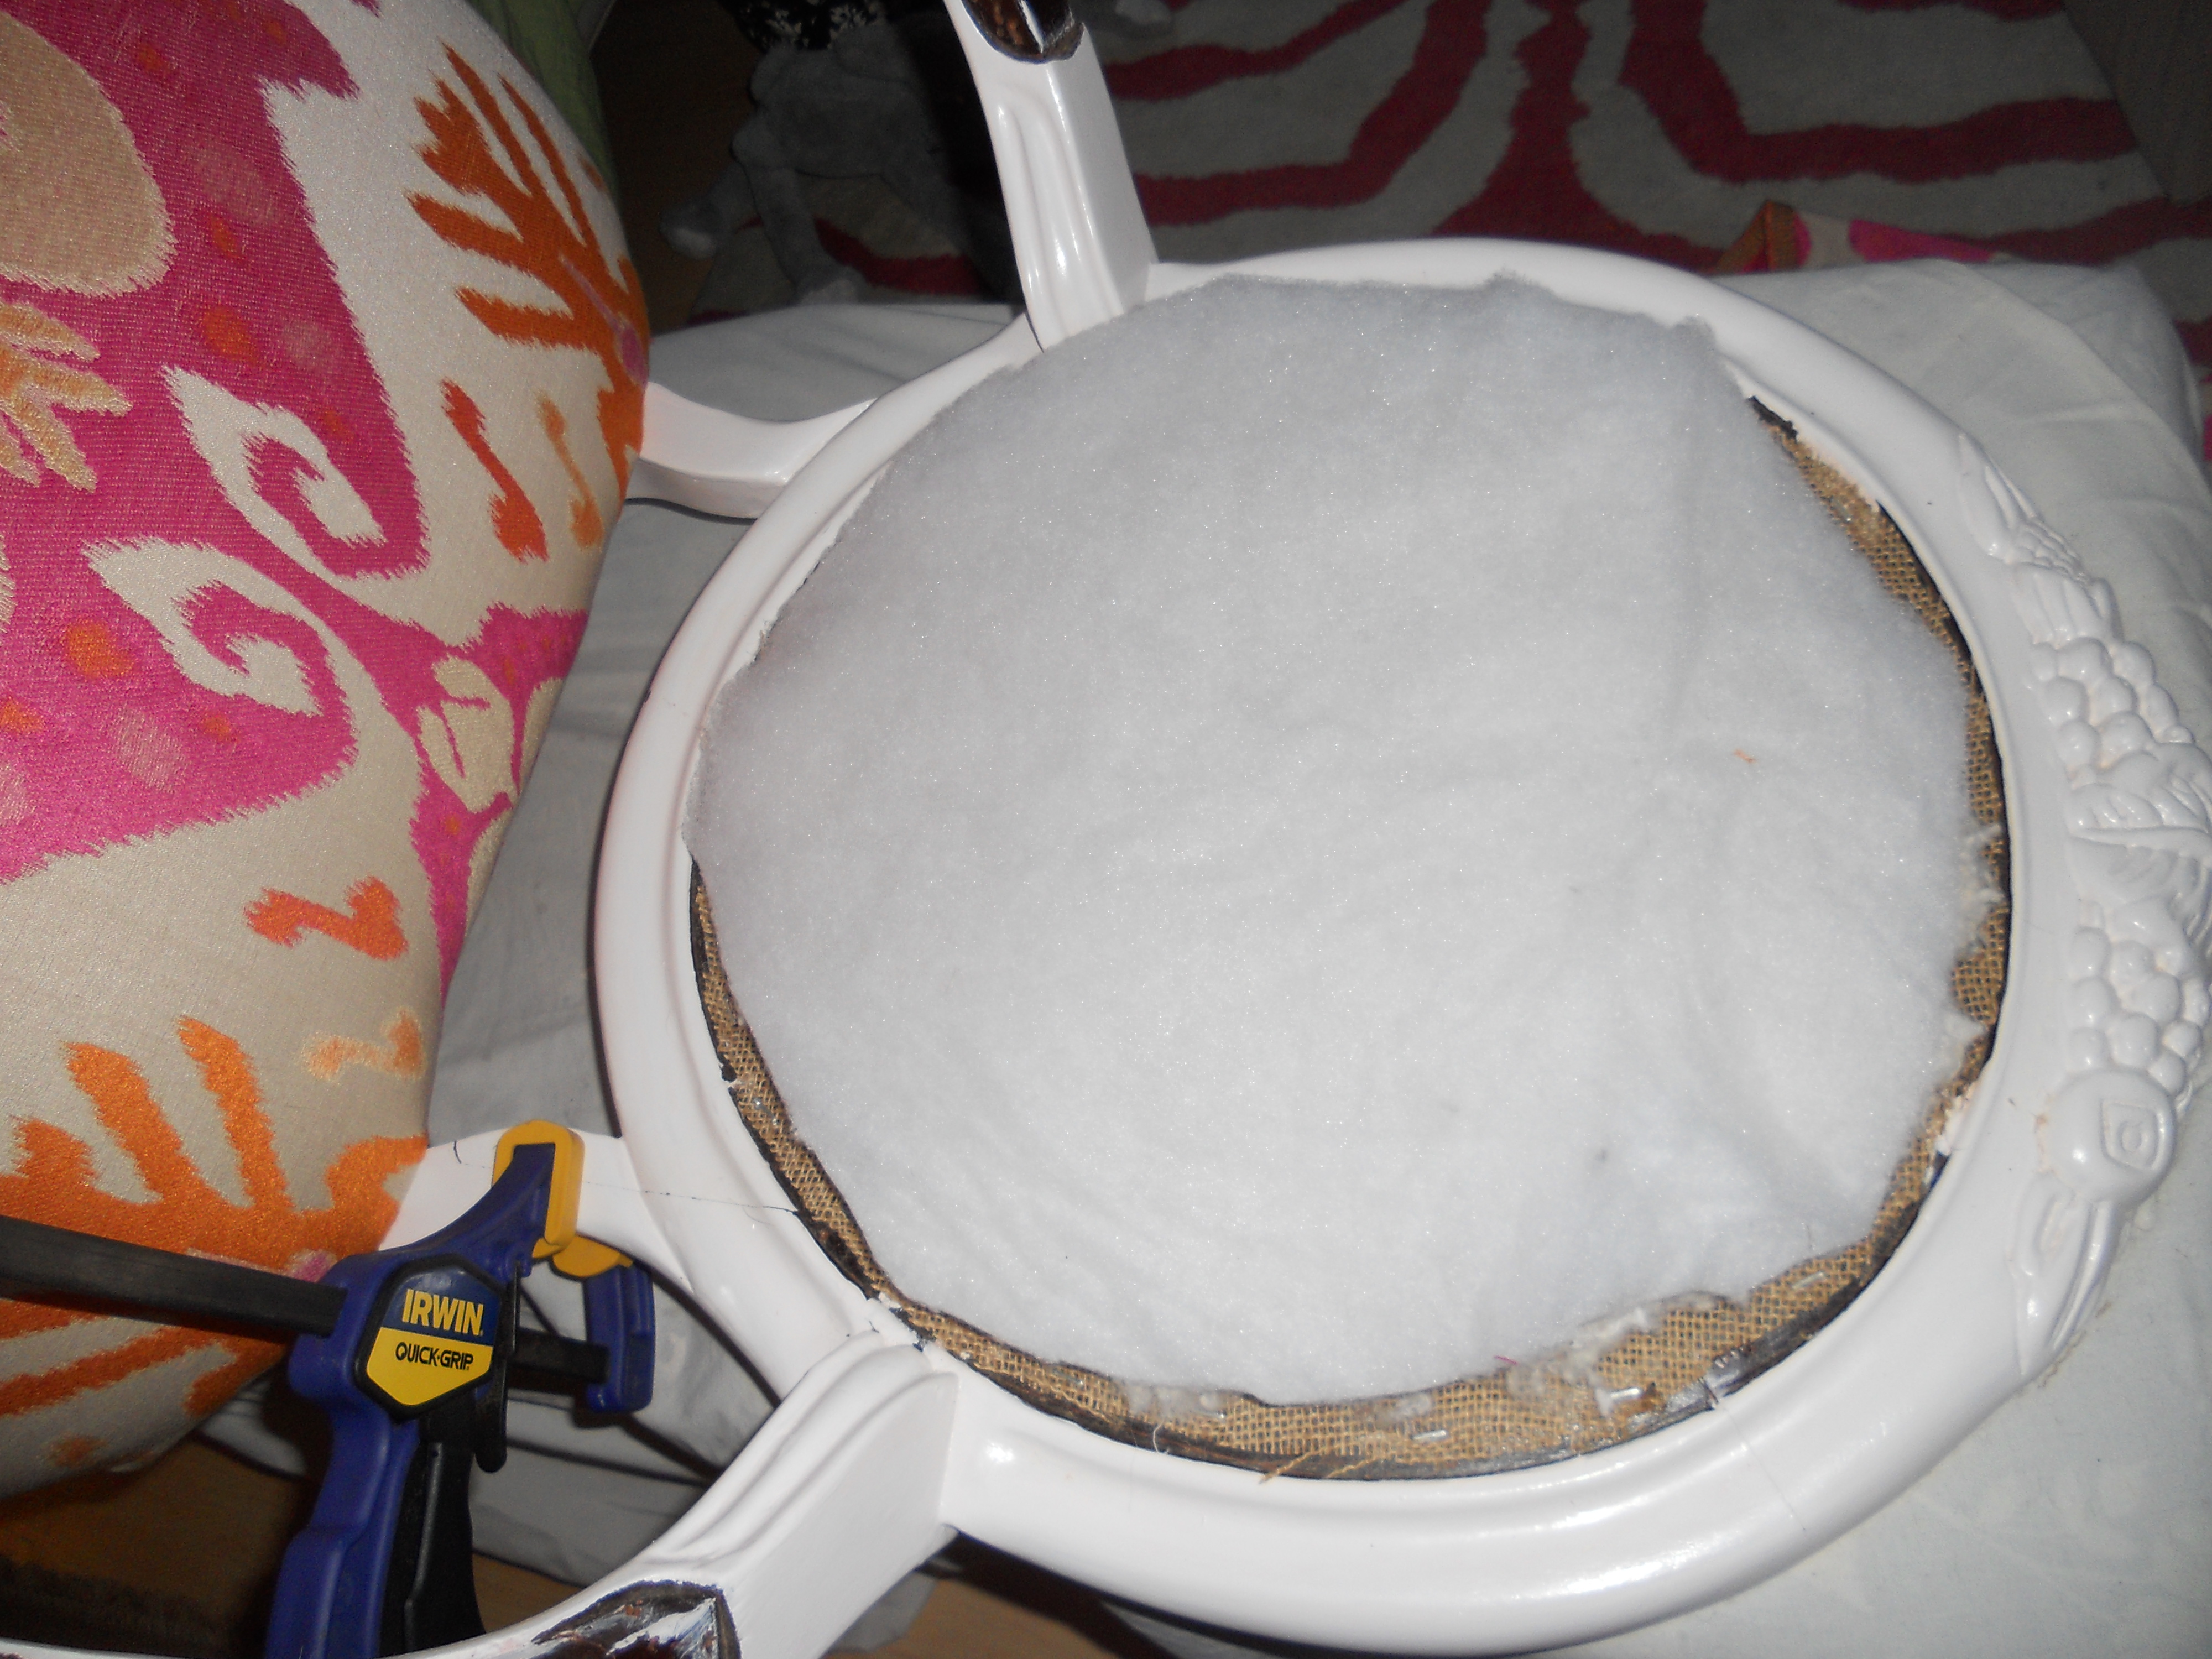
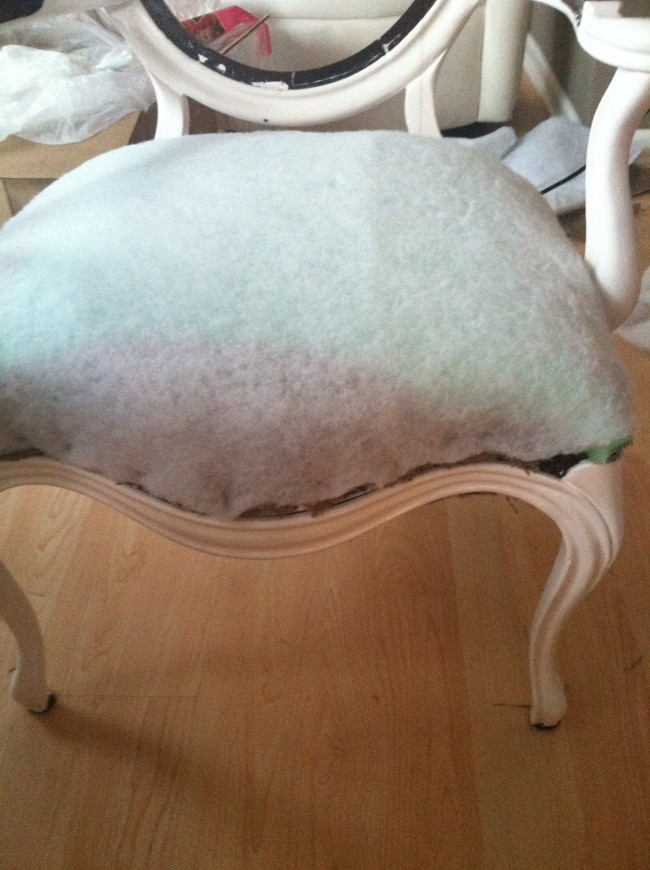
 On the front I also used batting over the cotton fill. I found that the cotton fill looked a bit bumpy so the batting helped make it look a bit more smooth.

DSCN0652

DSCN0653

chair

Next I have to do the pipping trim and fill in a couple paint chips from where I nicked the chair a bit.

Upholstering Chair: Part 3

This Sunday I FINALLY had some time to work on my chair again. I am feeling good about how much I got done with the project! To see the previous steps check here.

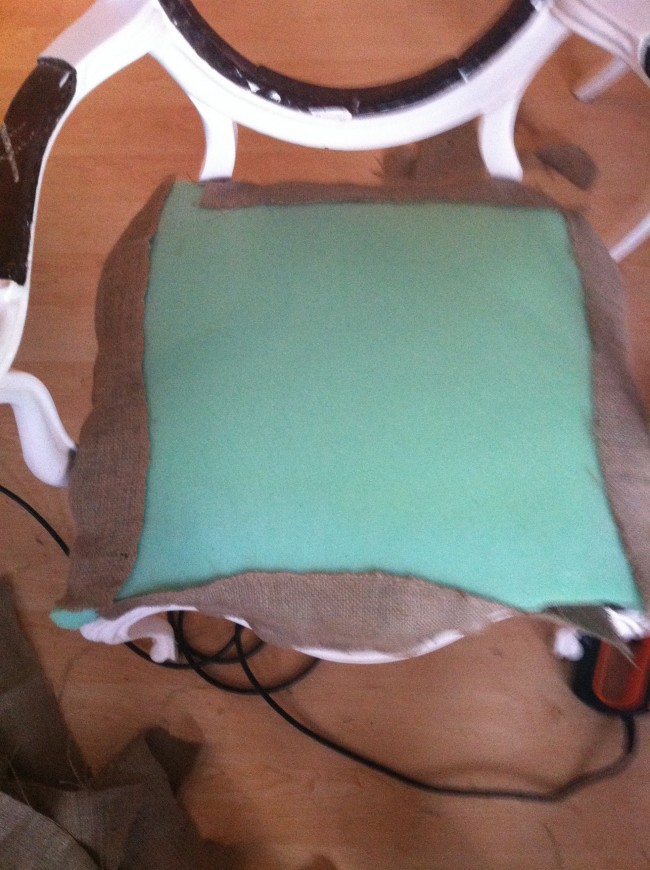
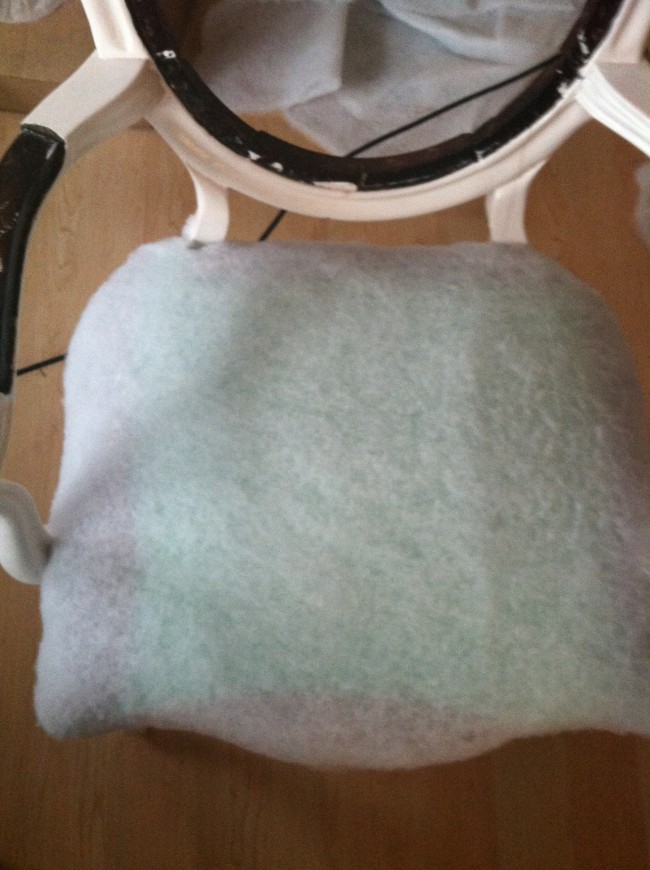
First I had to fill in the coil areas with cotton fill  prior to putting the cushion on. This helps to make your platform real even.

Next I took the cushion that I already glued to burlap in the last segment and stapled down to the bottom.

Next, I added the cotton batting. I used this step to make sure that the cushion was stapled down nice and tight. Any area that wasn’t secure in the previous step I just made sure to reinforce as much as possible.

Trim your edges!

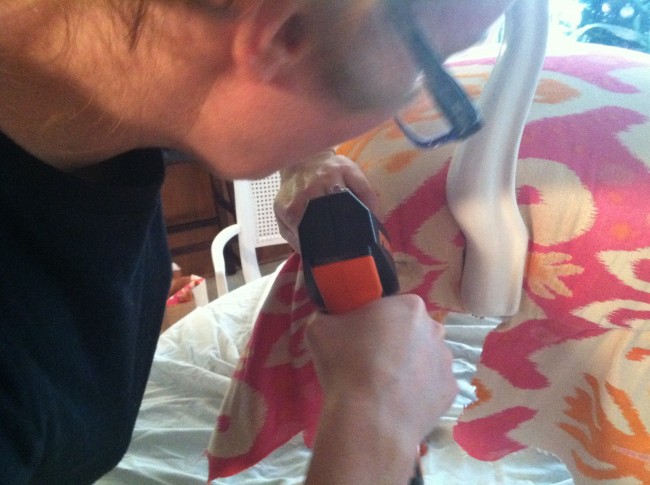
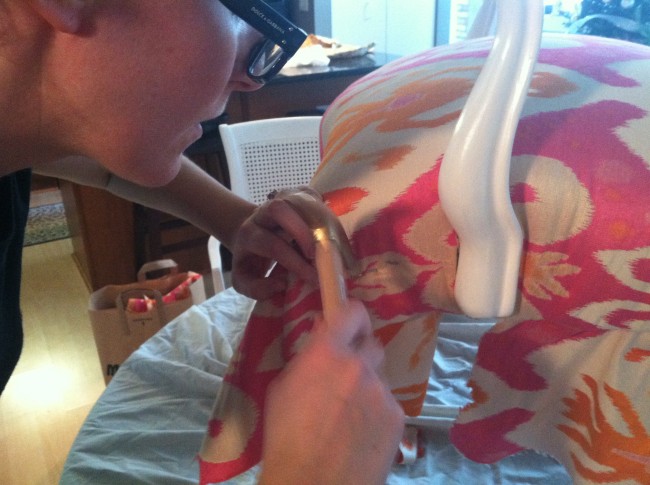
Next I just started laying out the fabric and slowly stapling down sections. Always start in the center of each side doing one at a time. For instance I stapled the front center with one staple first. The one in the back center, left center, right center. Slowly you keep rotation like this keeping the fabric stretching down and outside.

The corners are always a little tricky and take some working.

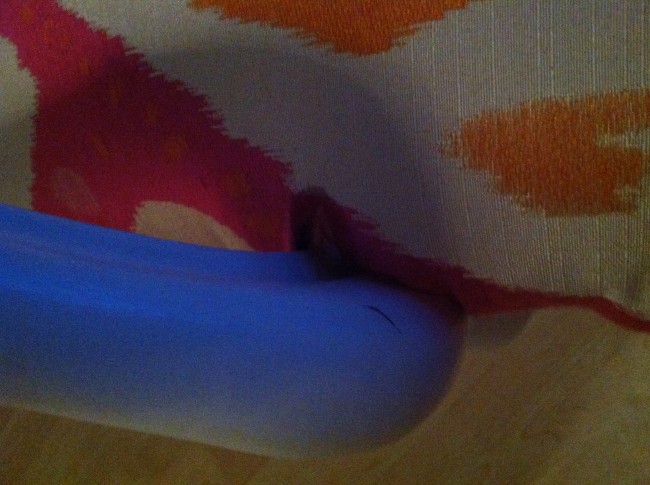
You can see here that around one of the arms I made a bit of an oops. Around each arm I cut a small notch out of the fabric to make it so the fabric can wrap around the arm. Here you can see I cut it a bit too deep. I put some fray check on it to make sure it doesn’t unravel anymore. Hopefully the double cording will cover the cut!

Ta Da! cushion all done. I think it went well for my first time ever trying the process!