
I am happy to announce the chair that I have been working on for a while is finally DONE! See my previous post here.
I found this chair on craigslist for $25 a while back and have been working on refinishing it. But between work, full time MBA and wedding planning (and not having a sewing machine to finish the last details) I haven’t had chance to finish before this weekend. As of the last step the only thing I had to do was the double cording for the trim.
So here we go! First I had to sew the double cording. I had never done this before. I have done single cording but for this project I wanted to use double. I used some good how do’s from bloggers I love. I found them very helpful see them here and here.
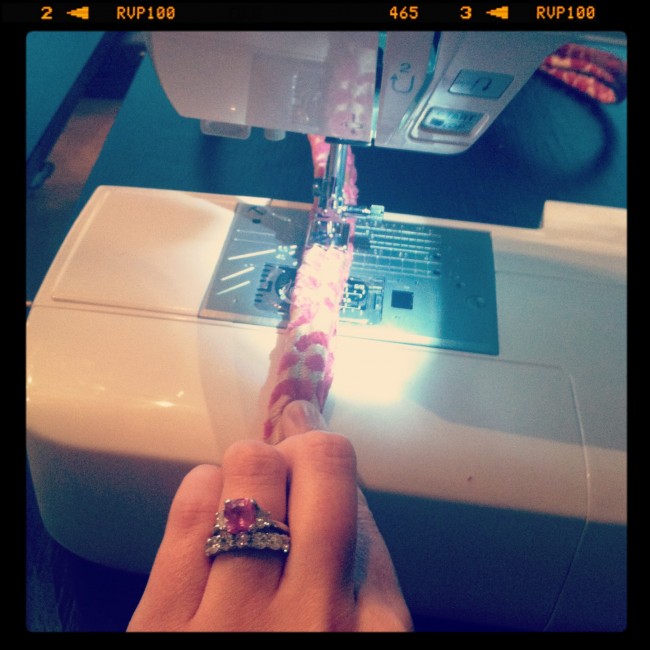
First I had to sew the cording. When I finally bought my sewing maching a couple months ago I bought a cording foot. It is heaven. If you want to make cording/piping for any project. I recommend getting one. I think mine was only about $20. It guides the sewing so nicely it practically sews itself.

It’s surprising how much cording you need to make for a full chair. I would say I probably used over 30 yards to do the whole thing.
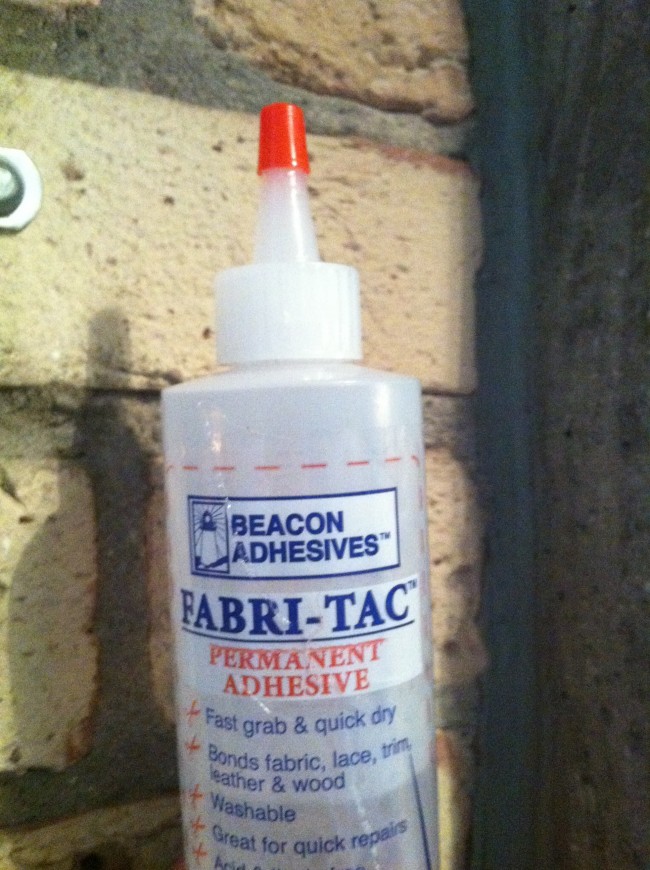
The different Blog call for different glues. This is the one I used for the trim and it worked great! Be careful – it dries fast!
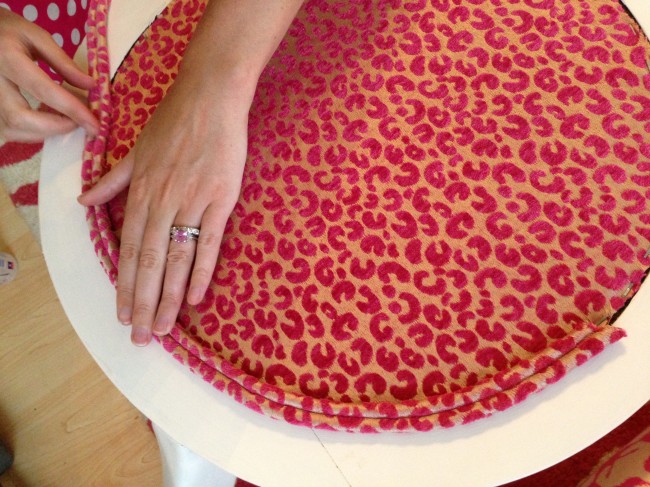
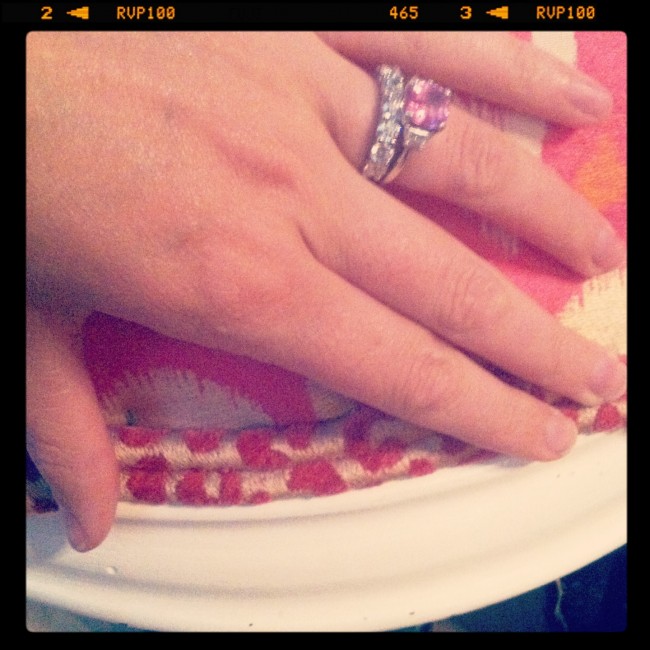
Next was just gluing it down. I did small sections at a time because the glue dries so fast. I put glue on the chair I found it worked better than putting it on the double cording itself.
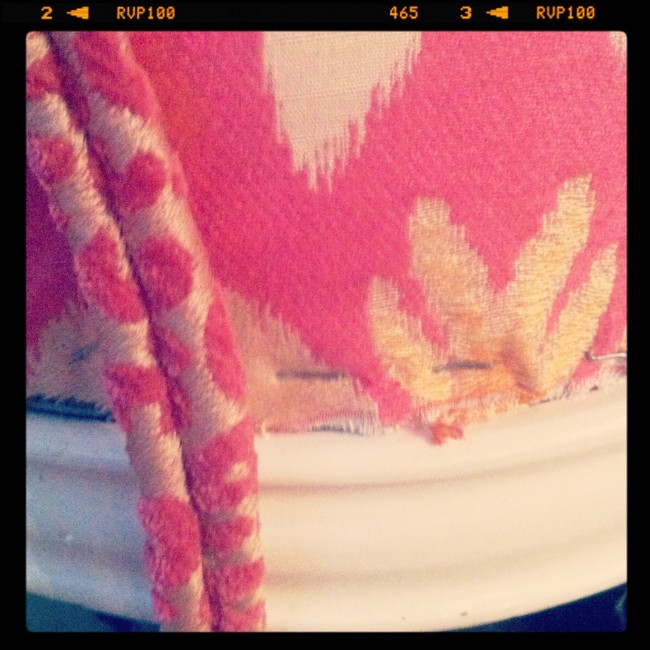
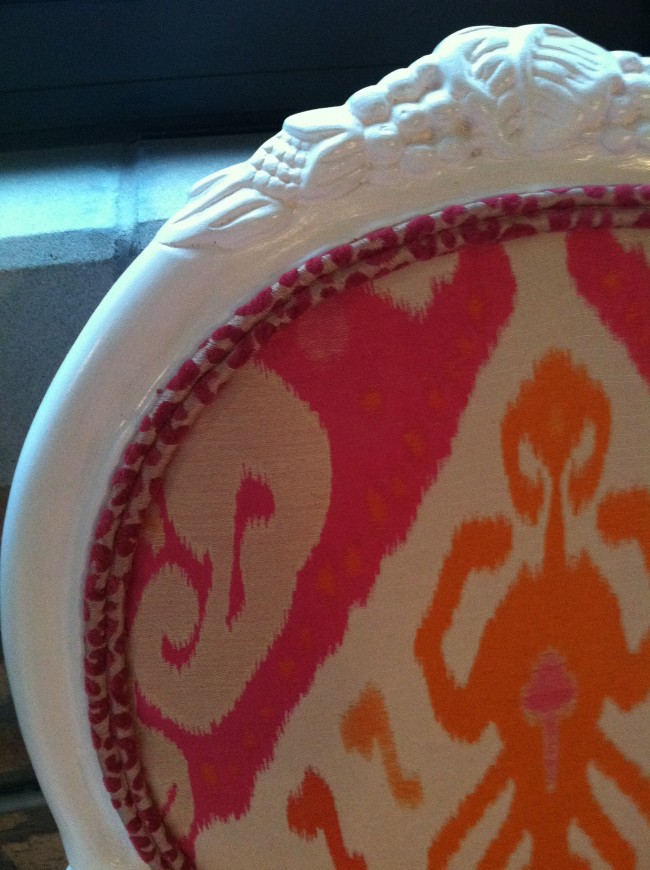
The cording is so nice. I hides lots of mistakes.
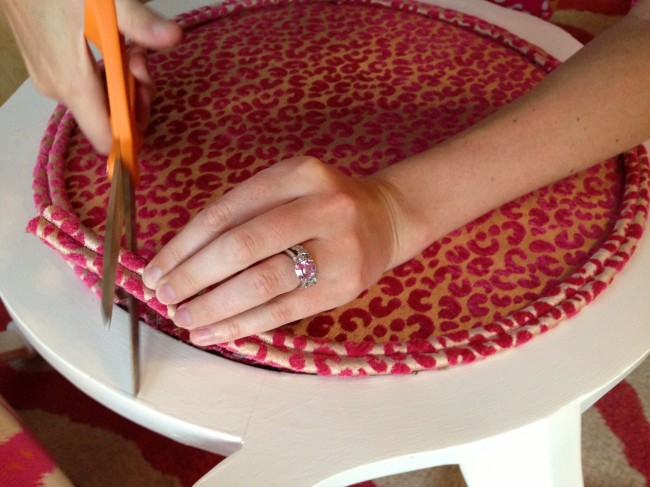
I just put the ends and put some fray – check on it. I have seen different ways to handle the ends. In my upholstery class I took we overlapped fabric on the one send to make it more seamless. This way it easier and you can barley tell there is a seam. Just cutting is the way Little Green Notebook recommended so I took her word for it!
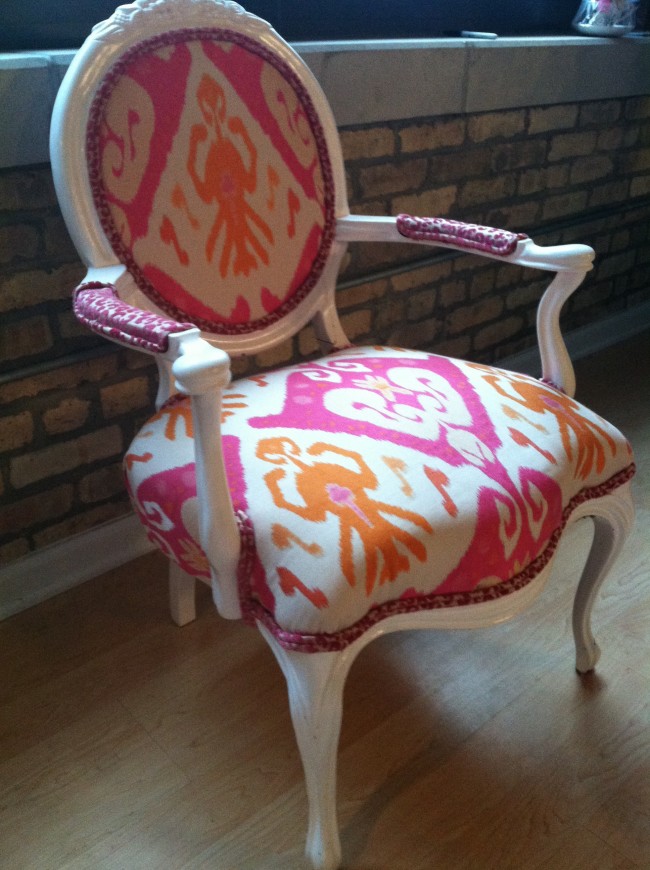

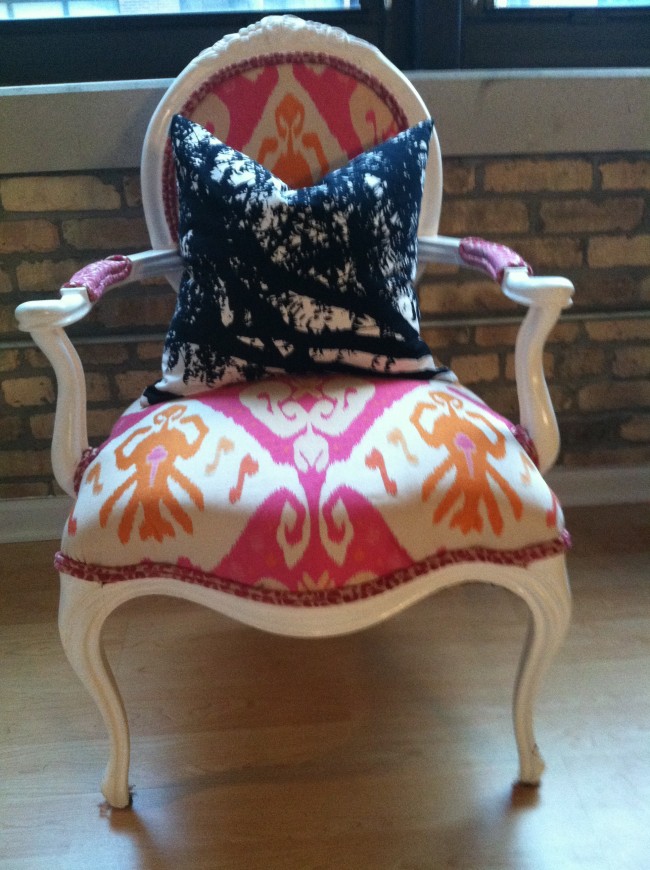
Ta Da! Here is the final. I know it took a while but in reality I didn’t spend that much time doing it. It only took long because of my busy schedule and not having time to do it right in a row!
What do you think?
Amazing job! I’ve re-upholstered one chair and it was quite the task. This looks so good.
Champagne Lifestyle on a Beer Budget
No way!!! Totally impressed!! I love the final product!! the fabric choices are beautiful and I love it paired with the black and white pillow!! You are so talented!