Little Yellow House Refresh: How to re-enforce a floor

Every weekend we have continued to work on the kitchen and weeks have gotten away from me. Wanted to take a moment to walk you through all the things we have been up to. If you have been following along on instagram you know we are a bit farther than this, I will do some posts to get us caught up with all the detail!

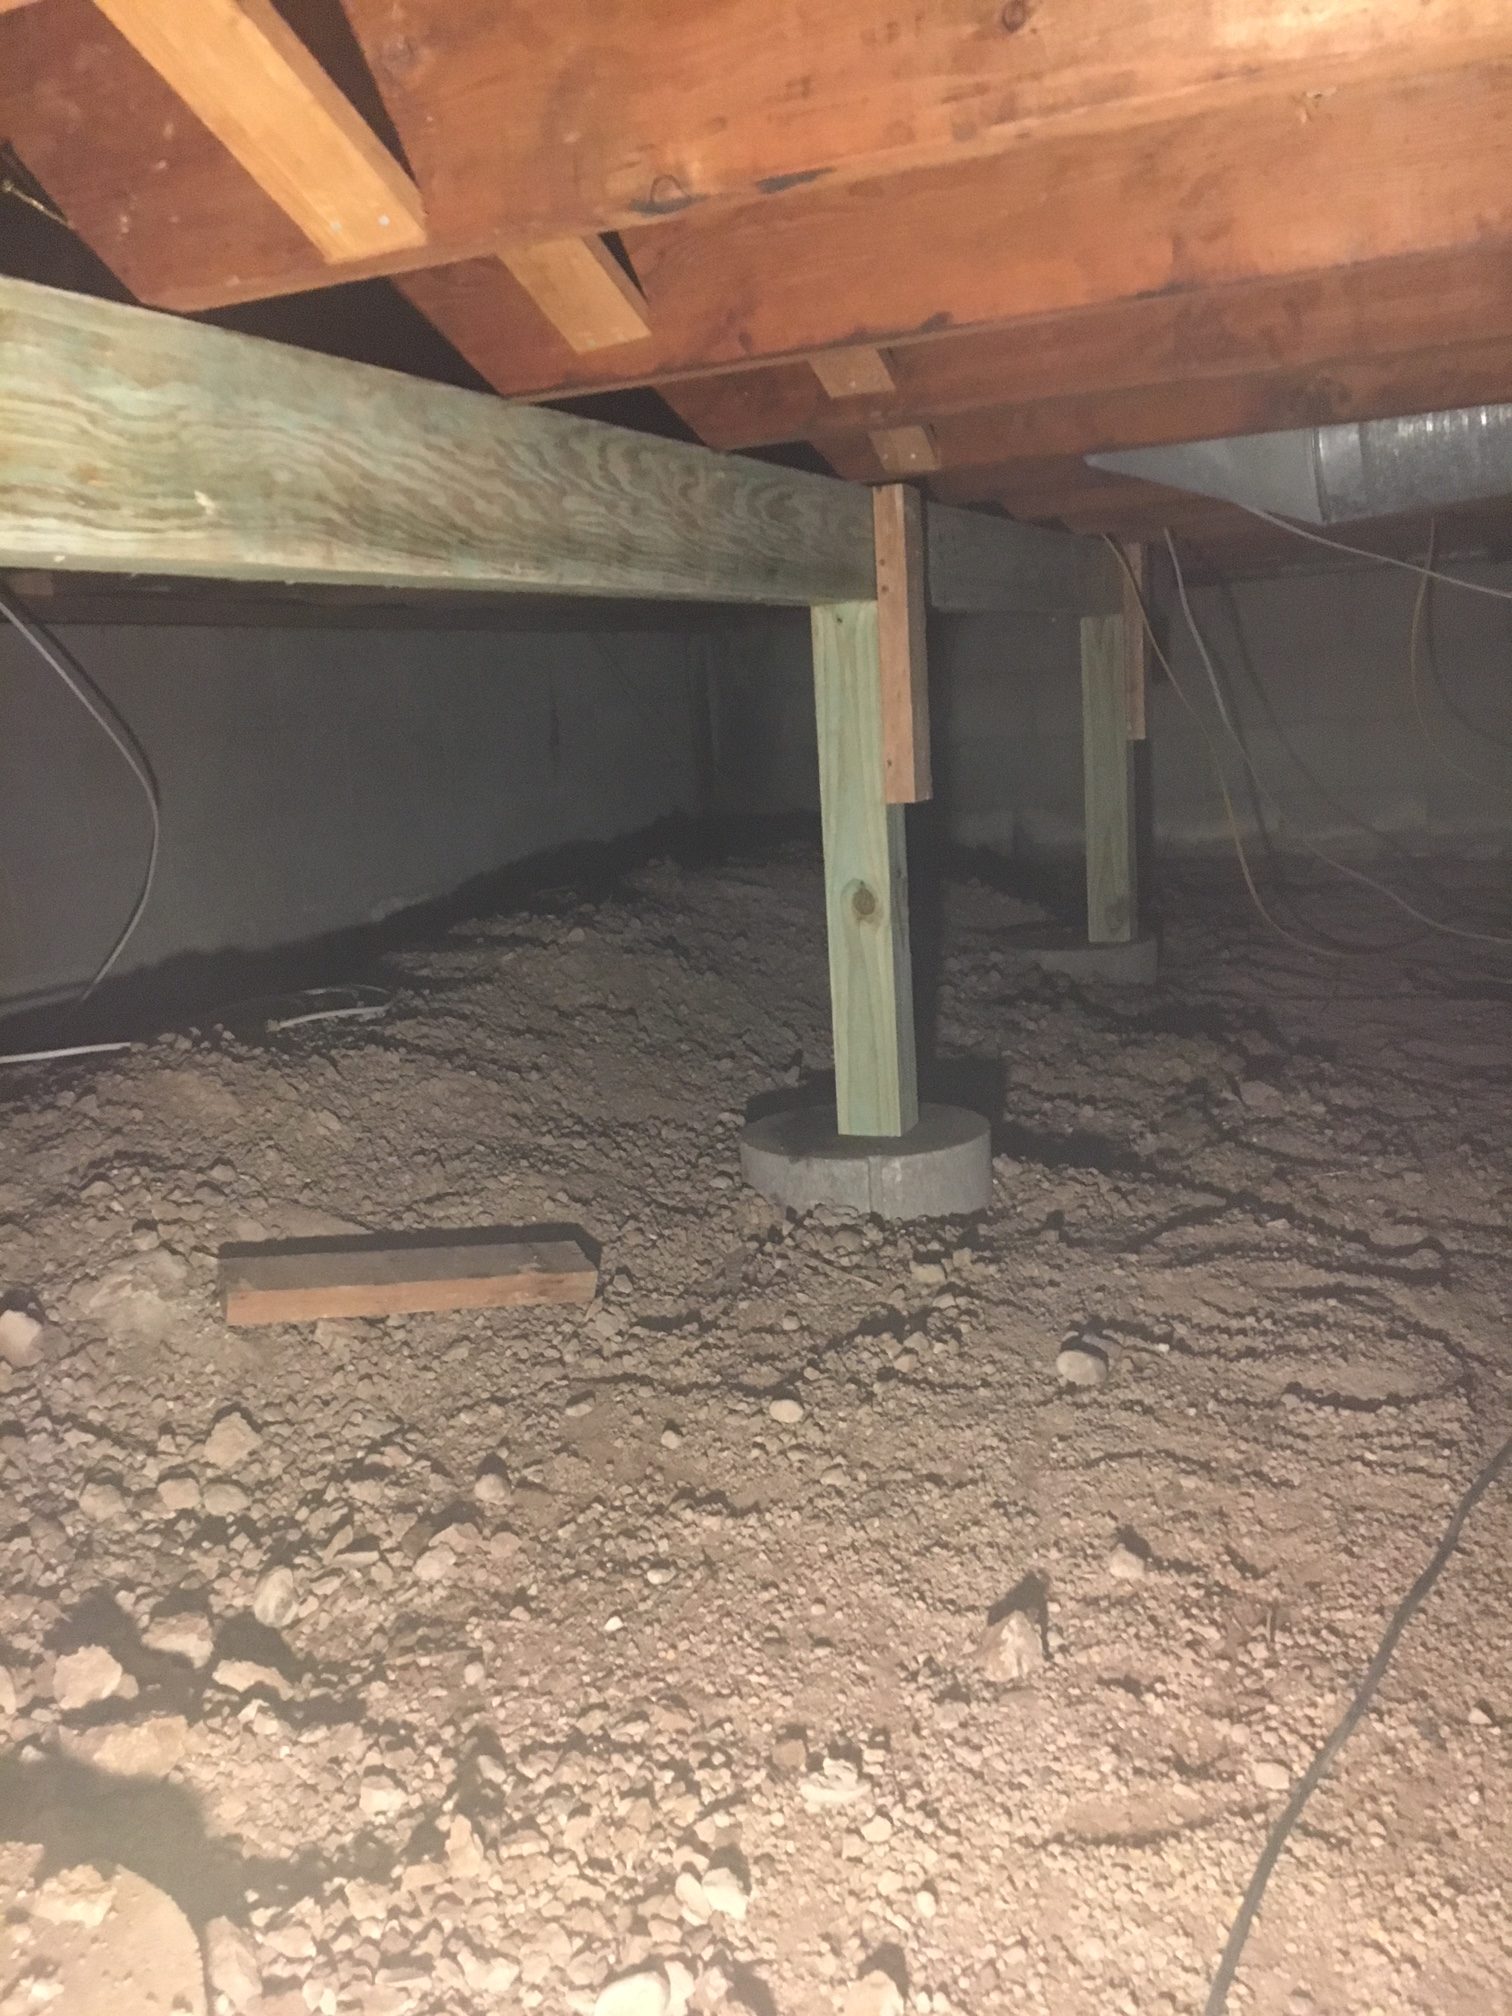
Since we were moving the kitchen we had some rough work to do in the basement crawl space below. We have a full basement downstairs but for whatever reason there is only a crawl space directly under the new kitchen space. so we were  in there a lot.

One day during demo I jumped up and down in excitement, because I do that, and my dad realized the floor was a bit more bouncy than he liked. So we went in the hole. First, Chris got in there and re-enforced the floor to see if that helped the bouncy factor.

To do this he took some boards and wedged them between the floor joist near the other supports. Although this helped it didn’t fully solve the problem. So dad recommended we add a support beam underneath. Keep in mind this area of the kitchen was going to have a huge (5’x6′) island sitting on it, so we wanted to be sure that the floor wasn’t going to wiggle around.

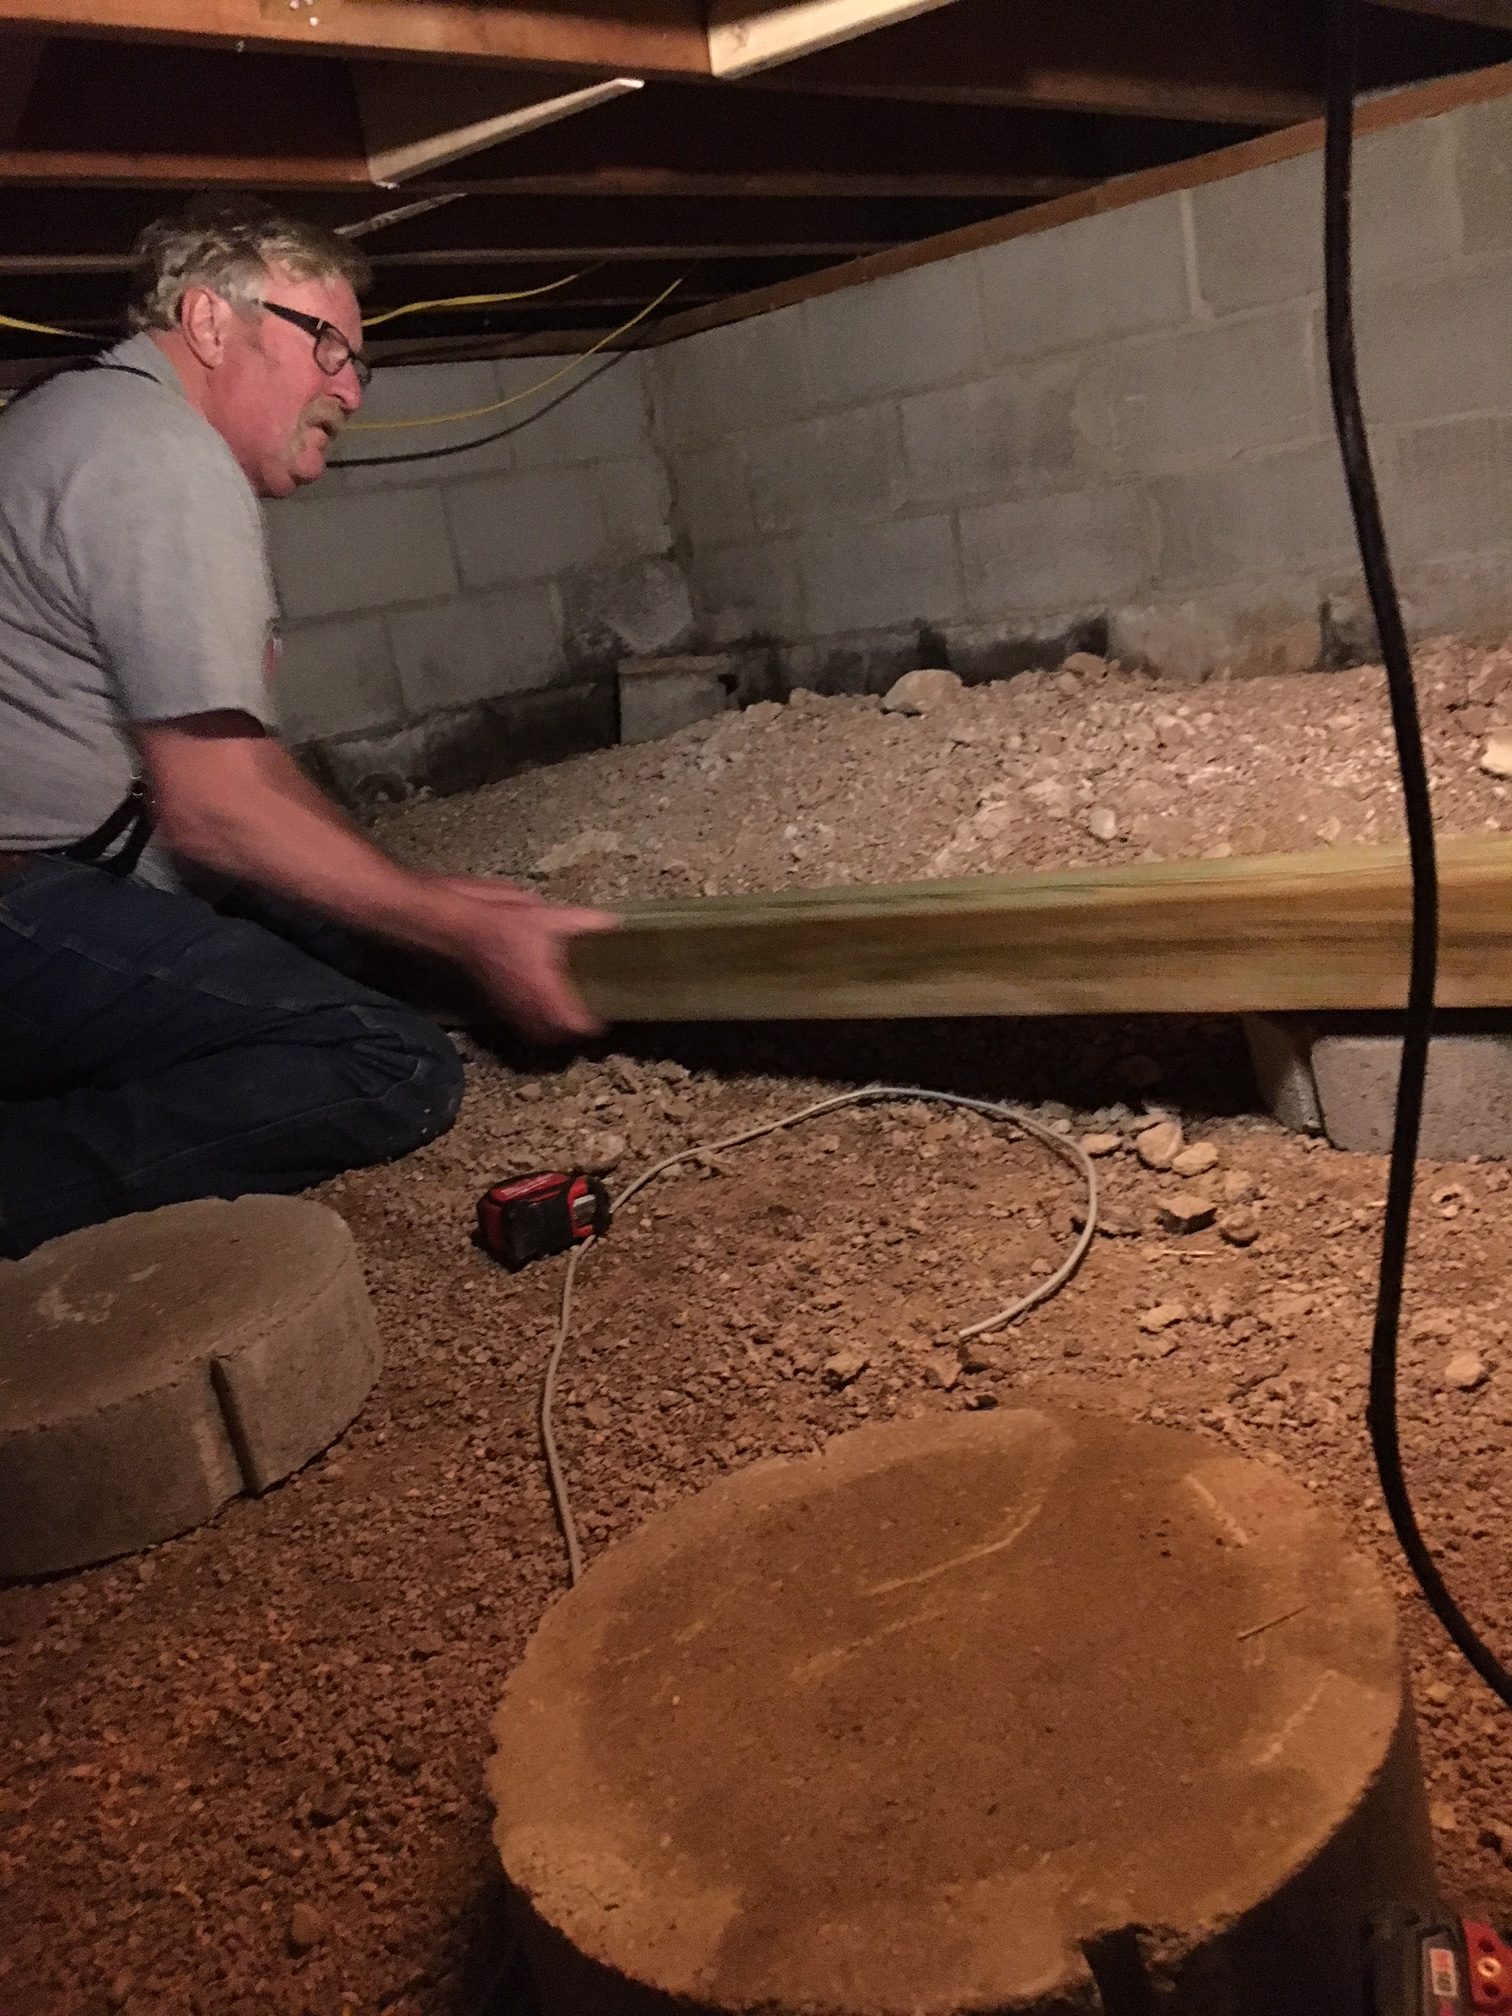
First we brought a huge beam into the hole. It was a 16 foot 8×8 beam. We lifted it up to the ceiling so it was flush with the top. We hung it up there using wire, which honestly was kinda scary I kept thinking it was going to fall but it stayed.

Then we played down 4 cement block and made sure they were level. These would be the support structure to put the incremental 4×4 beams up to support the big horizontal beam.

Then we used a jack to jack up the big beam to be a bit taller than we really wanted it, so then we could wedge a 4×4 beam in sitting on the cement block. The jack helped us to make sure we got a really tight fit with the support beams.
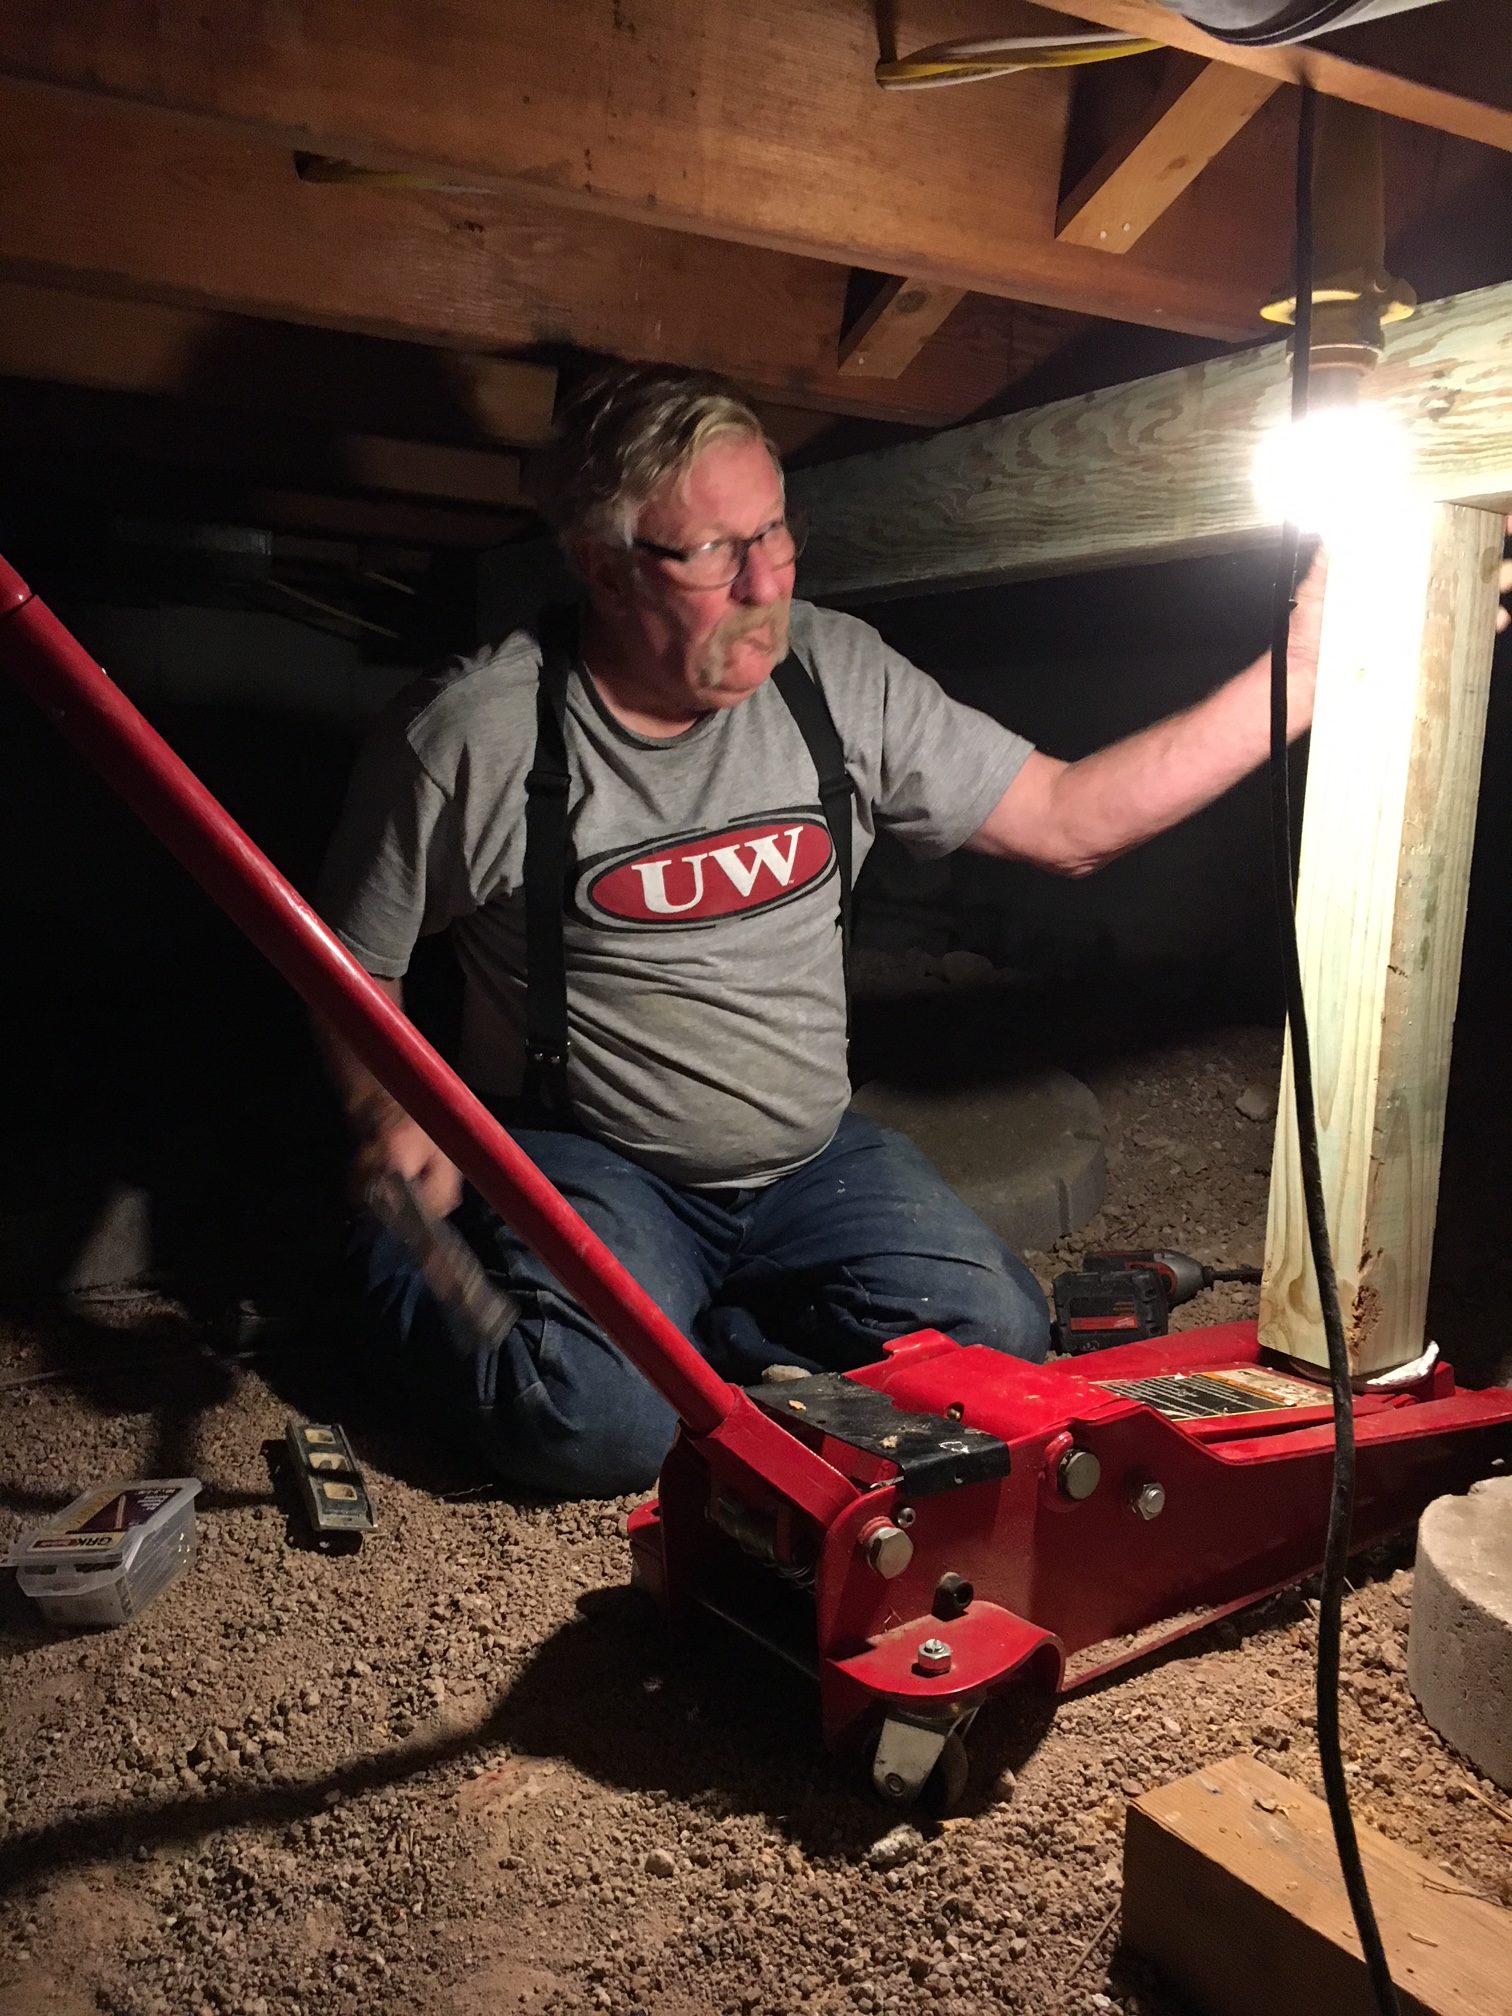
We did this 4 times evenly spaced. Once we went up stairs the floor wasn’t moving one bit! This whole project took us about 45 mins and cost about $100 to make a much better support base for the house.

Mantel Art DIY

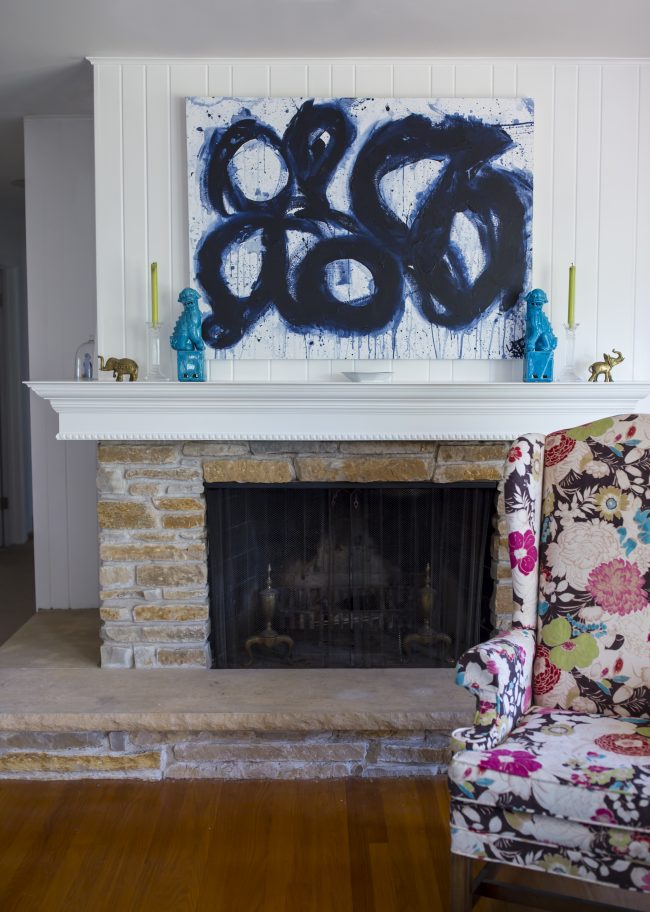
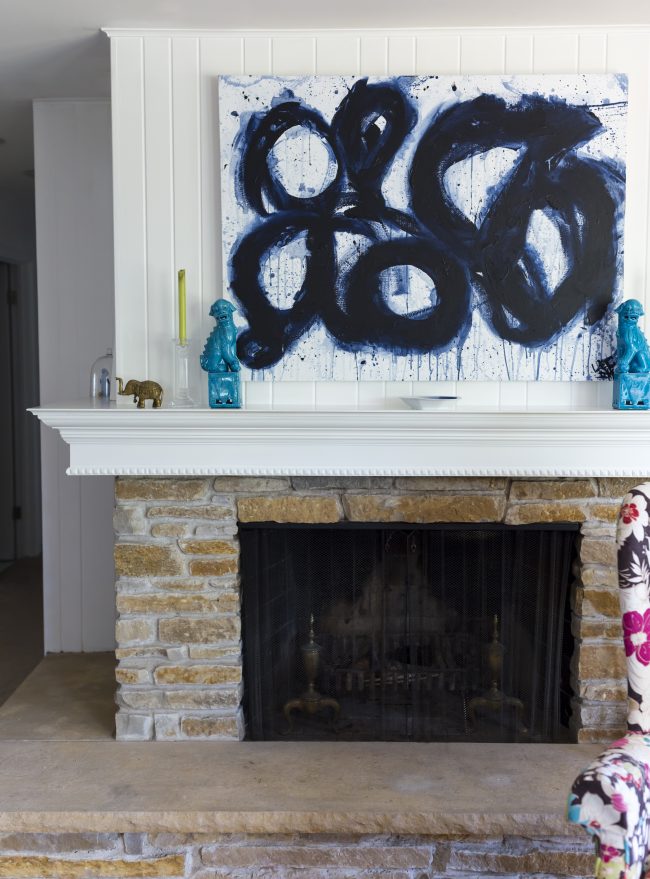
Excited to share the most recent update to our Mantel in the #littleyellowhouserefresh

TNPLH: DIY Mantel Art 2

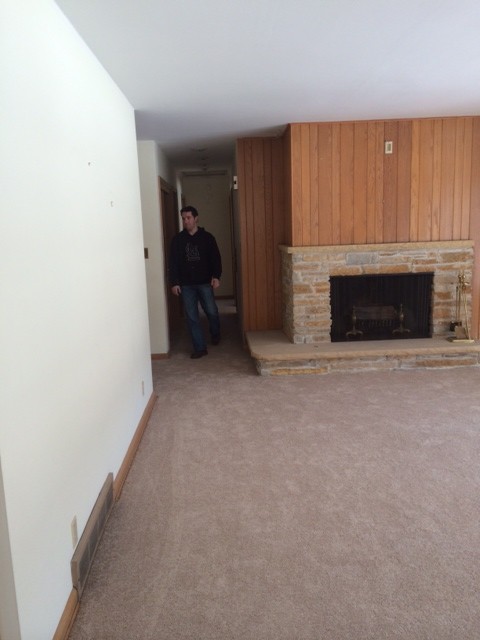
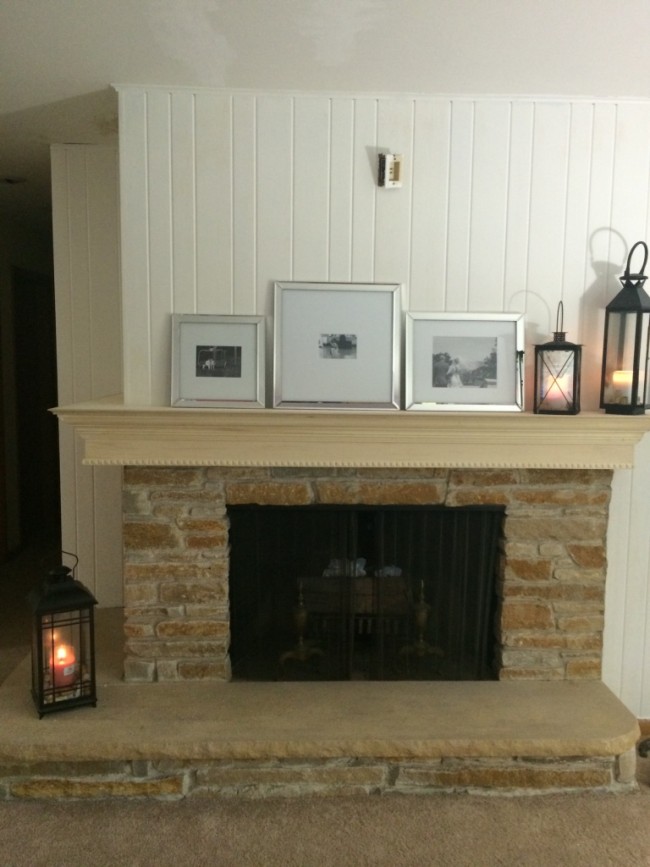
Just as a reminder. This is what it looked like when we moved in.

Little Yellow House: Firehouse Before

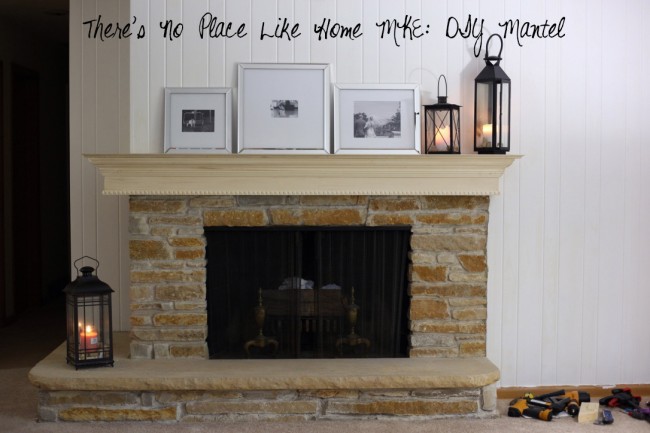
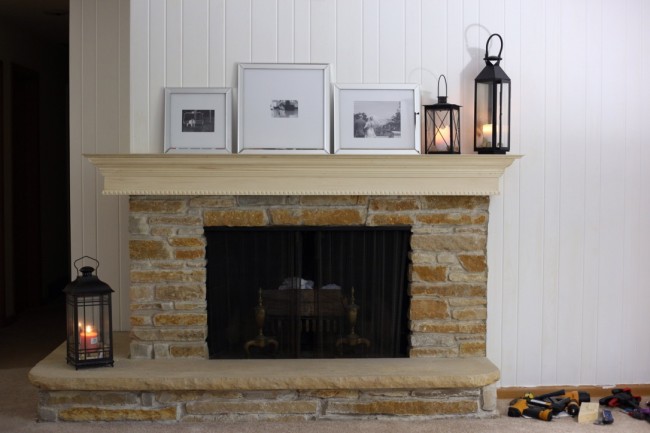
And this was when it looked like when we first re-did the mantel.

Little Yellow House: DIY Mantle Reveal 1

See the DIY Mantel Post here, and here.

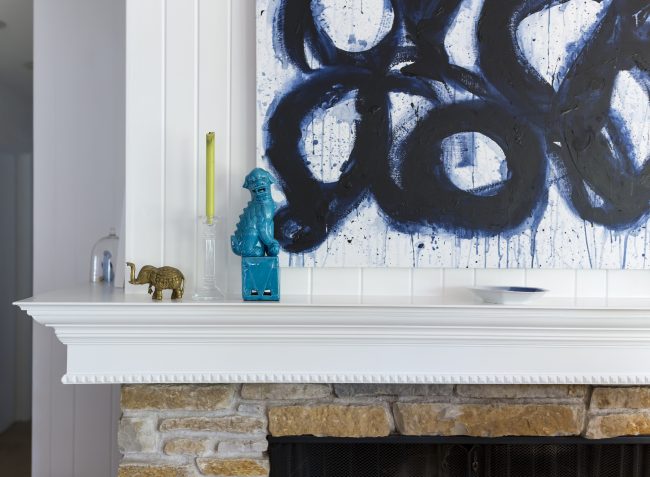
I liked the way we did the mantel at first. But there is just something about really big art that brings a level of sophistication to a room. So I got an itch to try and do a DIY piece of art. I first found the below inspiration and knew I wanted to try and re-create. It was from the HGTV Smart Home in North Carolina Last year. I love how sophisticated the large piece of art made the whole room feel.

art-inspiration

HGTV Smart Home 2016 in Raleigh, North Carolina

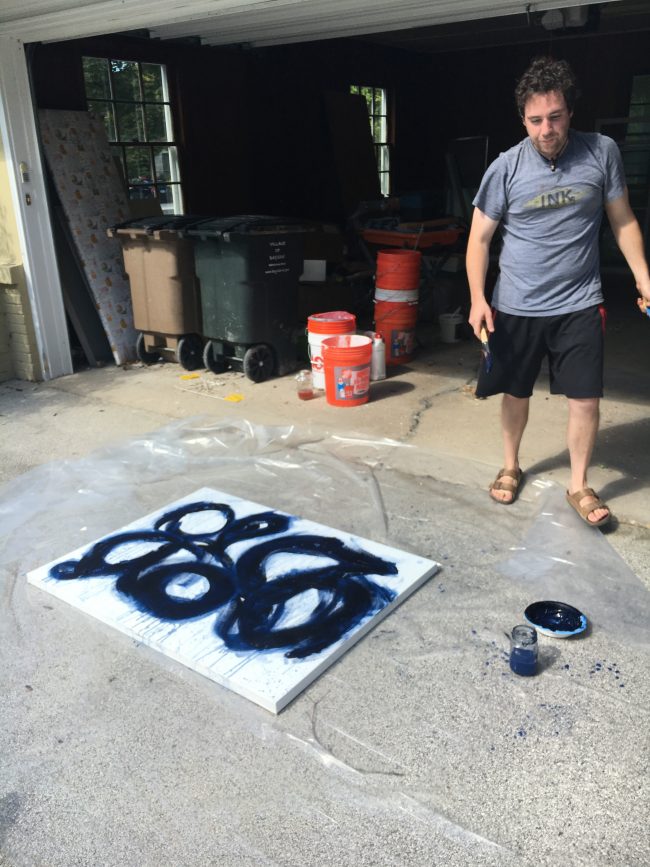
So, with the help of my husband we gave it a whirl.

TNPLH: Mantel Art DIY 1

Making the art was super fun. I pulled my husband in, he was a double major in multi-media and fine art in college. So he was a huge help in the process.

img_0336

img_0337

TNPLH: DIY Mantel Art 4

I love the crisp blue tones with the white and the pop of green. Can’t wait to decorate the mantel for Christmas!!!

Furniture Rescue: Oak Cerused

So a while back I fell in love with this oak coursed secretary that Little Green Notebook Did….

Little Green Notebook Oak Cerused Secretary

Check out the tutorial Here. It’s amazing stuff.

TNPLH: Cerused Coffee Table 1

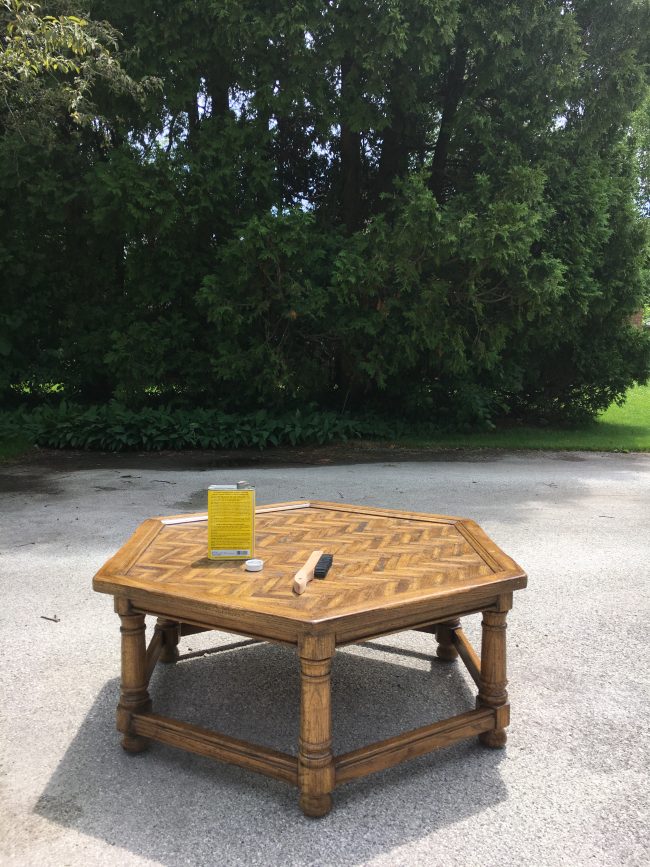
So when I found this fun coffee table, for $40 on craigslist I thought it might look really cool with the same treatment. And it was only $40 so if it got messed up no biggie.

TNPLH: Furniture Rescue Cerused Coffee Table 2

First caveat is that on Little Green Notebook, she explains that it HAS to be oak. Now I had no clue if this table was oak or not, but I knew that just from the look of it, the piece had VERY pronounced wood grain. So I figured it should work, directionally correct.

TNPLH: Furniture Rescue Cerused Coffee Table 3

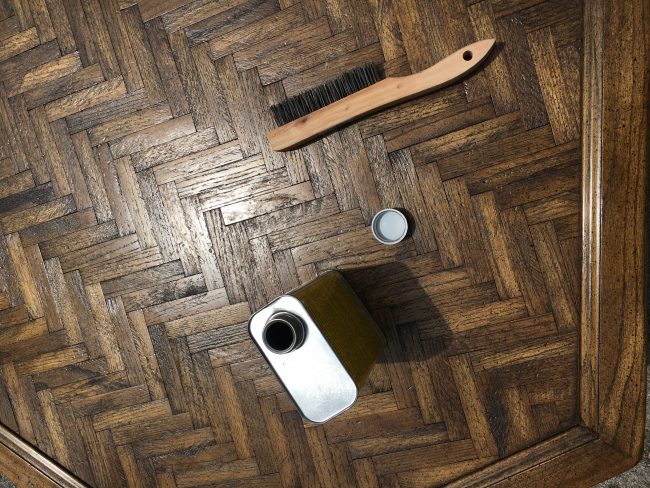
So the hardest part was the stripping of the wood. It took FOREVER! And it was a TOTAL MESS! I have done a lot of furniture in the past, however I usually paint (not stain), so I usually don’t have to do a perfect job stripping down to the bare bones. But in this case you have to put in the dirty work and get it all the way down to the wood.

Also – when I asked for the metal wire brush to stripe the wood, the hardware store looked at me like I didn’t know what I was doing. But the thing is you want to use this (not sand down) because you really are trying to get the deep divots of the wood grain to become more pronounced. So it will feel like you are being rough with the furniture, that is ok!

TNPLH: Furniture Rescue Oak Cerused 4

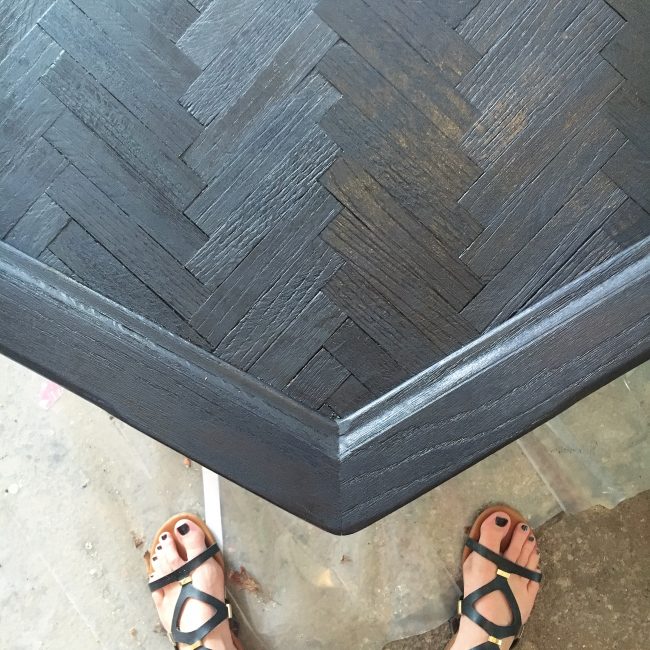
The navy looked so cool I almost wanted to leave it like it was. I layered up 3 layers of the Shellac and then I waxed my heart away…you can also kinda see above that the wood grain was already pronounced…..

TNPLH: Cerused Coffee Table

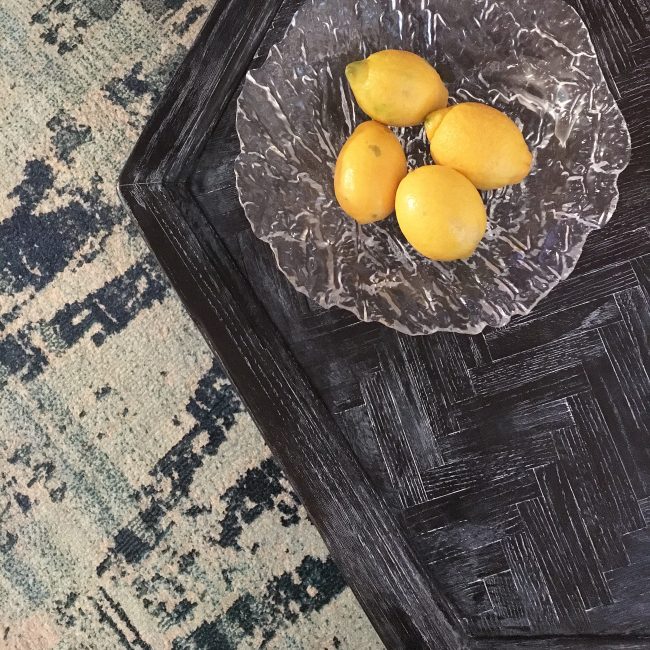
Boom! I love the way it turned out. What a great inspiration Little Green Notebook was! I love it! Not bad for $40, $20ish in supplies, and some good hard elbow grease! Love!

Fireplace Reveal

So we have almost been in the house for a year and I have shared a couple things in their finished state, which is always hard because you never feel like it is finished! But today I am happy to share our before and after of our mantle.

Little Yellow House: Firehouse Before

Here is our before picture of the living room and mantle. You can see the little mantle was so little that you couldn’t put anything on it. We had to change that immediately. So it took some time but we built out a mantle that was more suitable for decorating!

TNPLH: DIY Mantle 6

You can see all the steps on when we built this here.

thumb_IMG_1267_1024

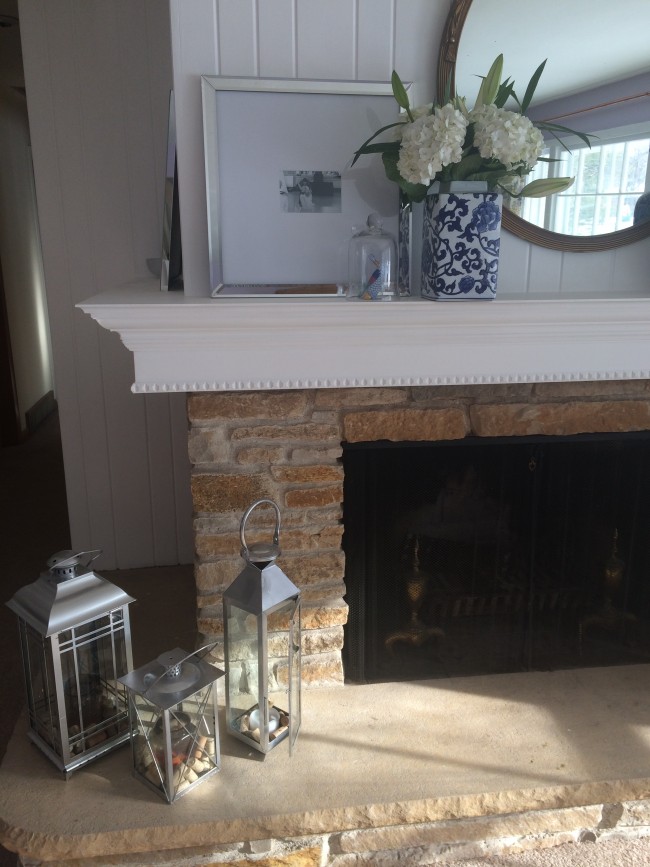
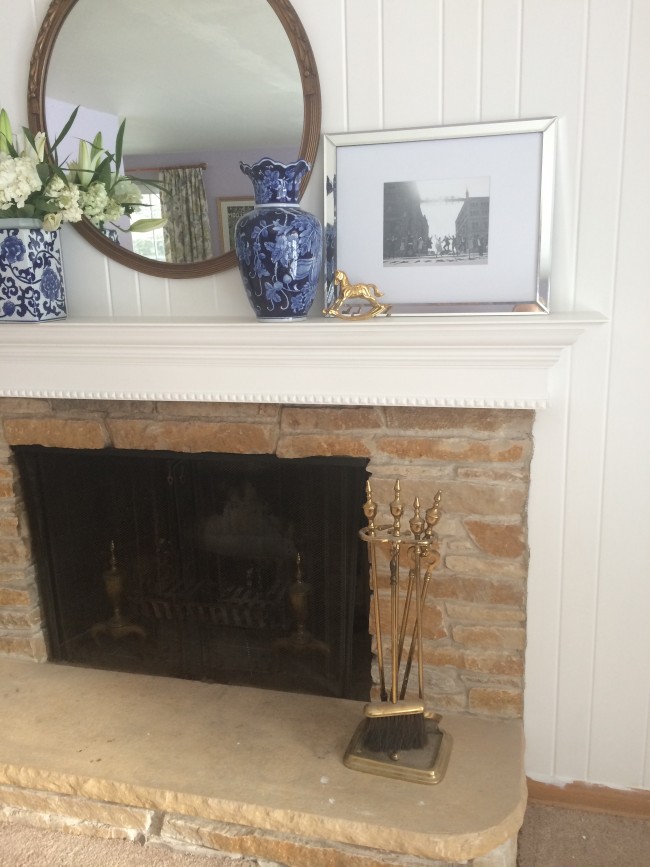
So since the last post we have done a couple more updates and I am feeling really happy with how it is looking.

Little Yellow House: DIY Mantle Reveal 1

Little Yellow House: DIY Mantle Reveal 2

Little Yellow House: DIY Mantle Reveal 3

Little Yellow House: DIY Mantle Reveal 4

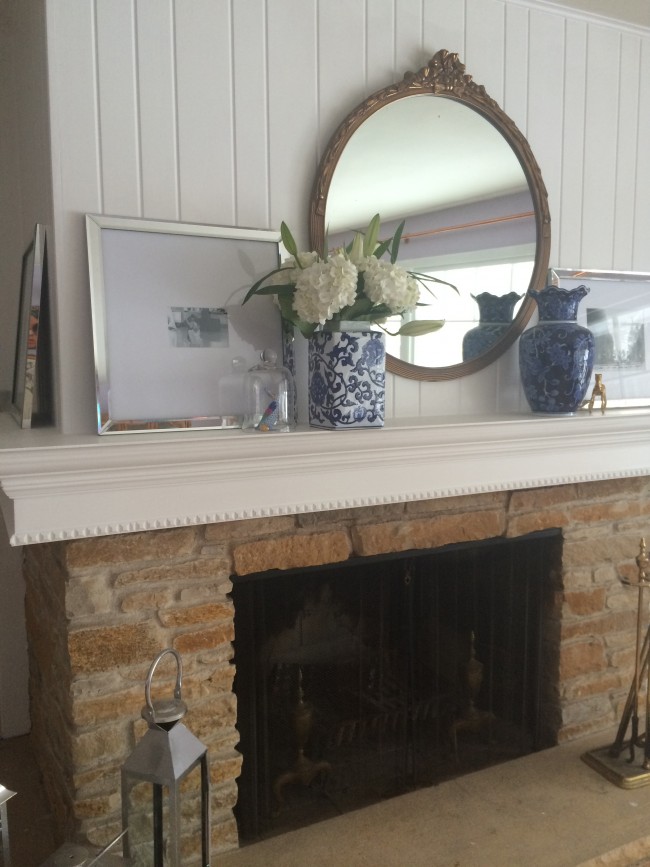
There is it – hope you like it. I am having a lot of fun trading out how I decorate it. I feel like every couple of weeks I switch up what is on there, which has been really fun. I haven’t fully landed on the mirror over, but it does look really pretty! The alternative would be some sort of abstract art, which would also be fun. But for now we will use this vintage mirror, it was my grandmother’s. What do you think?

DIY: Mantel Progress

We are making progress on the living room and I am super pumped to share with you how we created this amazing mantel.

 TNPLH DIY Mantel

So I love that the new house has a fireplace, but it definitely needed some love when we first moved in.

photo(3)

Wood paneling, no mantle, and I hate the stone. So I have been tackling this space for a bit with my husband. First I sanded down the paneling and primed it white. Then we started tackling the mantel. There was already this little stone piece at the top, but you couldn’t fit anything on it. So we just started adding layers to that piece.

TNPLH: DIY Mantel Project

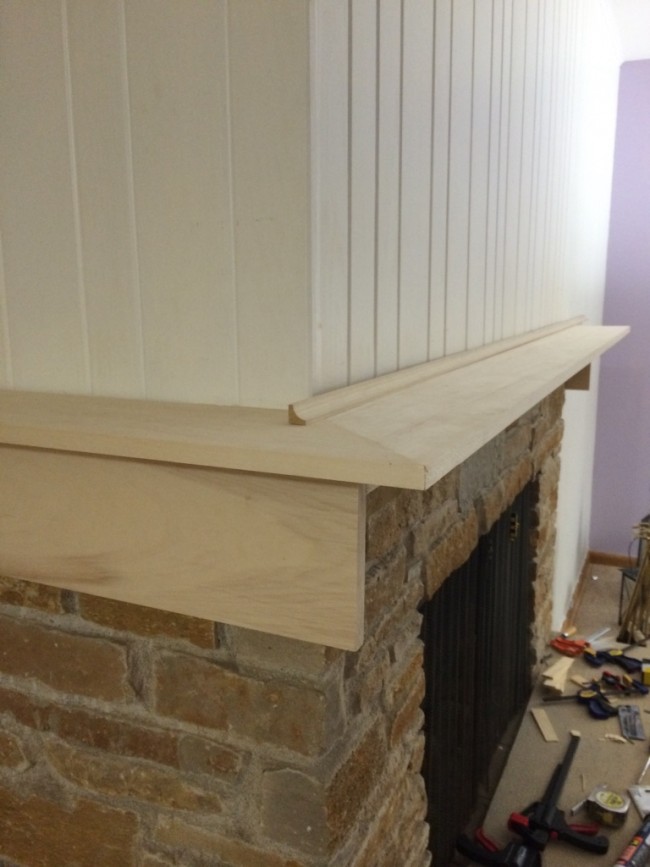
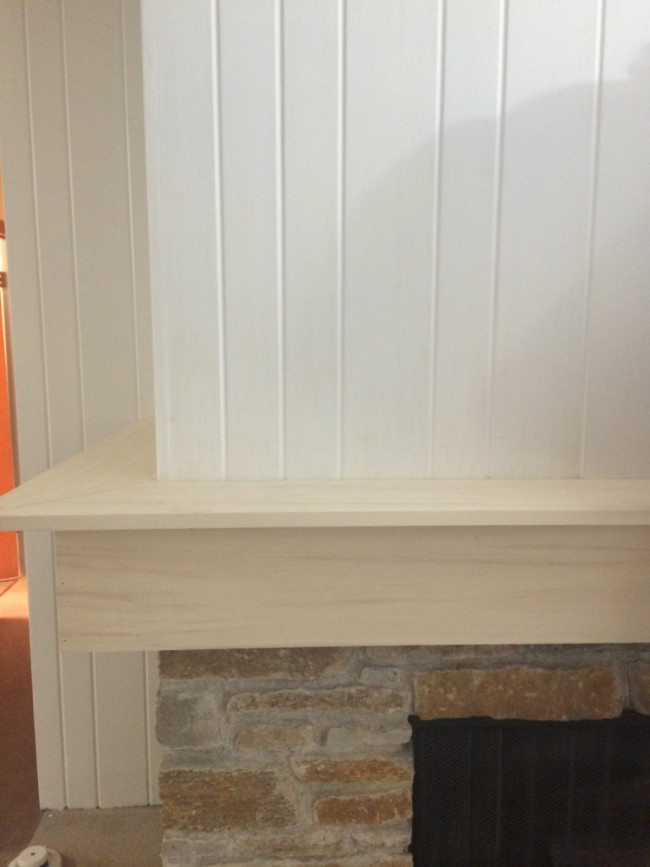
As you can see here we first added a 2×4 to the top of the stone with construction adhesive. Then we added the top and the skirt to the 2×4 to start and box out the mantle.

TNPLH: DIY Mantel 2

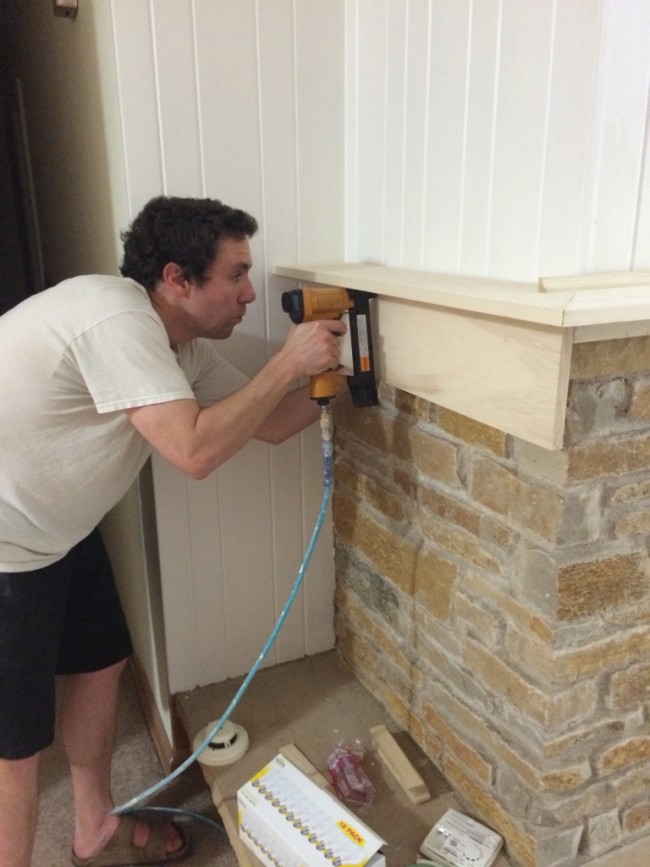
My husband used a combination of construction adhesive (glue) to first put in place and then would use a nail gun to secure it to the first 2×4 piece.TNPLH: DIY Mantel 3

TNPLH: DIY Mantel 4

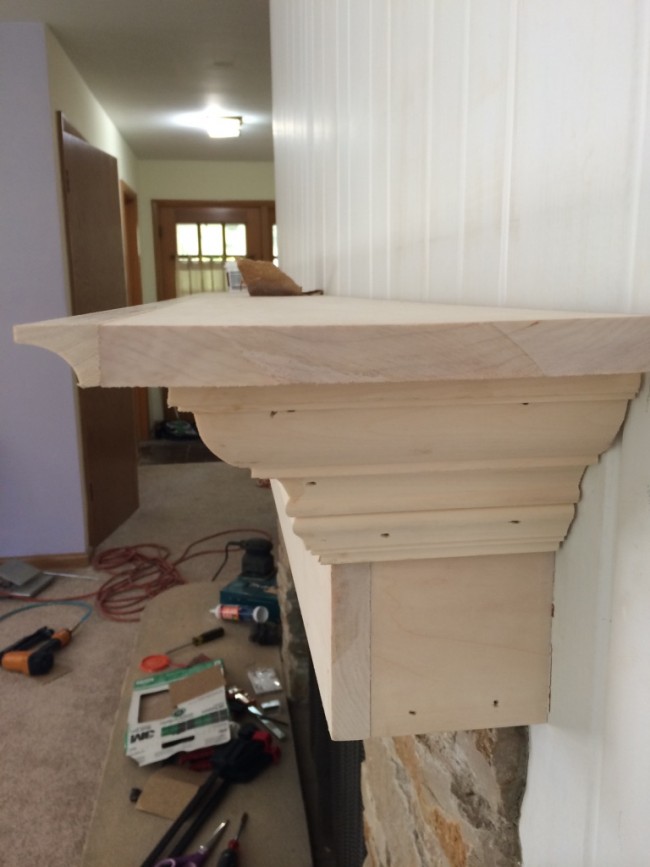
After we had the base of the mantel boxed out we were ready to start making it a bit more pretty with some crown molding.

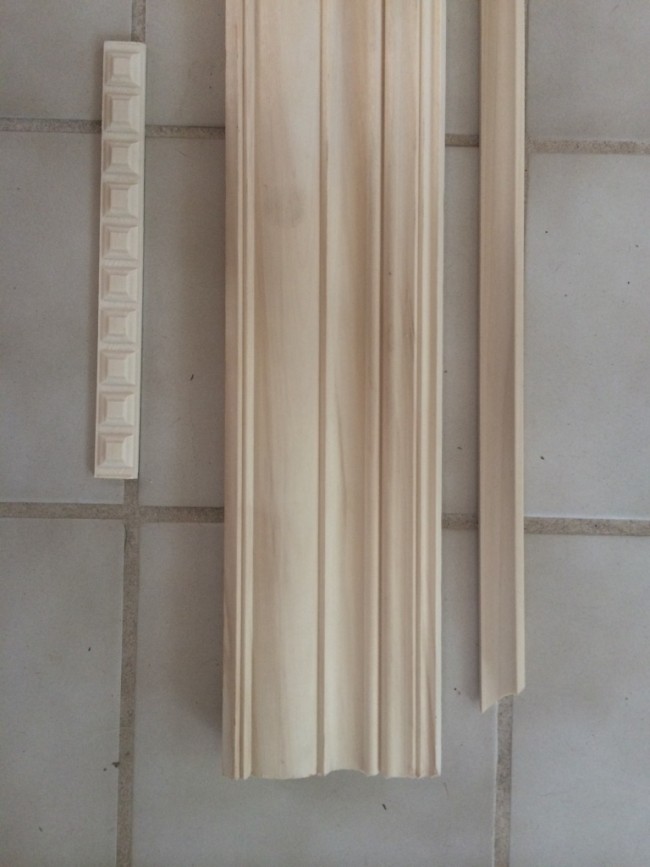
TNPLH: Crown Molding

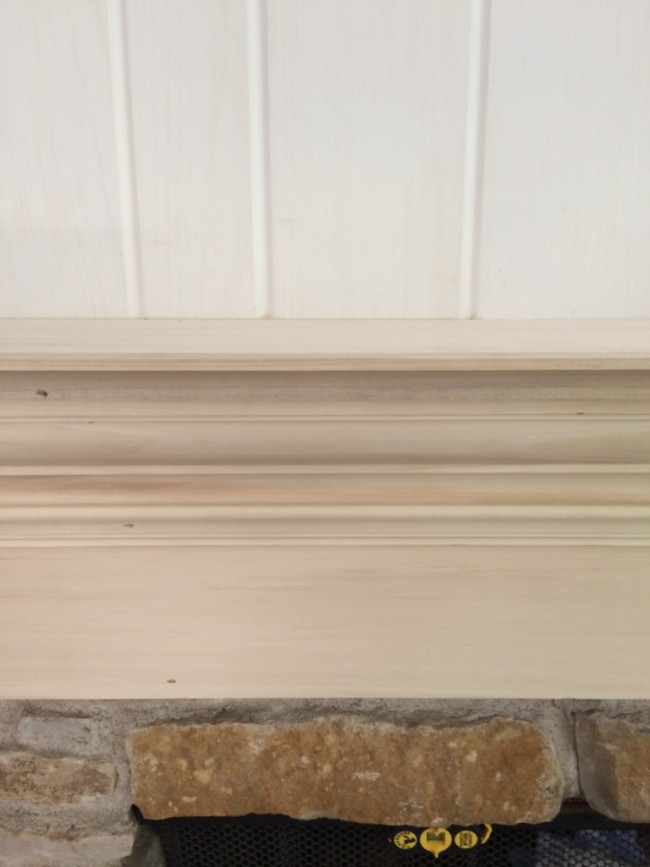
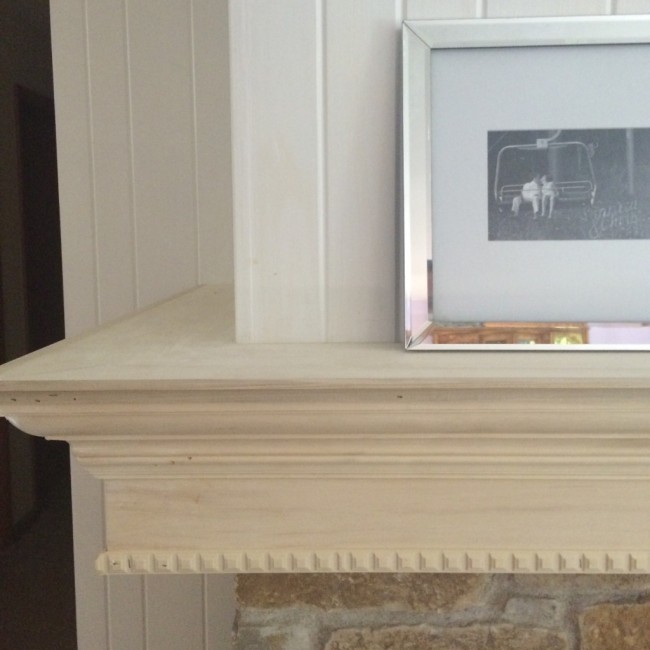
We used three different pieces of molding to finish off the mantel. A nice thick piece (4.5 inches wide), a small topper piece to place on top of that (attached to the edge of the topper), and a decorative square piece for the bottom of the skirt.

TNPLH: DIY Mantle 6

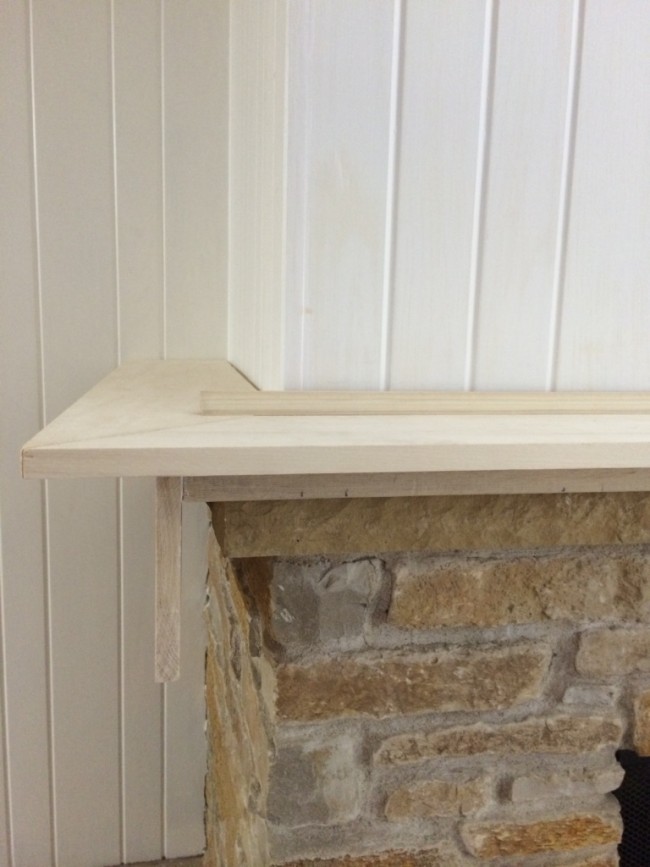
This side view you can see how we began layering on the decorative prices.

TNPLH: DIY Mantel 7

TNPLH: DIY Mantle 8

As you can see we still need to fill in all the nail holes and then paint, but it is certainly looking a lot better around here!

TNPLH: DIY Mantel 9

Stay tuned in the coming week to see how paint finishes it off!

DIY: Painted Frame

Sorry I have been MIA I started a new job at work and I have yet to get in a swing of things.

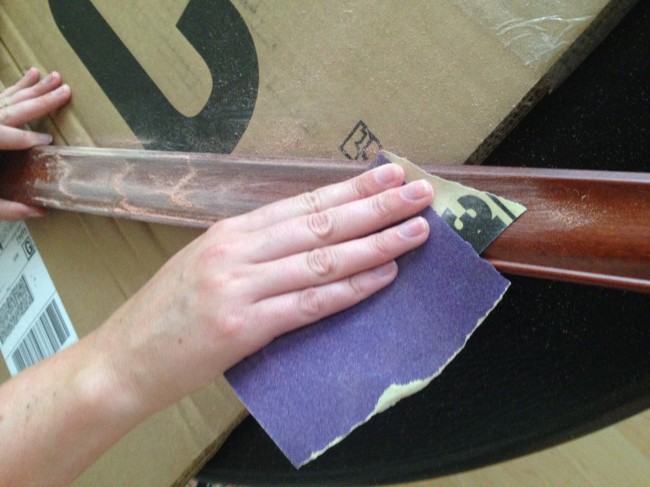
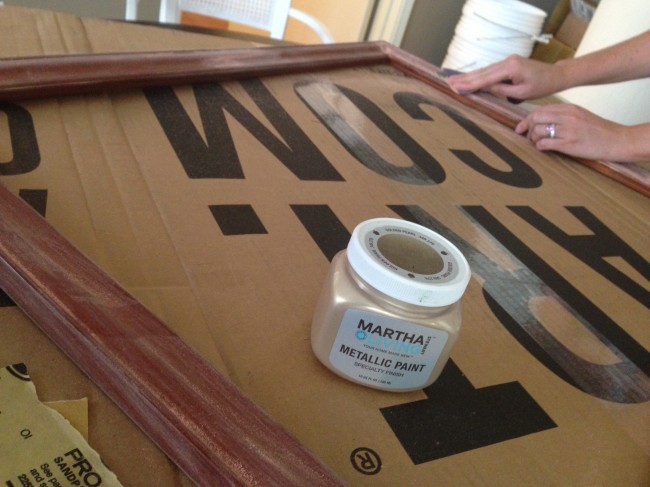
So latley my mind has been on a couple projects around the condo. First a gallery wall which is almost done, and I can’t wait to show it to you! Here is a sneak peak at re-finishing a frame. A long time ago I bought a couple of over sized frames at Michael’s. I only needed 2 but there were 3 there and since they were so cheap ($10 each) I bought all of them and figured I would use them. I didn’t like the brown color so each of them I painted gold. Sunday I pulled this one out of the closet and first sanded it down.

refinishing old frame 1

refinishing old frame 2

I used Martha Steward metallic Paint. I have to say I love this stuff. It is the third project I have used it for. So nice! Gives such a great finish.

TNPLH: DIY Painted Frame

This print has a special place in my heart because we got it on our honeymoon at this cute little winery in Healdsburg.

Once we get all the art hung I will show the finished project! It is looking so great!