Little Yellow House Refresh: Cabinets

First, I am letting you know I am skipping ahead a bit from the last post. Since the floor re-enforincg day we have done the following (which isn’t fun to see in pictures hence me skipping ahead). Rough in: plumbing, electrical, installation work, drywall, plaster, installing wood floors where new kitchen is. That all took several weeks 🙂

To remember where we started check out the initial demo day post here.

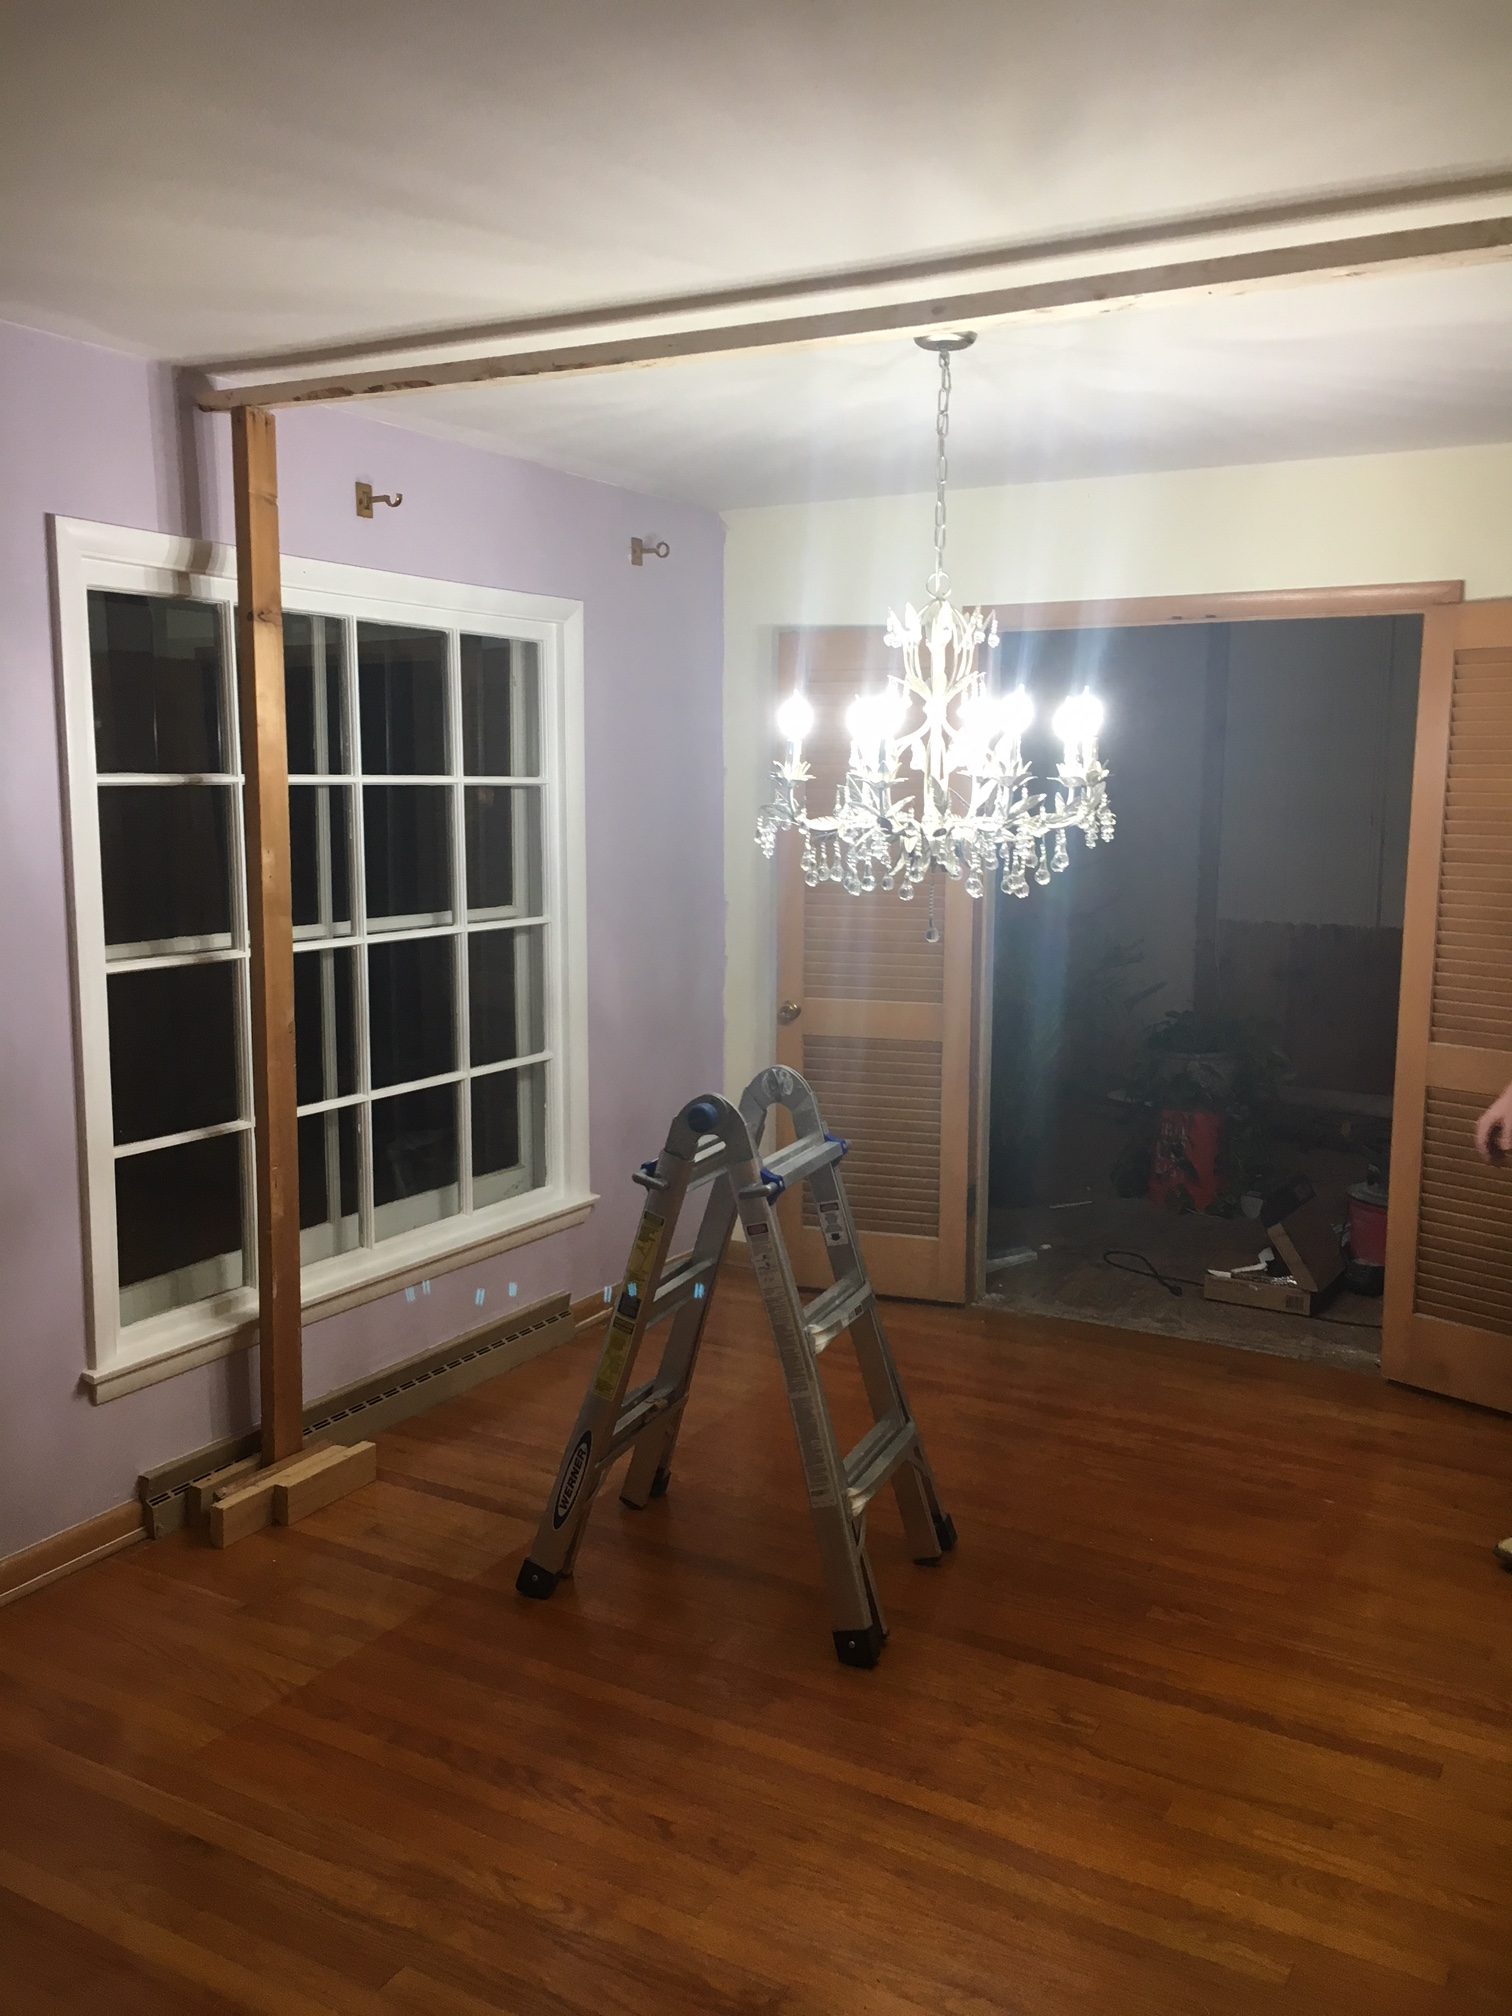
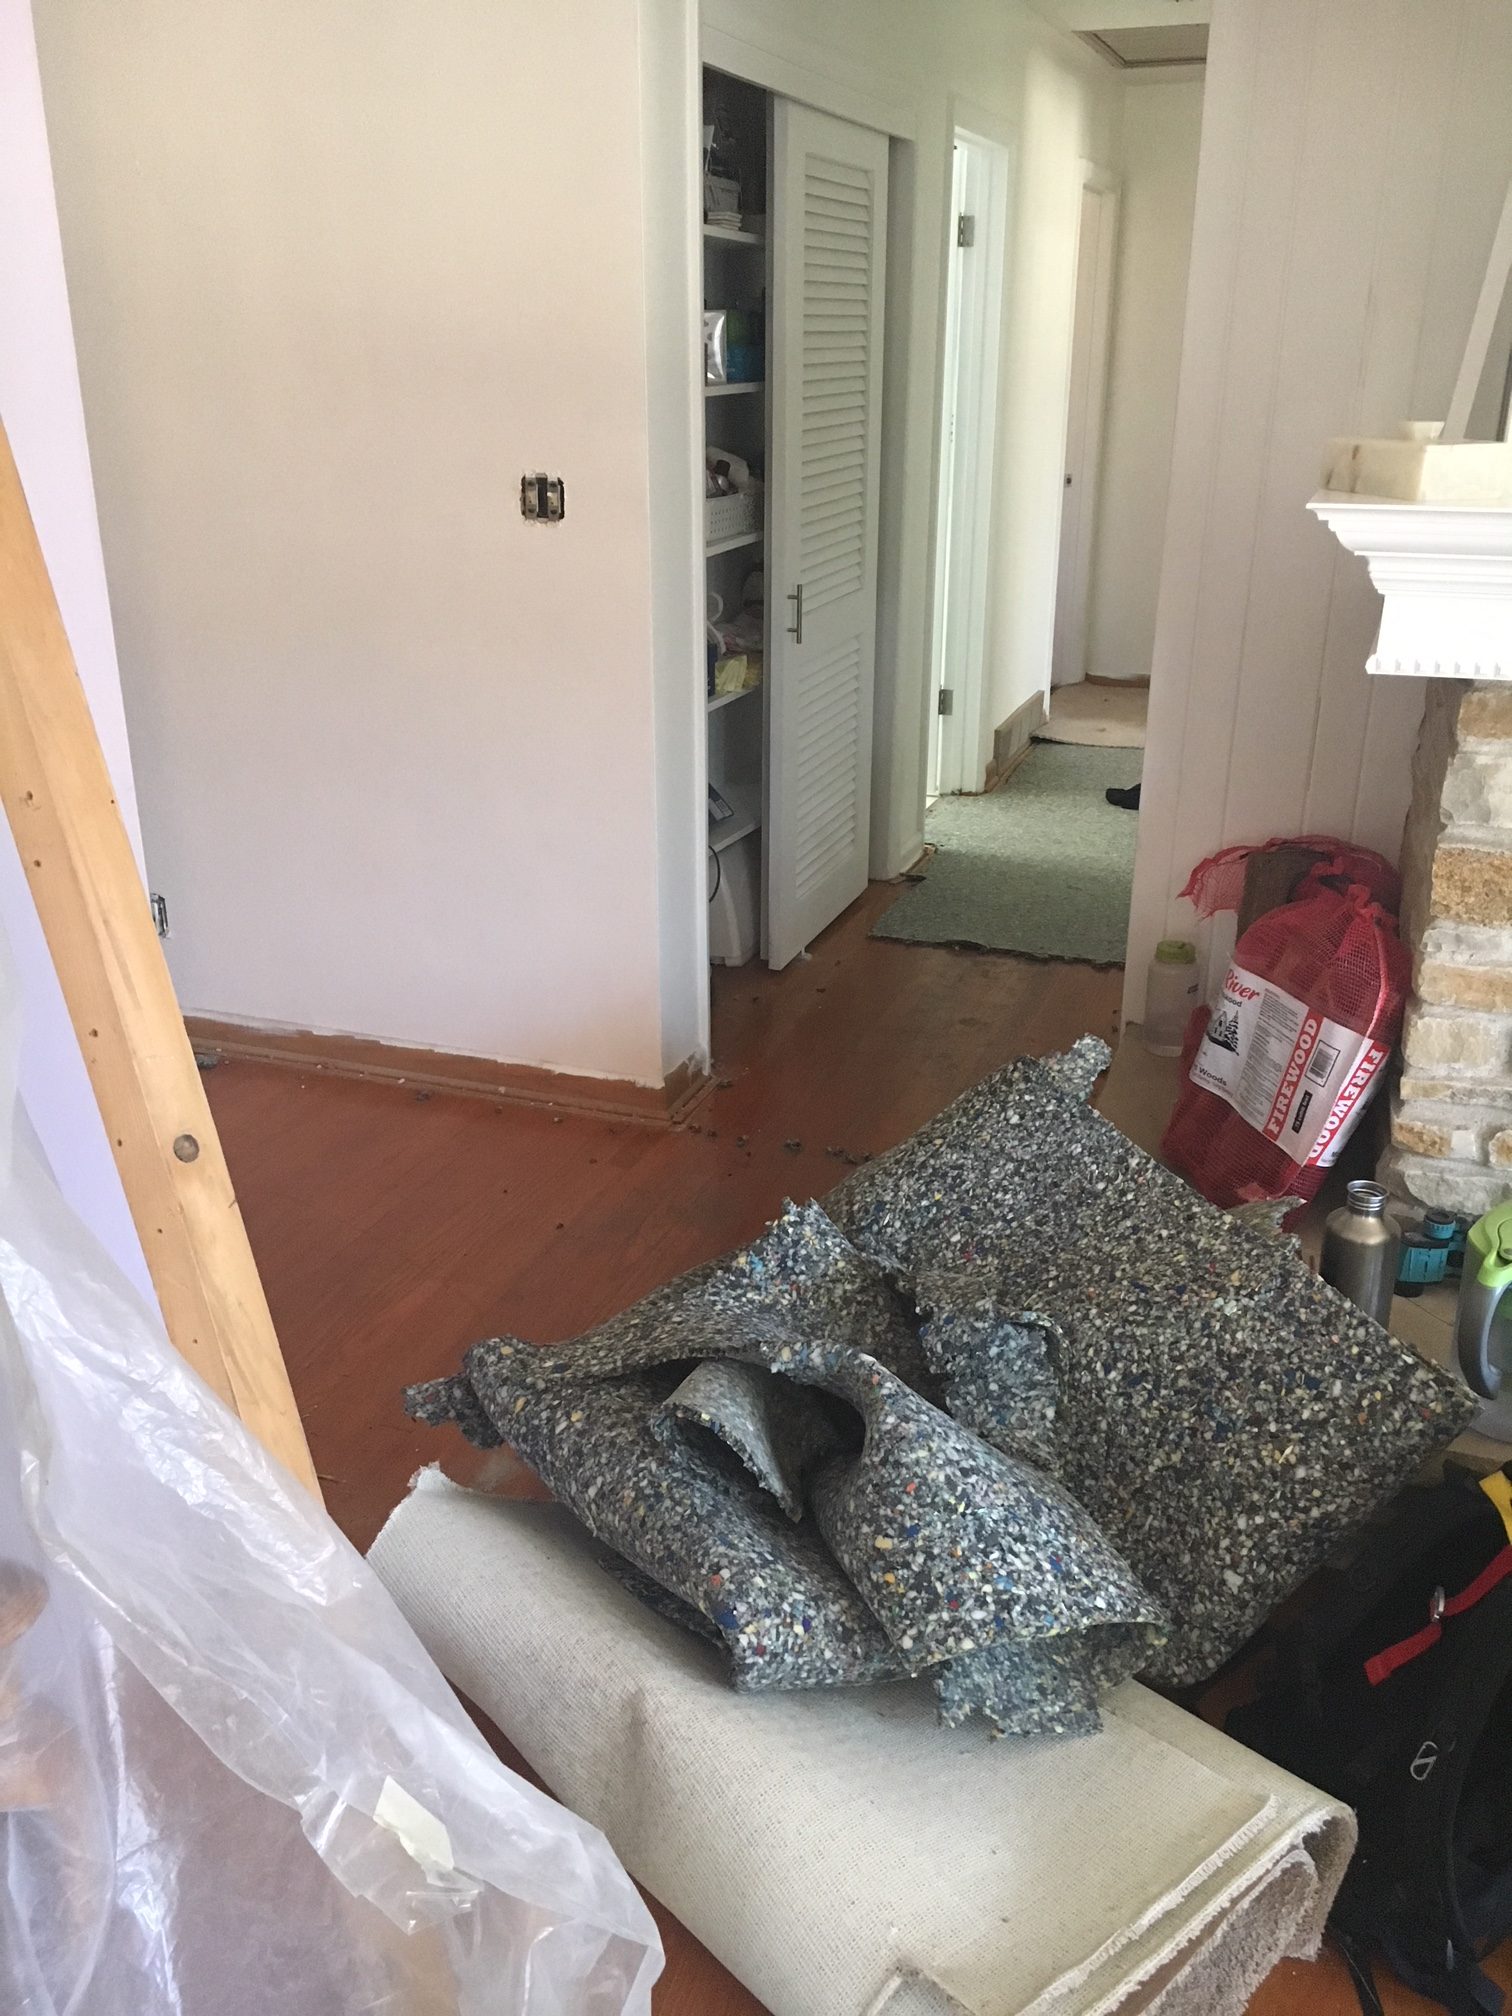
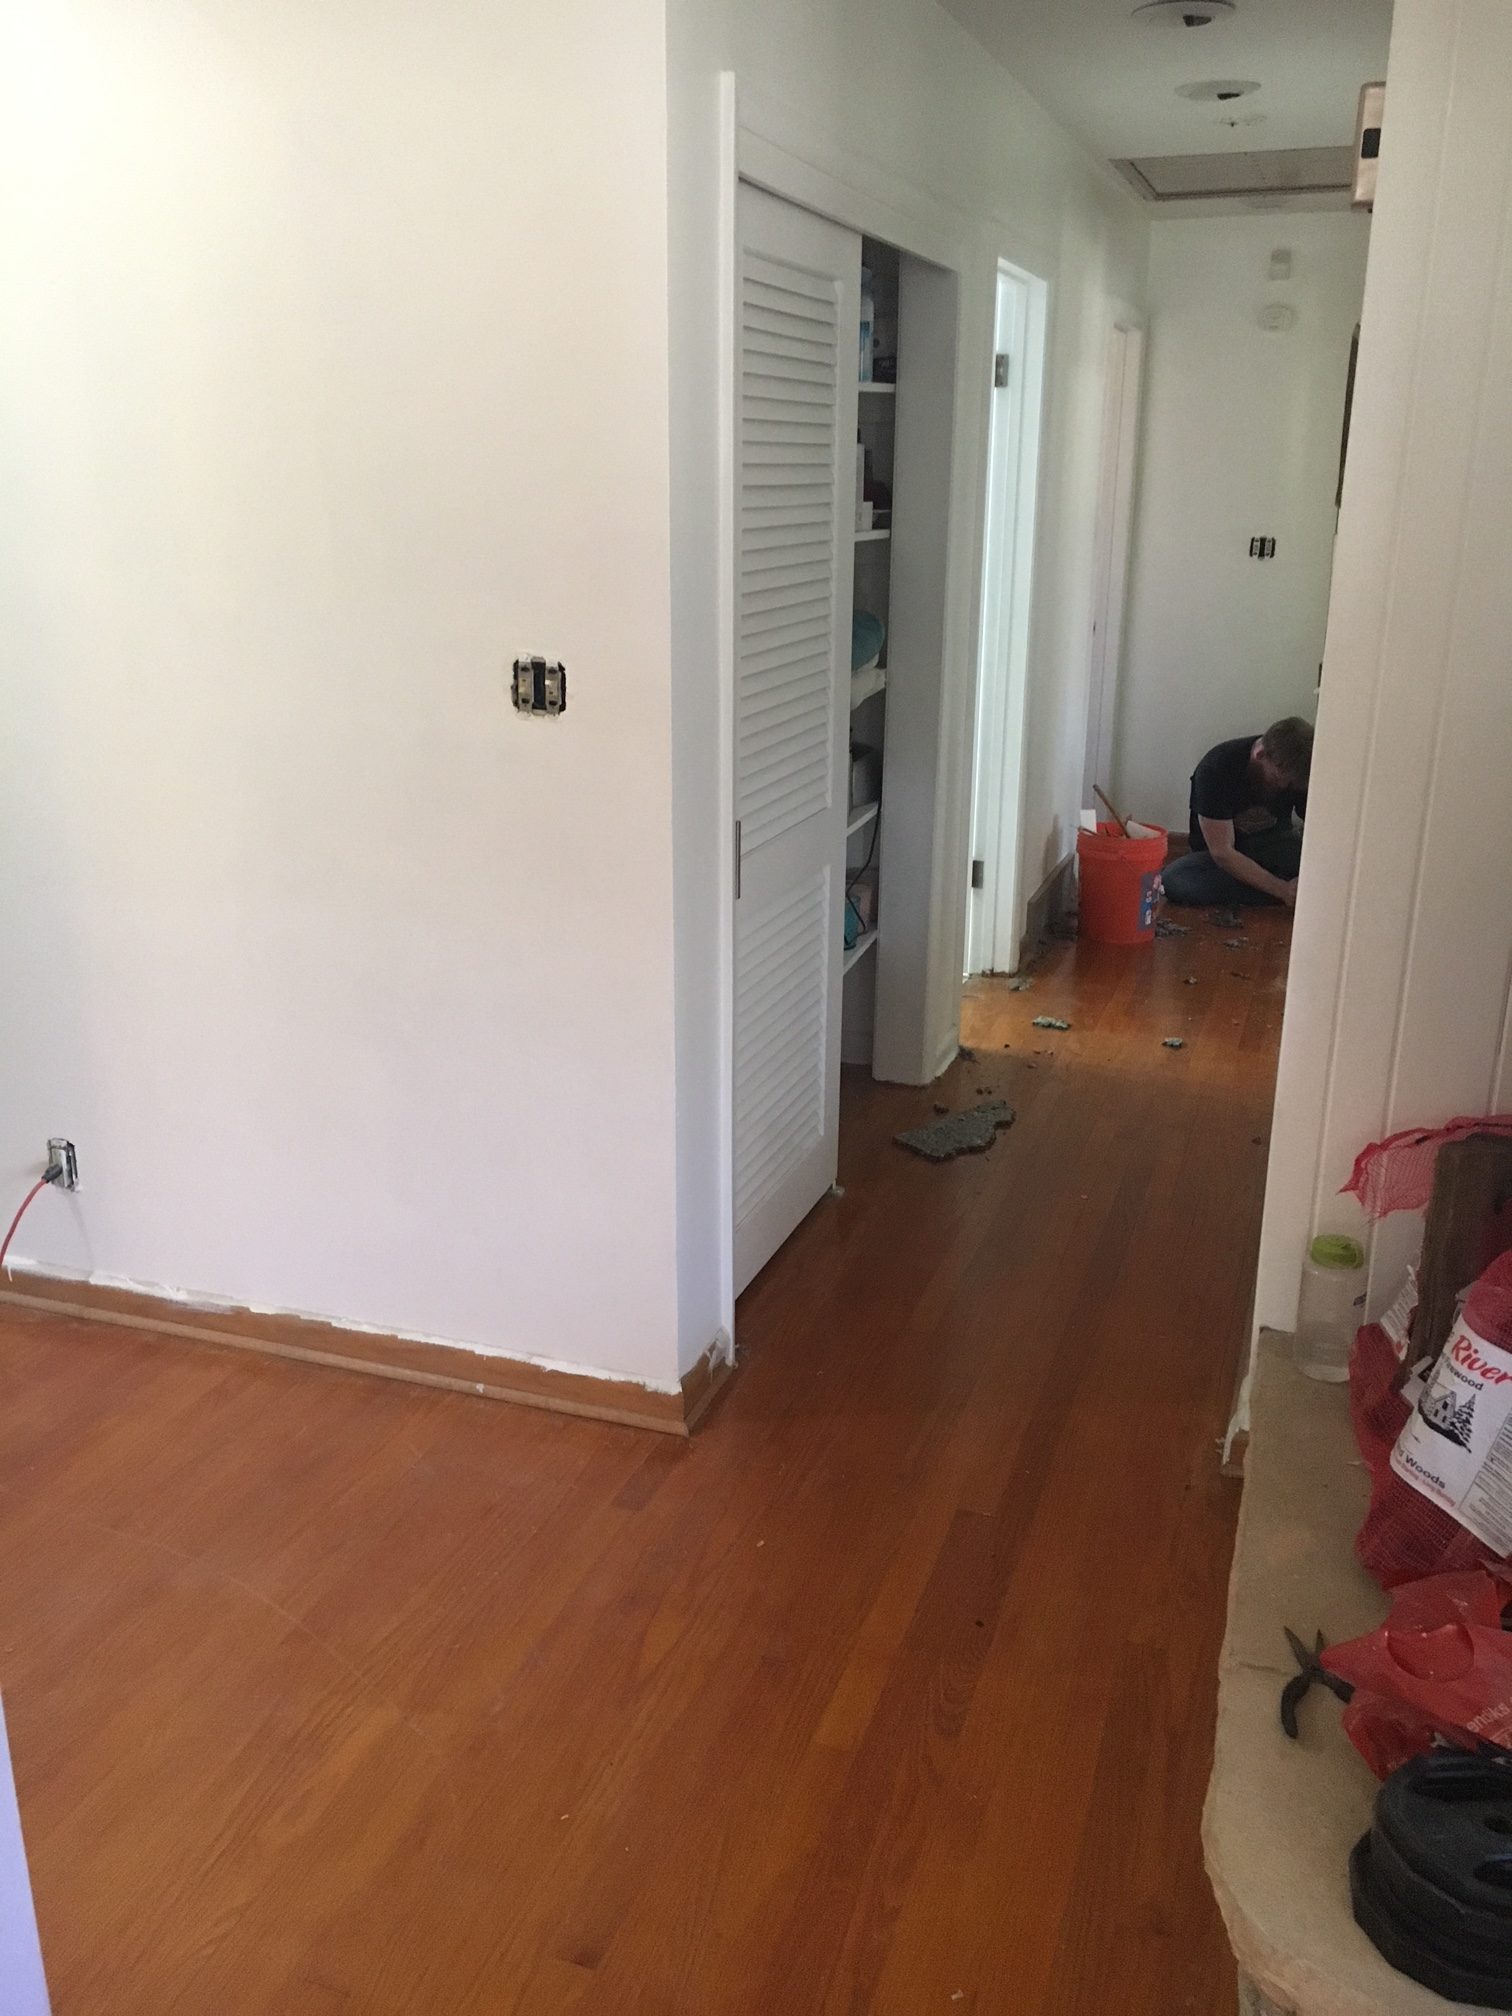
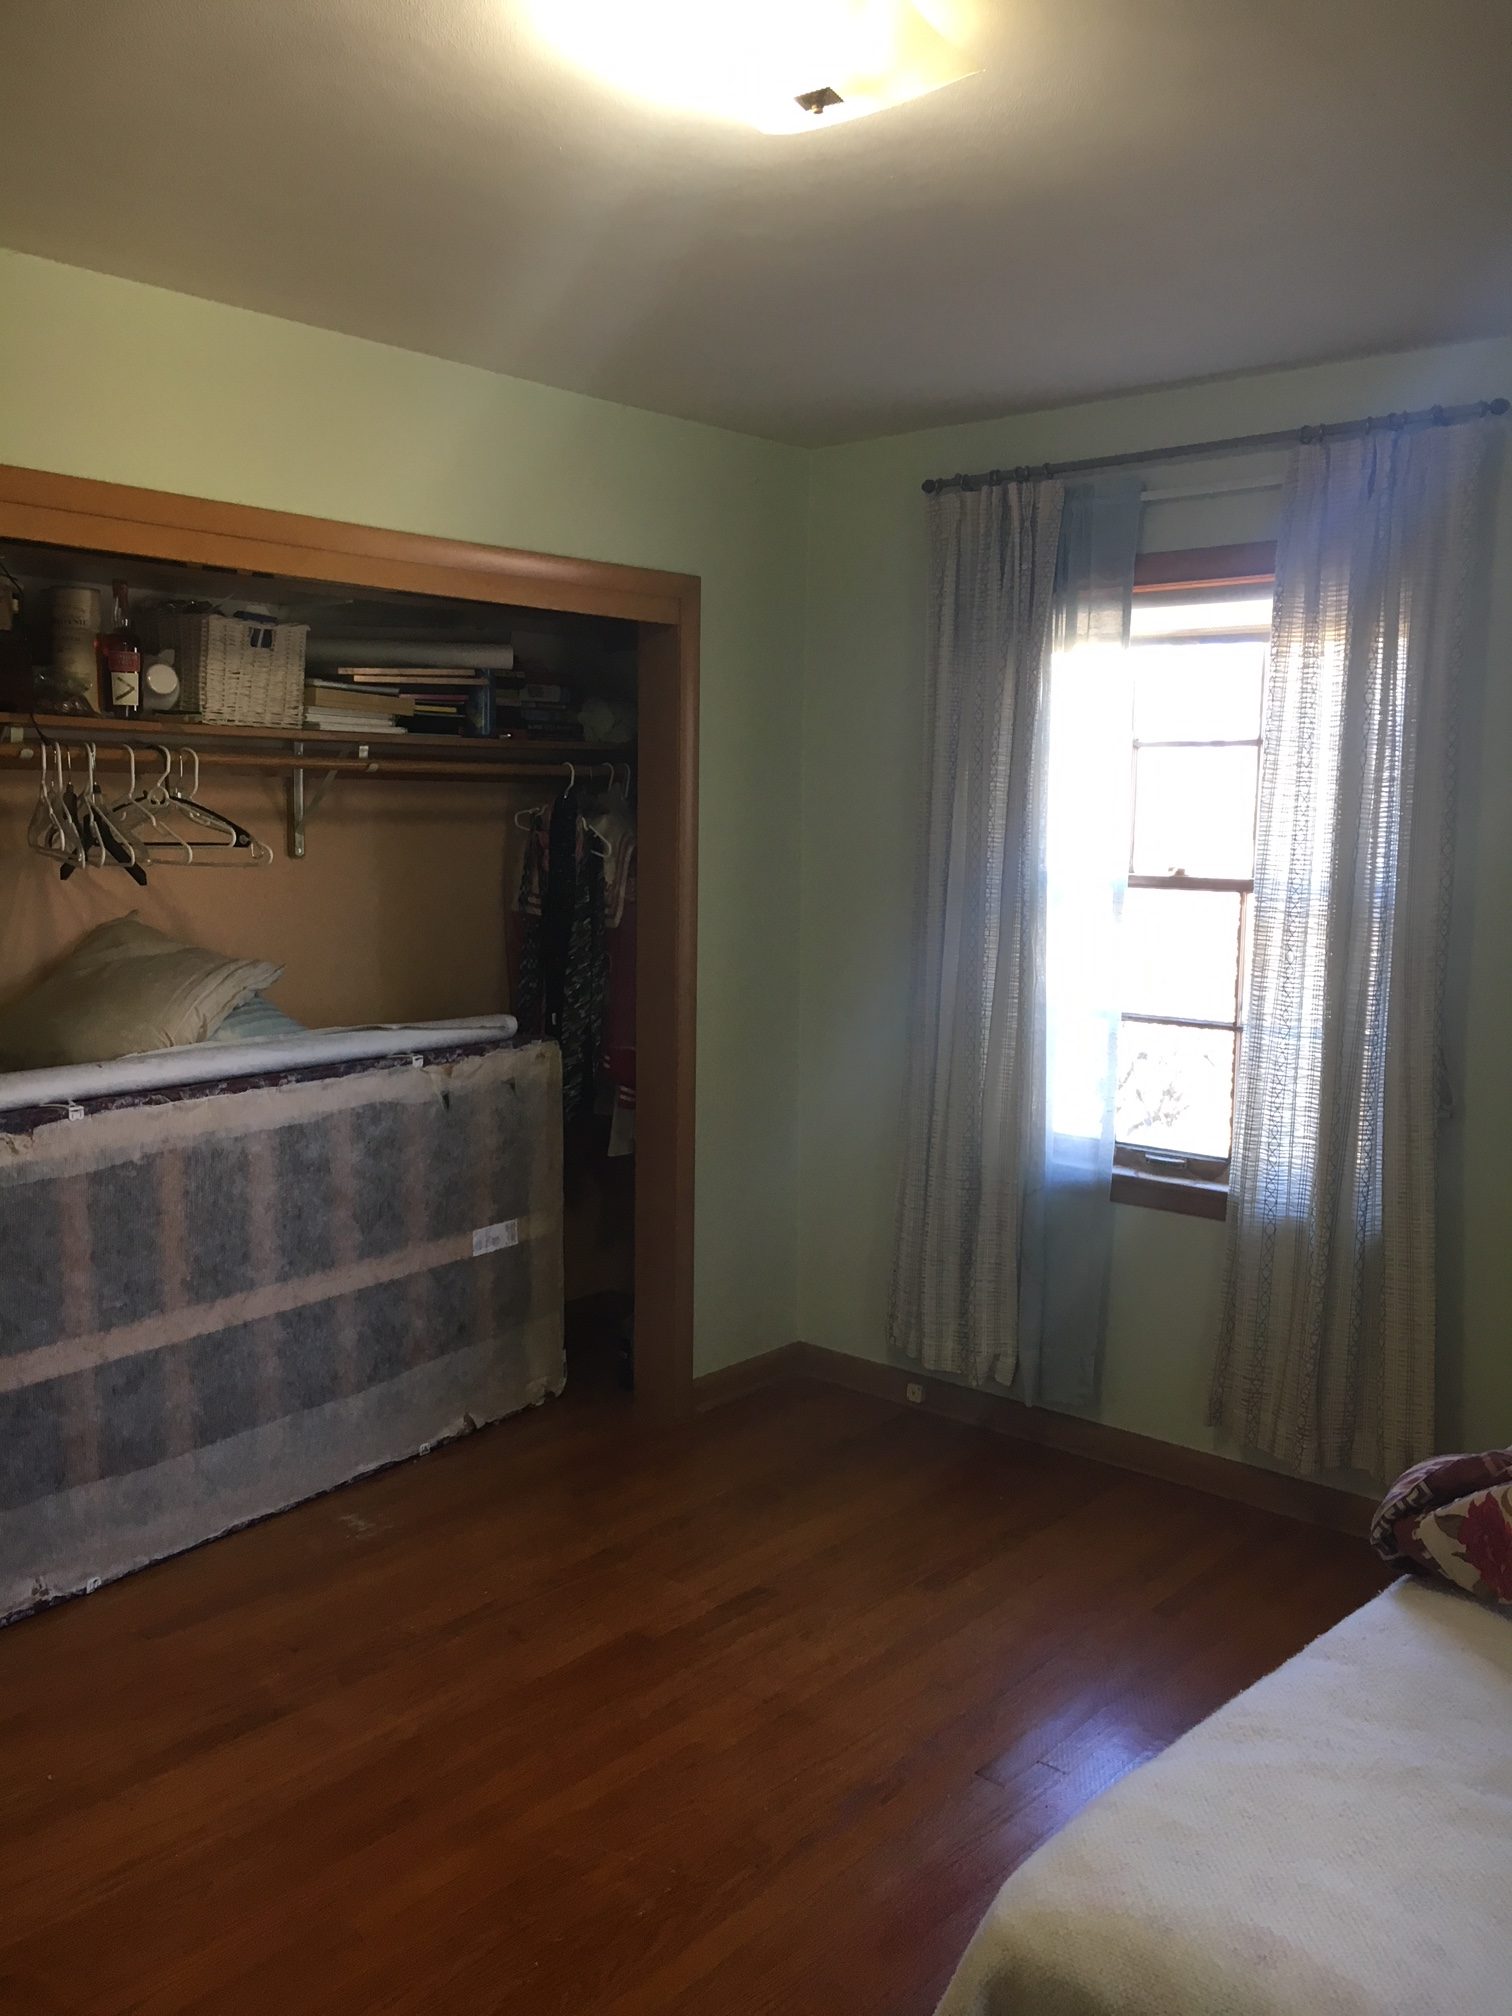
Here is the day we finally took the plastic down, post plaster work. To remind you, this was the view of that back wall pre-work.

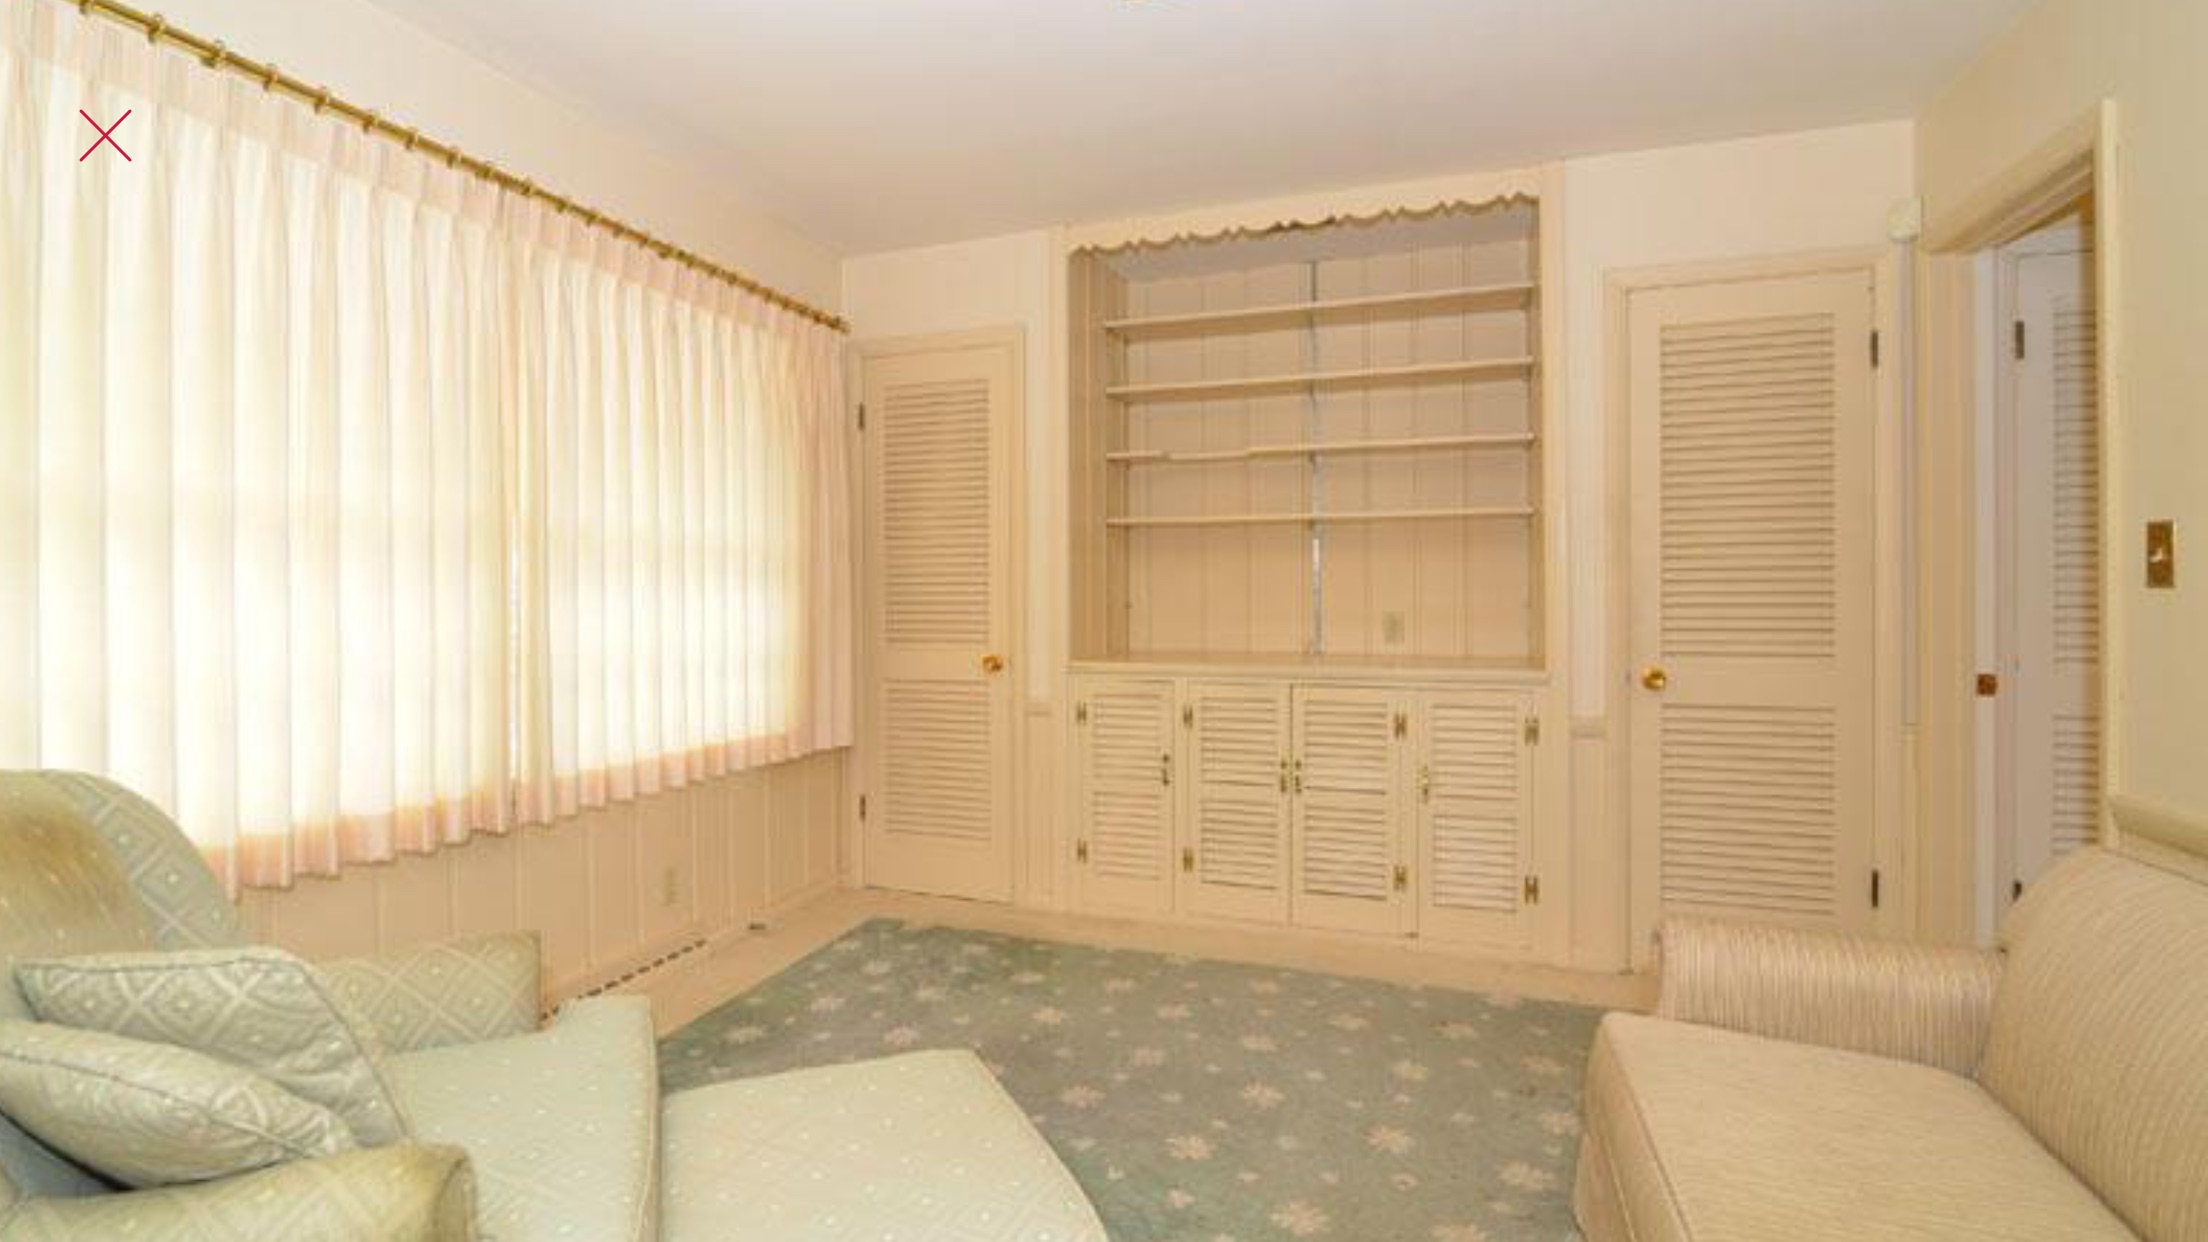
Looks much different right? Remember this little sitting room was all doored off from the main kitchen, we really didn’t use the space a lot so now we have a much more functional way to use the space.

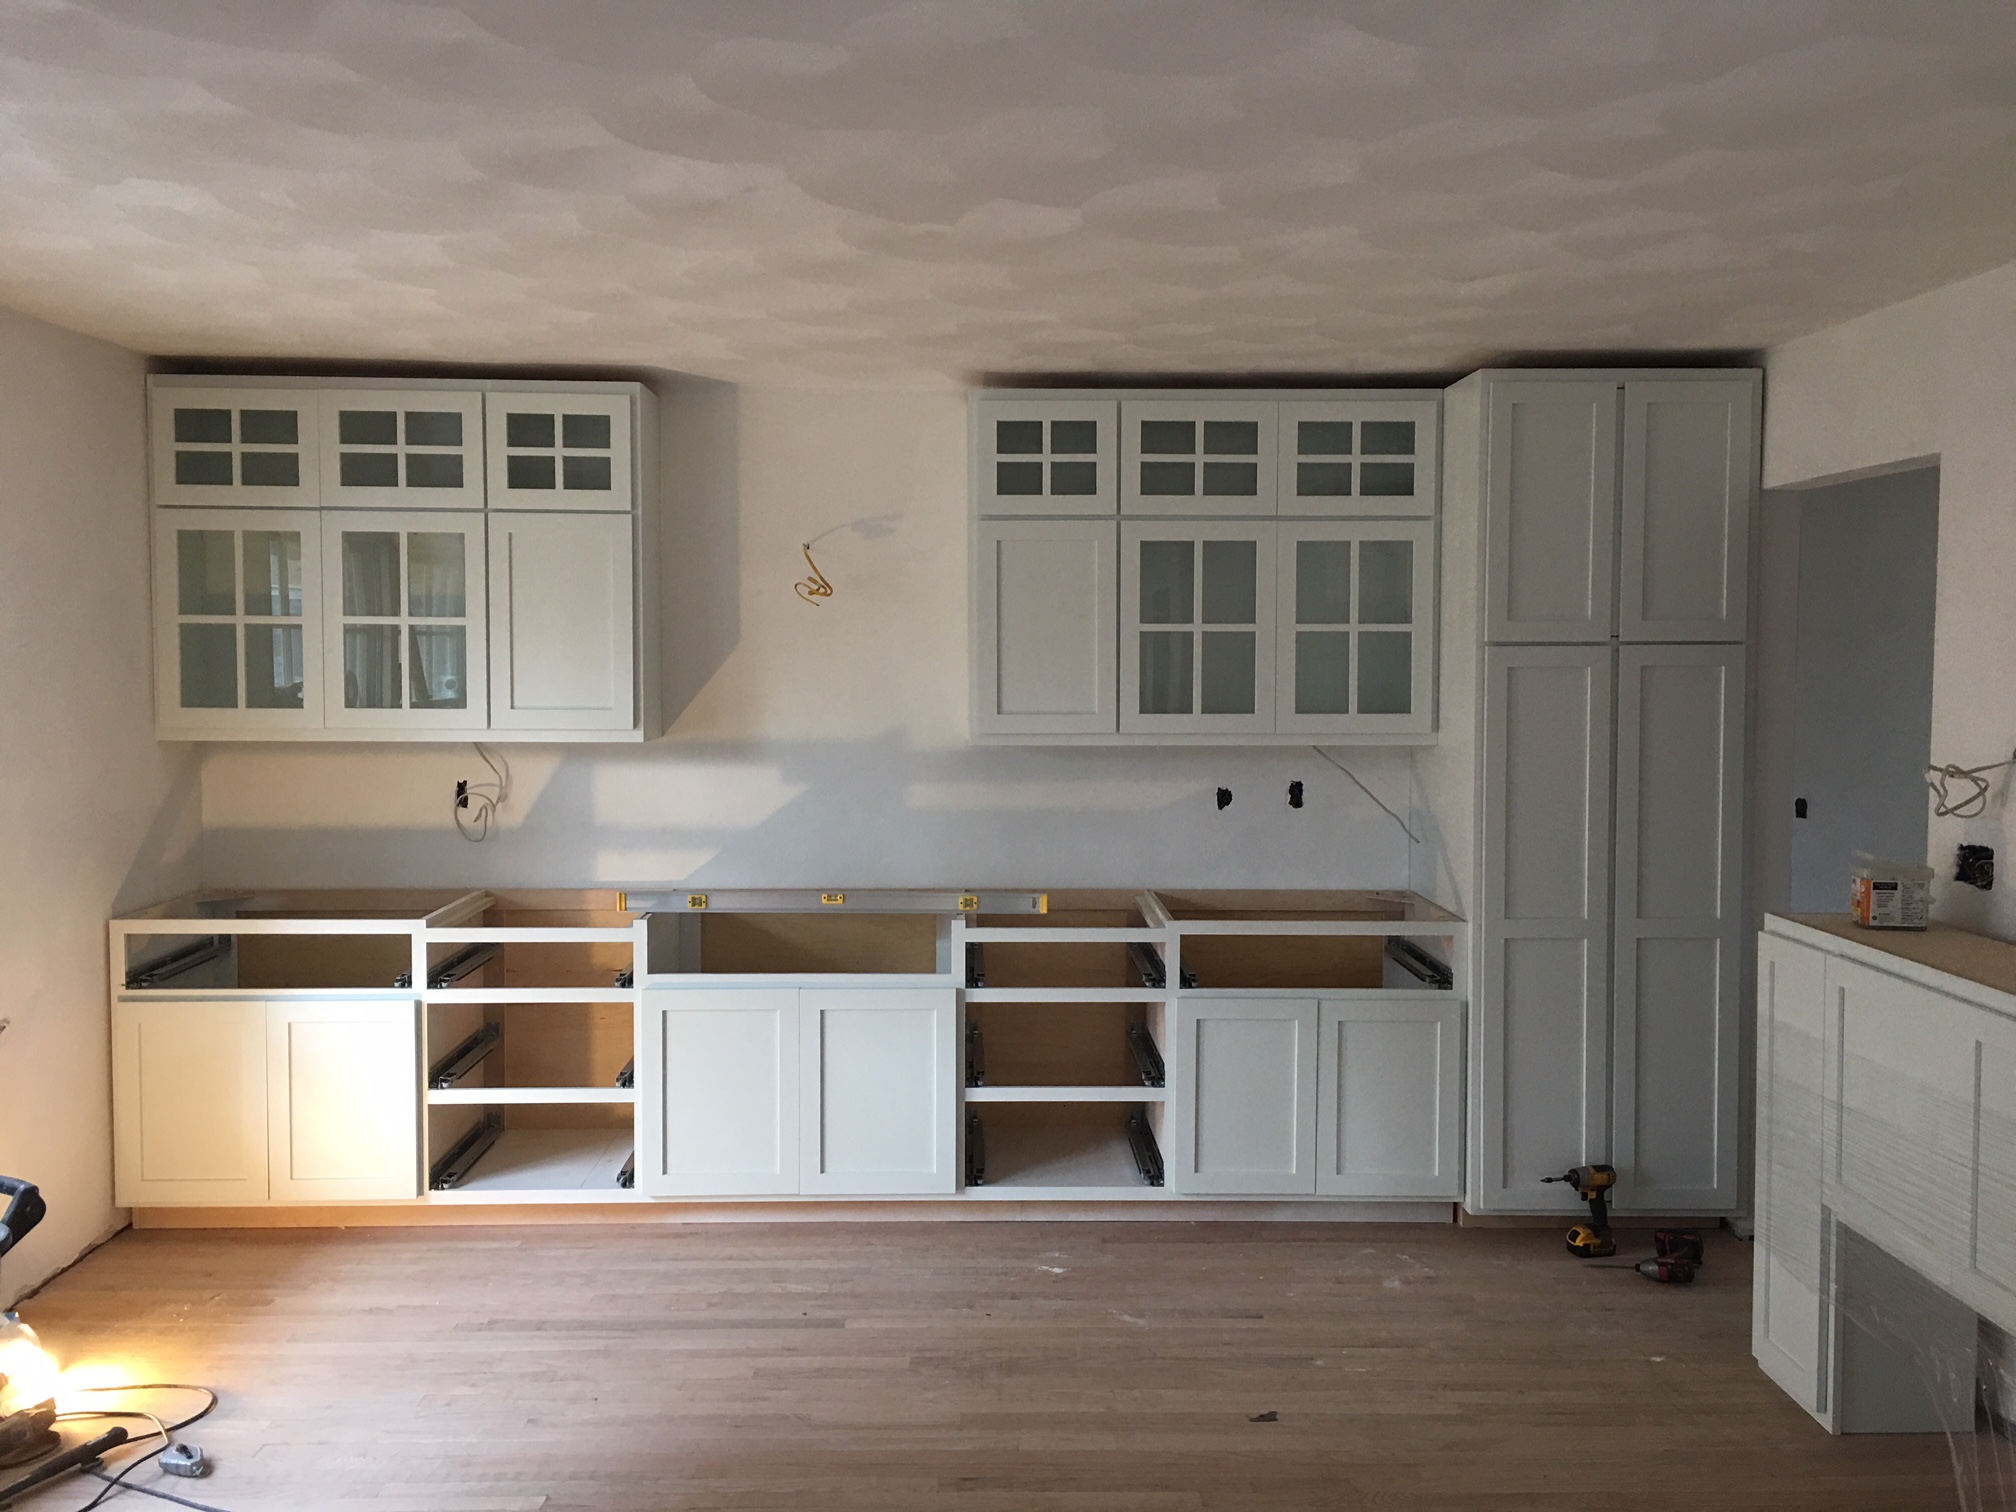
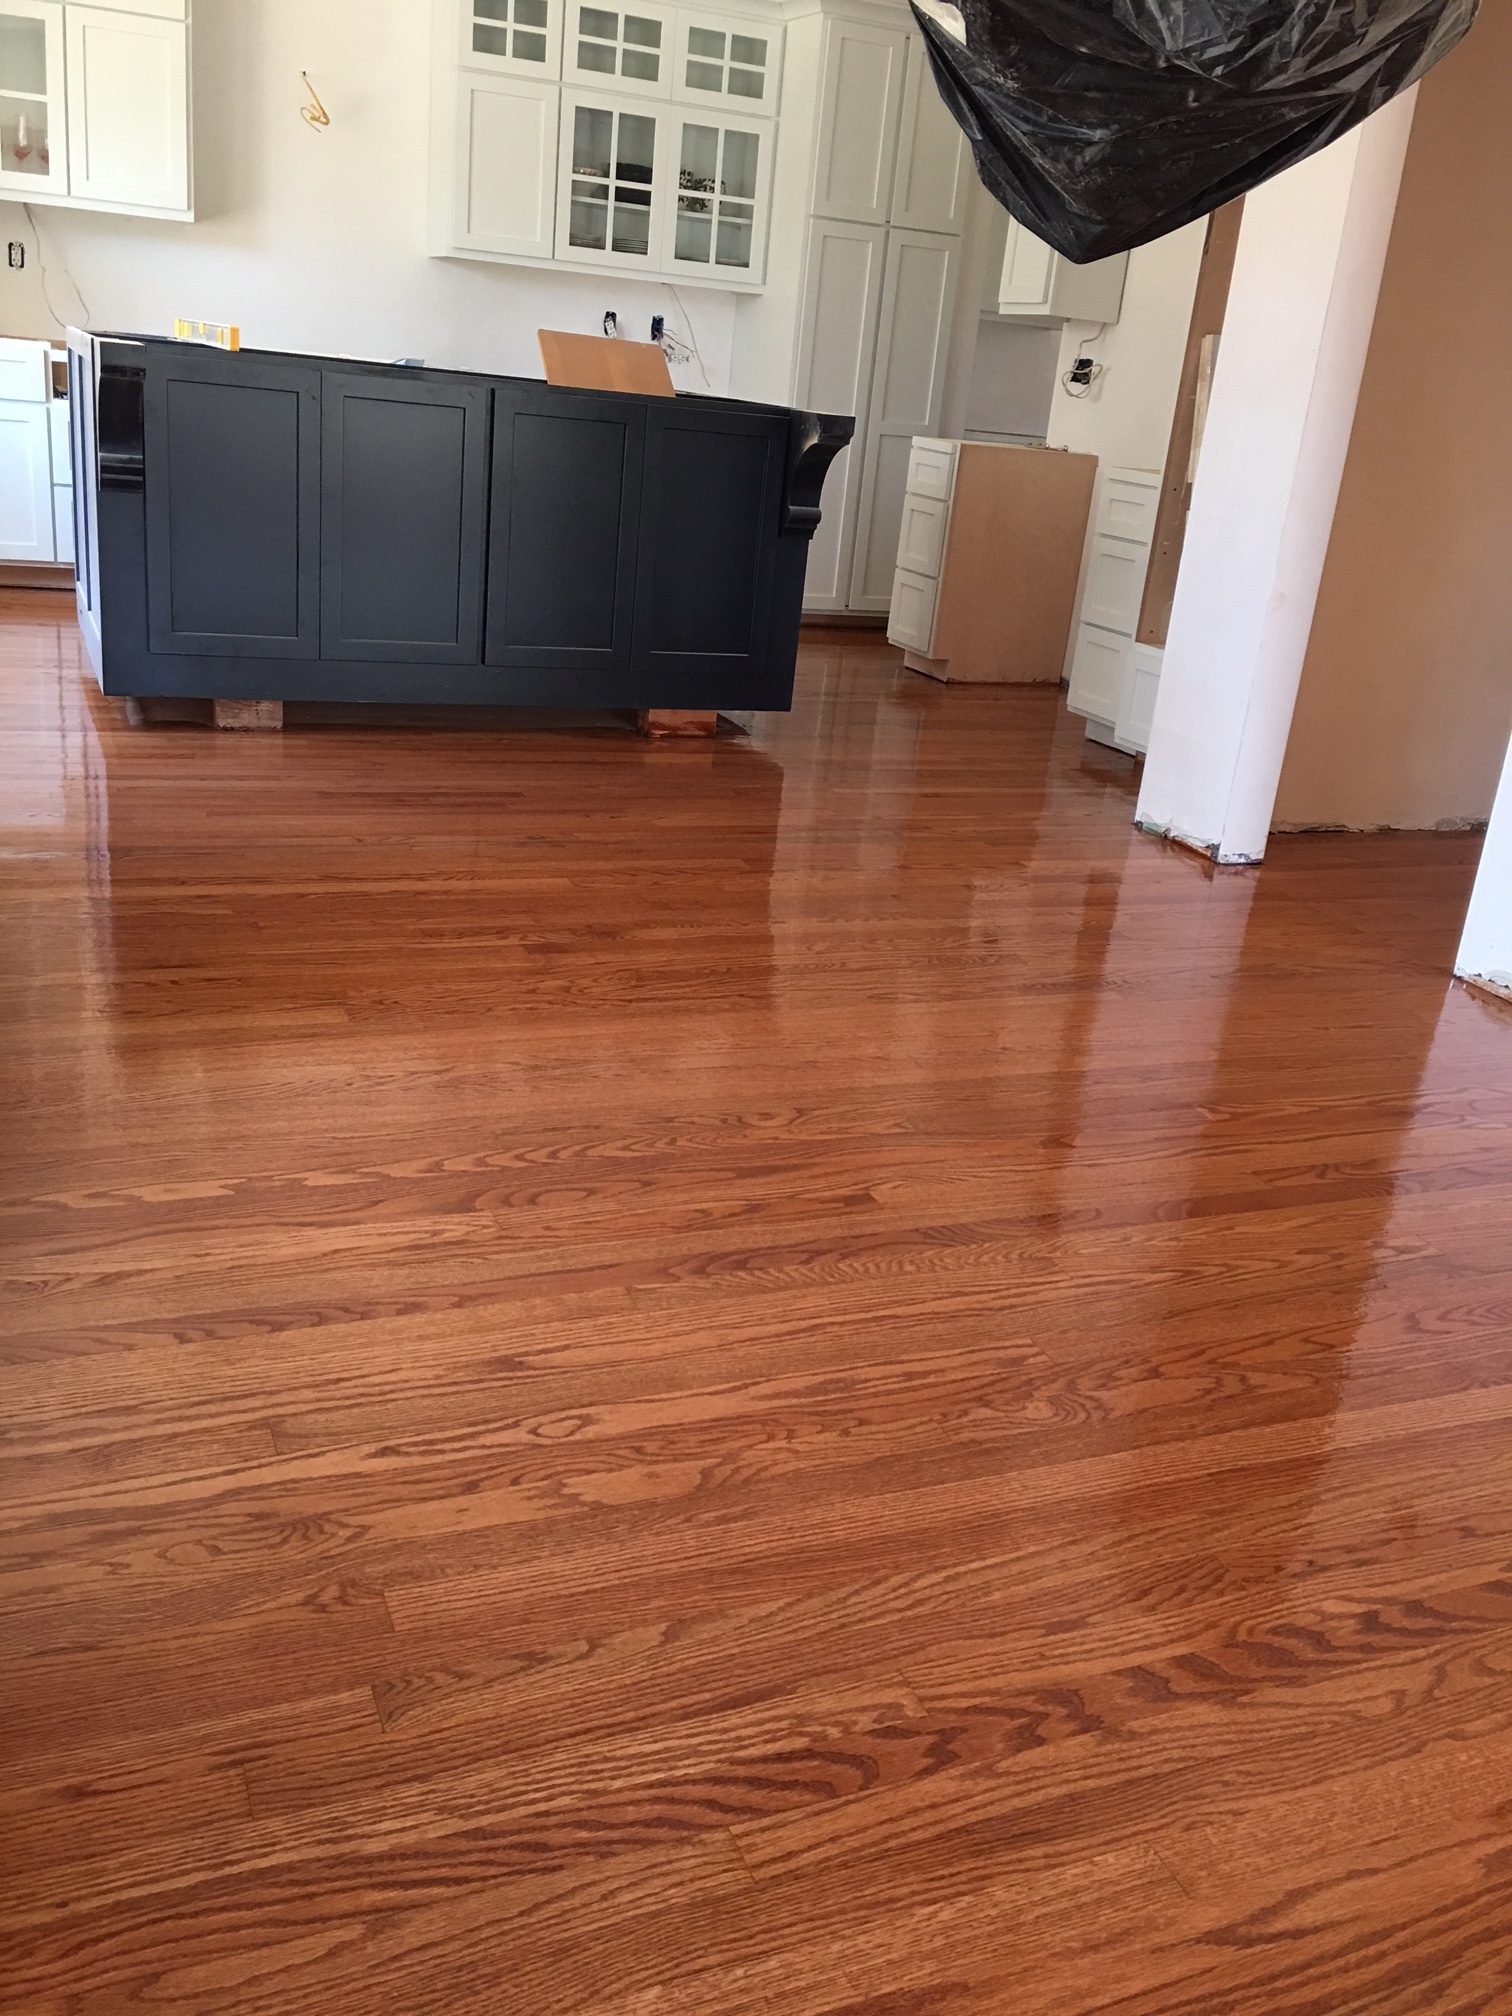
And here is cabinet day. That back wall is transformed into a highly functional kitchen!

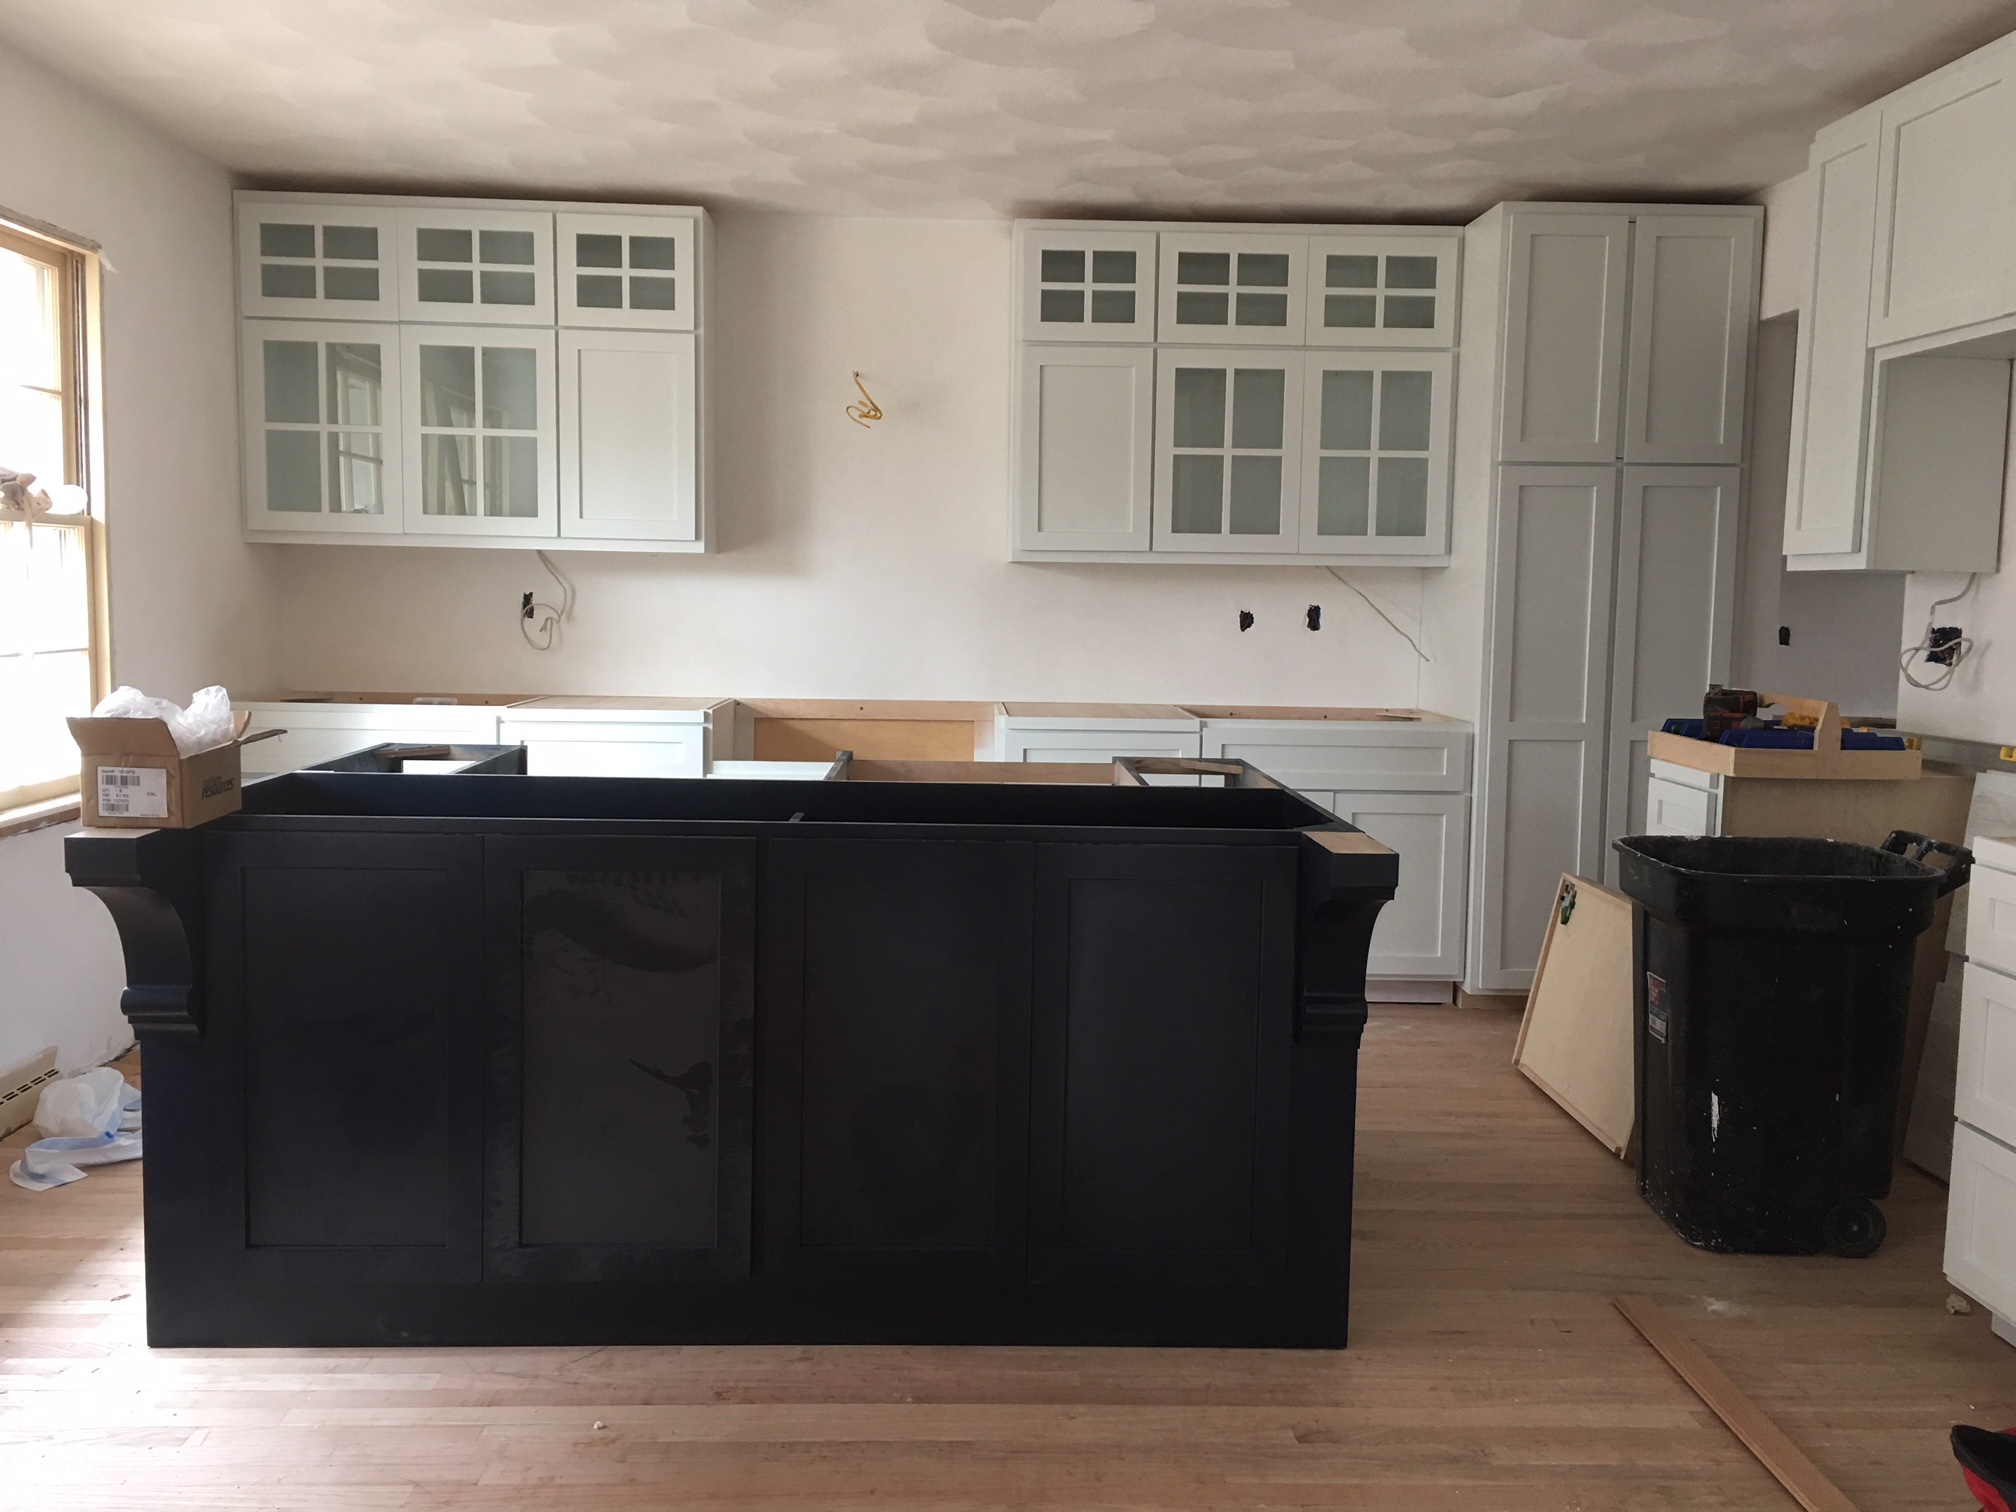
And the island!!! my dream!! My interior designer sister is amazing and she helped us adjust the layout of the space. I kept saying to her, I think the island should be bigger, bigger, bigger. She listened and seriously it’s huge. As you can see in this pic these floors are still raw, not stained.

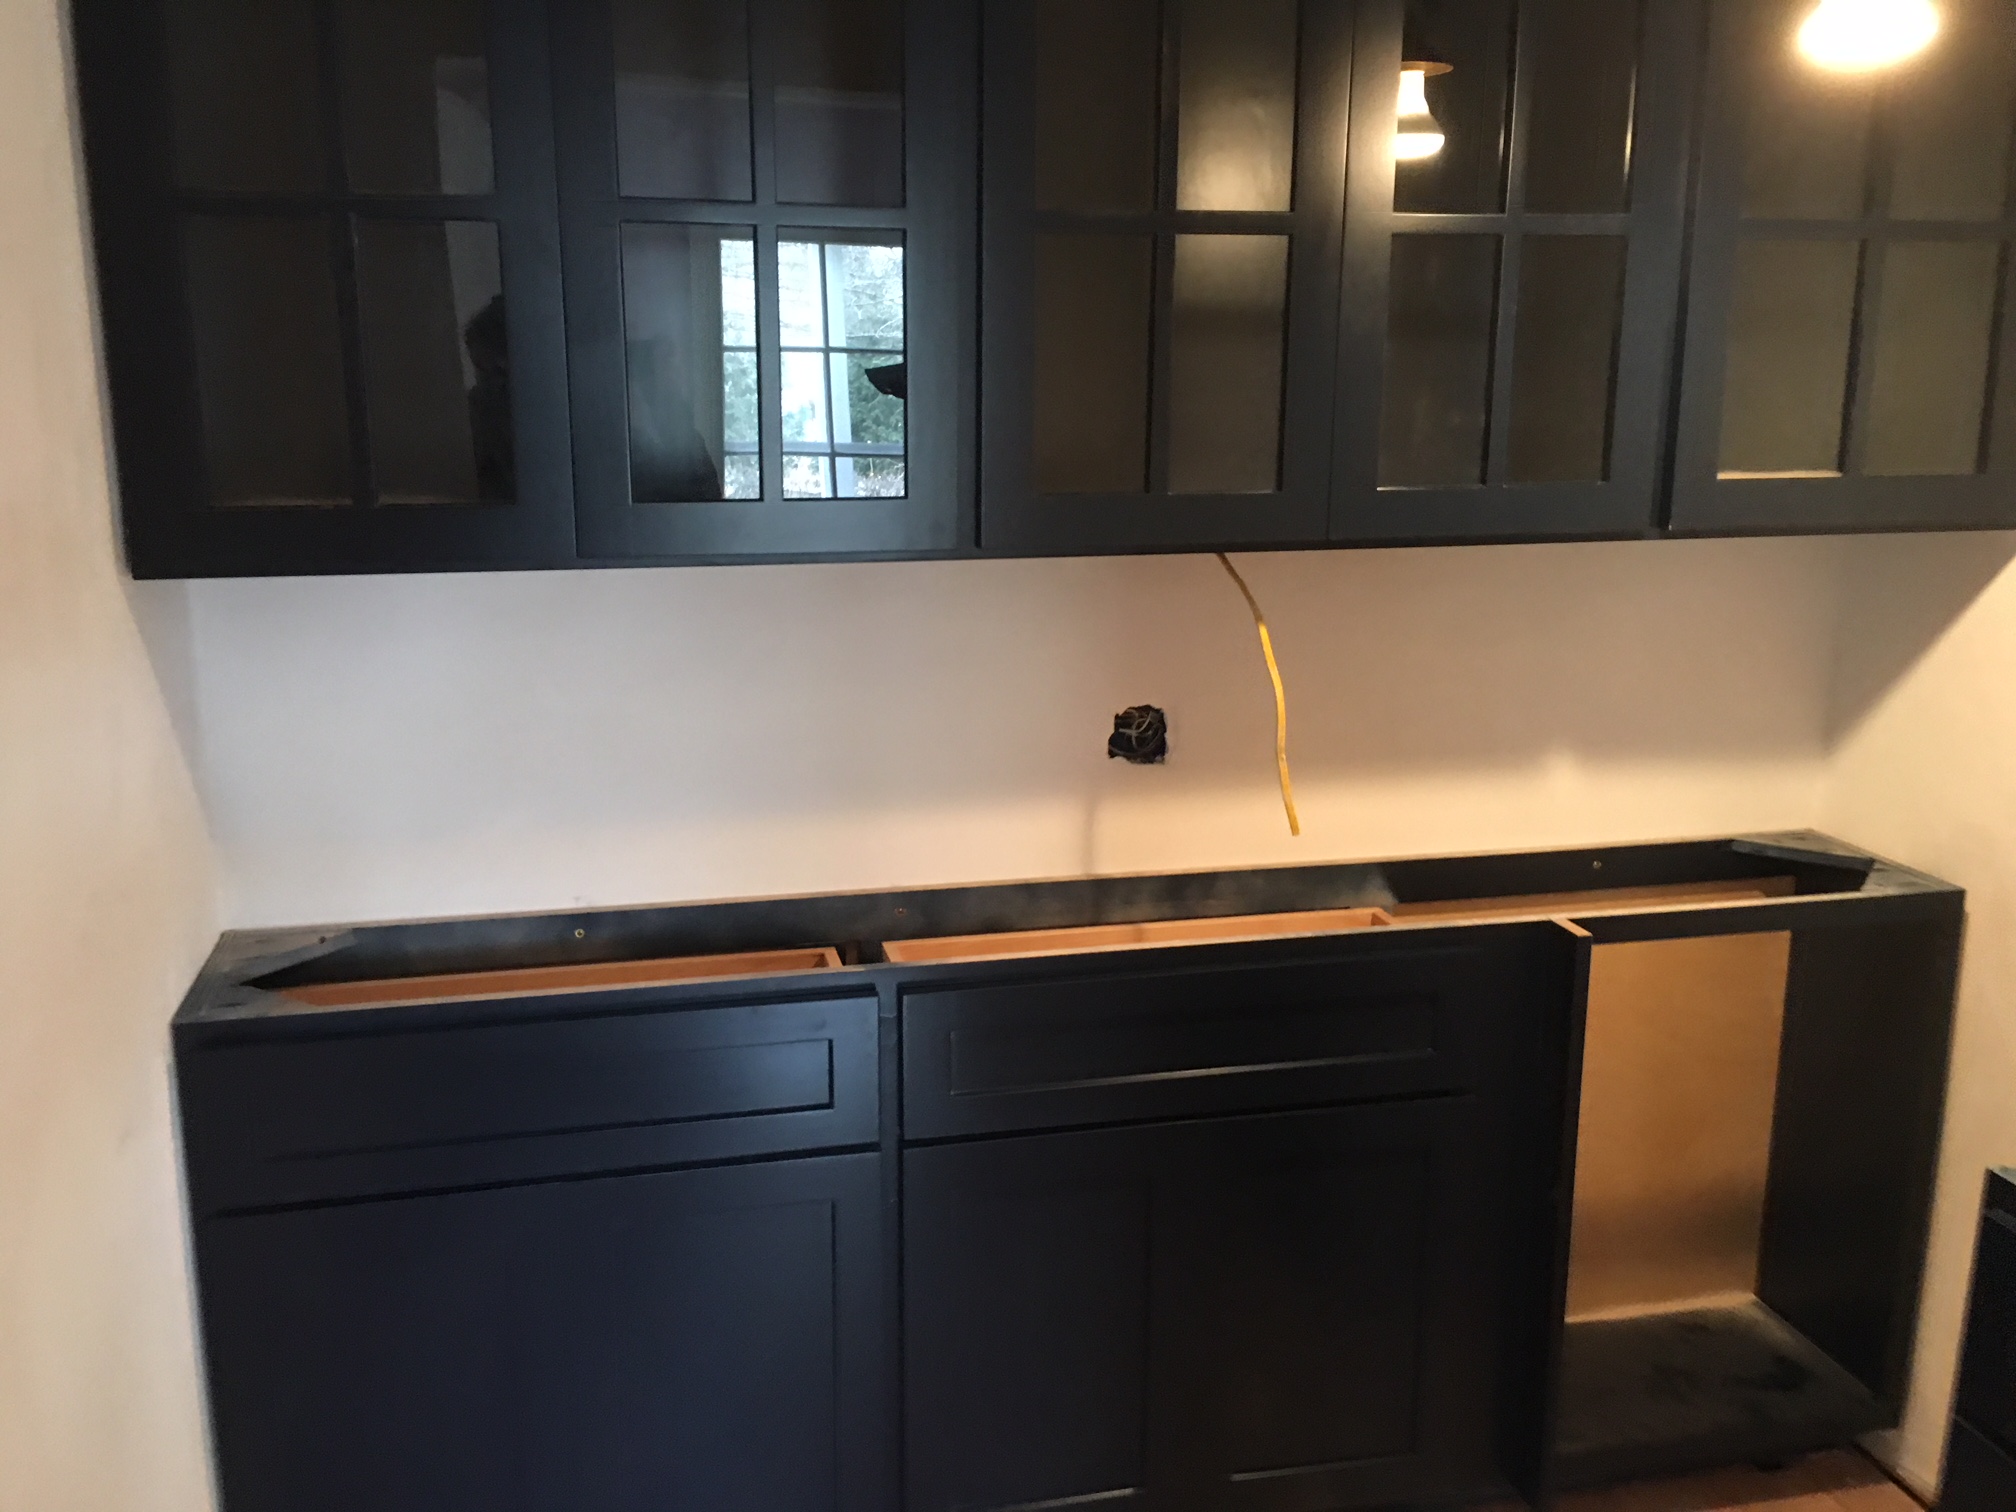
Don’t forget the butlers pantry! If you know me at all you know I have a dish problem so this space was a perfect addition for all my table trinkets.

Check back in a couple days to see the process of the floors!

Little Yellow House Refresh: How to re-enforce a floor

Every weekend we have continued to work on the kitchen and weeks have gotten away from me. Wanted to take a moment to walk you through all the things we have been up to. If you have been following along on instagram you know we are a bit farther than this, I will do some posts to get us caught up with all the detail!

Since we were moving the kitchen we had some rough work to do in the basement crawl space below. We have a full basement downstairs but for whatever reason there is only a crawl space directly under the new kitchen space. so we were  in there a lot.

One day during demo I jumped up and down in excitement, because I do that, and my dad realized the floor was a bit more bouncy than he liked. So we went in the hole. First, Chris got in there and re-enforced the floor to see if that helped the bouncy factor.

To do this he took some boards and wedged them between the floor joist near the other supports. Although this helped it didn’t fully solve the problem. So dad recommended we add a support beam underneath. Keep in mind this area of the kitchen was going to have a huge (5’x6′) island sitting on it, so we wanted to be sure that the floor wasn’t going to wiggle around.

First we brought a huge beam into the hole. It was a 16 foot 8×8 beam. We lifted it up to the ceiling so it was flush with the top. We hung it up there using wire, which honestly was kinda scary I kept thinking it was going to fall but it stayed.

Then we played down 4 cement block and made sure they were level. These would be the support structure to put the incremental 4×4 beams up to support the big horizontal beam.

Then we used a jack to jack up the big beam to be a bit taller than we really wanted it, so then we could wedge a 4×4 beam in sitting on the cement block. The jack helped us to make sure we got a really tight fit with the support beams.

We did this 4 times evenly spaced. Once we went up stairs the floor wasn’t moving one bit! This whole project took us about 45 mins and cost about $100 to make a much better support base for the house.

Little Yellow House Kitchen: Floor Progress

When we first started the kitchen project I was thinking I would do tile on the floor. However I just couldn’t find what I really wanted to use, and since the kitchen butted right up to the dinning area I decided to go ahead and continue the hardwood floor in the house. So before we put the cabinets in we had to lay new hardwood floors. The kitchen area was the only area of the house that didn’t have hardwood underneath the carpet. We had them stained after cabinet installation to ensure we wouldn’t harm our newly stained floors dragging cabinets in.

In order to do this we actually raised the island up to make sure they didn’t damage the island during staining. The cabinets have toe kicks so we weren’t as concerned on those. This pic is post first layer of stain.

When we first moved in we had the master bedroom and one guest bedroom floors re-done (there was carpet everywhere in the house when we first moved in). So this means that once we got the cabinets in we had to move everything else out of our house to get the floors done too.

This is what our sunroom looked like during this process.

We even had 3 nights that we couldn’t even be in our house. 2 spent at mom and dad’s and one night we stayed in a hotel.

We also still had carpet in the hallway an
d 3rd bedroom. So that had to be removed before the guys came. Overall, we had to pack up and move out everything in our living room and 3rd bedroom. When you already have the whole kitchen and dinning room packed up it starts to get a bit tight around the house.


The crazy thing is. When you get floors done you can’t walk on the floors for quiet some time. Like you can’t walk at all on them for 2 days after first coat, and 1 day after second coat. And then they recommend you don’t drag furniture out over anything for at least a week. This time was difficult. But now that it is done, the floors are looking good.