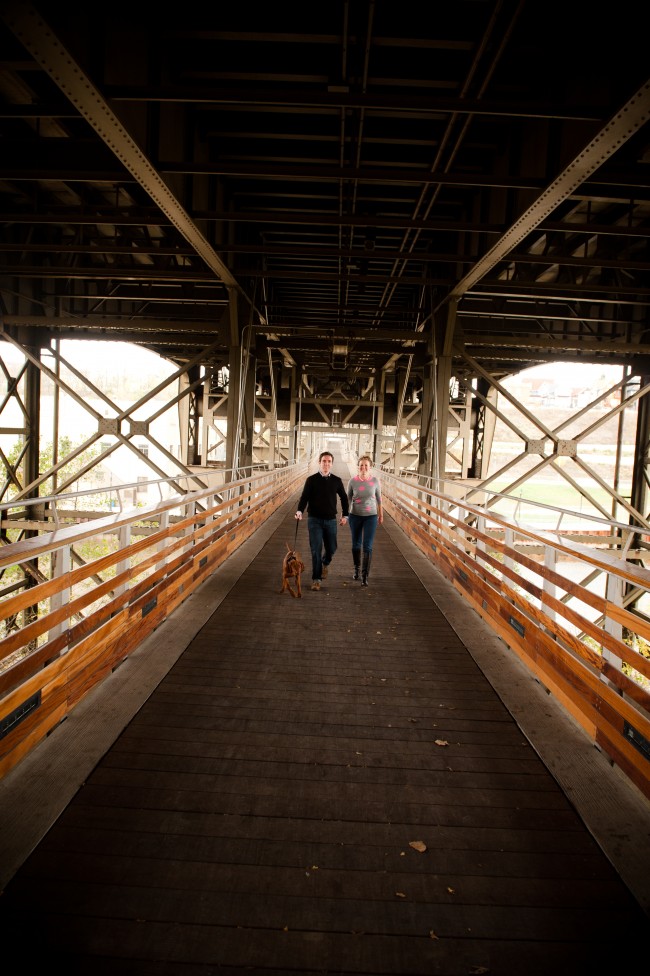
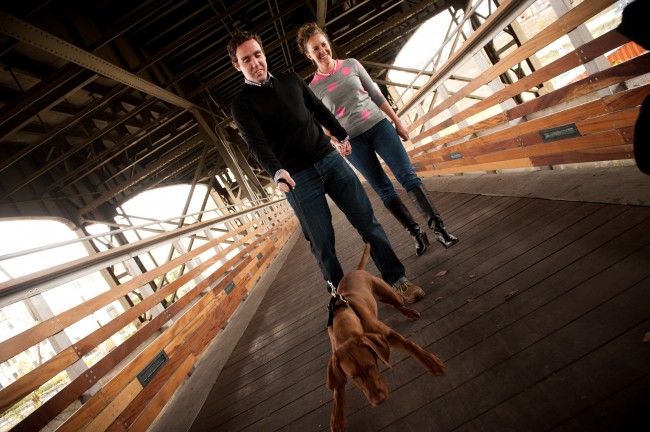
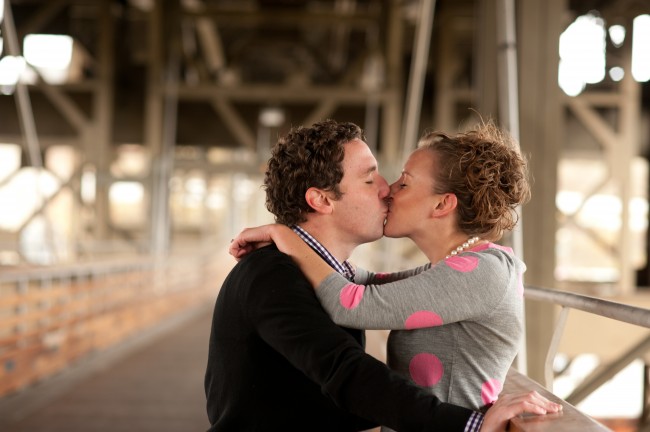
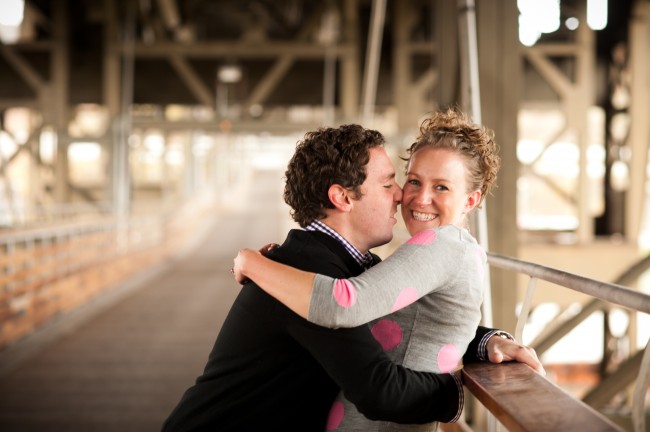
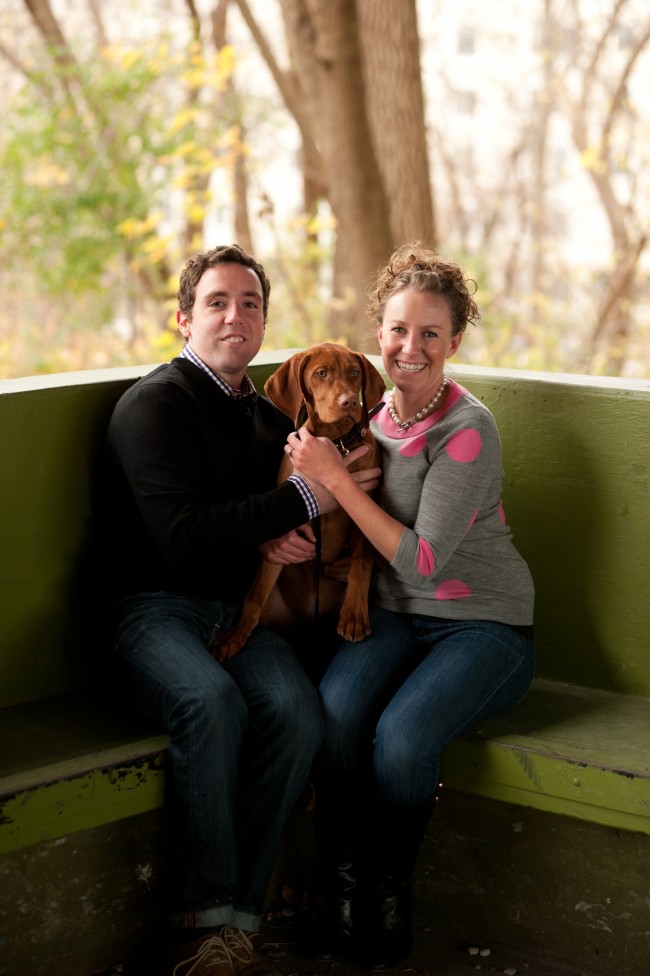
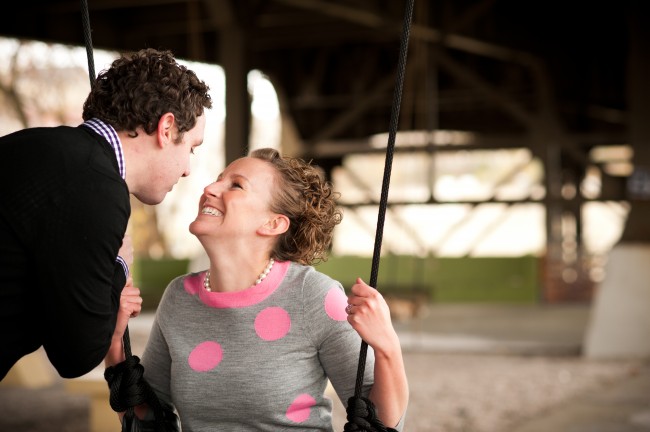
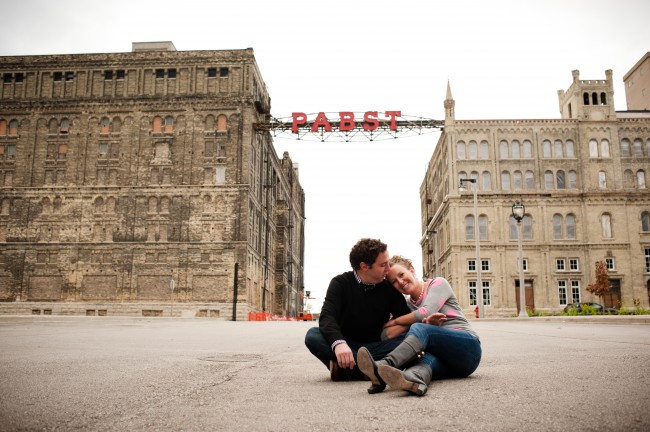
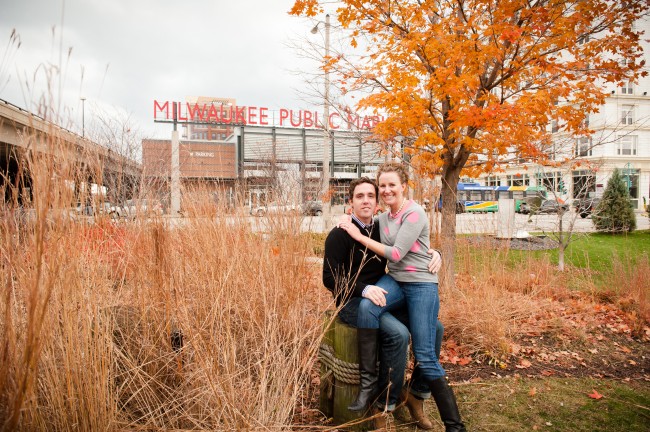
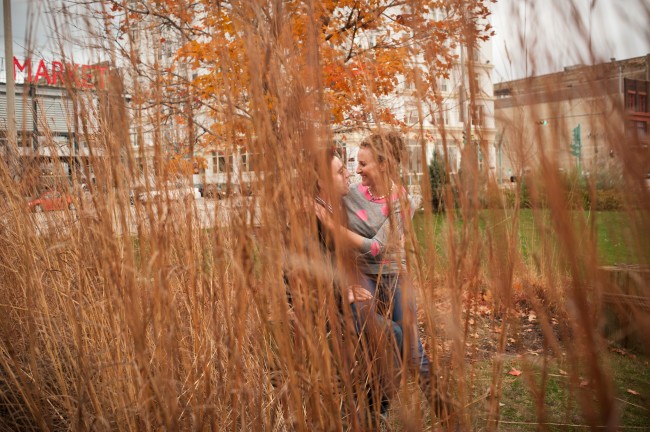
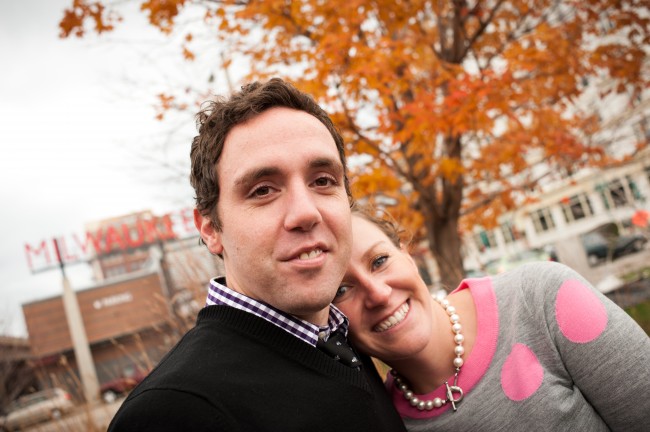
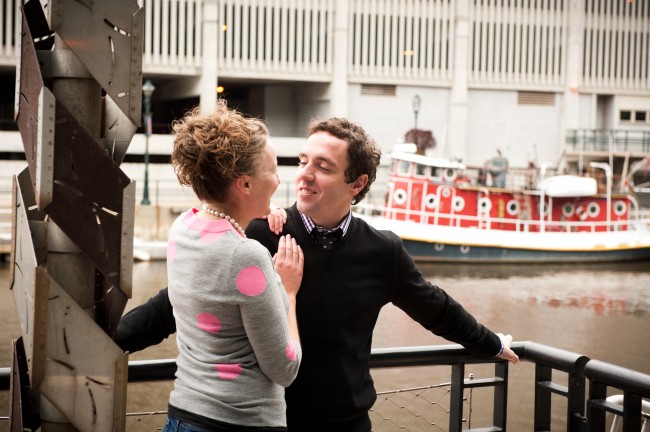
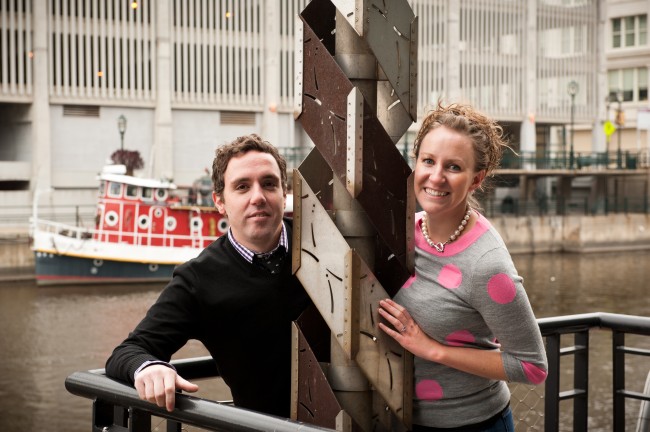
I am so excited to share our engagement pictures with you today! We got them taken at the end of the fall season. We went to all my favorite spots in the downtown and we even got a few good ones with our little puppy! Hope you like them too!
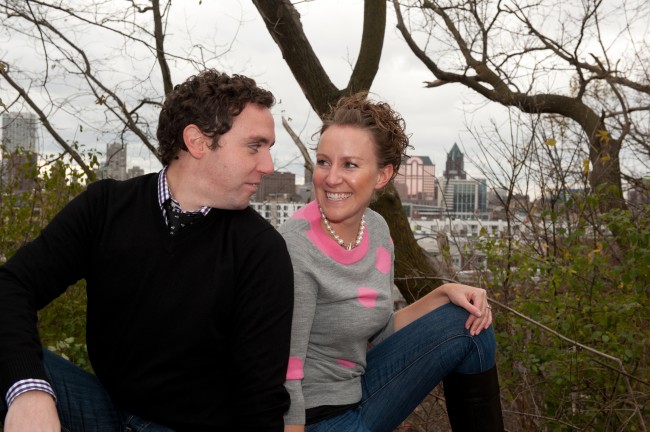


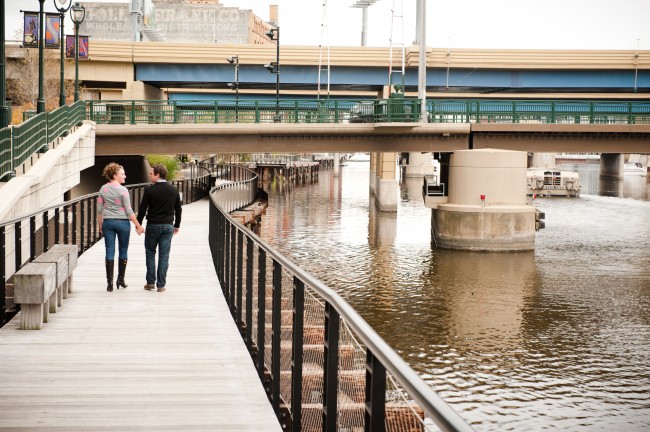
I am so excited to share our engagement pictures with you today! We got them taken at the end of the fall season. We went to all my favorite spots in the downtown and we even got a few good ones with our little puppy! Hope you like them too!
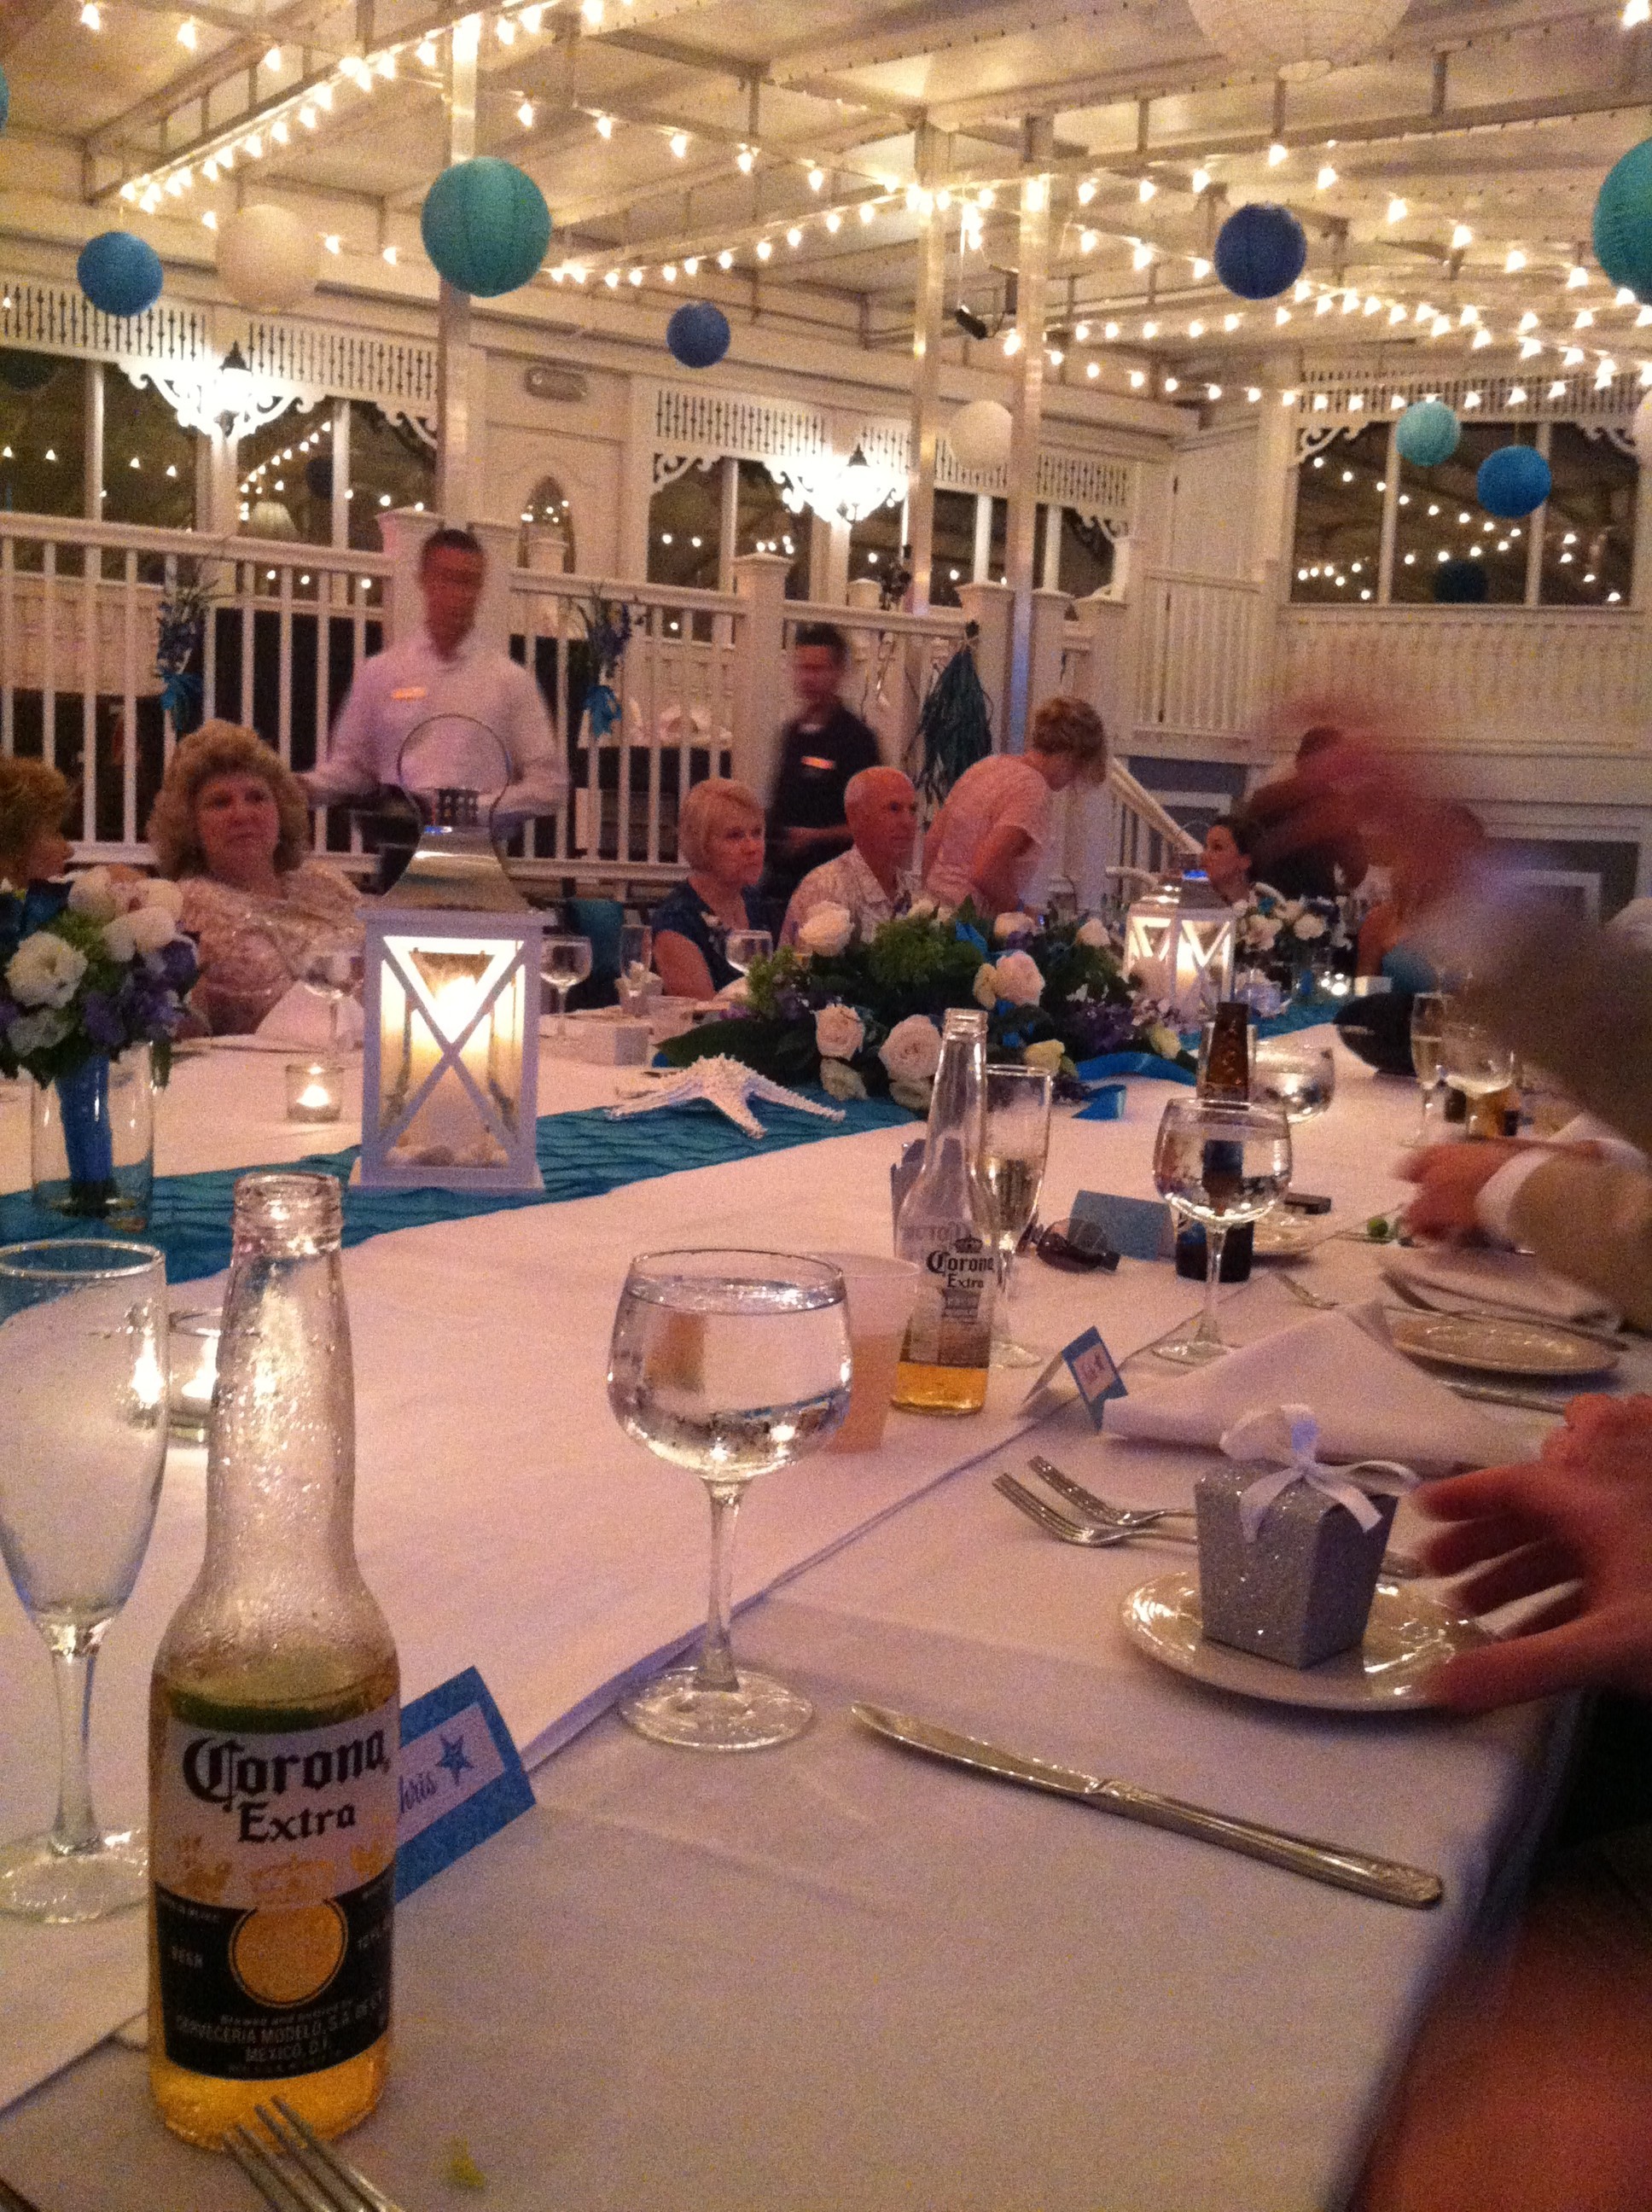
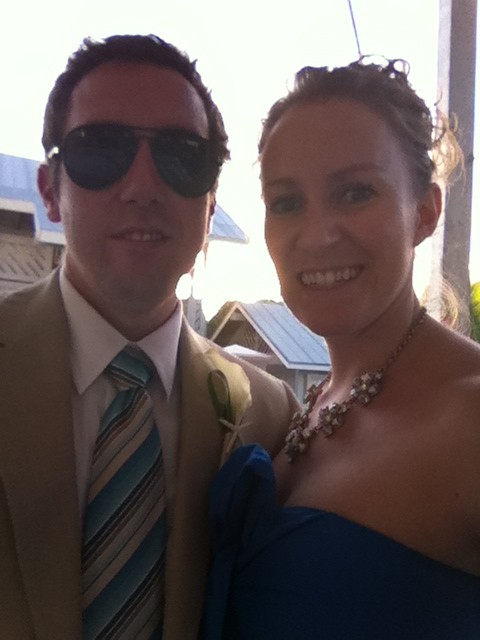
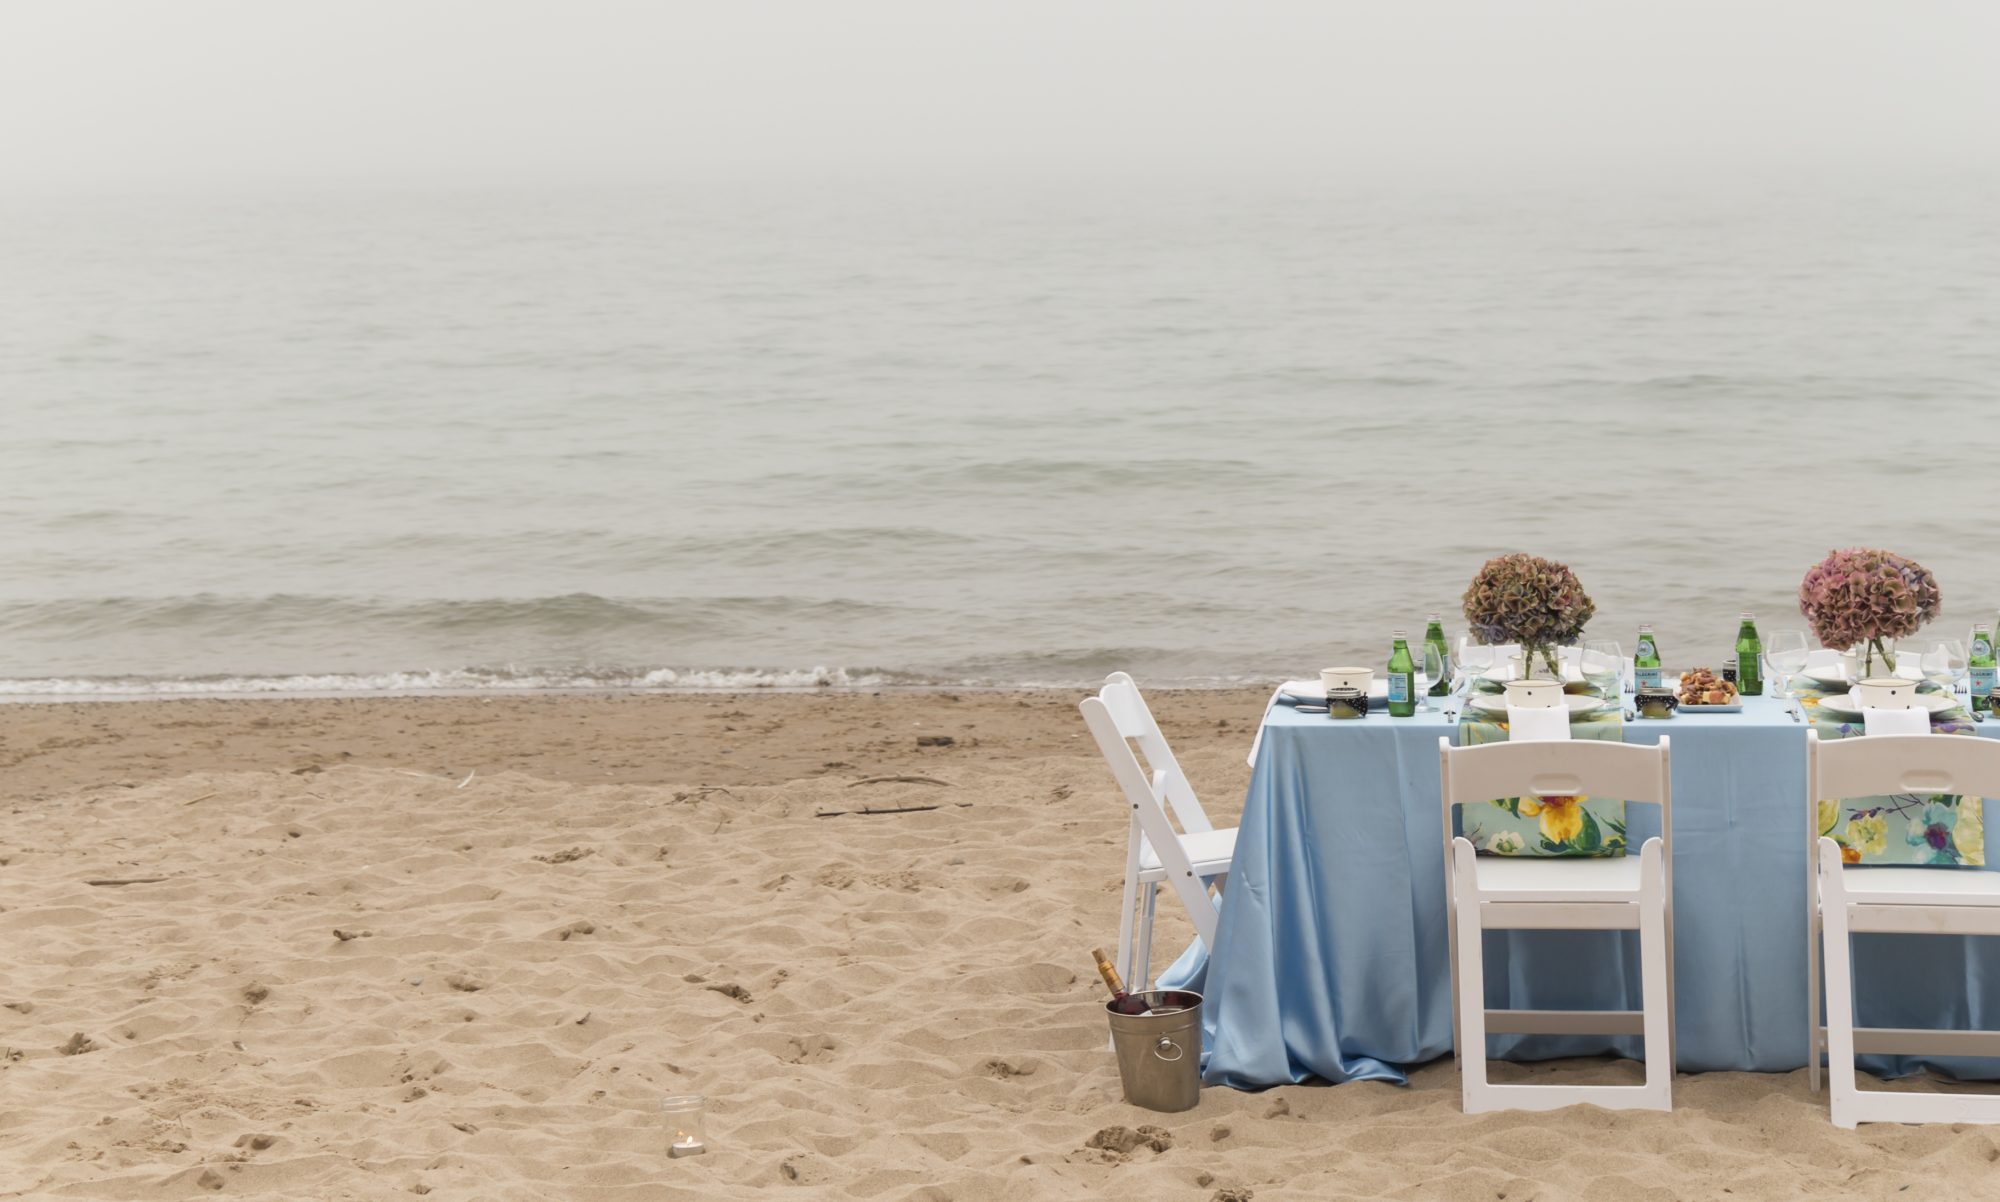
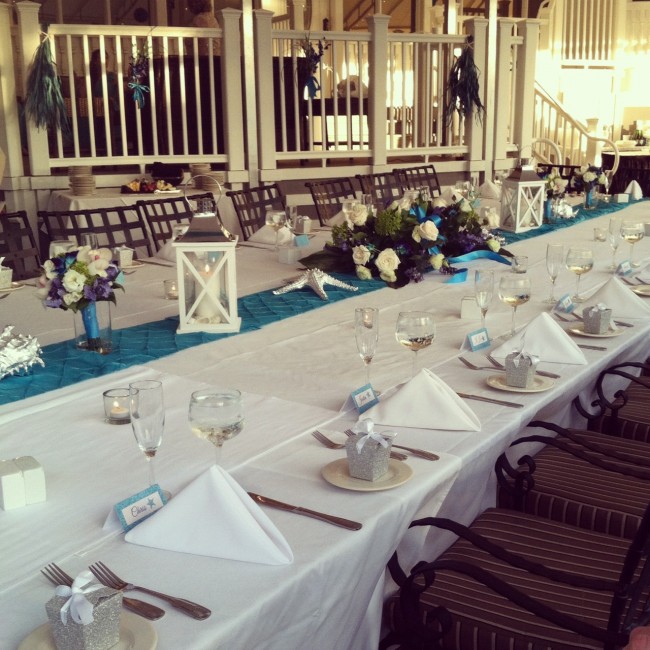
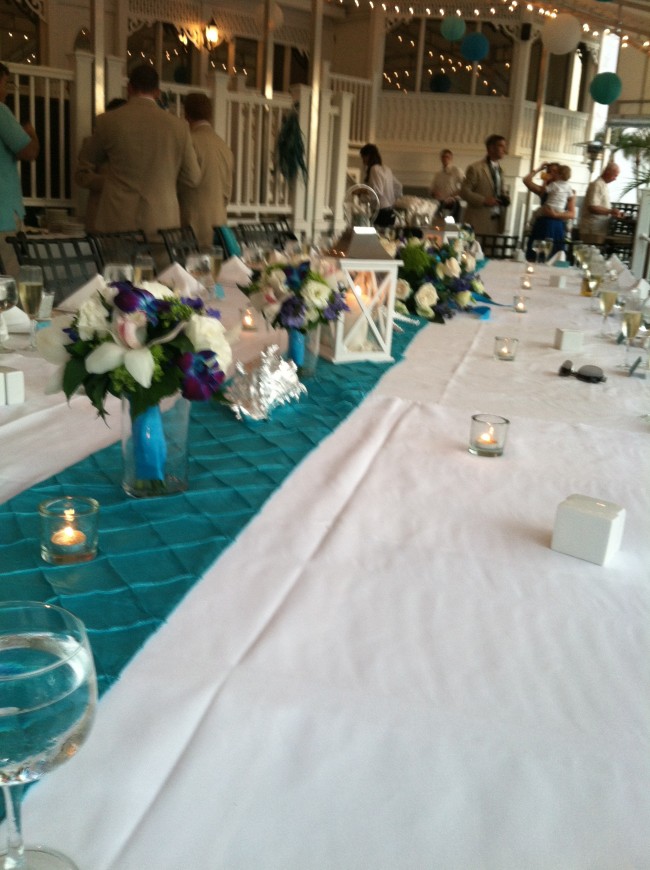
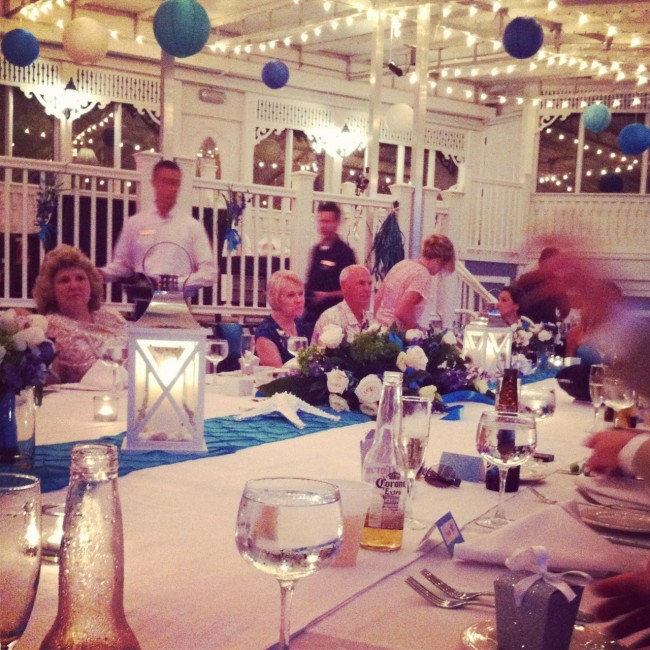
Hello! I have been gone for a week and it seems much longer than that. I was down on Sanibel Island, Florida with my soon to be family for my soon to be brother in laws wedding. It was a much needed relaxing trip, and a beautiful destination
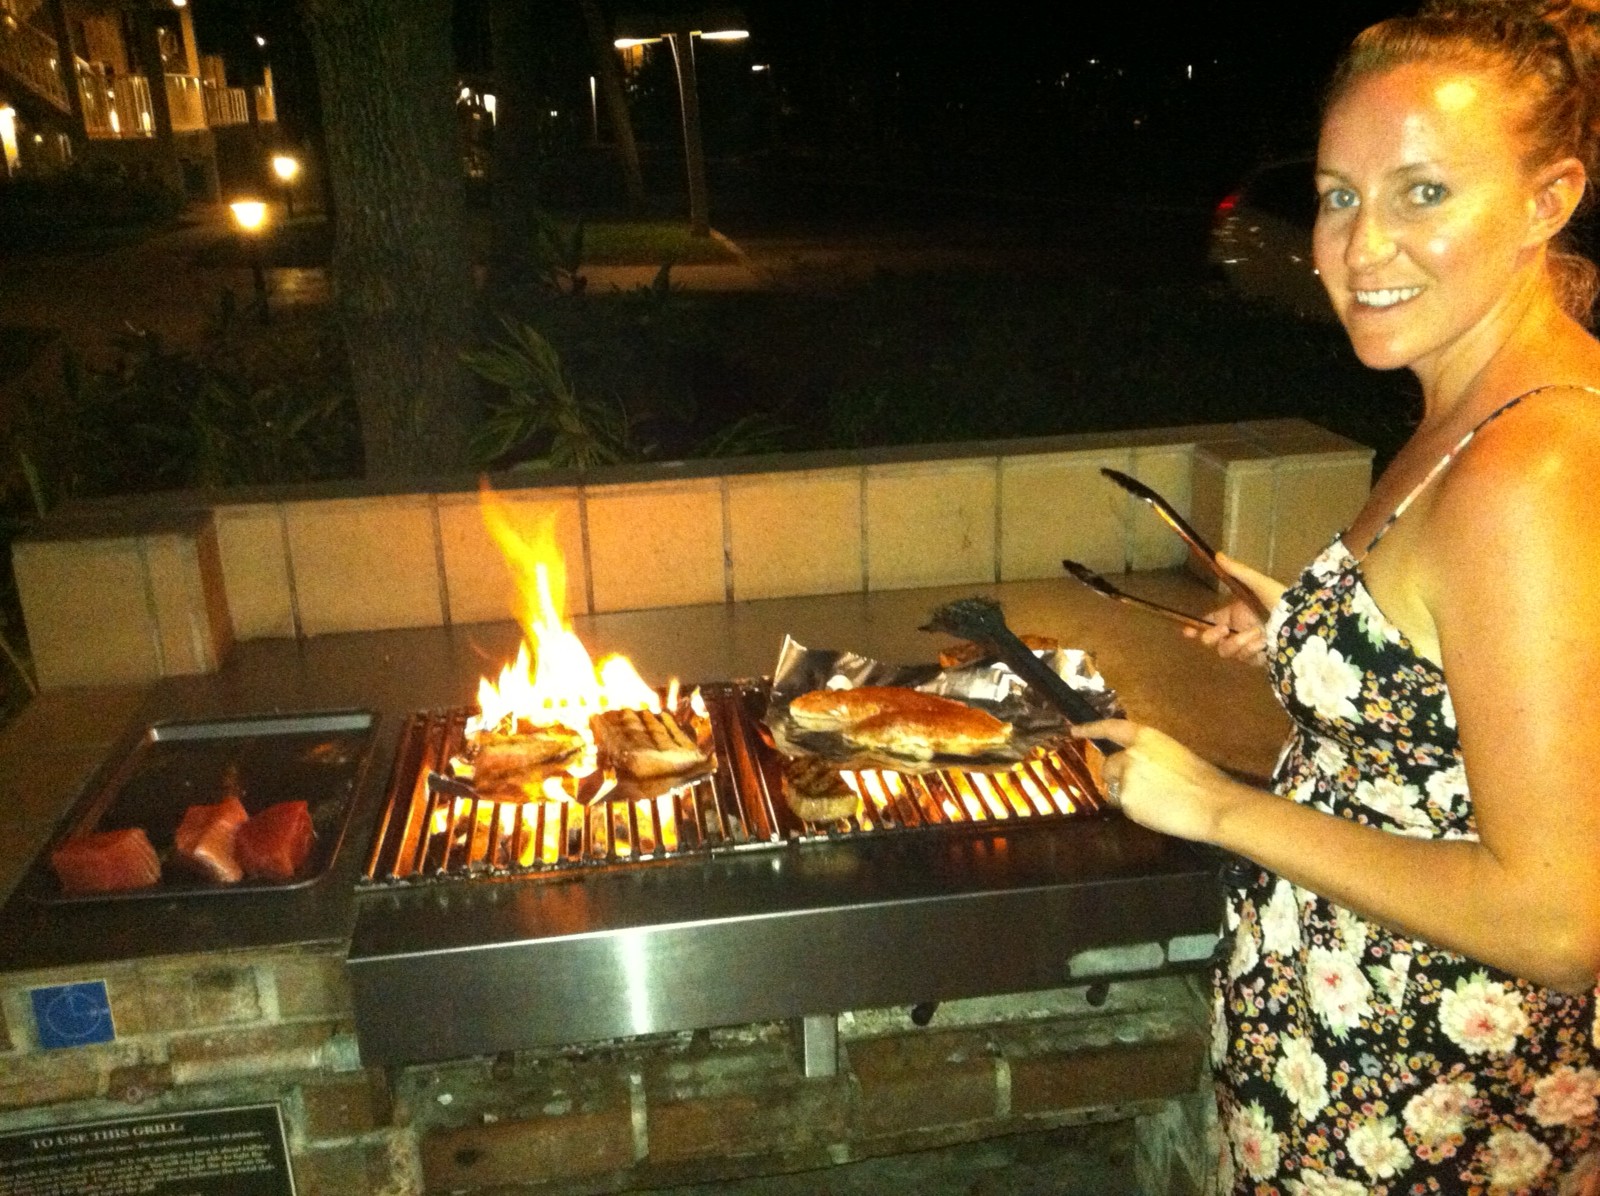
After the wedding we had a chance to relax a bit. We bought a bunch of fresh fish and grilled out on this sweet grill. Isn’t it awesome!
This Sunday I FINALLY had some time to work on my chair again. I am feeling good about how much I got done with the project! To see the previous steps check here.

First I had to fill in the coil areas with cotton fill prior to putting the cushion on. This helps to make your platform real even.

Next I took the cushion that I already glued to burlap in the last segment and stapled down to the bottom.

Next, I added the cotton batting. I used this step to make sure that the cushion was stapled down nice and tight. Any area that wasn’t secure in the previous step I just made sure to reinforce as much as possible.

Trim your edges!

Next I just started laying out the fabric and slowly stapling down sections. Always start in the center of each side doing one at a time. For instance I stapled the front center with one staple first. The one in the back center, left center, right center. Slowly you keep rotation like this keeping the fabric stretching down and outside.

The corners are always a little tricky and take some working.

You can see here that around one of the arms I made a bit of an oops. Around each arm I cut a small notch out of the fabric to make it so the fabric can wrap around the arm. Here you can see I cut it a bit too deep. I put some fray check on it to make sure it doesn’t unravel anymore. Hopefully the double cording will cover the cut!

Ta Da! cushion all done. I think it went well for my first time ever trying the process!
This weekend I did a LOT of holiday shopping! First I hit up Target to get a couple of the holiday gifts. I couldn’t resist the gold lattice tublers as a self gift.
Did you get anything?