Decisions, Decisions…

So I have had a lot of little touches start to happen at the house as of late.

new craigslist chairs

The living room is looking a little cozier, after I found two of these amazing chairs on craigslist ($40 each whoop whoop). I need to finalize a fabric and ship them off to my upholsterer to breathe new life into them!

photo 1

This fabric is in the running……

photo 3

I also keep ordering a bunch of wallpaper samples for my bathroom…..I am liking the top middle one the best. Which one do you like?

ORC: There’s No Place Like Home Navy Bedroom

So I have gotten a couple things done over the last week.

photo(1)

You can see that I upholstered the console table in the croc pleather I mentioned. I think it turned out pretty cool. Not bad for only costing about $75. You can see I already had a yellow buffet in here, and I am still deciding between the two. The yellow goes really well with the art, however I was going for really clean lines and keeping it all navy and white. Shout out a comment with your favorite! Help me decide! So you will have to wait till the reveal to see which I pick!

But I am still trying to figure out what fabric I want to upholster my ottoman’s in and to make euro pillow for on the bed. I want these to match. I already made the below zig zag pillows, but honestly if I find another fabric that I am in love with I can always use those somewhere else.

zig zag pillow

Here are my options that I just ordered samples for. Remember they will be doing on either all white bedding or tucked until the all white console table, up against the navy background.

pisces slub fabric

Because there is so much other white I thought this fun fish print might look cool.

geo navy

Thought a nice geo option would be good since I already have so much floral.

ikat dot fabric

So in the next two weeks I still have to….

hang the sconce lights

find pillow fabric and sew

upholster ottomans

buy new crisp white bedding

find some decor for the console/buffet!

Can’t wait for it to be finished!

Be sure to give support to all the participating contestants (here)!!

ORC: There’s No Place Like Home Navy Bedroom

So I wasn’t sure if I was going to participate this fall in the ORC. Some of you may know that I tried to participate in the spring version (you can see it here). I had big plans to do my first bathroom in my new house and fell very short of finishing, sadly it is STILL not finished (but we are getting really really close!). Oh well. It’s my first house and I am learning how long to expect things to take.

For those new to the ORC it is hosted bi-annually by Linda over at Calling it Home, and it is so much fun! Check out all the participants here!

So this around I am taking it a bit easier.

Little Yellow House Guest Bedroom Before 1

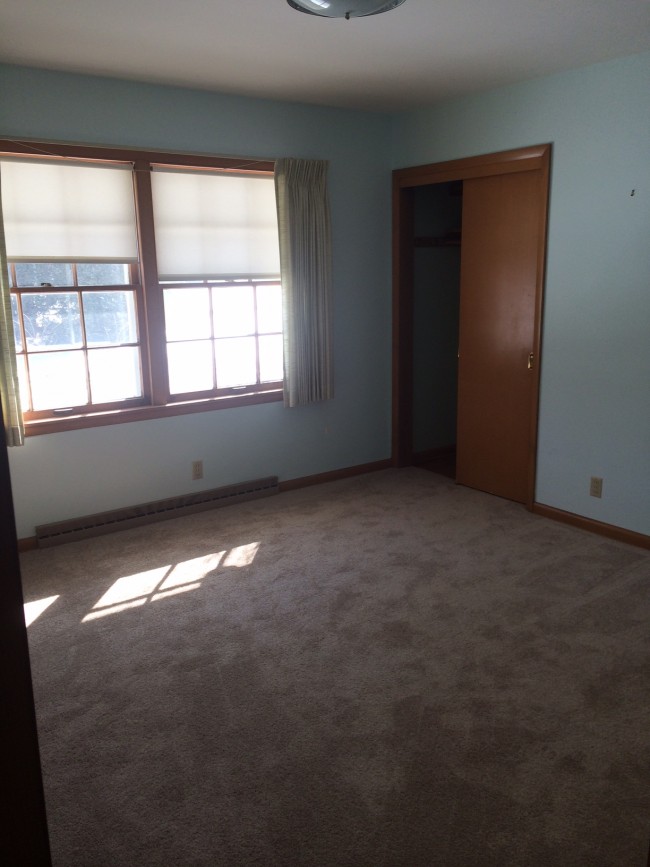
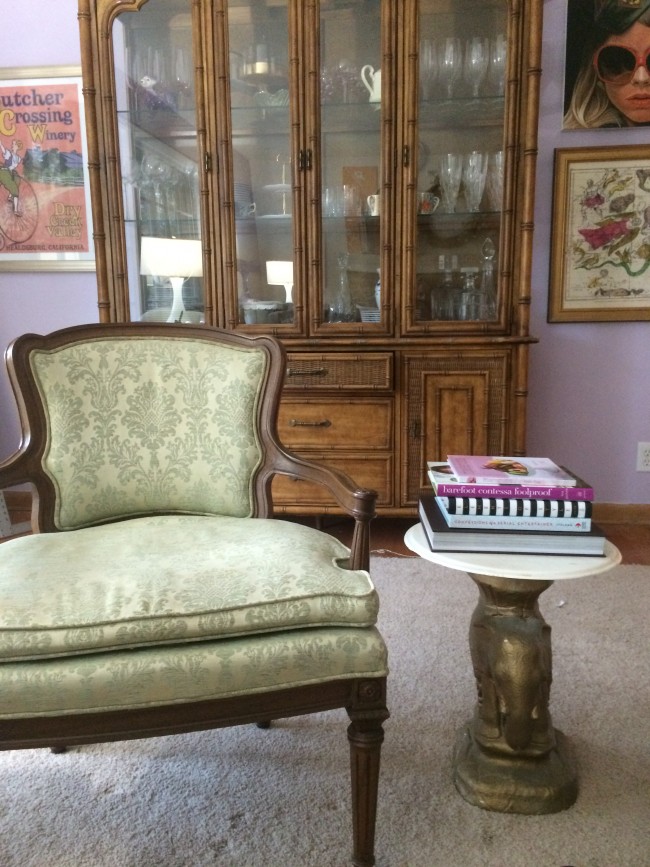
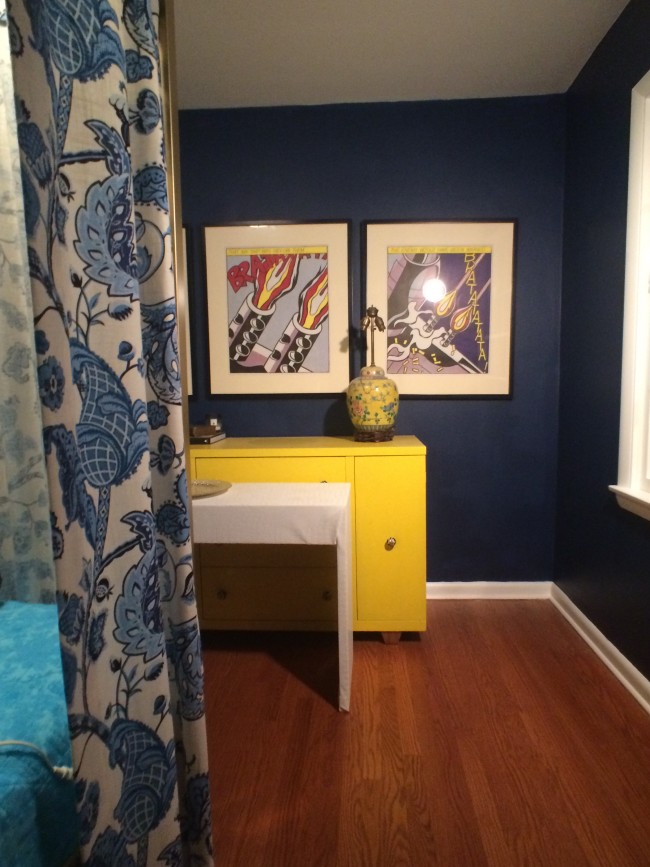
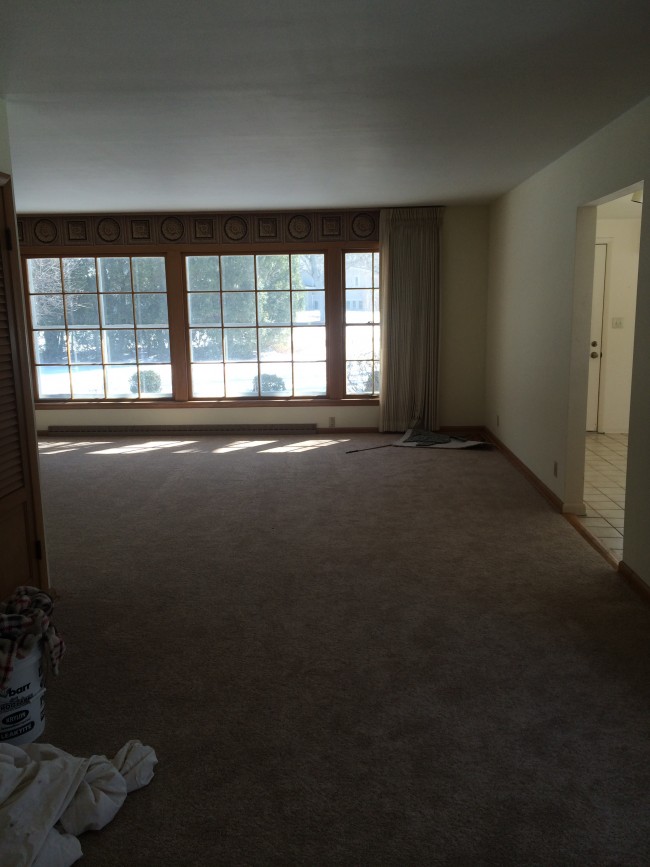
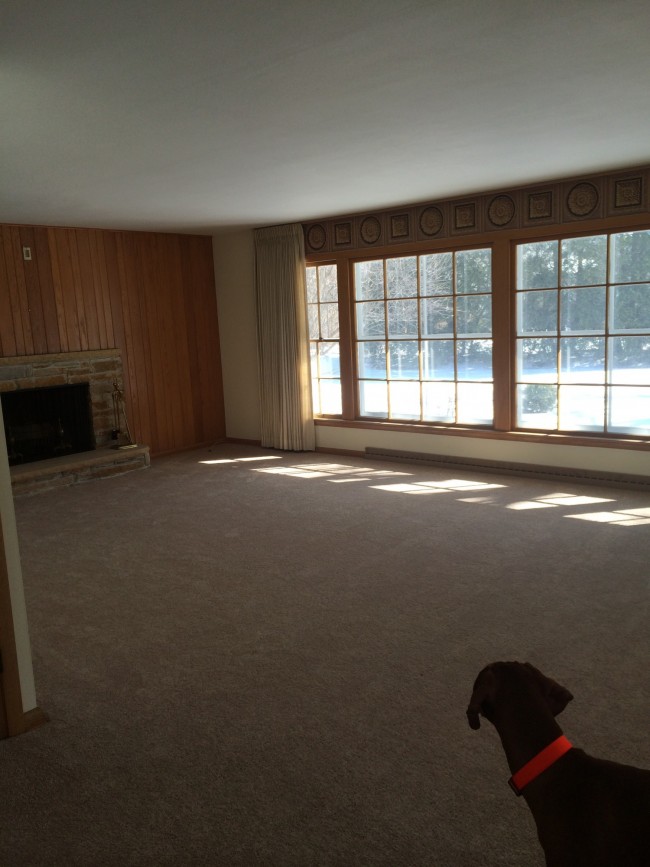
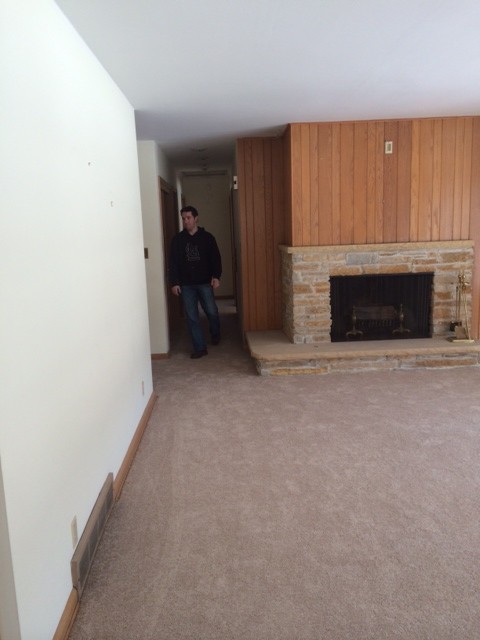
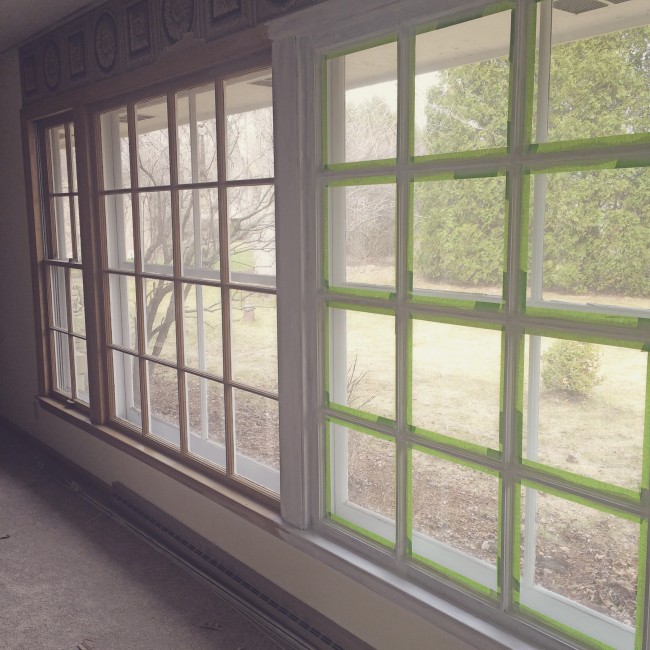
Here is my before pic. Obviously needs some love.

I shared some inspiration a bit ago, but sadly the summer got away from me and I haven’t really gotten much done at all. So I am going to start fresh and share again and use the next six weeks to have a super polished room at the end!

As I Open Fire Pics

The room idea all started with the above pic. My husband I found these pics about two summer’s ago at a flea market.

They are called “As I open Fire” by Roy Lictenstein. When we first saw them I could see my husband was pumped. I mean, like he couldn’t talk (he was an art/multi media graduate). They were fully framed and matted and the price was $500. After a couple minutes we walked away, and then I said to my husband, really I feel like 500 for fully matted and framed pictures is a pretty good deal (I mean framing these days is so expensive). He thought they were 500 for 1 not for all 3. He quickly continued googling their value, and the cheapest they were anyone online (unframed) was $500 all the way up to several thousand depending on the printing, so I figured we were getting a good deal since they were framed and all. So we went back  (even negotiated down to 400) and brought them home, and ever since I have been decorating a room around them in my head, which includes a canopy bed.

TNPLH Canopy Room Inspiration

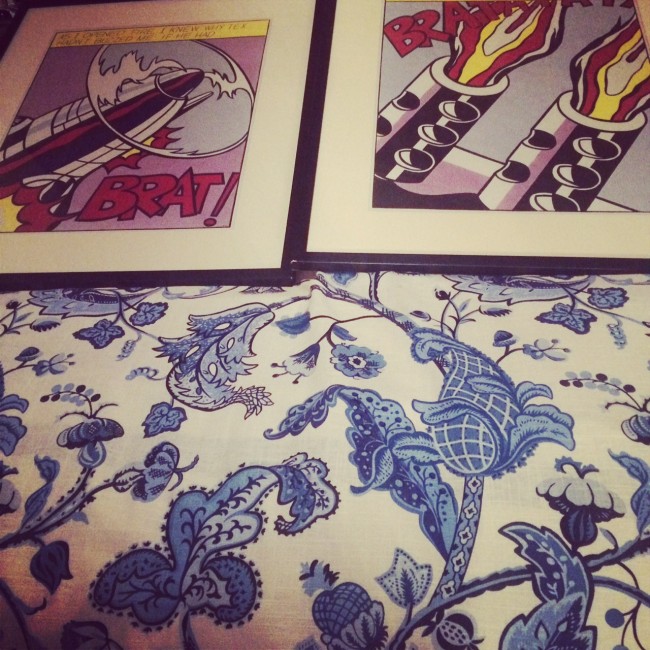
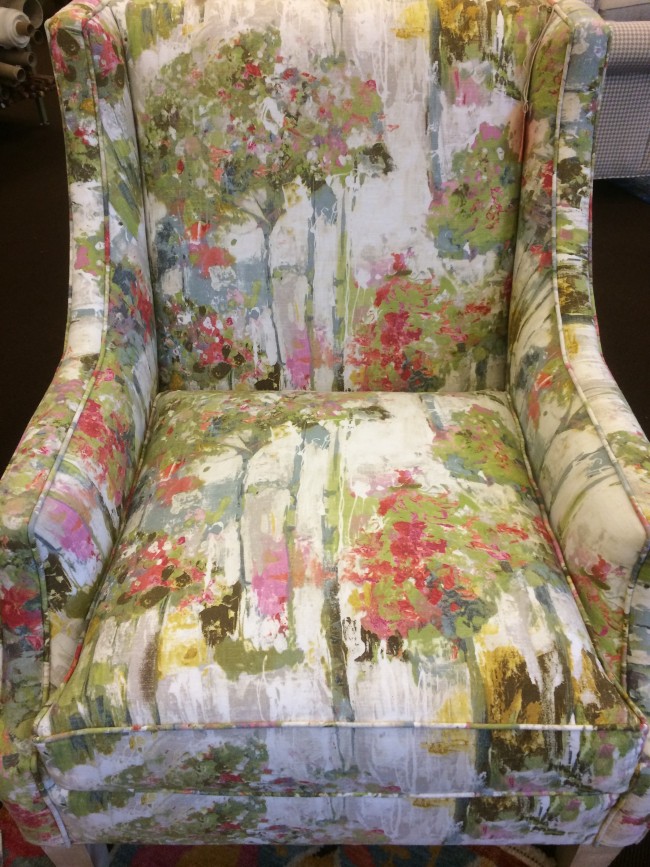
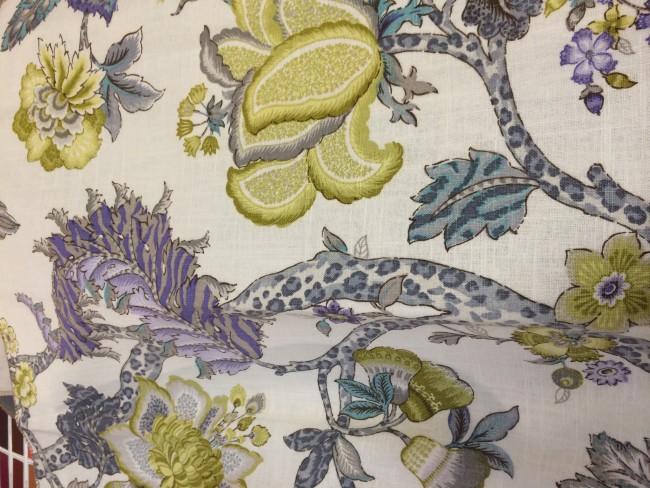
After I found these pics I had been looking for fabric for a canopy bed around it. I found this fabric which I was so happy about. I like how the traditional fabric is up against the funky prints.

navy bedroom inspiration
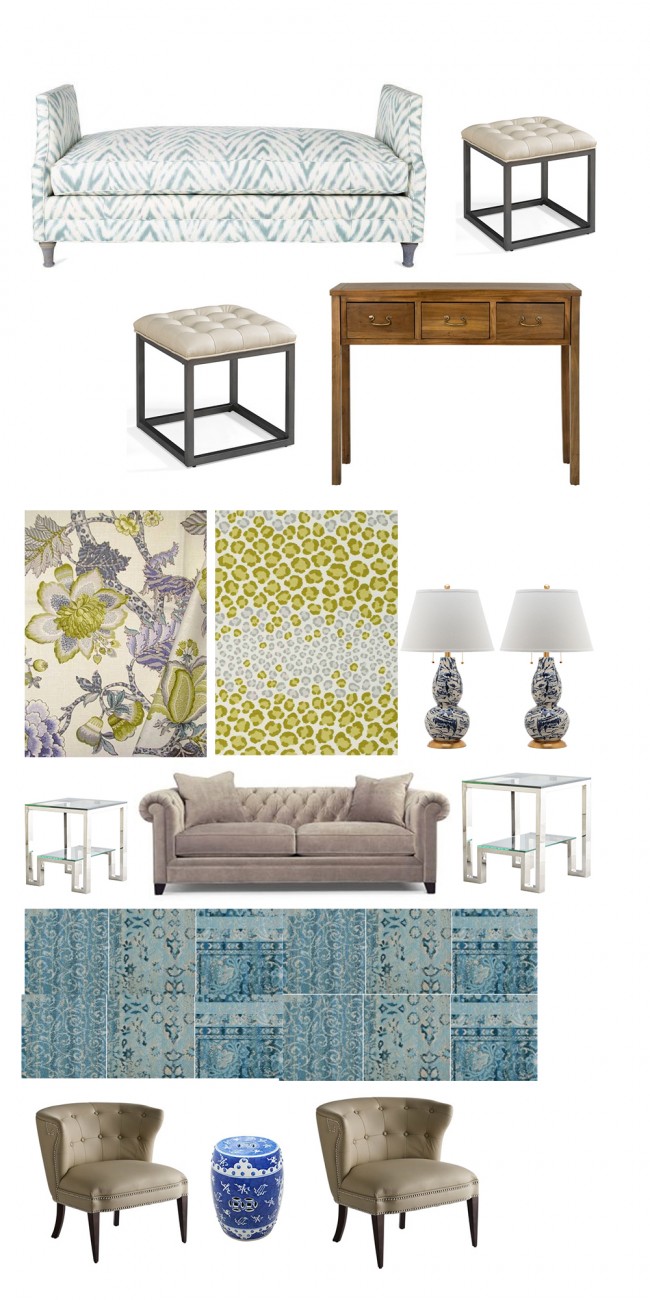
Above is an inspiration with the bed we bought from Room and Board. We bought the bed a while ago, and I have one drapery panel done.

List of To Do’s

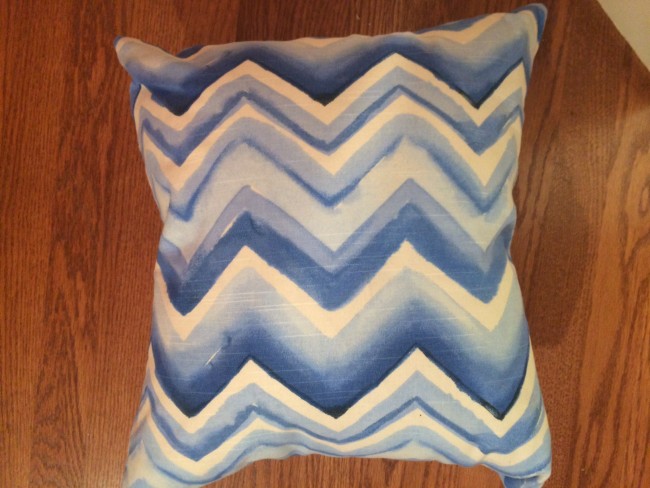
1. Sewing, lots of sewing. Finish sewing all drapery panels for the bed (5 to go). Sew accent pillows for bed (need to pick out fabric)

2. Society Social Console Table: So who doesn’t love the society social console table wrapped in leather goodness. I do, but with so much spending going on I have to pick my battles so I am going to try a good old DIY to get the same look in the room.

3. Upholster 2 xbench ottomans: My dad and I made 2 xbenches together when I first graduated from college and they need some sprucing up.

4. Finish hanging doors, buy new hardware

5. Replace Light Fixture? Budget pending….

6. Hang Art, find new art for over the bed

7. I was really inspired Shine Your Lights Ikea Sconce Hack. Thought these would be perfect little sconces over the bed to make it even more cozy in there. So I need to spray those and get them hung.

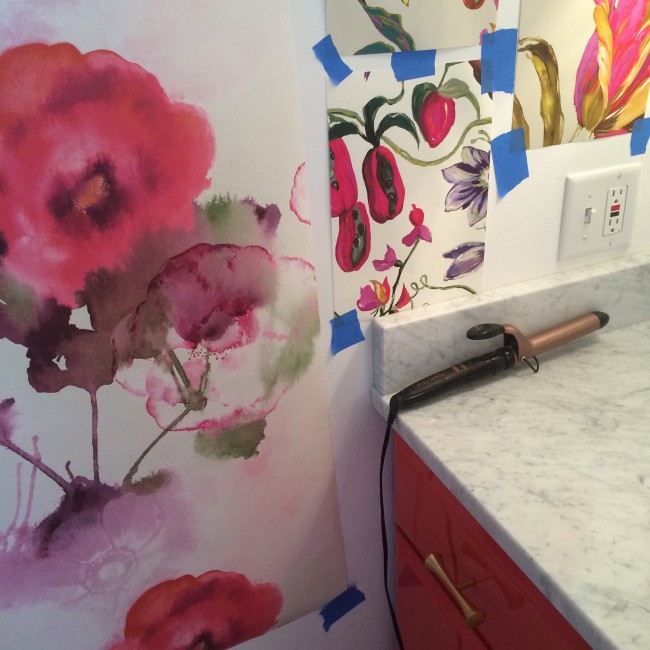
8. Create Valance over windows (think I’m going to upholster in the same fabric as the canopy bed).

9. Of course style the room and get it ready for guests!

So nothing major. The DIY’s and sewing will take the longest so I need to start on that asap. I just can’t wait to have the room more polished. Since we painted it we just have the bed sitting in there, which is nice, but I am looking forward to having it more welcoming for our guests.

 So here we go!


DIY: Mantel Progress

We are making progress on the living room and I am super pumped to share with you how we created this amazing mantel.

 TNPLH DIY Mantel

So I love that the new house has a fireplace, but it definitely needed some love when we first moved in.

photo(3)

Wood paneling, no mantle, and I hate the stone. So I have been tackling this space for a bit with my husband. First I sanded down the paneling and primed it white. Then we started tackling the mantel. There was already this little stone piece at the top, but you couldn’t fit anything on it. So we just started adding layers to that piece.

TNPLH: DIY Mantel Project

As you can see here we first added a 2×4 to the top of the stone with construction adhesive. Then we added the top and the skirt to the 2×4 to start and box out the mantle.

TNPLH: DIY Mantel 2

My husband used a combination of construction adhesive (glue) to first put in place and then would use a nail gun to secure it to the first 2×4 piece.TNPLH: DIY Mantel 3

TNPLH: DIY Mantel 4

After we had the base of the mantel boxed out we were ready to start making it a bit more pretty with some crown molding.

TNPLH: Crown Molding

We used three different pieces of molding to finish off the mantel. A nice thick piece (4.5 inches wide), a small topper piece to place on top of that (attached to the edge of the topper), and a decorative square piece for the bottom of the skirt.

TNPLH: DIY Mantle 6

This side view you can see how we began layering on the decorative prices.

TNPLH: DIY Mantel 7

TNPLH: DIY Mantle 8

As you can see we still need to fill in all the nail holes and then paint, but it is certainly looking a lot better around here!

TNPLH: DIY Mantel 9

Stay tuned in the coming week to see how paint finishes it off!

Little Yellow House: Living Room Inspiration

Now that you have seen the before I am dealing with. I wanted to show you what I have been drumming up as inspiration for my space.

Now the entire space started with me falling in LOVE with this fabric.

P Kaufman Malawi

Fabric

Isn’t it fantastic? I love the colors and the print is so traditional with a spunk. I love it! So ever since I snatched up enough for the drapes on the huge windows I have been decorating and designing around it ever since! I have already started painting the living room lavender to coordinate with the drapes so wanted to pull in the beautiful blues and chartreuse colors of the fabric.

living room inspiration

OKL Bench: OMG if there is one piece of furniture I splurge on in this living room it would be this bench. I love it. I have been loving daybeds or benches in living rooms (see my recent inspiration here) and thought this would work perfectly in front of my fire place. Low enough that it doesn’t block a nice fire but provides extra seating for company. LOVE!

Horchow Leather Accent Chair: So I have been loving these side chairs. They are bit on the expensive side, but I recently found some vintage chairs on Craigslist that might be a nice alternative.

Macy’s Chesterfield: I already have this sofa, got it a couple years ago. It has held up super nice and I love it, so that will be staying.

Wisteria Side Table: Love this table, not sure I want to spend so much on them, it might depend on how much things run up to – does anyone know if they ever go on sale. I think the nice geo legs make them super updated and chic.

P Kaufman Nambia Fabric: Love this pattern to coordinate with the drapes, thinking pillows

Swirl Lamps/I know everyone has bought these recently but what can I say I am in love with them. Can’t decide if they are too trendy to keep in my inspiration or if I should look for alternatives.

Lucite Coffee Table: Love Lucite coffee tables. Again, don’t love the price we will see what I come up with.

Console Table: I want some sort of console table under my TV. I have been scouring Craigslist to see if I can find a deal on something.

Cream Tufted Ottomans: Love these simple little ottomans to tuck under the console table. I like to have extra seating to pull out when needed!

OKL Garden Stool: I like the idea of some small table or garden stool in between my two accent chairs.

I also knew I needed some sort of china cabinet to fill up the void of the big wall opposite the fire place. So first thing I did was search for a china cabinet on Craigslist and OMG how in love I am.

TNPLH: Little Yellow House China Cabinet

Not the best pic. Haven’t had time to take some beautiful ones yet. But at least you get an idea of what it looks like! I didn’t even have to do anything to it. A nice polish was all it needed. Did I mention it is a Stanley Furniture Piece. Not bad for $350!!!

What do you think? Any suggestions and things to incorporate?

Little Yellow House: Living Room

I used to dream of having a new house and posting all the amazing project we were working on. Now I realize it’s very hard to share projects because of several things. 1. I get so caught up in how things are coming that I forget 2. I never think it is done 3. I also work a full time job and things feel like they drag on for a while (like we are only about 90% done with the bathroom that I was very over zealous about finishing for the One Room Challenge in spring, oh well such is life).

Anyway I have started working on the living room slowly and wanted to share some of my design inspiration and the before pics.

TNPLH: Little Yellow House Living Room Before PIc 1

The house living space is largley open concept which is nice and I think will help sell the house later after we fix it up. The very bottom of the pic is where the dinning room table is and then it goes right into this large but long living space.

TNPLH: Little Yellow House Living Room Before 2

So here is the other side of the living room and then to the left it goes into a hallway to the bedrooms. You can see the first thing we liked about this house was all the natural light. It just pours into the house every day and creates a very warm feeling. First thing was to paint all the windows white. The windows are in pretty good shape from what we can see so far so we painted them all and scraped the wallpaper from above the window. Nice little accent. And also the drapes. OMG this house has so many heavy drapes everywhere just filled with dust. I took those down.

As you can see Watson was also very curious about the light in the room too 🙂

TNPLH: Living Room Before

Don’t you just love that wood paneling?

TNPLH: Living Room Window Painting

These windows took FOREVER. But now that they are done they brighten the room and look much more updated.

TNPLH: Living Room Window Painting 2

Check back tomorrow for some more fun on the furniture we have put in the living room so far and an inspiration board!