Upholstering Part 2

So last time I posted on my upholstery project I had just finished the coils. You can see it here. Here is the progress I made on Sunday.

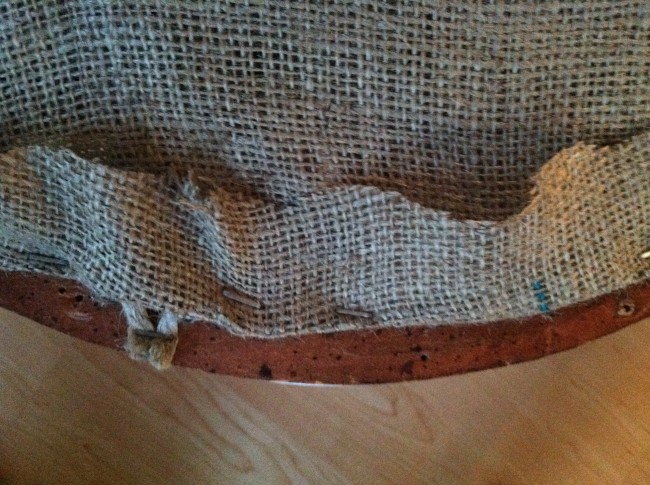
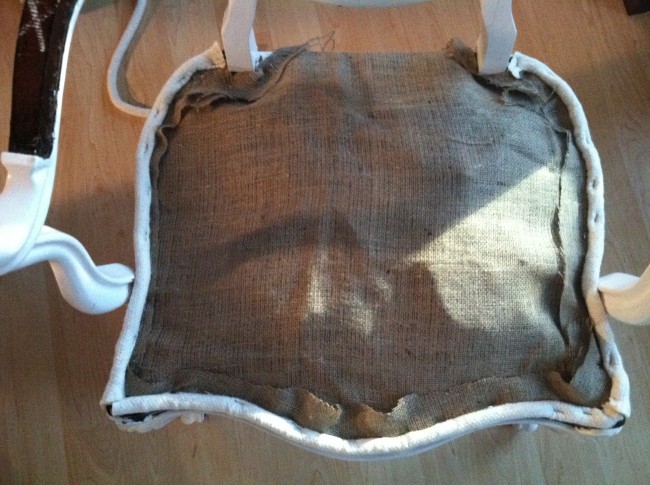
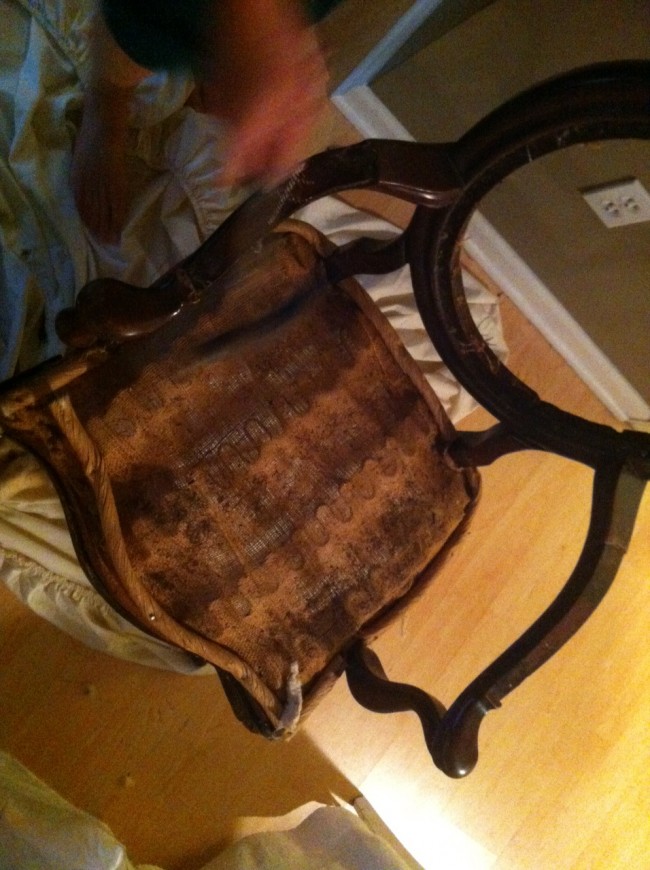
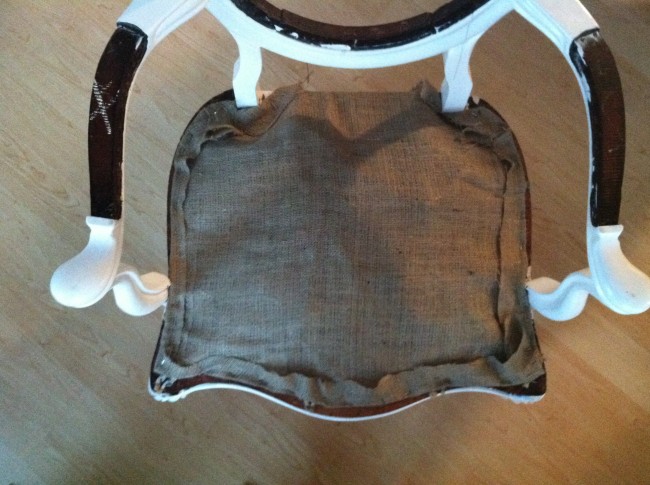
First I covered the coils with a burlap fabric. After I first stapled down in the center of the wood I then folded the excess fabric back so it wasn’t flapping over the edge.

Next I stappled 2 inch cotton edging to the sides. Lesson for next time: I bought this at JoAnne Fabrics – they didn’t have proper edging like an upholstering shop would. An upholstery shop would have had a fabric edge hanging off the roll making the stapling easier. You can find some here at DIY Upholserty.com.

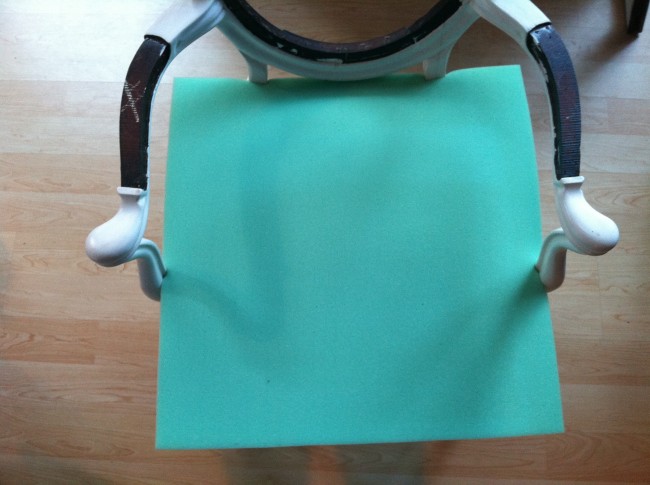
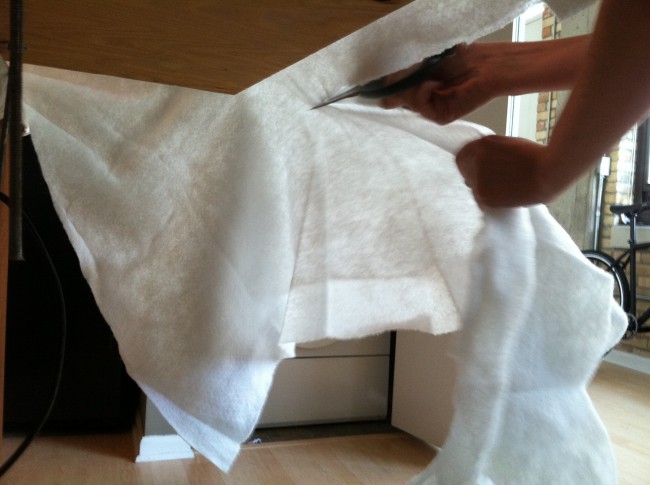
Next sizing up the cushion. Lay it down…

Draw a line from underneath to create a line of where to cut the cushion.

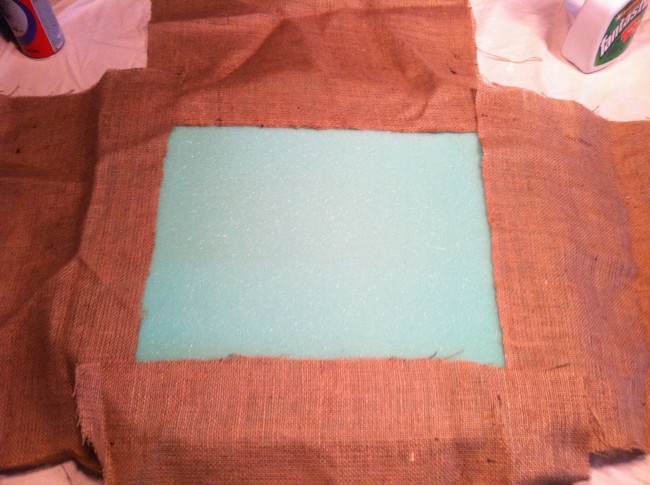
Next I used spray glue to glue pieces of burlap to the cushion. It was pretty tricky to get it to glue down. I sprayed A LOT to make sure it had enough to stay. They I placed some books on top to hold it down. The can says it takes about 3 hours to dry….so now we wait…

Stay tuned. PS click here for the detailed instructions I followed as I was working on this, since it was my first biggest project.
Upholstering with Coils – take 2

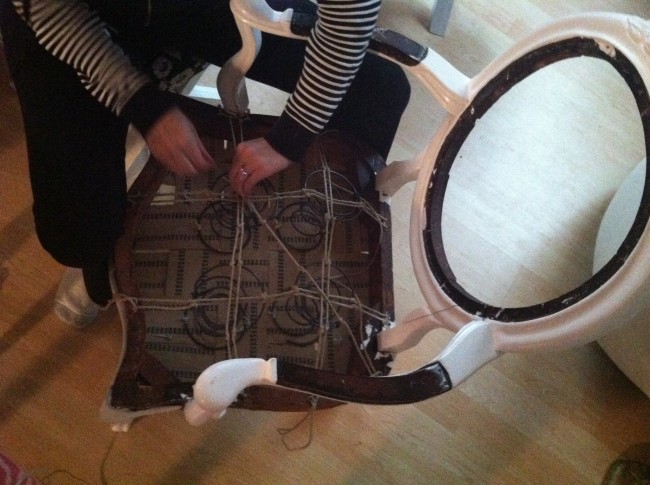
So this weekend I finally had a bit of time to work on my upholtery project a bit more (you can see my last post here). With the right size coils it was much easier this time. 

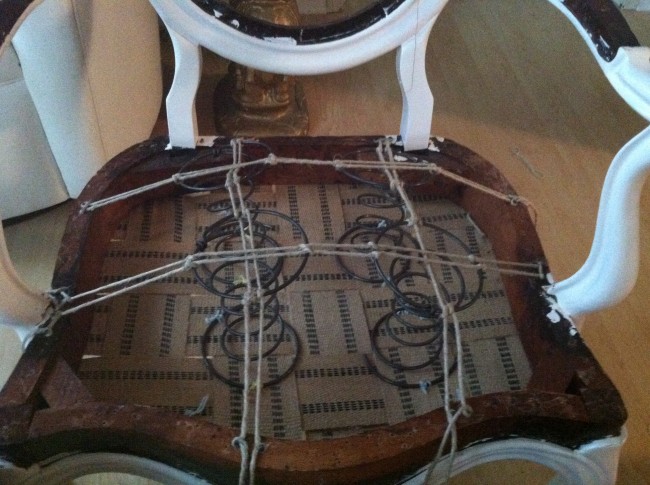
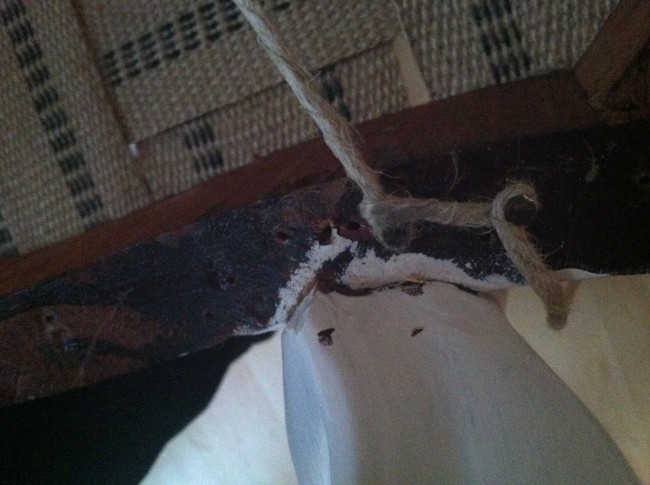
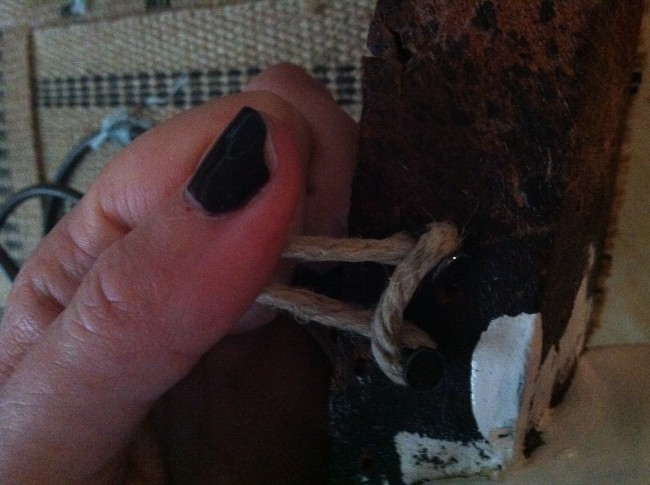
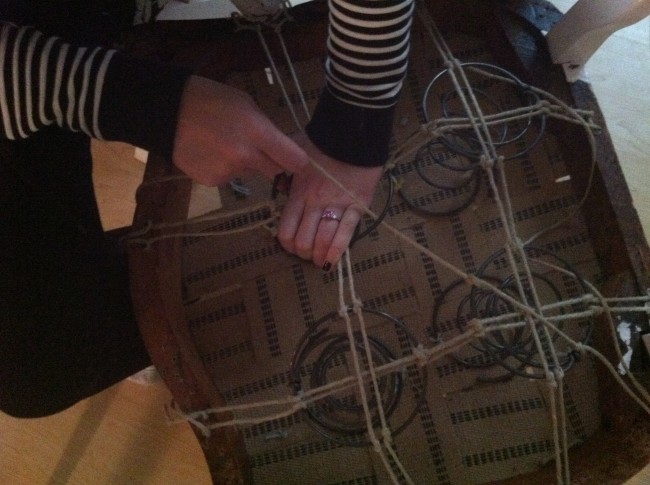
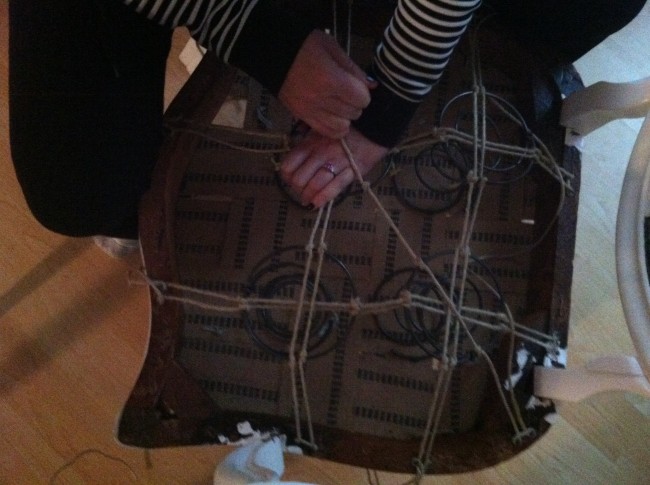
Near the arms of the chair there were a couple tricky corners. I used a second nail for these ones to tie off the ropes. It worked well to act as an anchor.

In the start of each tie I anchored each with 2 nails. Pound the nails in slanted away from where you are pulling that way it gives you extra leverage and the nail is certain to stay more.

I think one lesson on this round was I still need to push the coils down harder next time. But for my first time doing it – I think it is ok.

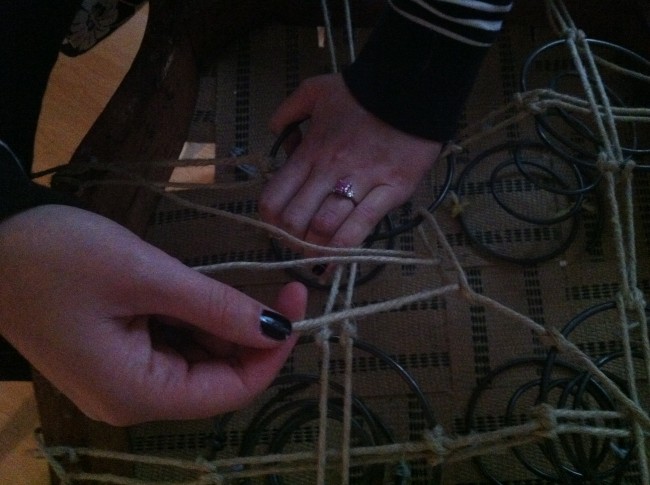
After I created the cross overs next I had to put them in diagonally.

Each time another row was tied down it got easier and I was able to get the coils tigher.

For the first time I say it went better than expected. Hopefully next chair goes even better!

Happy Monday

So this weekend I was trying to work on my new chair that I am upholstering.

Last week Chris helped me do the weaving on the bottom. That was pretty easy.

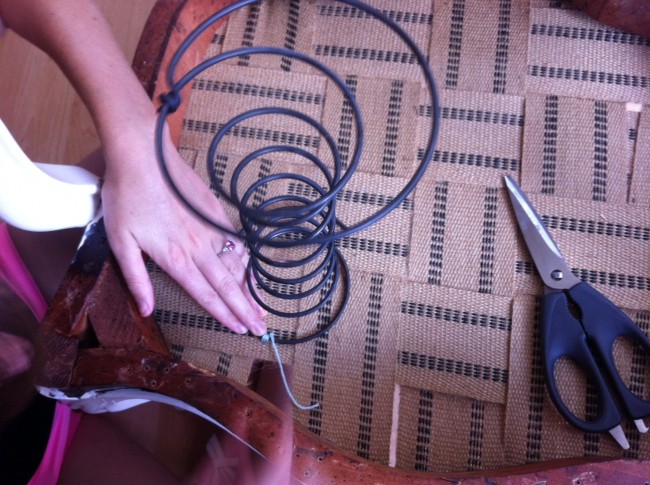
The coils proved to be tricky.

First I sewed them to the woven bottom that I did last week.

Then I tried to start tying the coils down. I watched a number of different videos online and I am pretty sure I bought the wrong size. This is my first time so that is my first lesson. I will have to buy smaller coils and then try again! Hopefully next time I am more successful!

Reupholstering Antique Chair: Part 1

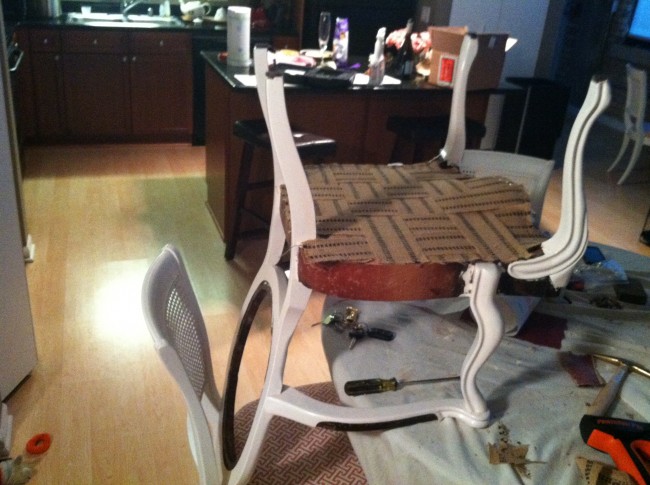
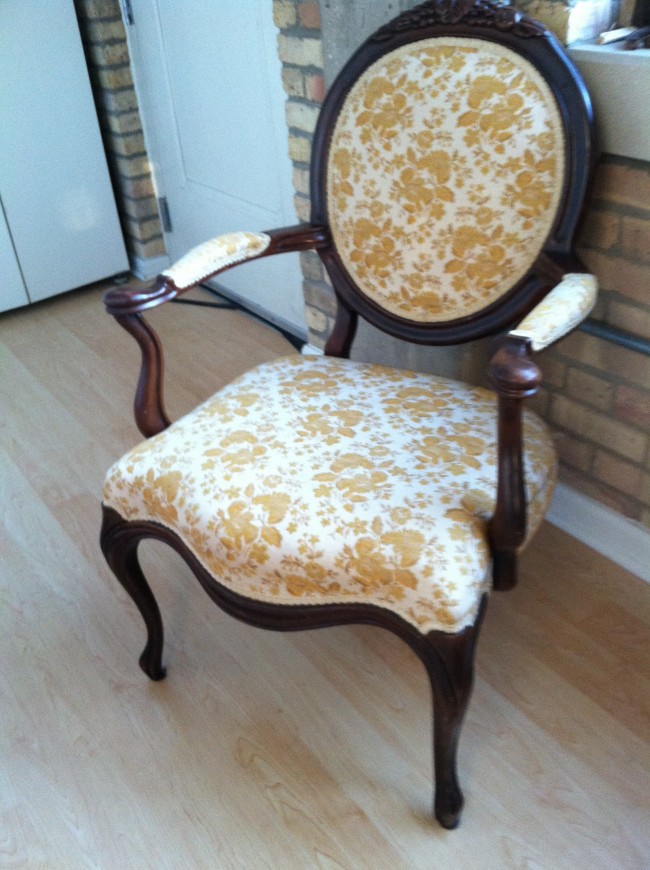
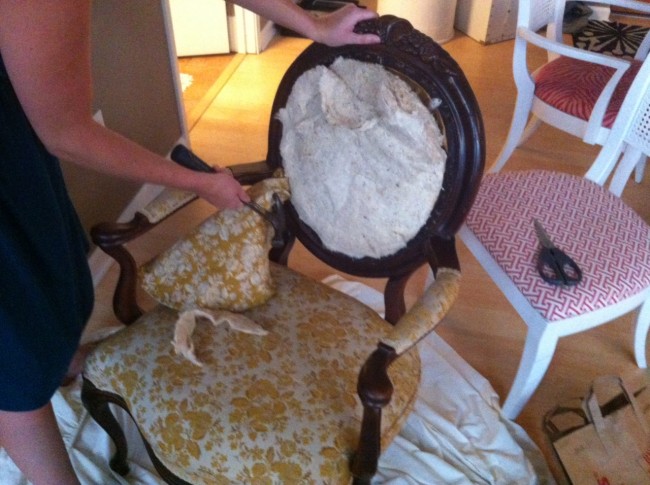
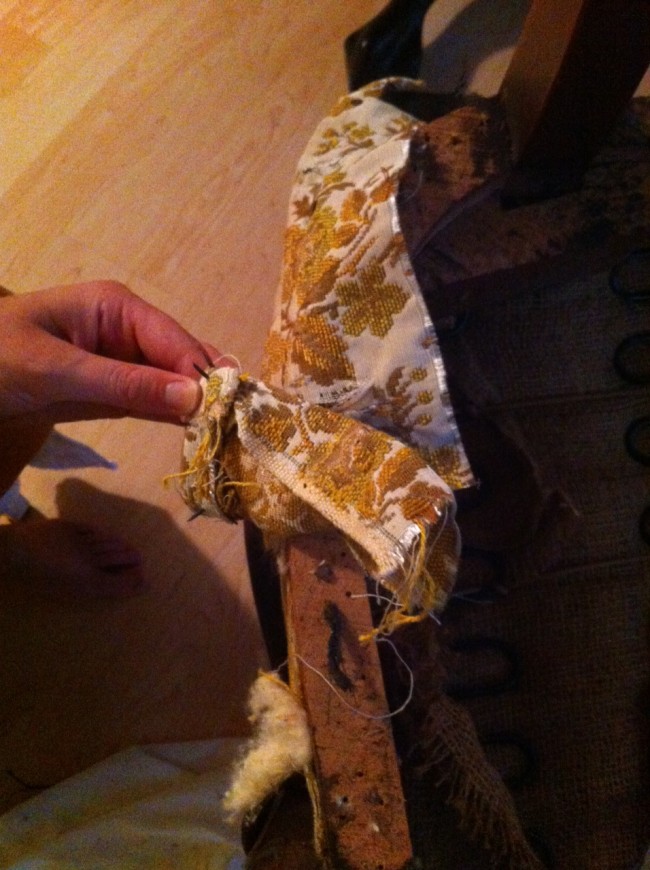
Good Morning – Happy Thursday! Today I wanted to share a project I have been working on for a few days now.  I found this chair on craigslist a while ago and finally have the time to work on it. Over the last couple of days I started tearing it apart so I could make it pretty again.

ps. I got it for $25 bucks!

Finally down to the wood – I started painting it already. Funny story – I thought it was white paint from my closet – however after a coat I could tell it was just slightly light pink. Oh well – I am liking it so far. Stay tuned in the next week or so as I share trying to install new coils and cushioning for the first time!

DIY: Cork Board

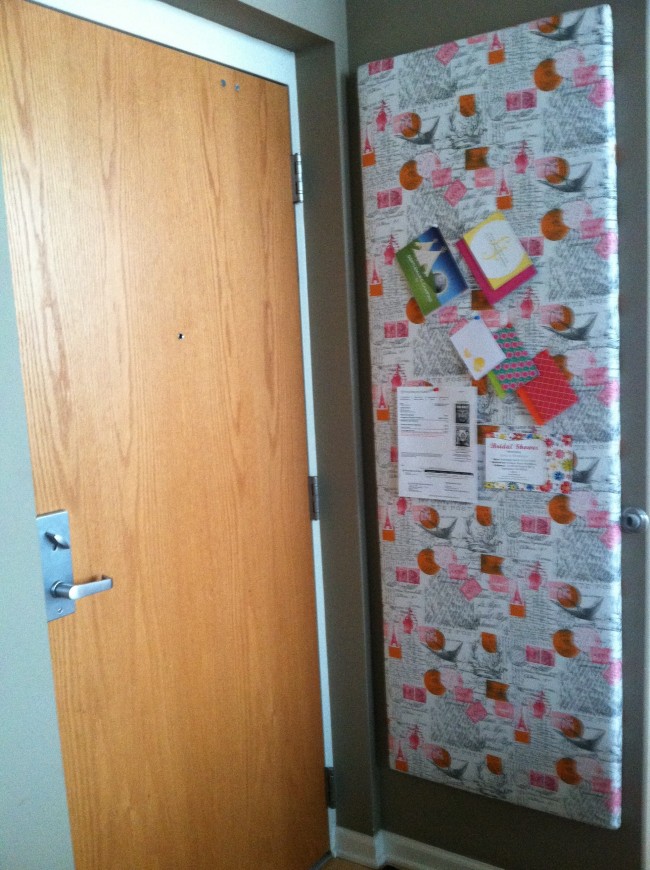
So, I have this big empty wall next to my back door. I also HATE piles of stuff sitting around my house. So I decided I needed a cork board to pin up all the things in my life to help organize. To make it a bit more festive I decided to upholster it with a fun fabric.

First thing – cut down the fabric to size.

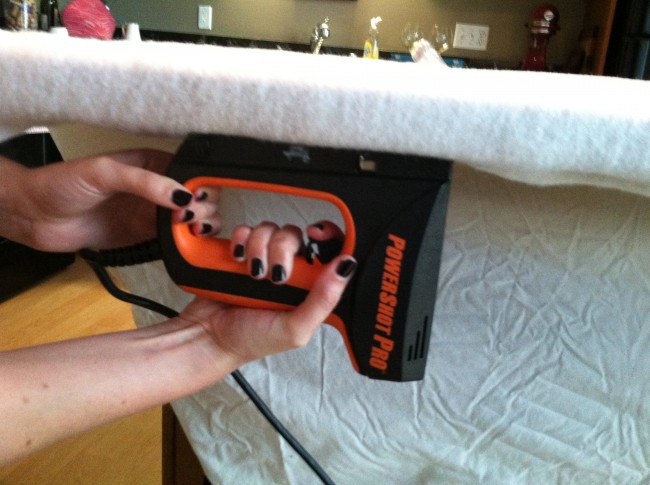
Before I jumped right into the fabric I decided to pad it with some badding to make it a bit more plush. Stapling it on!

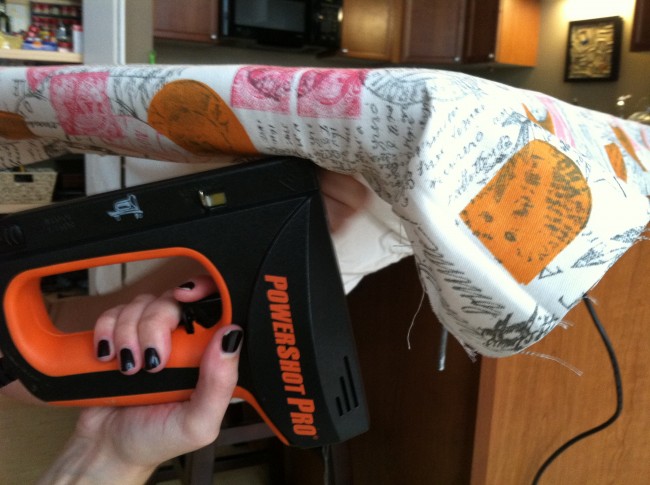
Ready to go with the fabric.

Staple round 2!

Close up all hung on the wall.

Back up shot – I plan on trimming the boarder with some ribbon later. I just have to decide how I want to patturn it.

Viola! Perfect place to organize!

Holiday Hosting!

This weekend was all about my favorite hobby HOSTESSING! I had people over both Friday and Saturday night and we had a great time catching up with friends and eating delicious food. We started Friday night by celebrating my good friend Mary’s birthday!

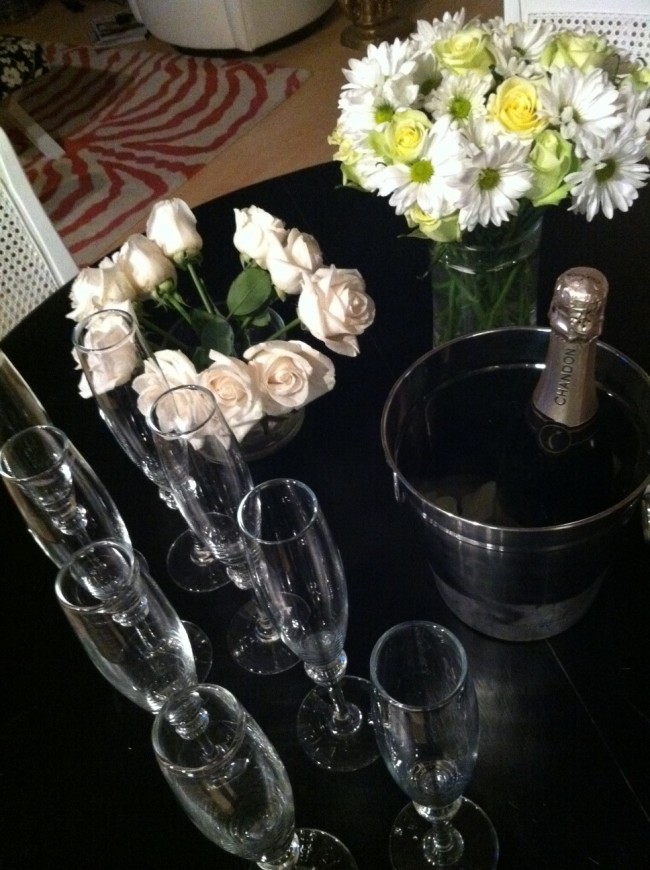
All prepped and ready to go with the sparkling!

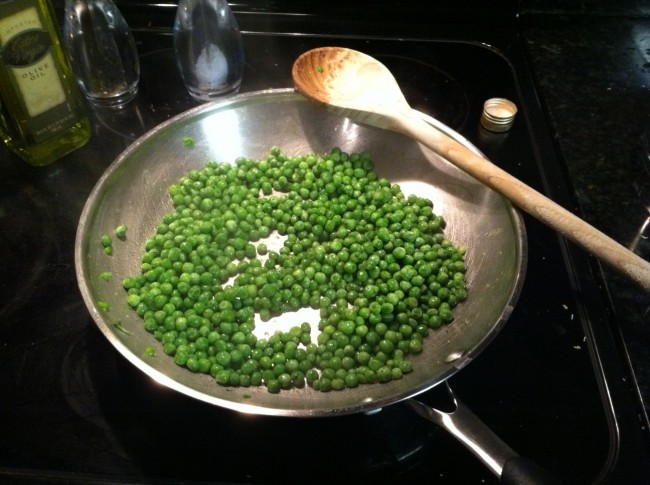
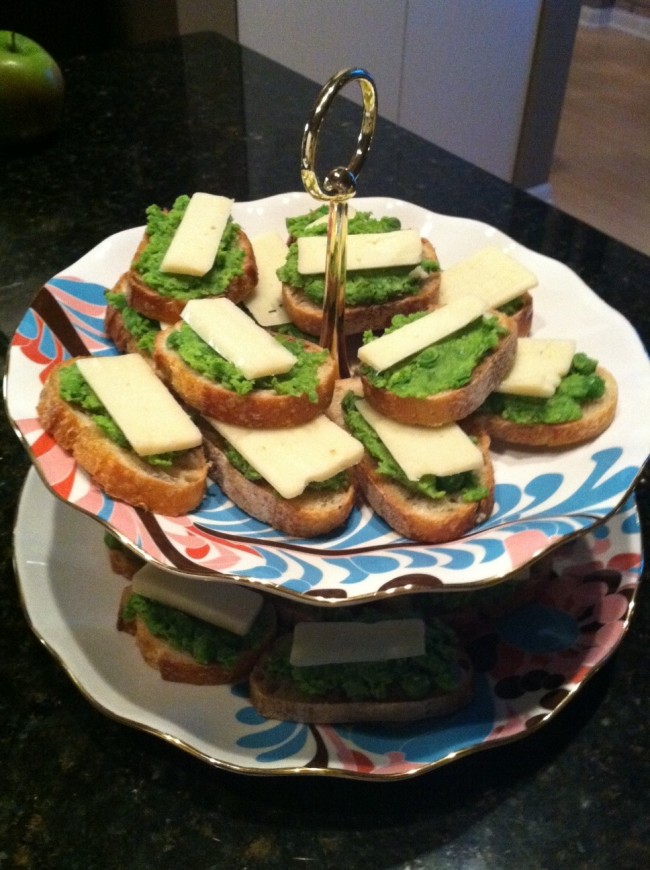
For the first appetizer I made a snap pea croistini which is super easy and delicious. Start by sauteeing the snap peas (you can use fresh but honestly I always use frozen). I sautee them with some olive oil, salt paper, and chopped up green onion. After they are nice and cooked throw 3/4 of the peas into a food processor or blender. Add a bit more olive oil and if you have some in the house throw in some basil for a nice extra flavor – we are pretty much making a pea pesto here. After it is all mixed up add back some of the chunks and mix together. This makes the texture nice because you are mixing the smooth peas with a couple chunks.

Next spread it on some toasted french bread and add a nice slice of a sharp cheese like parmesan or swiss. I used Bellavatano Reserve (one of this Wisconsin girls favorite cheeses)! So easy and delicious – always a hit at a party! As for a second appetizer I made sausage rolls like I shared with you last week and a classic white cake – but I forgot to take pictures – sorry!

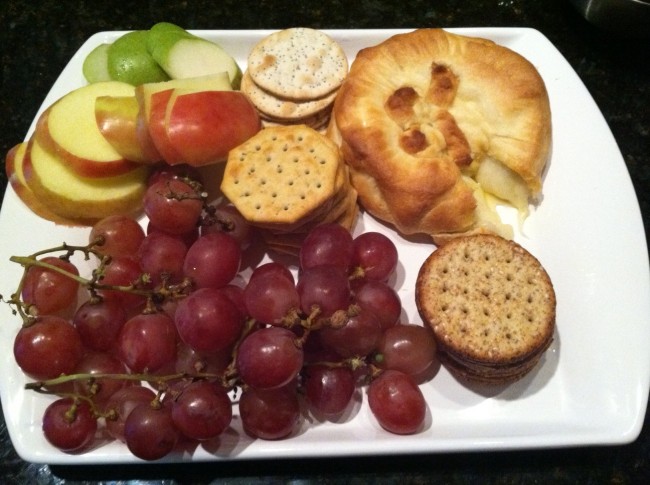
Next was Saturday night. My boyfriend Chris and I had the couple the actually intorduced the two of us over for dinner. They were nice enought to bring a baked brie cheese plate for the appetizer – isn’t it lovley! I love baked brie so easy and delicoius!

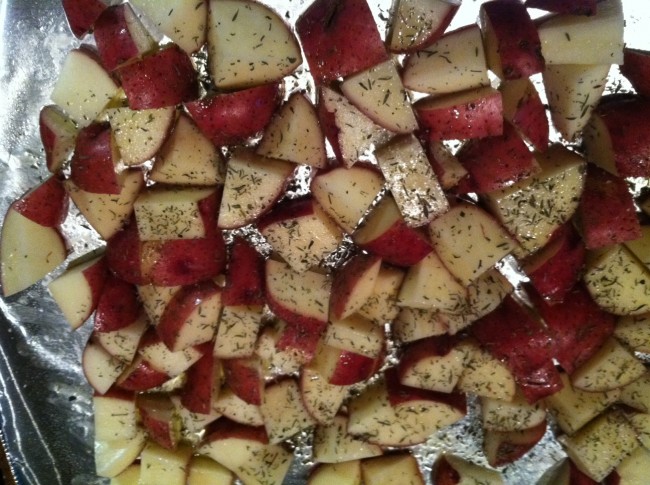
Rosemary potatoes prep!

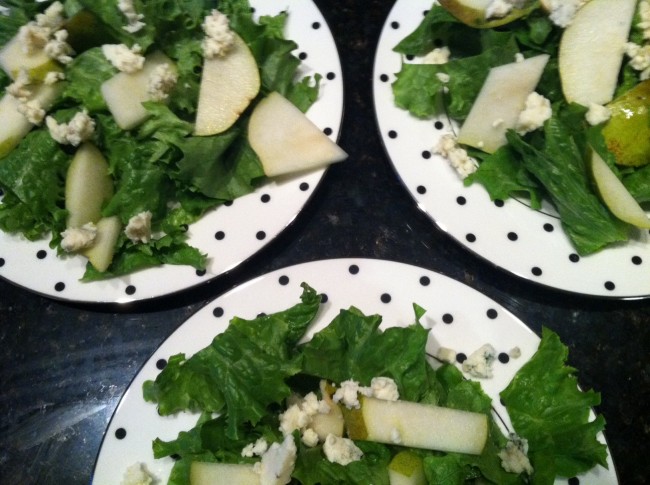
For the salads I kept it simple with some nice leaf lettuce, pear, blue cheese and balsamic vinegrette. Yum! For the entree with the potatoes I made cornish hens and some sauteed asparagus – in all the excitement of getting dinner on the table I forgot to snap a pic. I will have to share with you another time because they turned out great!

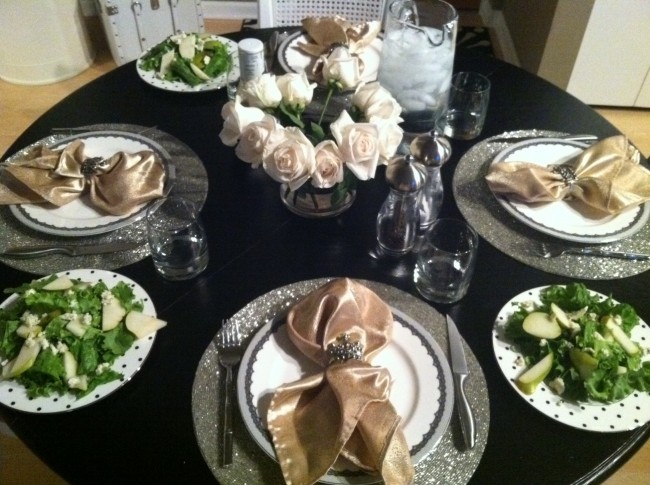
Didn’t the table look lovley!

After dinner we went to Sherlock Holmes the movie – I recommend – it was fantastic. That was my weekend in a nut shell. I had a great time putting on my Martha Stewart hat. Hosting is one of my favorite things – it really put me even further in the holiday spirit. The countdown to Christmas is here!