Upholstering Part 2

So last time I posted on my upholstery project I had just finished the coils. You can see it here. Here is the progress I made on Sunday.

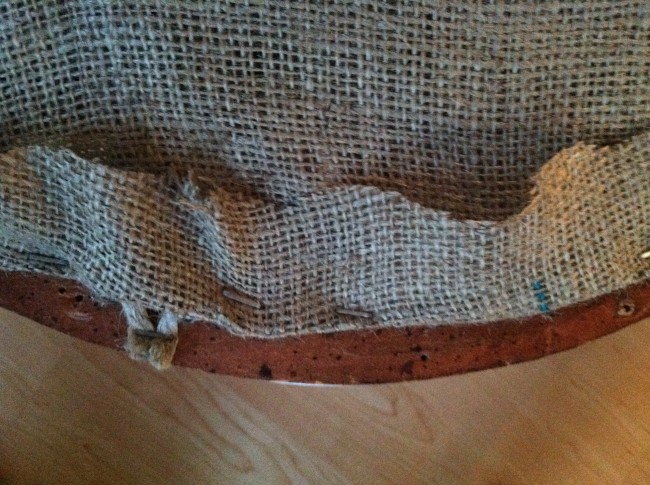
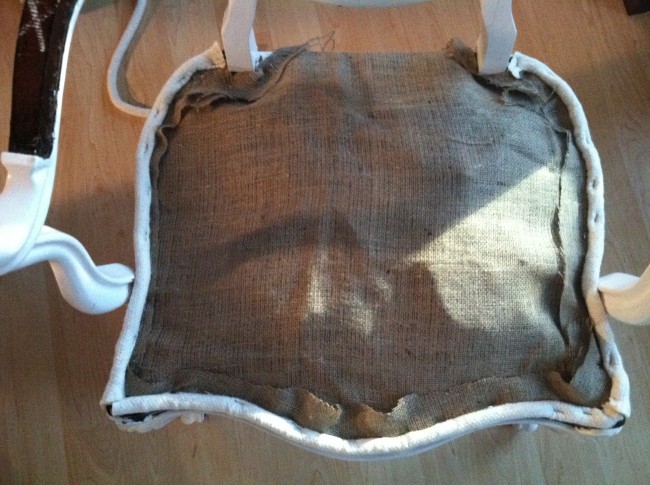
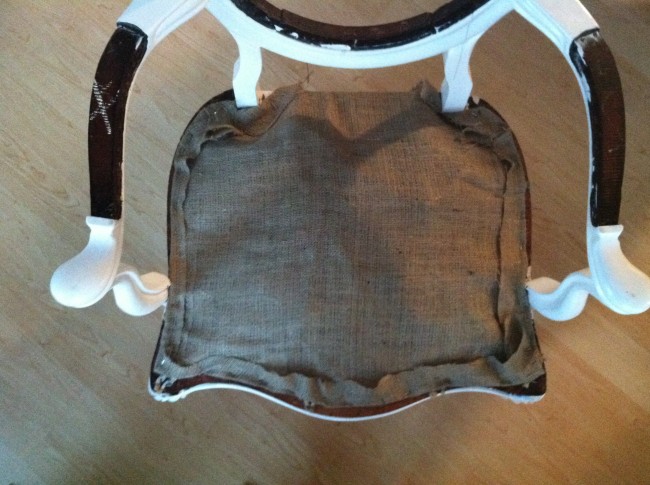
First I covered the coils with a burlap fabric. After I first stapled down in the center of the wood I then folded the excess fabric back so it wasn’t flapping over the edge.

Next I stappled 2 inch cotton edging to the sides. Lesson for next time: I bought this at JoAnne Fabrics – they didn’t have proper edging like an upholstering shop would. An upholstery shop would have had a fabric edge hanging off the roll making the stapling easier. You can find some here at DIY Upholserty.com.

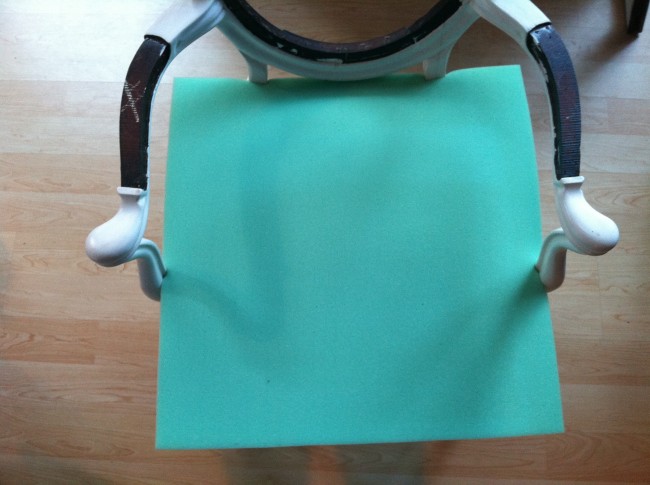
Next sizing up the cushion. Lay it down…

Draw a line from underneath to create a line of where to cut the cushion.

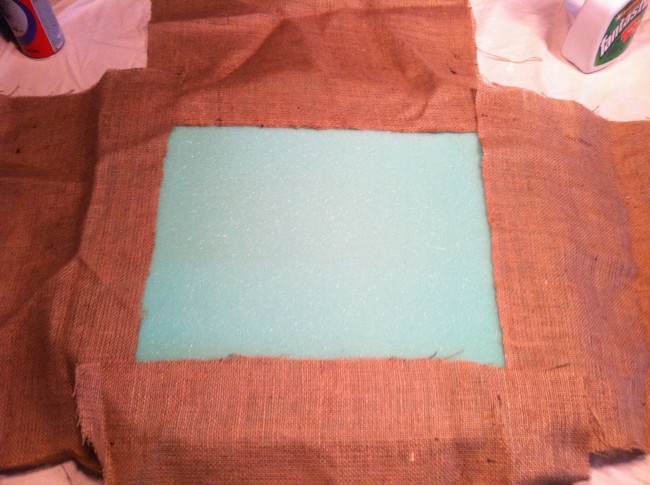
Next I used spray glue to glue pieces of burlap to the cushion. It was pretty tricky to get it to glue down. I sprayed A LOT to make sure it had enough to stay. They I placed some books on top to hold it down. The can says it takes about 3 hours to dry….so now we wait…

Stay tuned. PS click here for the detailed instructions I followed as I was working on this, since it was my first biggest project.
Happy Monday

So this weekend I was trying to work on my new chair that I am upholstering.

Last week Chris helped me do the weaving on the bottom. That was pretty easy.

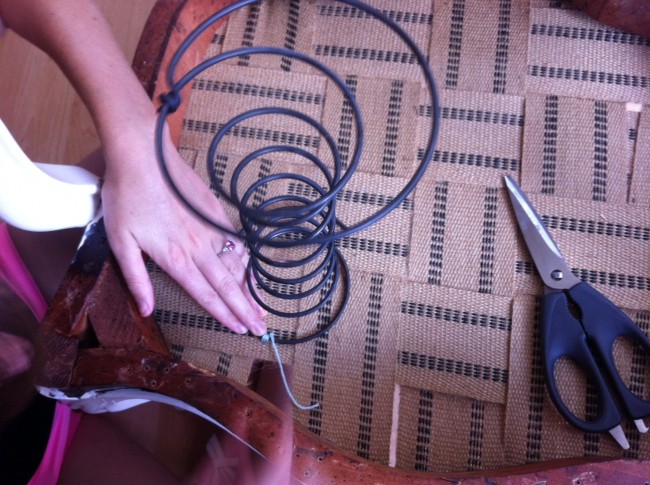
The coils proved to be tricky.

First I sewed them to the woven bottom that I did last week.

Then I tried to start tying the coils down. I watched a number of different videos online and I am pretty sure I bought the wrong size. This is my first time so that is my first lesson. I will have to buy smaller coils and then try again! Hopefully next time I am more successful!

Reupholstering Antique Chair: Part 1

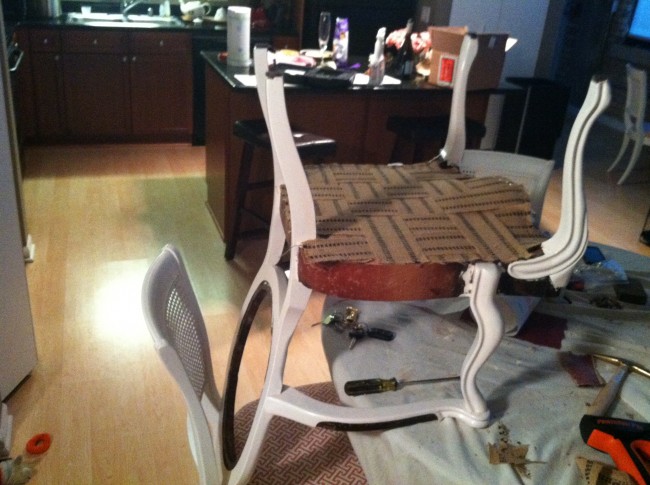
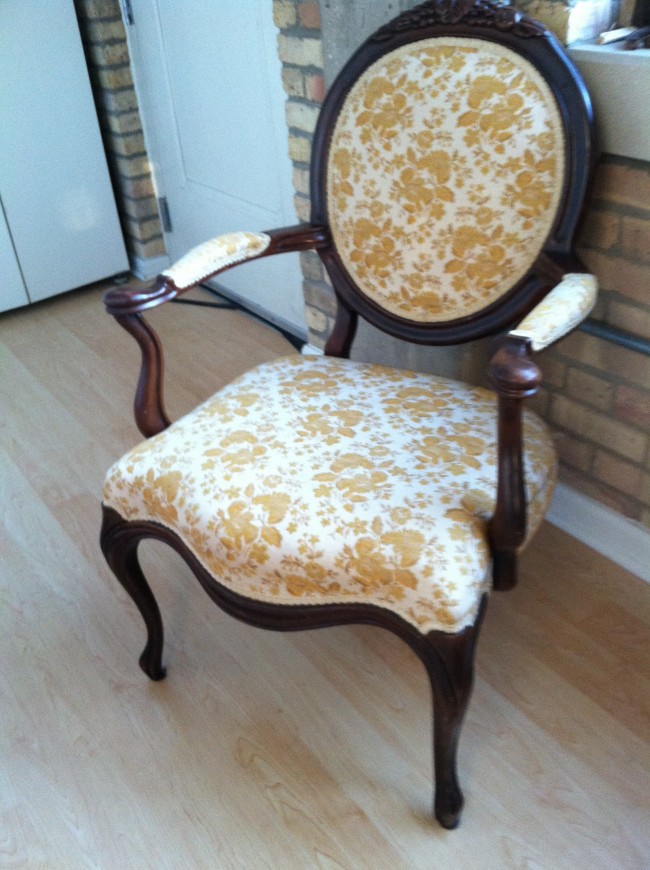
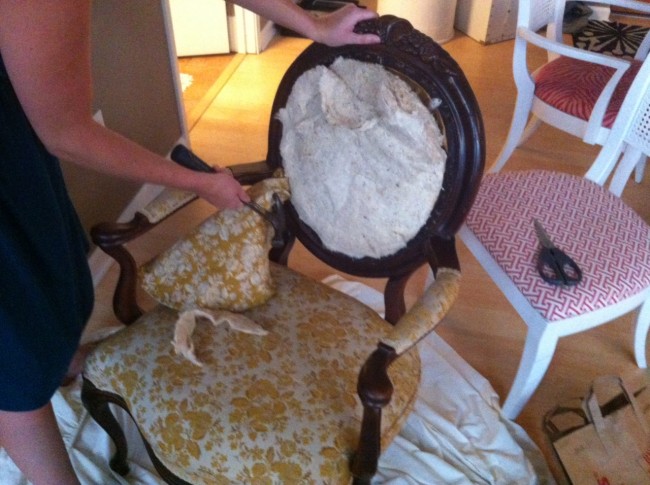
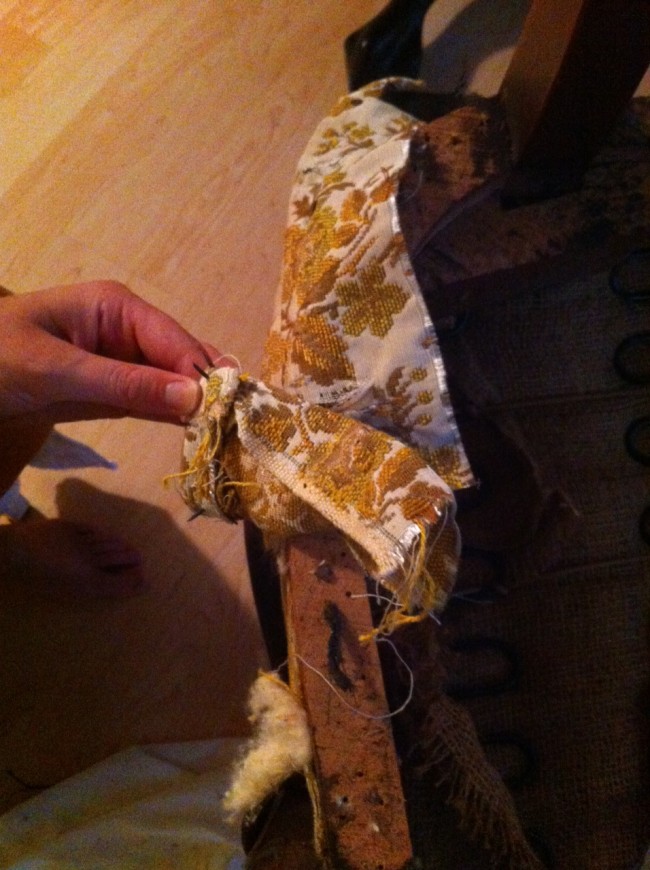
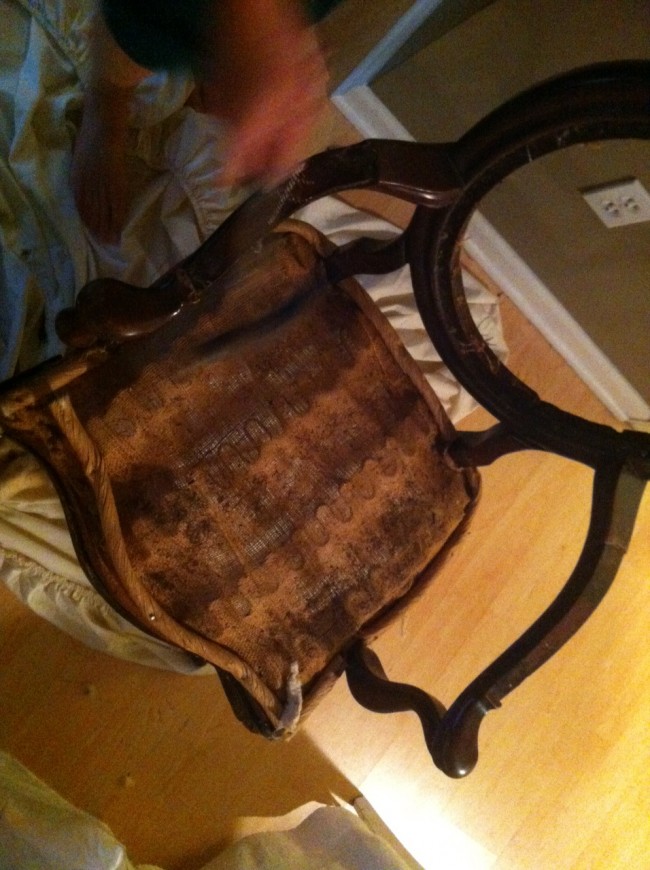
Good Morning – Happy Thursday! Today I wanted to share a project I have been working on for a few days now.  I found this chair on craigslist a while ago and finally have the time to work on it. Over the last couple of days I started tearing it apart so I could make it pretty again.

ps. I got it for $25 bucks!

Finally down to the wood – I started painting it already. Funny story – I thought it was white paint from my closet – however after a coat I could tell it was just slightly light pink. Oh well – I am liking it so far. Stay tuned in the next week or so as I share trying to install new coils and cushioning for the first time!

Rescue: Antique Dresser

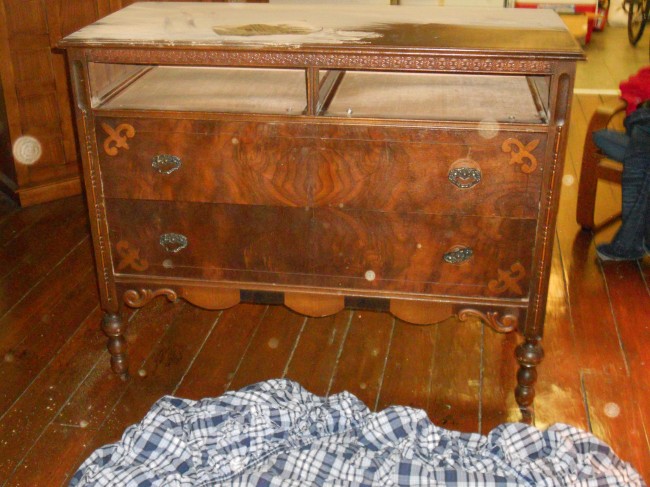
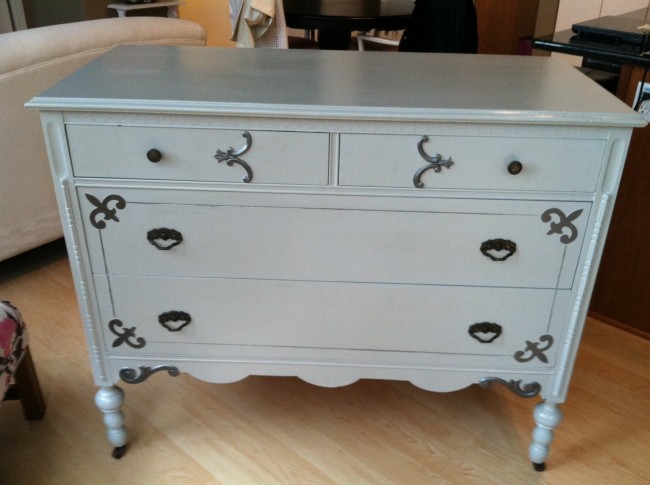
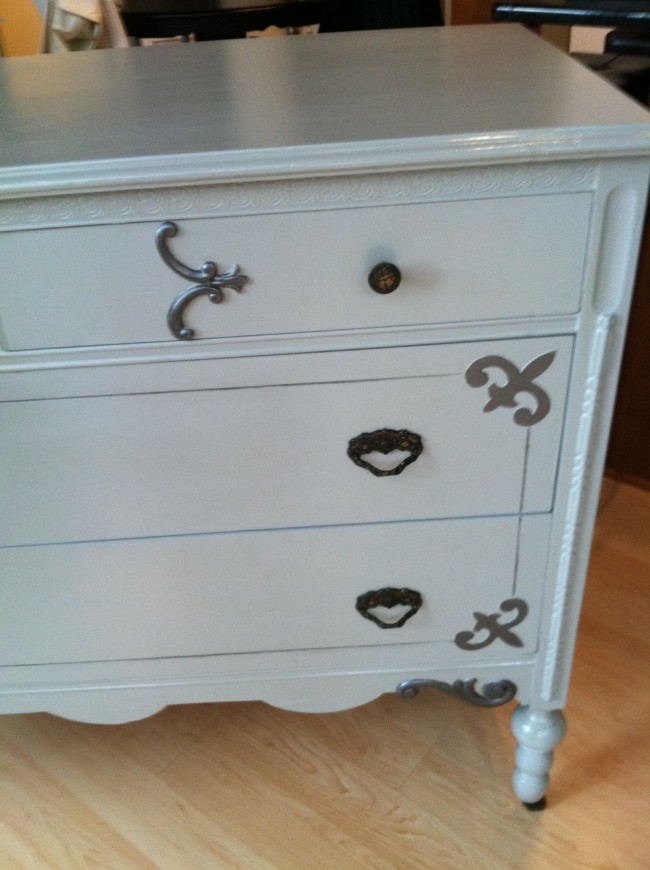
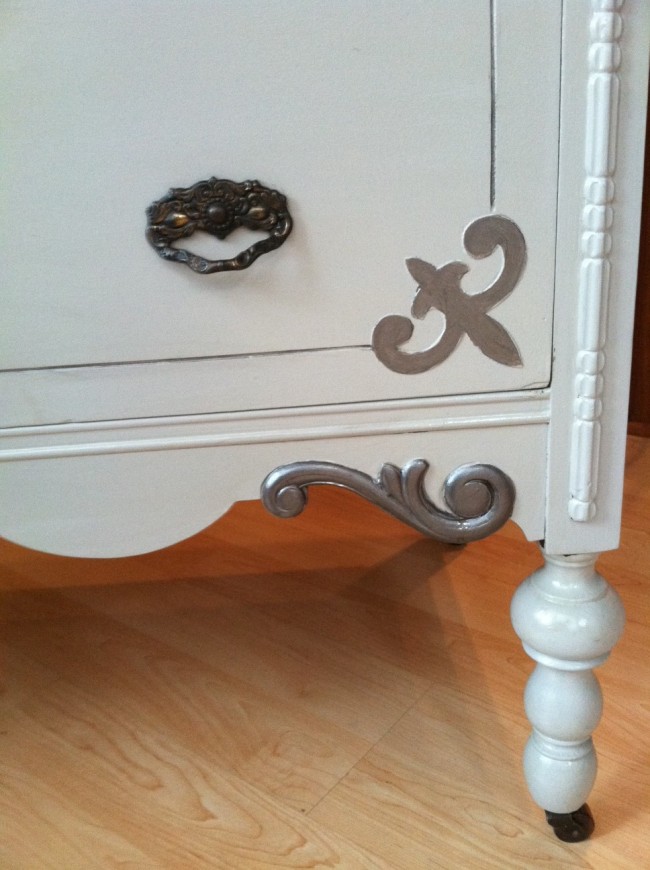
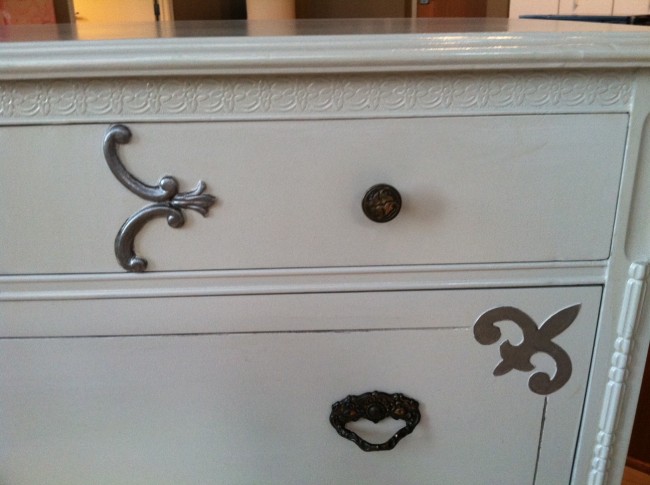
 I LOVE refinishing old furniture! Most of the pieces in my condo are things I just couldn’t pass up on craigslist or at a flea market. Since I only have an 1100 sq ft place at this point it is pretty much filled with all my beautiful redone pieces. However when I found this old diamond in the ruff on craigslist a while back I just couldn’t pass it up! It’s lovely unique detailing in the wood, dove-tailed drawers, and overall attention to detail was just music to my ears. It was just waiting for a little love. Below are before and after pics of the project. I painted it gray because I have been in love with gray furniture lately. The wood details I tried to show off even more by using a charcoal – silver accent paint. I finished it off with a poly coating to help resist chipping. If you like it – send me an email because I just don’t have a home for it!

 And here is the re-do!


I am asking $200. Dimensions: 45” W x 37.5” H x 20” D.

 Email me if you are intrested! theresnoplacelikehomemke@gmail.com