Breakfast Nook Before & After

Last spring I started helping a good friend of mine decorate her breakfast nook. She, and her family moved into the house just before last Christmas. The space is significantly larger than the last space, so we needed to try to incorporate good pieces with some pieces that we could rescue to help save on the cost.

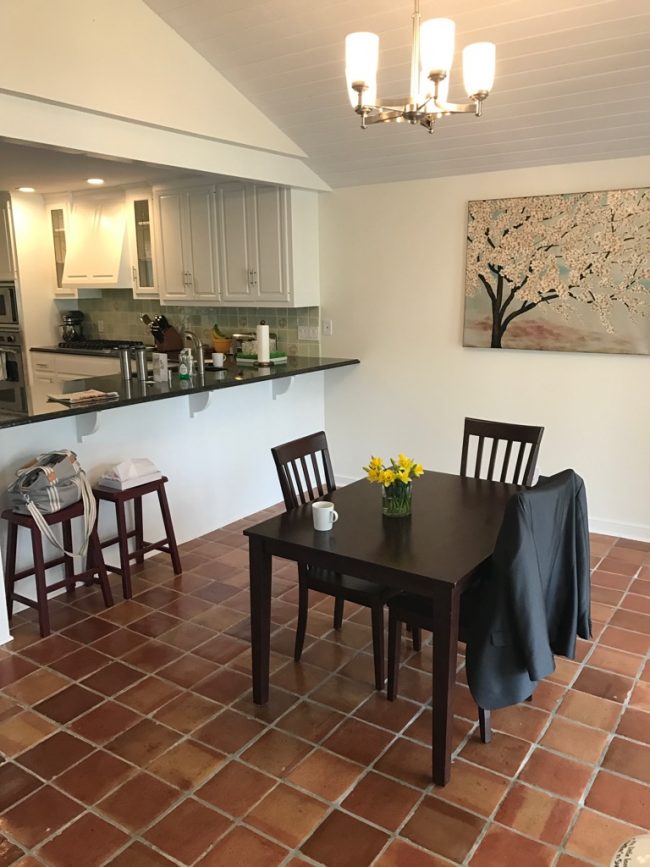
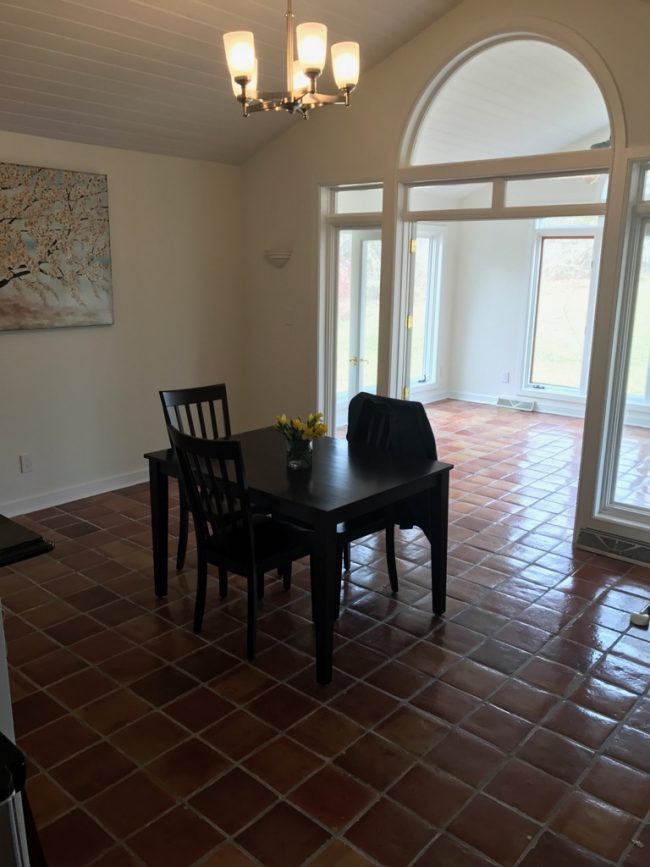
and a quick before….

as you can see the space was pretty empty, table was too small, bar stools too short, and a big blank wall that needed some love….

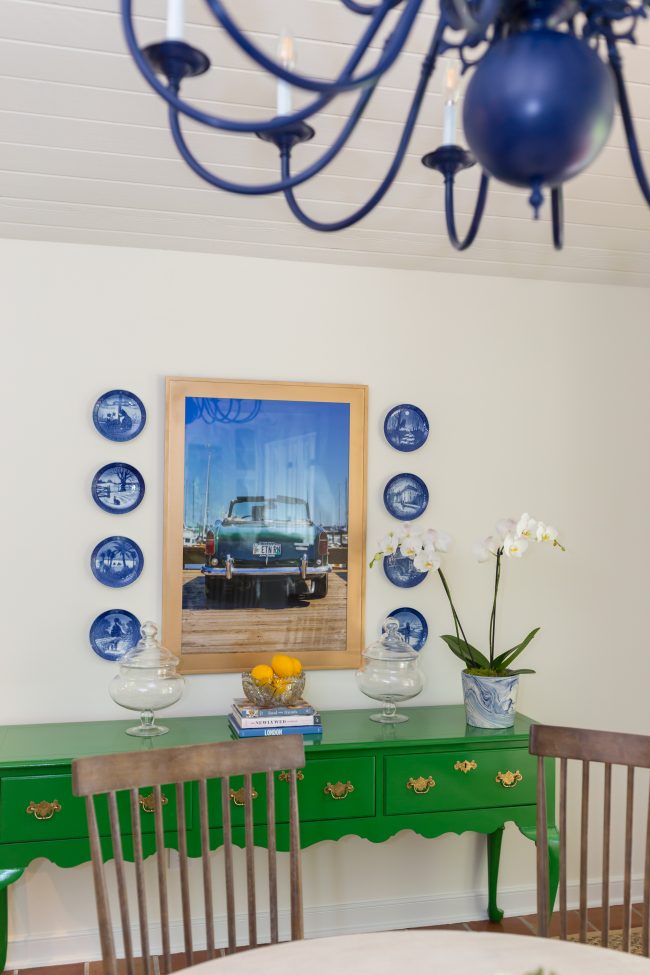
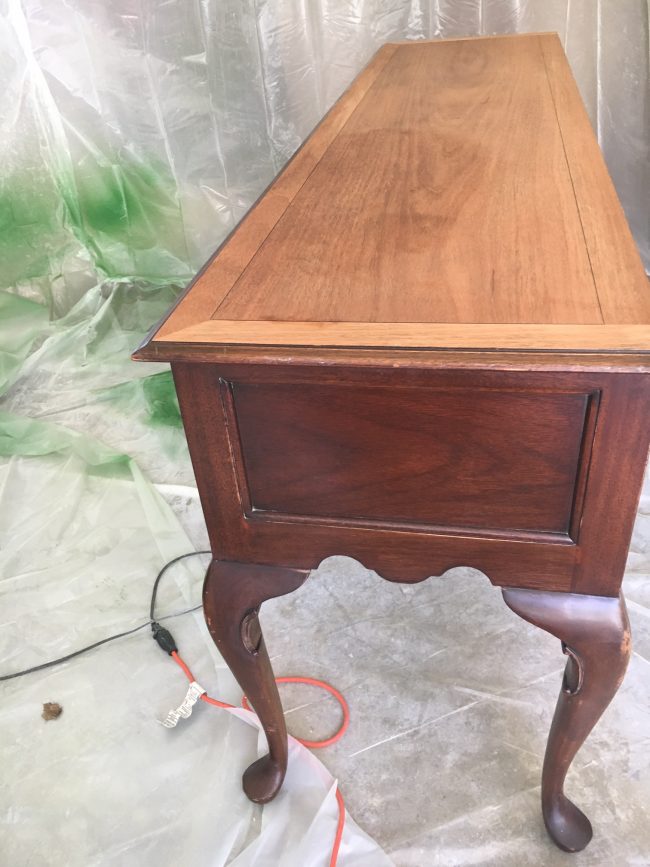
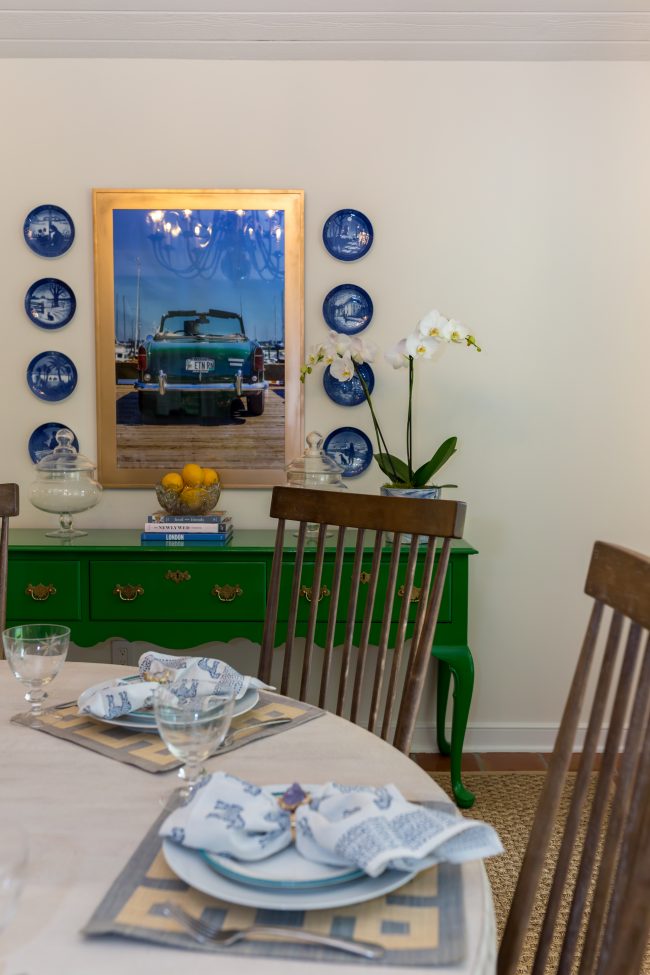
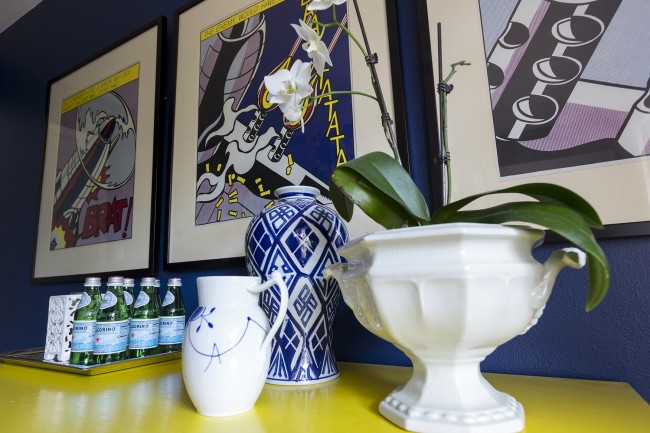
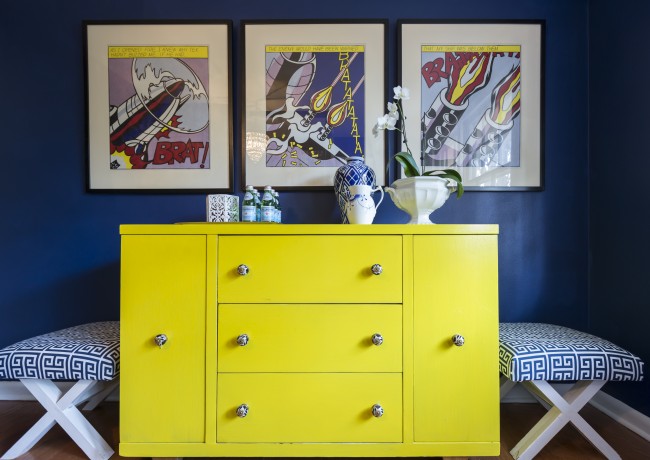
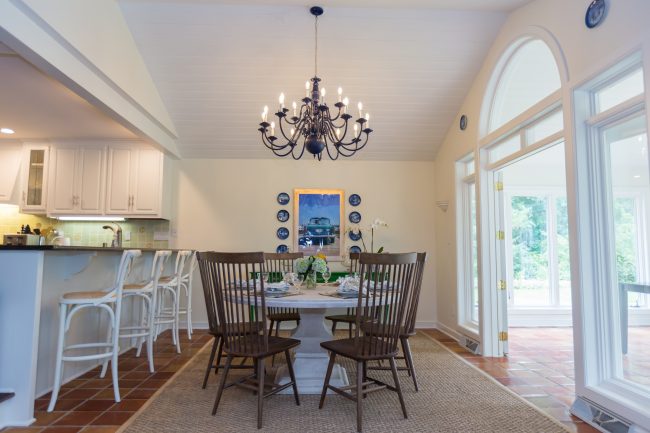
For this space one of the unique furniture rescues we did was this console table. I found it at a local consignment shop, and I refinished it in a beautiful high gloss laquer using Fine Paints of Eurpoe Paint. Have you ever used this paint. It is super tricky to paint with, but its super high quality and if you get it done right the after is beautiful.

I am the worst at taking before pictures, but here is the before of the console. Special shout out to my Uncle Bill for his help in fixing one of the feet on this piece. When I brought it home I realized one of the feet was busted off, and he kindly help me fix it. It’s a good reminder for those hunting for great pieces out there. Slow down, take your time, and make sure you know what you are getting. This worked out, but if I didn’t have someone to help, it would not have turned out nearly as good!

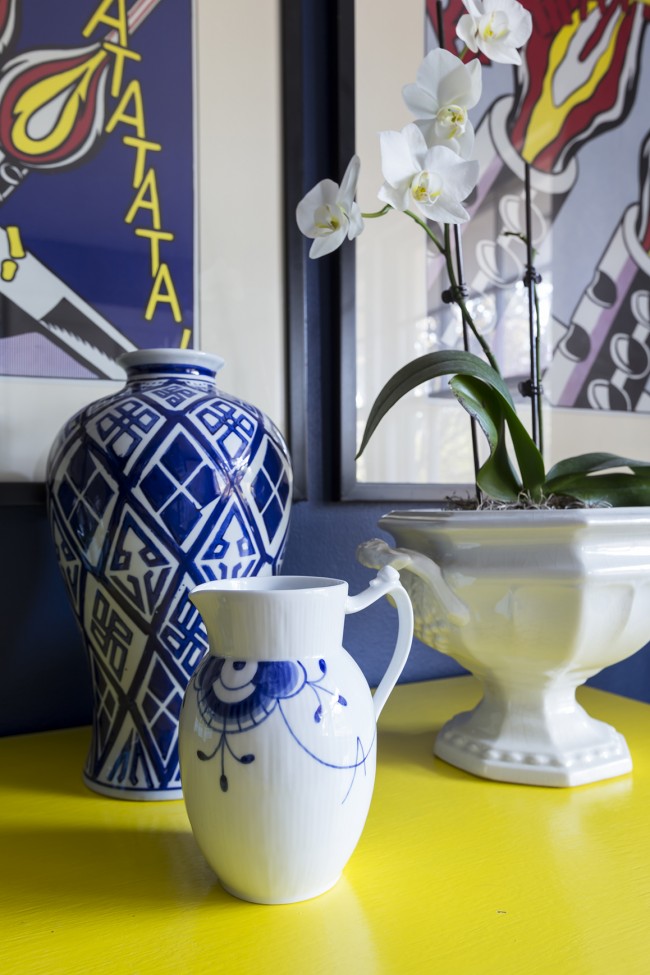
I also love love the art that we filled the wall with. To start we featured a vintage car picture that my brother and law and I took together on vacation last summer. The vintage car sitting on a dock on the coast of Maine was  a perfect piece for this family, and the color worked so well in the space. We mixed this with Vintage Royal Coppenhagen Christmas Plates. My mother has featured these plates in her homes the entire time I have been growing up, and considering the navy and white trend that is currently going on I am surprised I haven’t seen anyone else take on these accents. I love the way the vignette turned out!

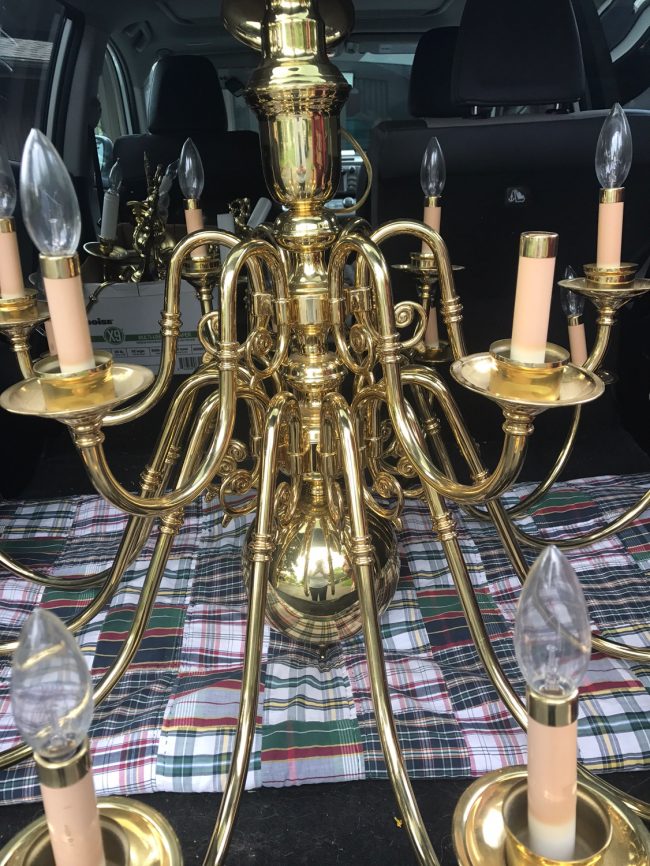
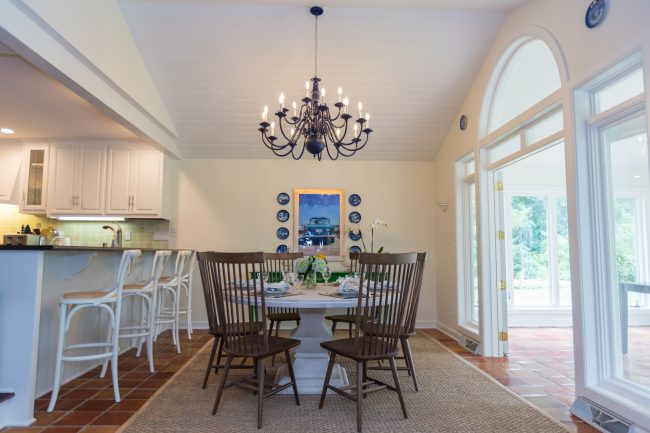
The other rescue that we did was this chandelier. If you remember we tackled an old brass chandelier like this one for my sunroom (check it out here). It turned out so well that I wanted to do it again here. The space is so big, and the previous chandelier was just teeny tiny. So I wanted something that filled the space but didn’t break the bank. We all know that chandliers this size can come with a mightly price tag, so this was a perfect solution.

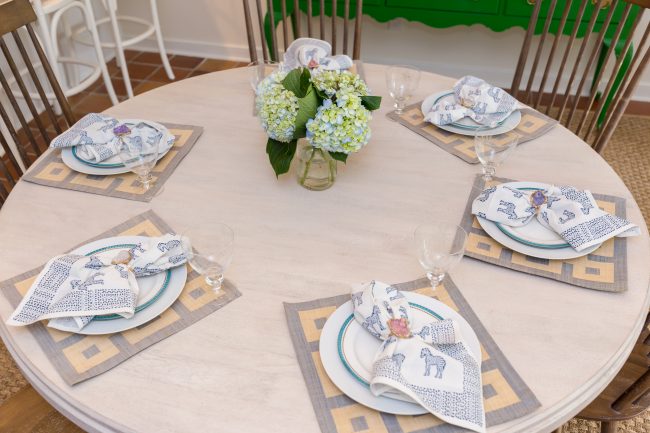
Like every good table we had to set it pretty for the pictures. Do you like this table setting? Check out the items for purchase in my coming pop up shop!

What do you think of the space? I personally love how well the big open area is filled out now. It’s the kind of space you just want to curl up in and have a cup of tea and a quiche.

Furniture Rescue: Vintage Dresser

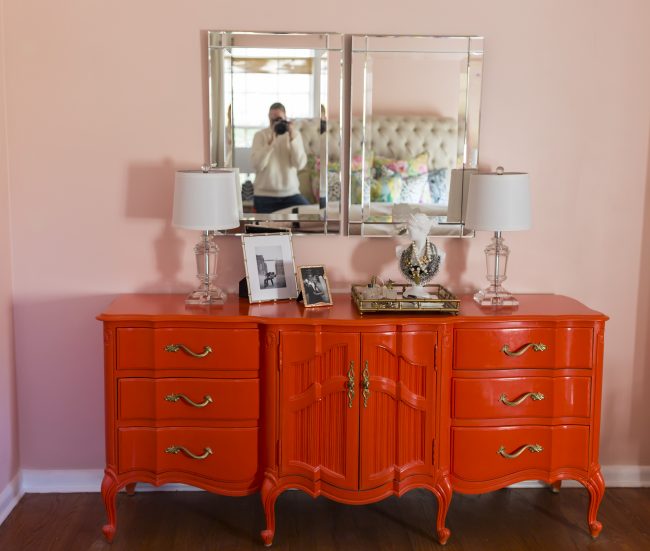
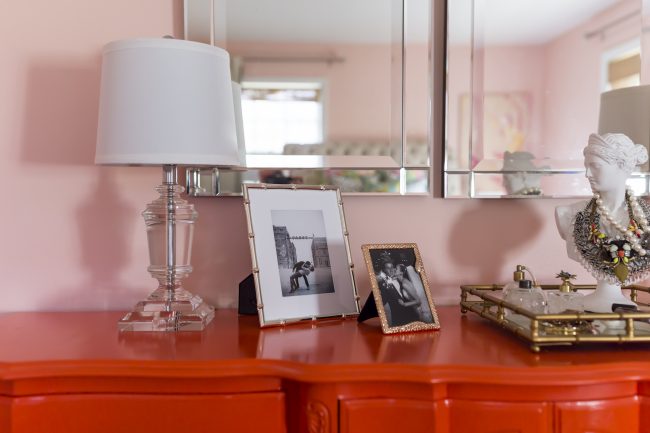
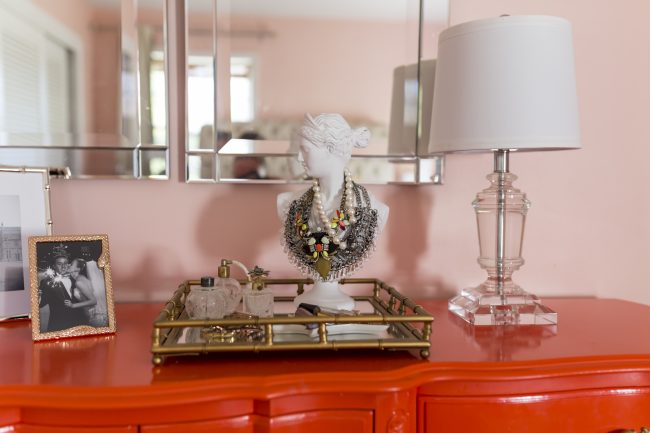
Wanted to share updates on bedroom. When I first moved in I found a fun vintage dresser that I re-did right away. However it always takes time to find fun accessories to make the room feel more homey. Here is what the dresser looks like today!

TNPLH: Furniture Rescue Master Bedroom Dresser 1

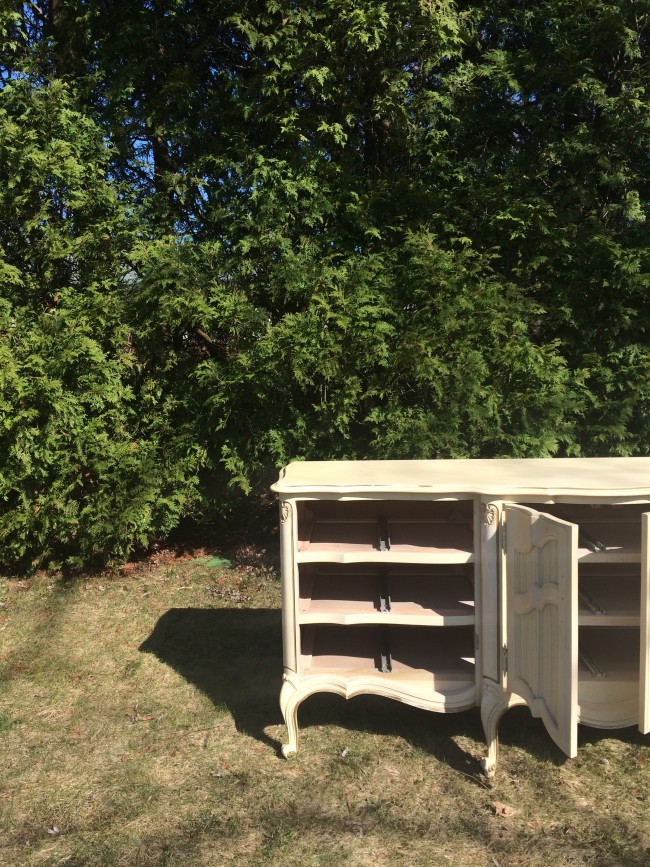
TNPLH: Dresser Rescue 1

Just as a reminder, above is what the dresser looked like before the DIY. See the full post on how to here.
TNPLH: Furniture Rescue Master Dresser 2

TNPLH: Furniture Rescue Master Dresser 3

come back tomorrow to see the full bedroom reveal!

Furniture Rescue: Oak Cerused

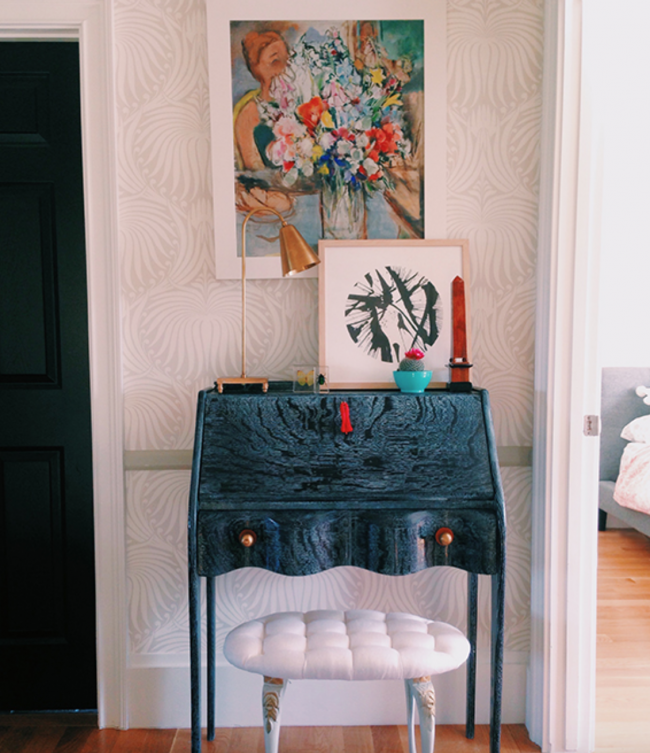
So a while back I fell in love with this oak coursed secretary that Little Green Notebook Did….
Little Green Notebook Oak Cerused Secretary

Check out the tutorial Here. It’s amazing stuff.

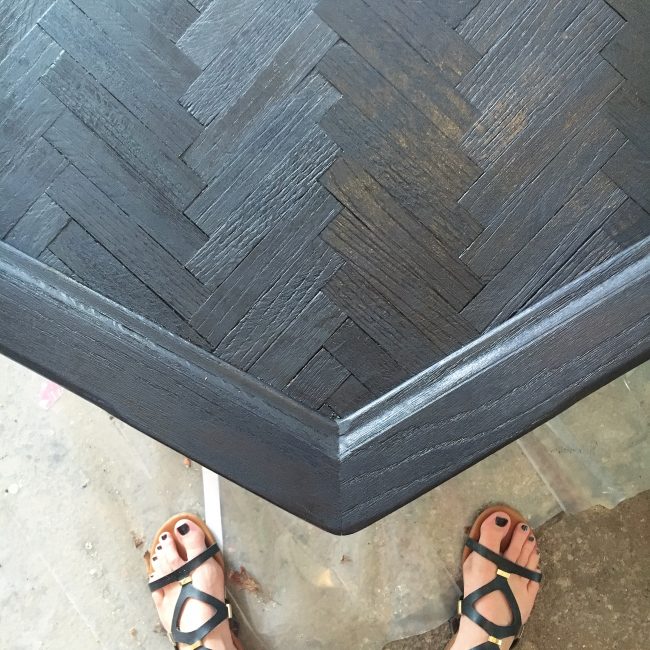
TNPLH: Cerused Coffee Table 1

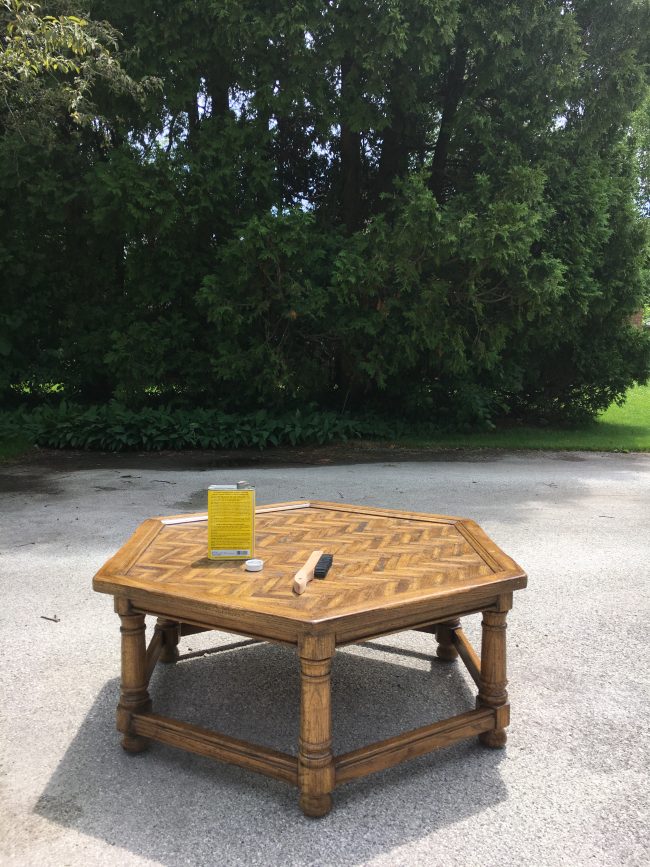
So when I found this fun coffee table, for $40 on craigslist I thought it might look really cool with the same treatment. And it was only $40 so if it got messed up no biggie.

TNPLH: Furniture Rescue Cerused Coffee Table 2

First caveat is that on Little Green Notebook, she explains that it HAS to be oak. Now I had no clue if this table was oak or not, but I knew that just from the look of it, the piece had VERY pronounced wood grain. So I figured it should work, directionally correct.

TNPLH: Furniture Rescue Cerused Coffee Table 3

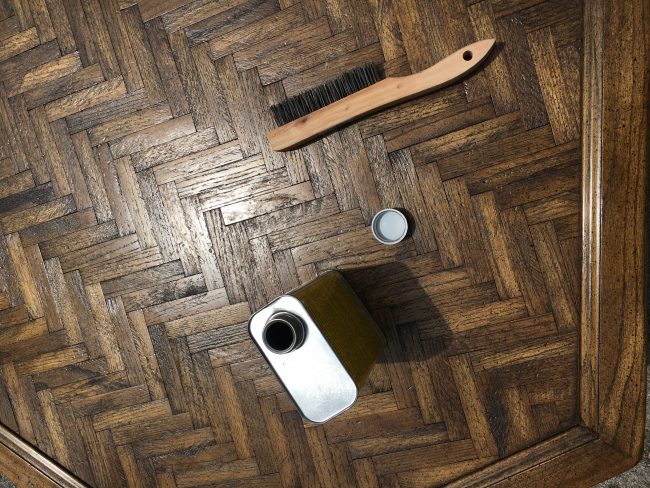
So the hardest part was the stripping of the wood. It took FOREVER! And it was a TOTAL MESS! I have done a lot of furniture in the past, however I usually paint (not stain), so I usually don’t have to do a perfect job stripping down to the bare bones. But in this case you have to put in the dirty work and get it all the way down to the wood.

Also – when I asked for the metal wire brush to stripe the wood, the hardware store looked at me like I didn’t know what I was doing. But the thing is you want to use this (not sand down) because you really are trying to get the deep divots of the wood grain to become more pronounced. So it will feel like you are being rough with the furniture, that is ok!

TNPLH: Furniture Rescue Oak Cerused 4

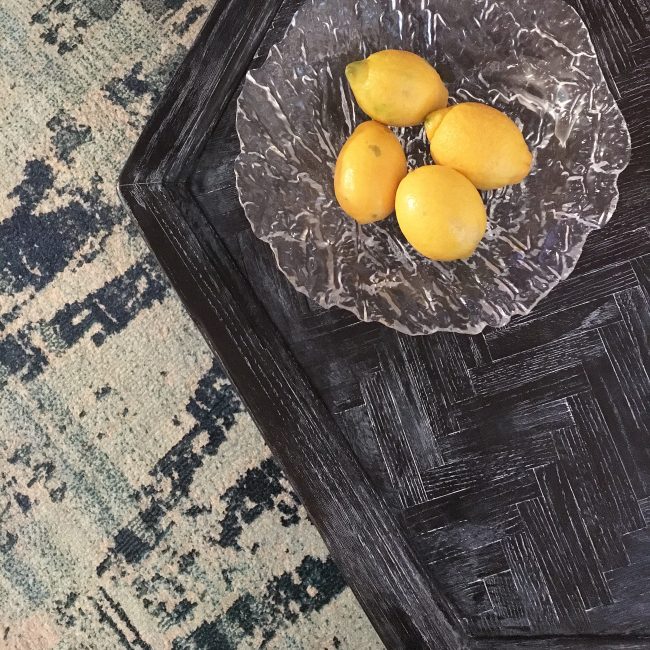
The navy looked so cool I almost wanted to leave it like it was. I layered up 3 layers of the Shellac and then I waxed my heart away…you can also kinda see above that the wood grain was already pronounced…..

TNPLH: Cerused Coffee Table

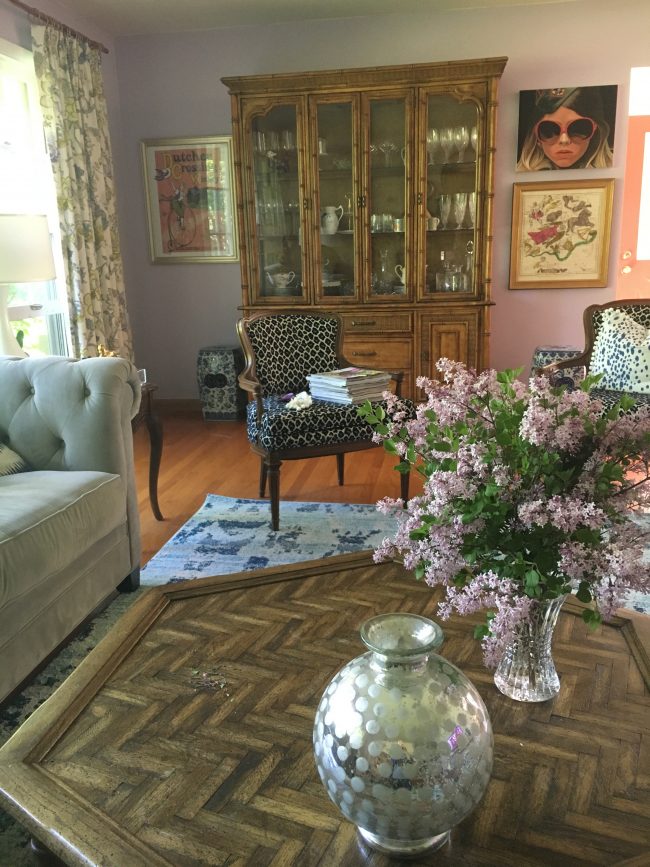
Boom! I love the way it turned out. What a great inspiration Little Green Notebook was! I love it! Not bad for $40, $20ish in supplies, and some good hard elbow grease! Love!

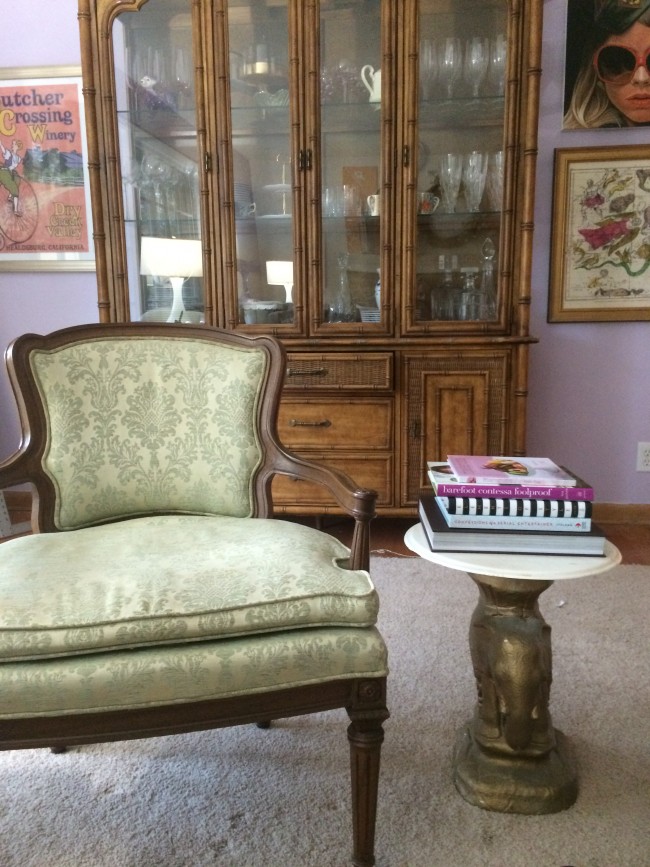
Craigslist Chair Rescue

A while back I found these incredible chairs on craigslist.

new craigslist chairs

I got both chairs for $50 total.

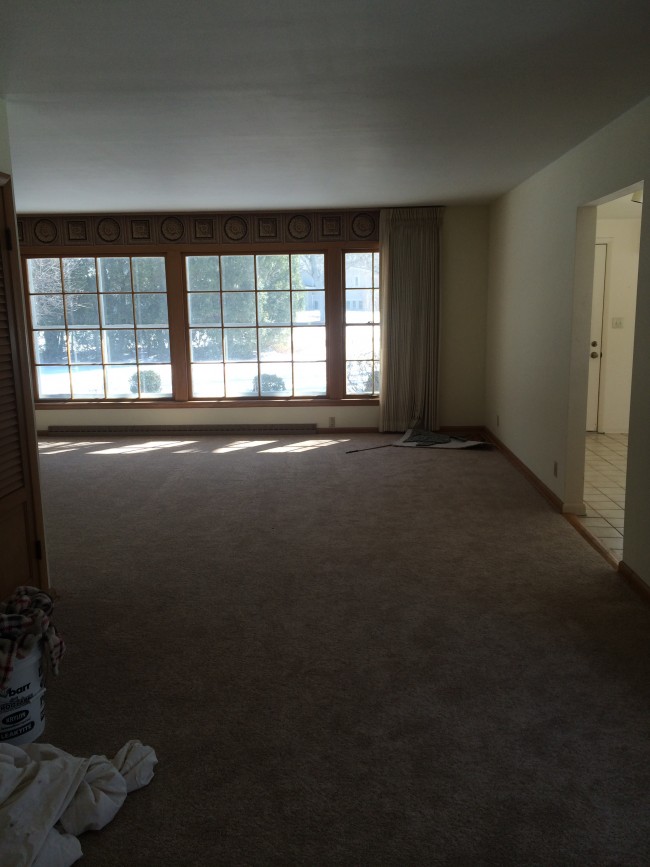
TNPLH: Little Yellow House Living Room Before PIc 1

Just a reminder this is what the corner of the living room looked like when we moved it!

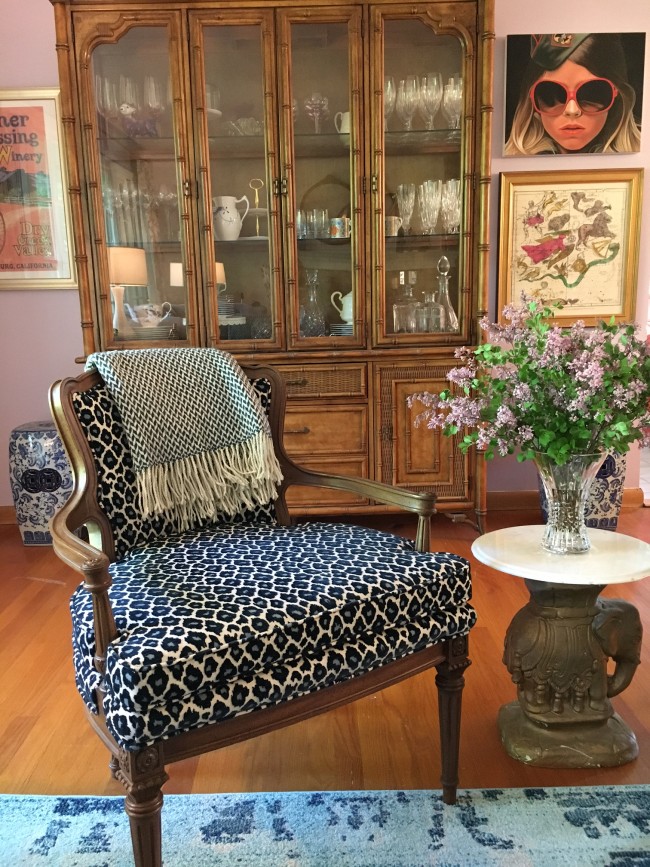
TNPLH: Little Yellow House Living Room 1

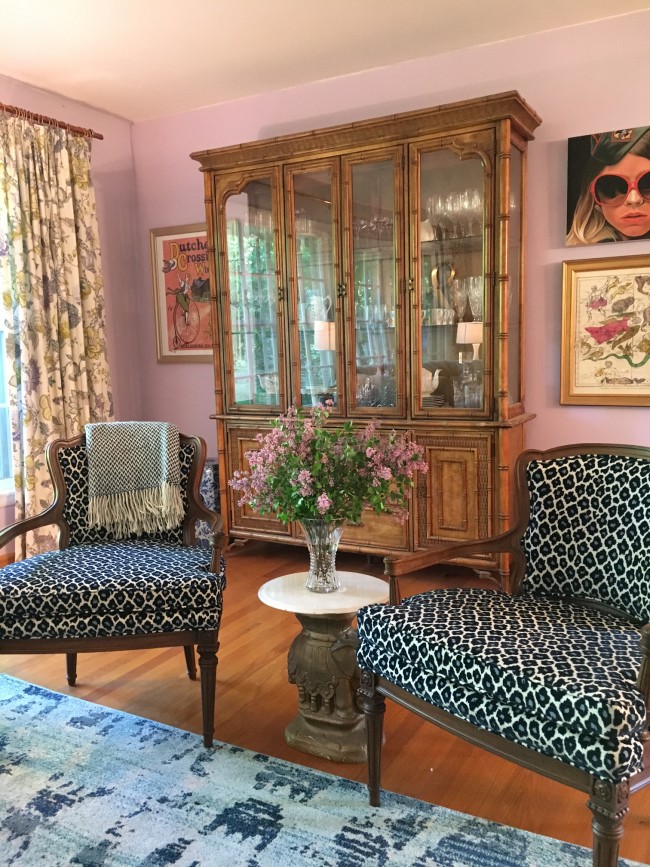
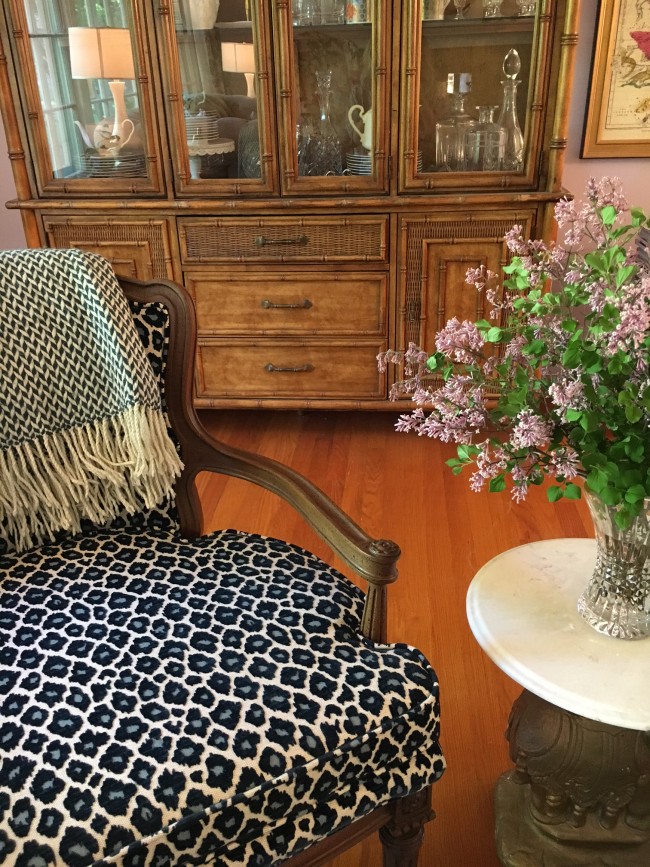
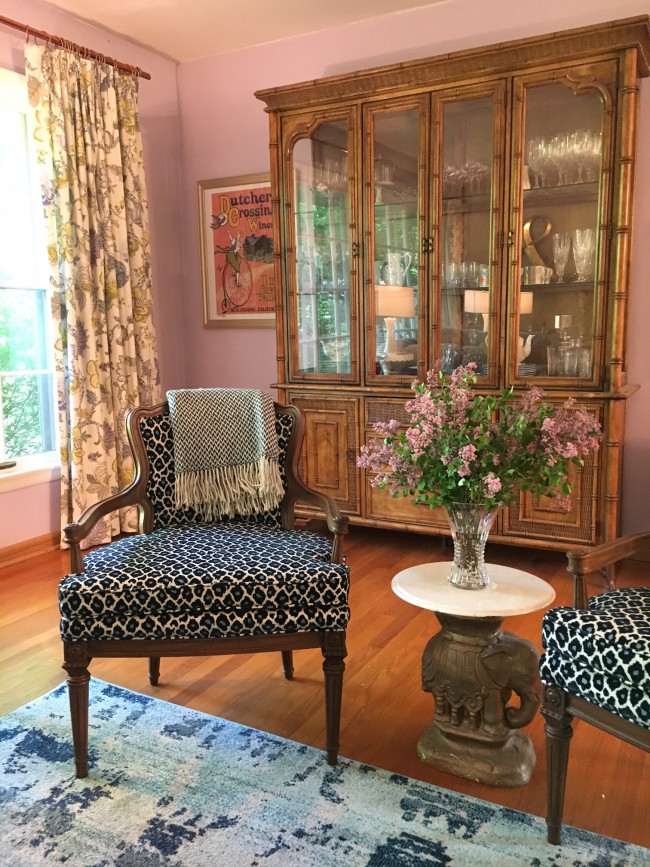
I have done some reupholstery in the past, but I wanted these done fast so I sent them to my amazing upholsterer to they could be done quickly! It’s nice to see how far along the living has come over the last year. Slowly but surely!

TNPLH: Little Yellow House Living Room 2

TNPLH: Living Room 3

I like how the living room is coming along so far. As you can see we pulled up the carpet when I FINALLY found an are rug. It took me a while to find something I liked (that wasn’t $5,000). This rug I found at world market. Isn’t it fun? Check it out here.

TNPLH: Living Room 4

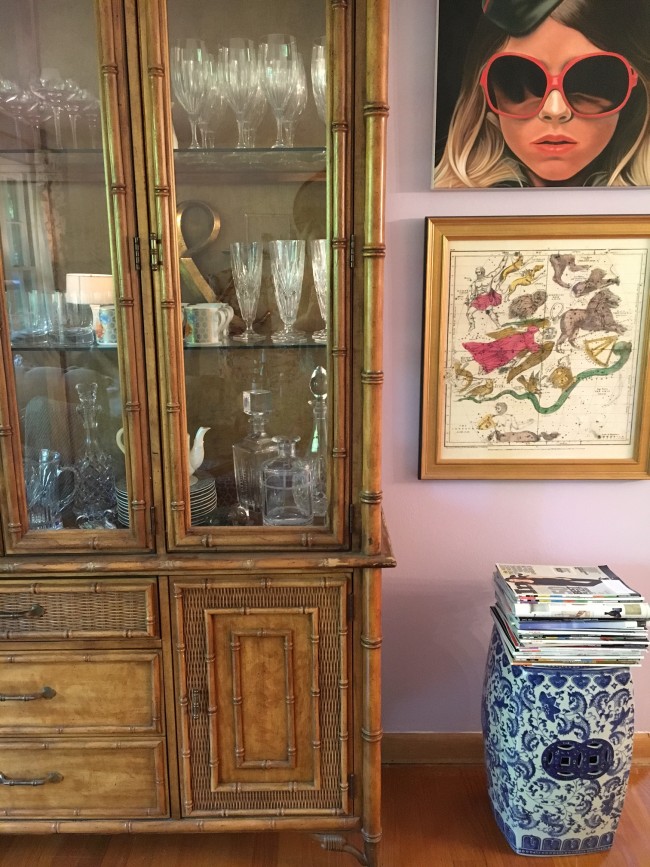
I also love these little garden stools (from home goods!). As you can see we still have to refinish the floors and then I will need to paint the trim. I am hoping to have them done when we are gone for vacation for a week this August!

TNPLH: Little Yellow House Living Room 5

Fireplace Reveal

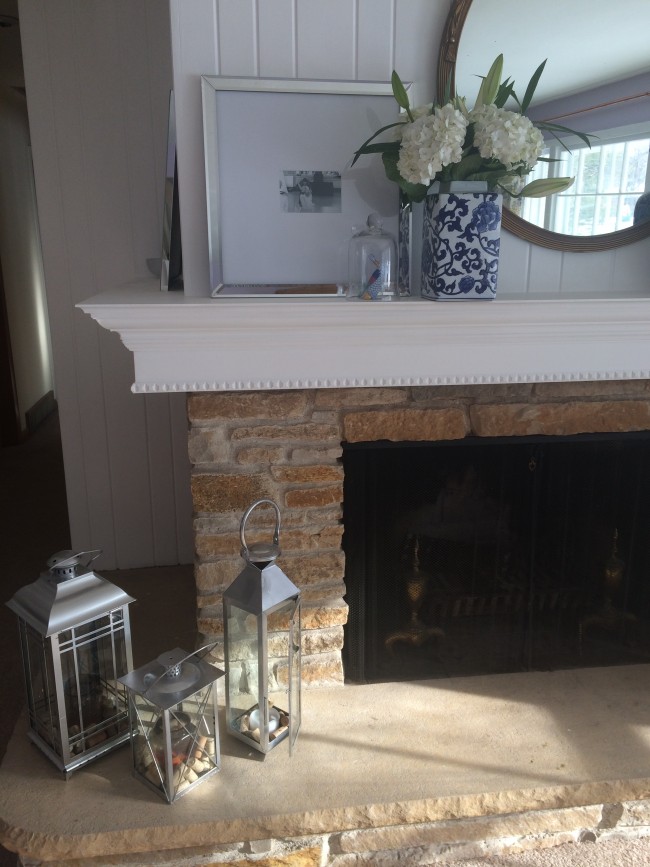
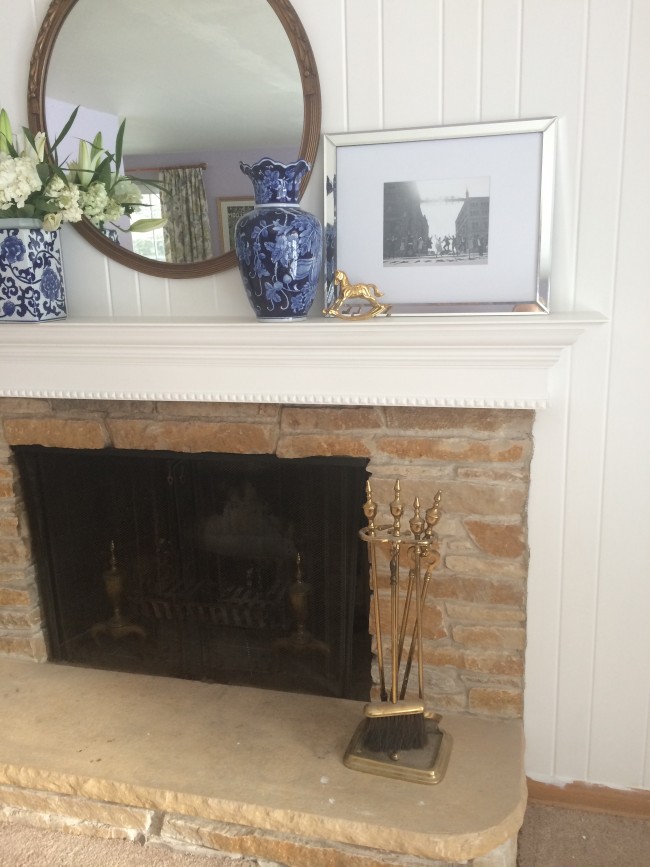
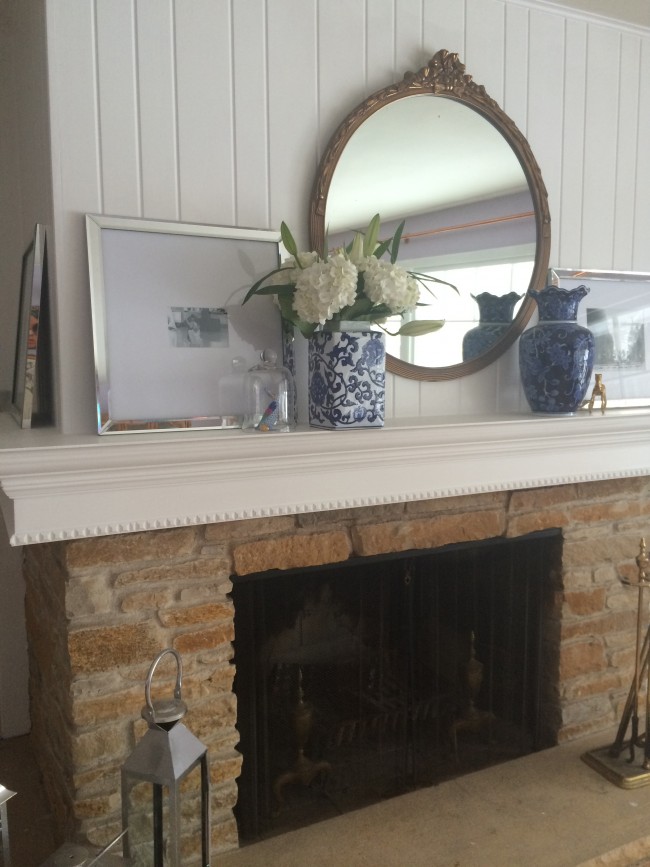
So we have almost been in the house for a year and I have shared a couple things in their finished state, which is always hard because you never feel like it is finished! But today I am happy to share our before and after of our mantle.

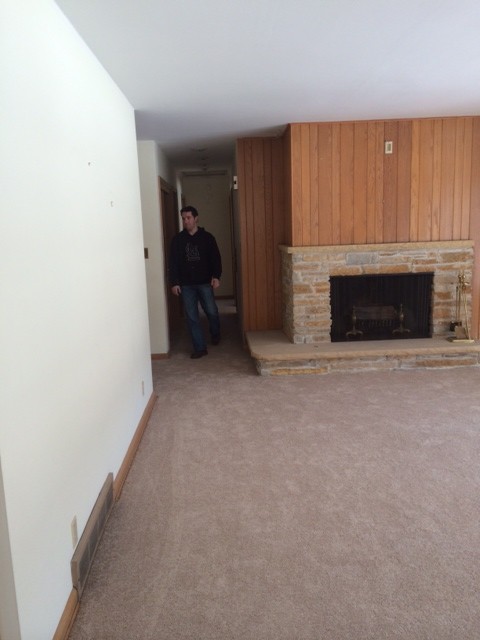
Little Yellow House: Firehouse Before

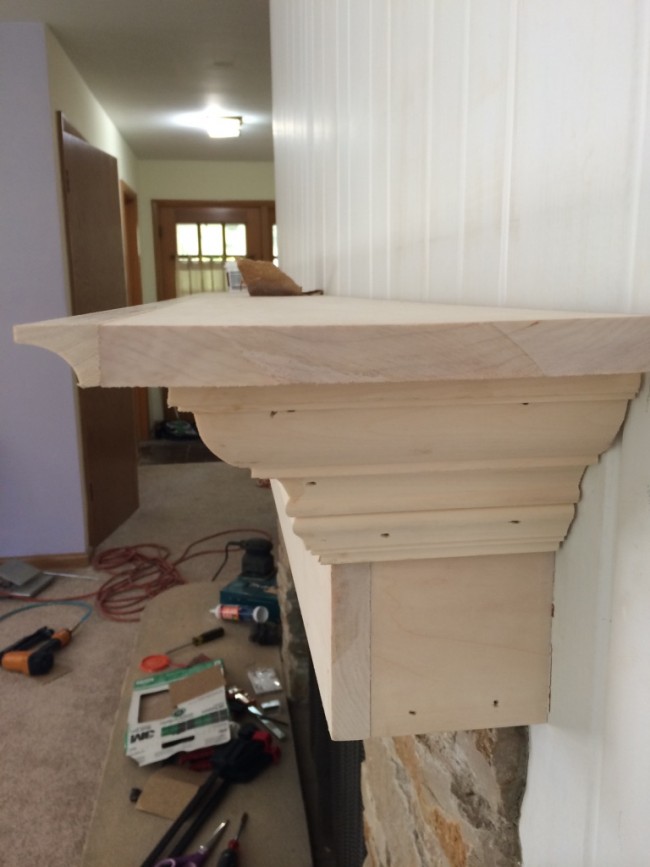
Here is our before picture of the living room and mantle. You can see the little mantle was so little that you couldn’t put anything on it. We had to change that immediately. So it took some time but we built out a mantle that was more suitable for decorating!

TNPLH: DIY Mantle 6

You can see all the steps on when we built this here.

thumb_IMG_1267_1024

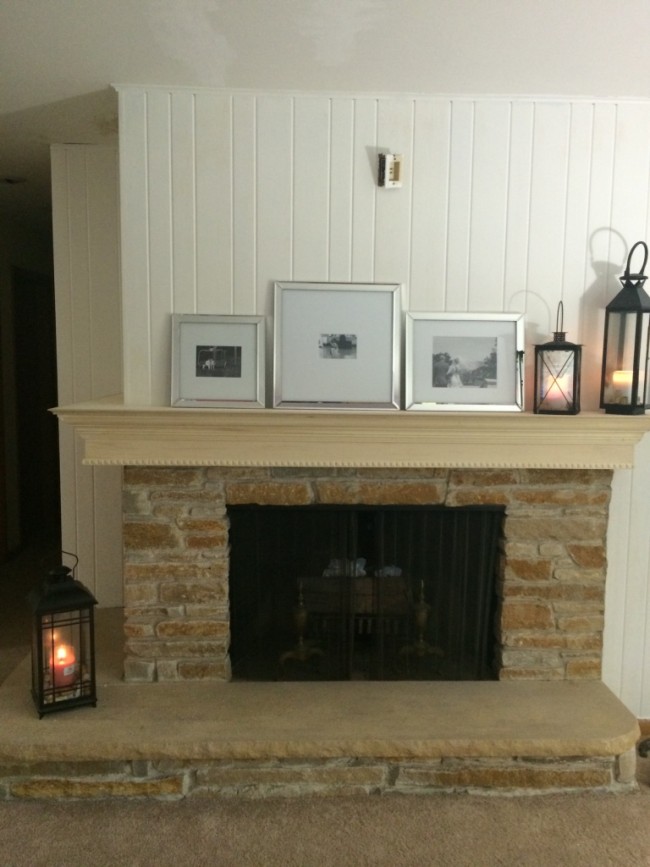
So since the last post we have done a couple more updates and I am feeling really happy with how it is looking.

Little Yellow House: DIY Mantle Reveal 1

Little Yellow House: DIY Mantle Reveal 2

Little Yellow House: DIY Mantle Reveal 3

Little Yellow House: DIY Mantle Reveal 4

There is it – hope you like it. I am having a lot of fun trading out how I decorate it. I feel like every couple of weeks I switch up what is on there, which has been really fun. I haven’t fully landed on the mirror over, but it does look really pretty! The alternative would be some sort of abstract art, which would also be fun. But for now we will use this vintage mirror, it was my grandmother’s. What do you think?

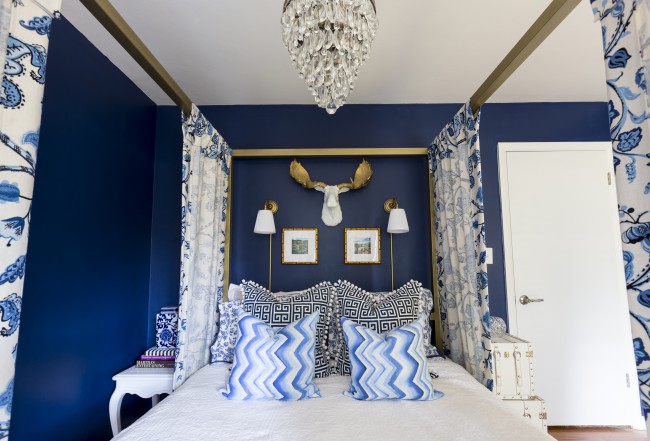
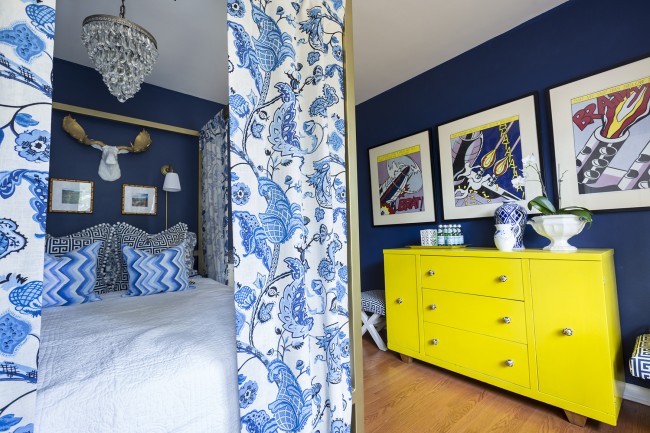
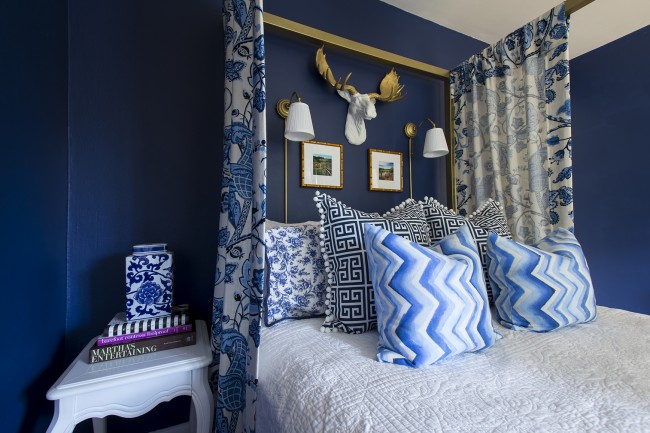
ORC: Navy Bedroom Reveal!

I am so excited to share the final reveal of the ORC today! We moved into our first house in March and we have been updating little by little since then. Be sure to follow along with all the participants here!

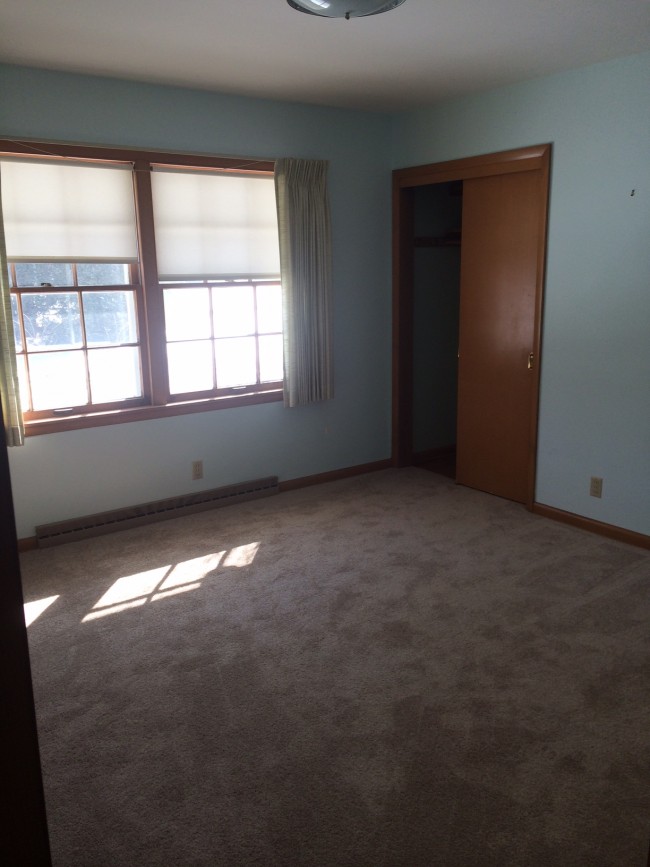
Little Yellow House Guest Bedroom Before 1

You can see here was the before. We did a lot to the room including….

painted walls, trim, and doors

refinished floors

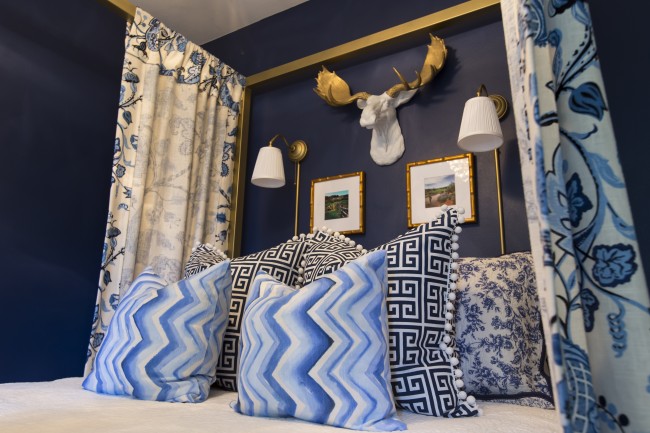
sewed canopy panels

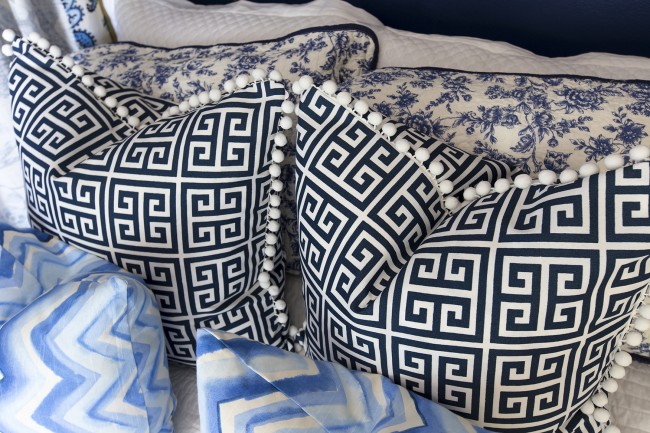
sewed pillows

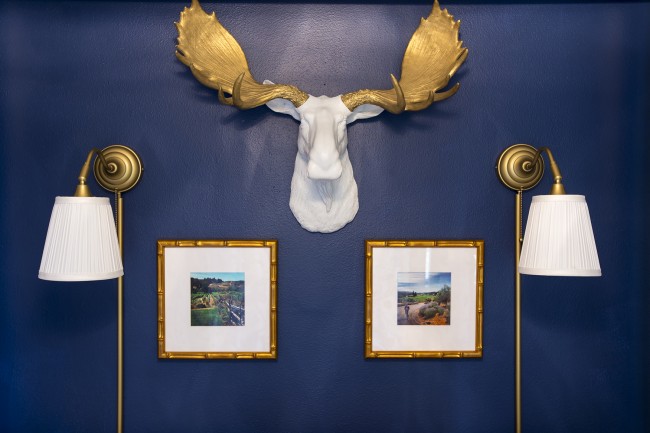
updated Ikea sconces with Ikea hack

re-upholstered ottomans

re-painted end table for night stand

replace light fixture

BlueRoom-012

BlueRoom-005

BlueRoom-low-028


BlueRoom-low-023

BlueRoom-low-017

BlueRoom-013

BlueRoom-low-014


BlueRoom-004

BlueRoom-low-019

BlueRoom-low-018

BlueRoom-low-022


BlueRoom-low-025

I am so happy with the way the room turned out. We have guests coming this weekend to visit (perfect timing) and I am pumped for them to enjoy the space!