Furniture Rescue: Lacquer Dresser

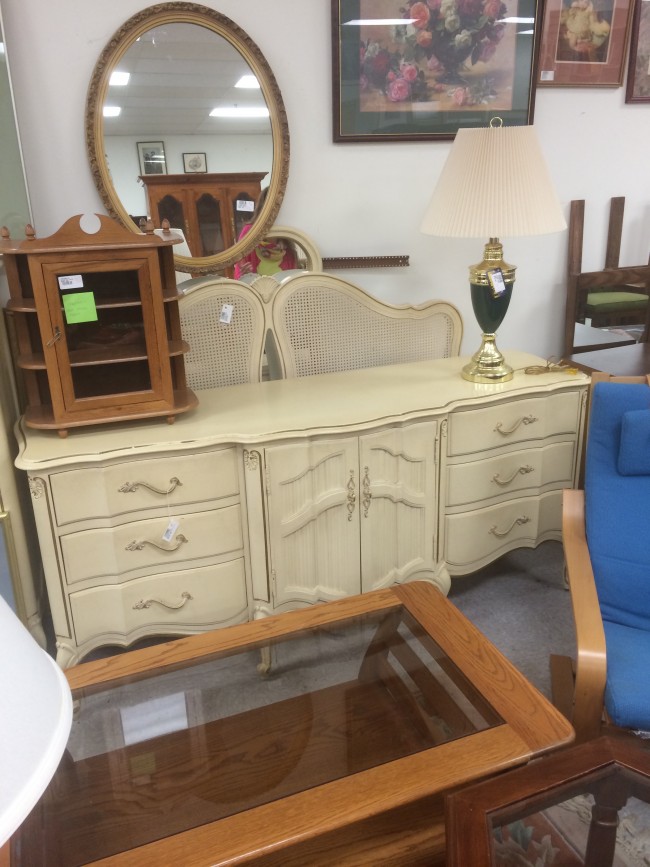
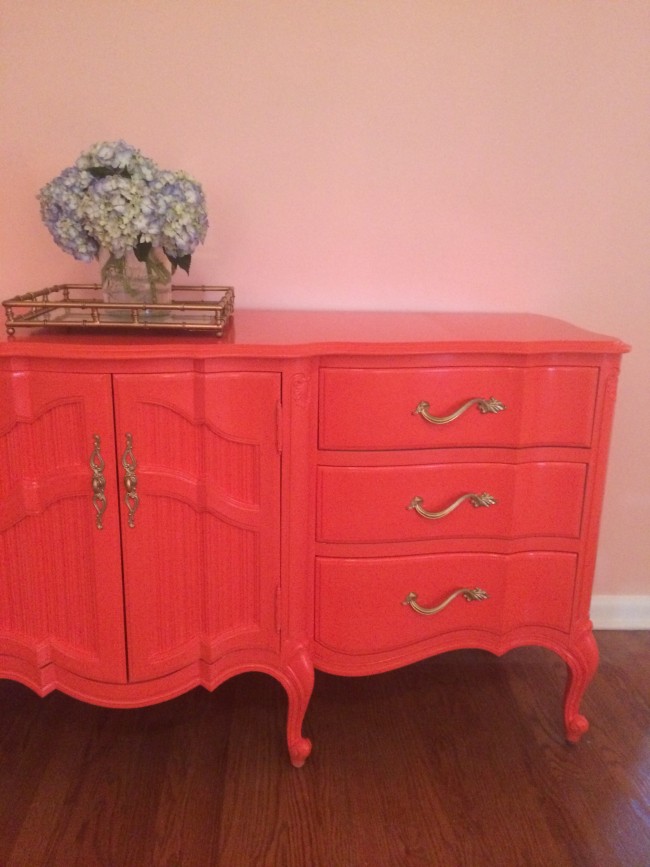
So when I first moved into the new house I shared this dresser I picked up at a consignment shop for my bedroom. My goal was to try and lacquer it. I did a lot of research online because I knew it was very difficult.

TNPLH: Craigslist Dresser

In the past the furniture I have re-done I just hand painted. But now that I have a house I was pumped to try out a new spray gun I got.

critter spray gun

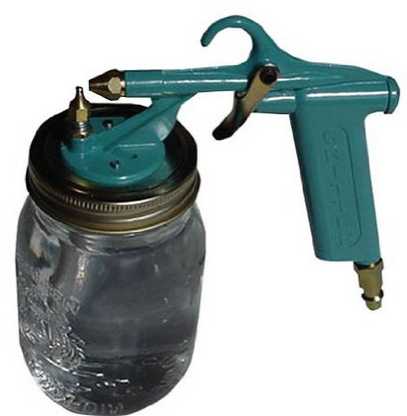
You can buy it on amazon here. Some spray guns can get very pricey. This one is only $40 on amazon and it works great. It uses mason jars for the paint which makes clean up a bit easier. The only thing you have to watch is keeping it really clean. But after some you tube searches I found a number of videos posted by the company on how to clean, which was super nice and handy!

TNPLH: Dresser Rescue 1

First I sanded it down and used a deglosser product which helps get the ornate details ready for paint.

IMG_0737

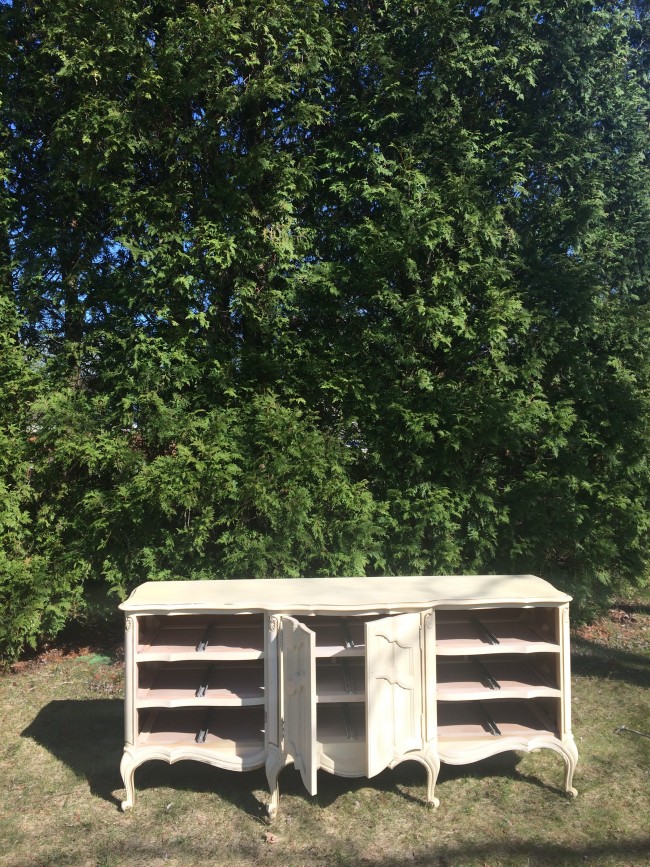
Then I used my new critter to add two coats of primer and two coats of my color.

IMG_0748

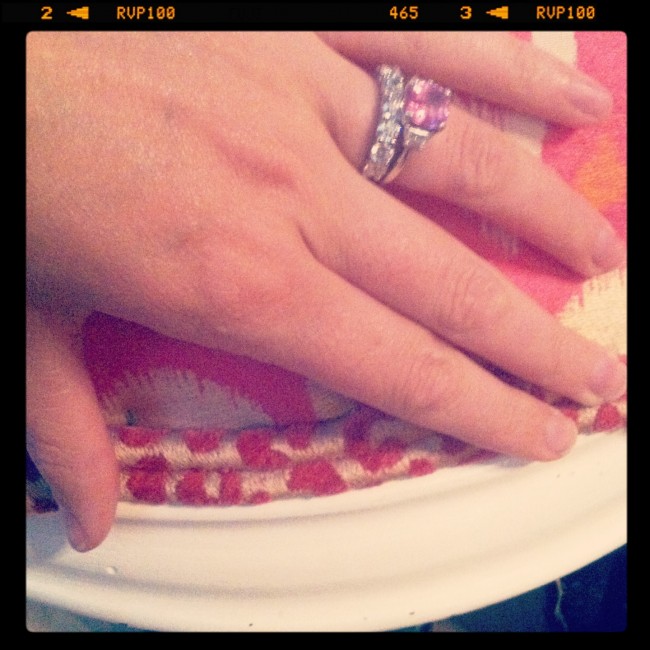
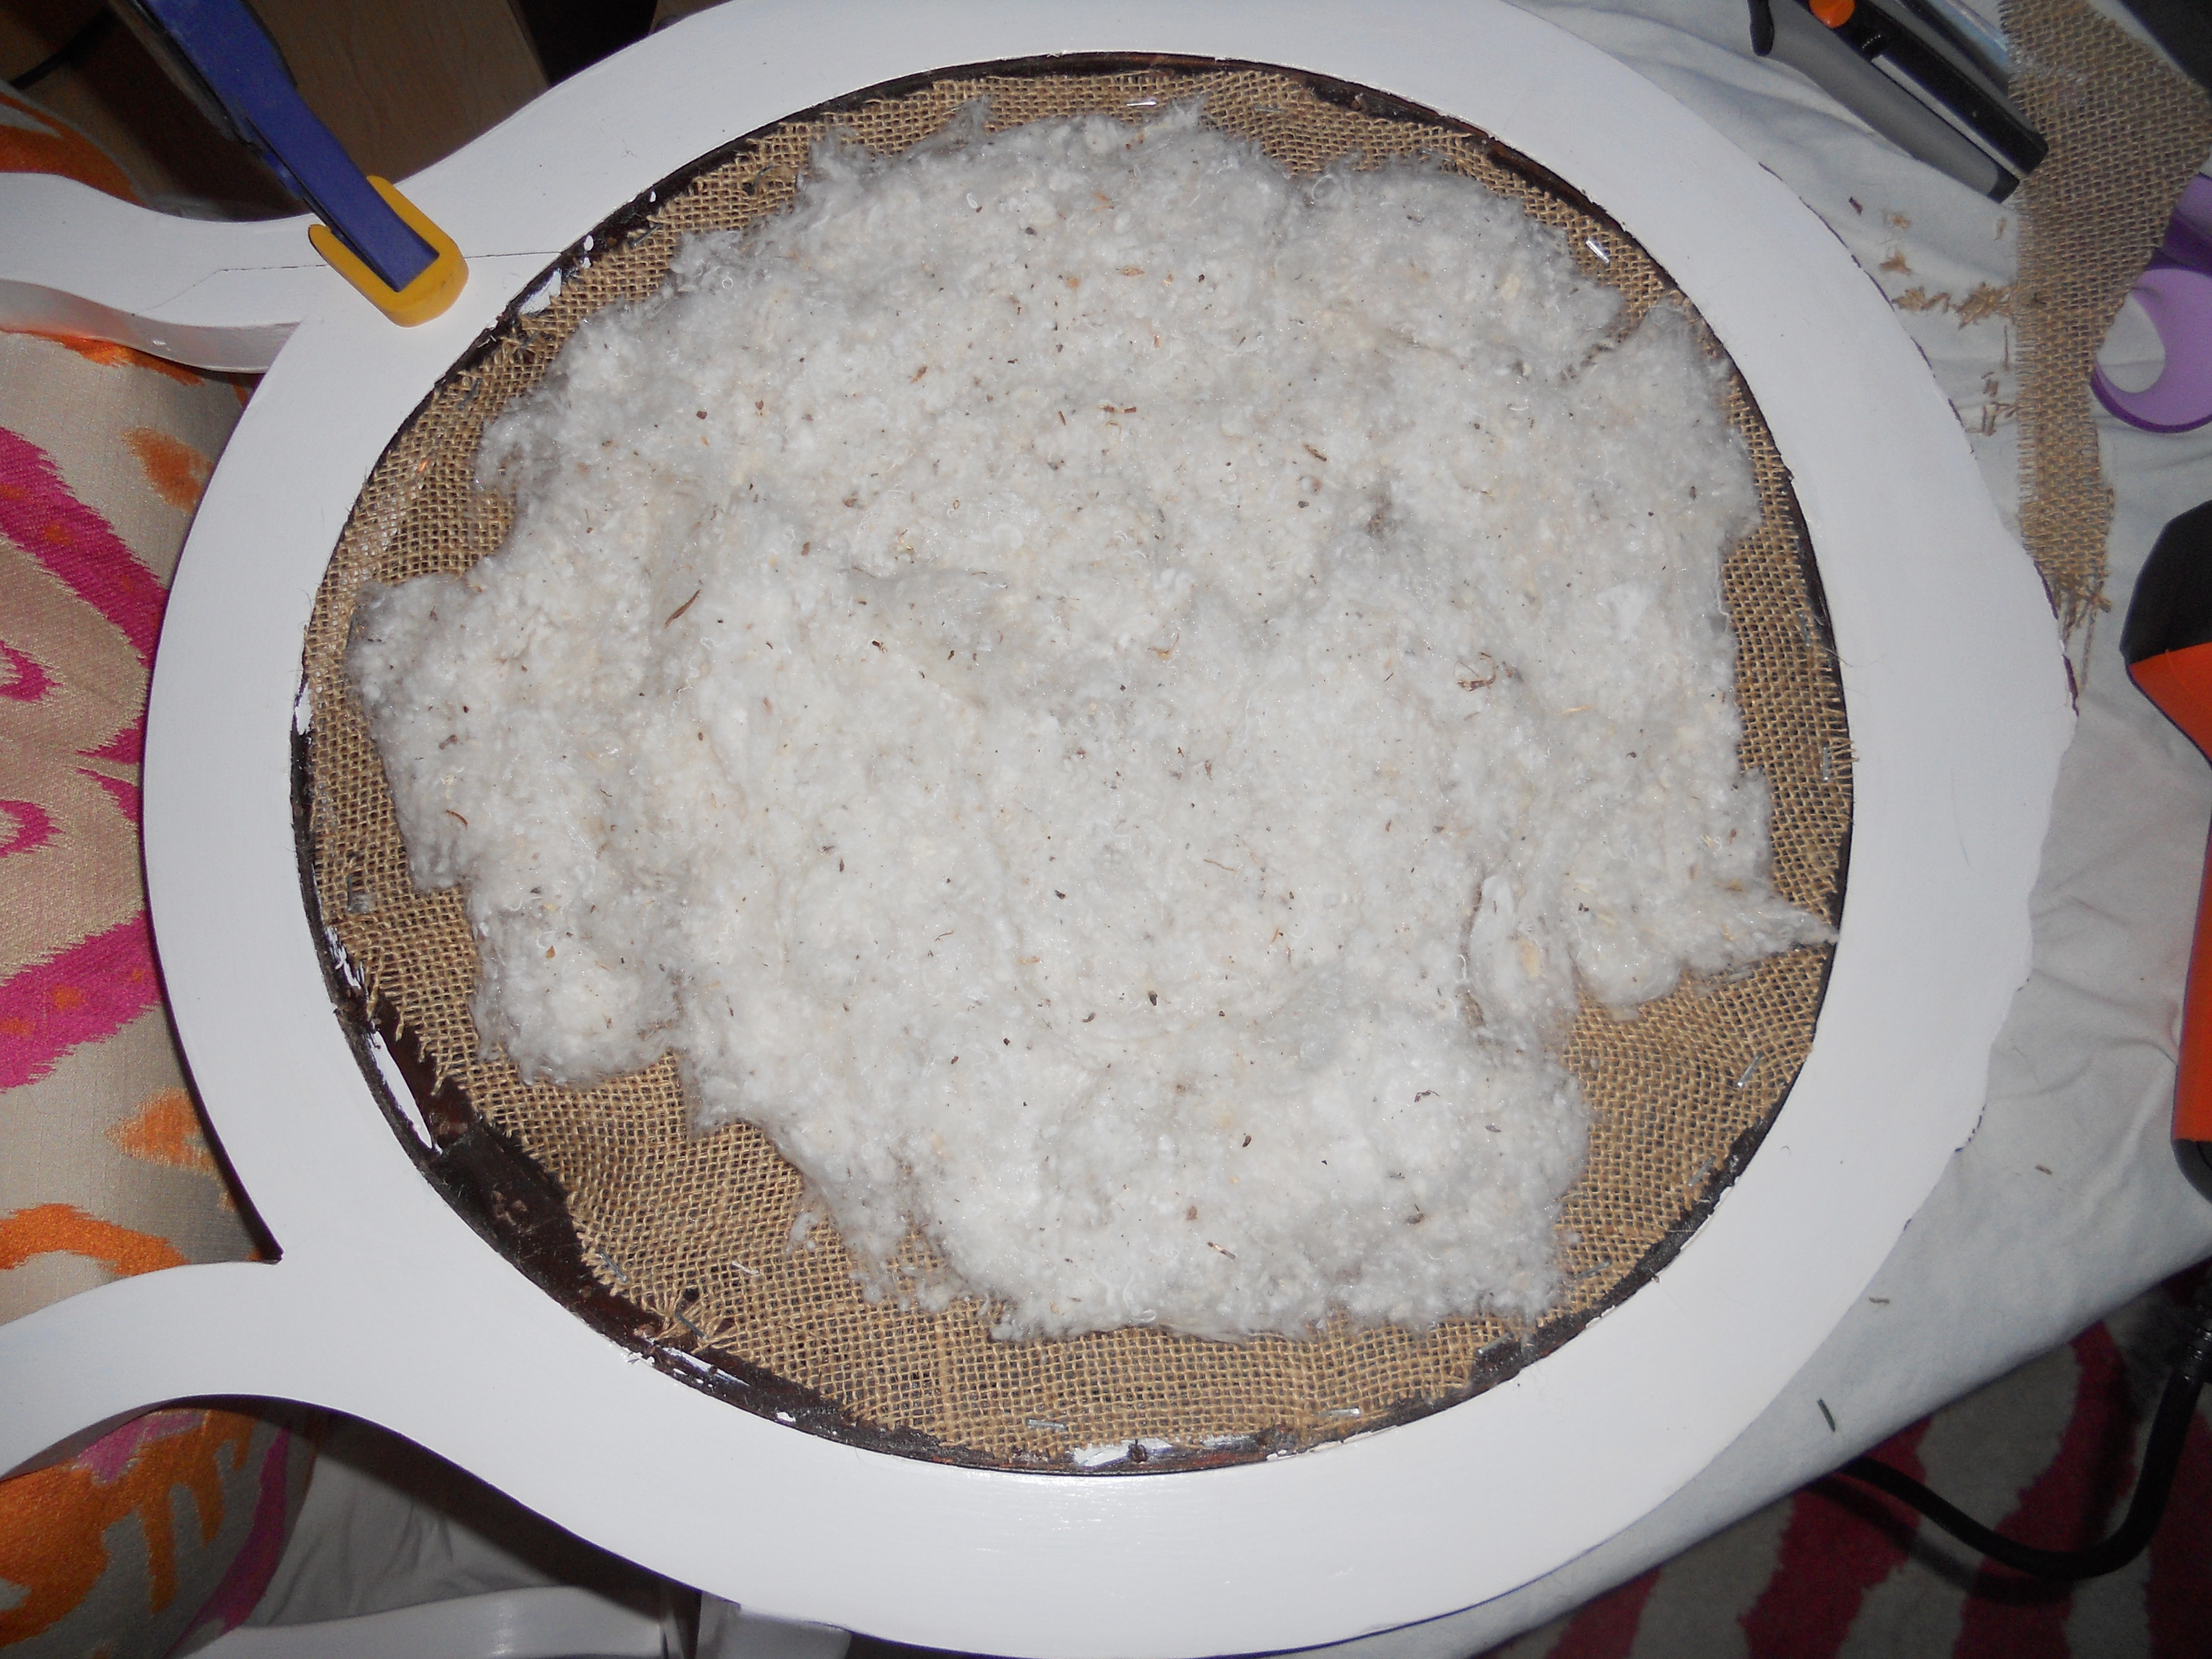
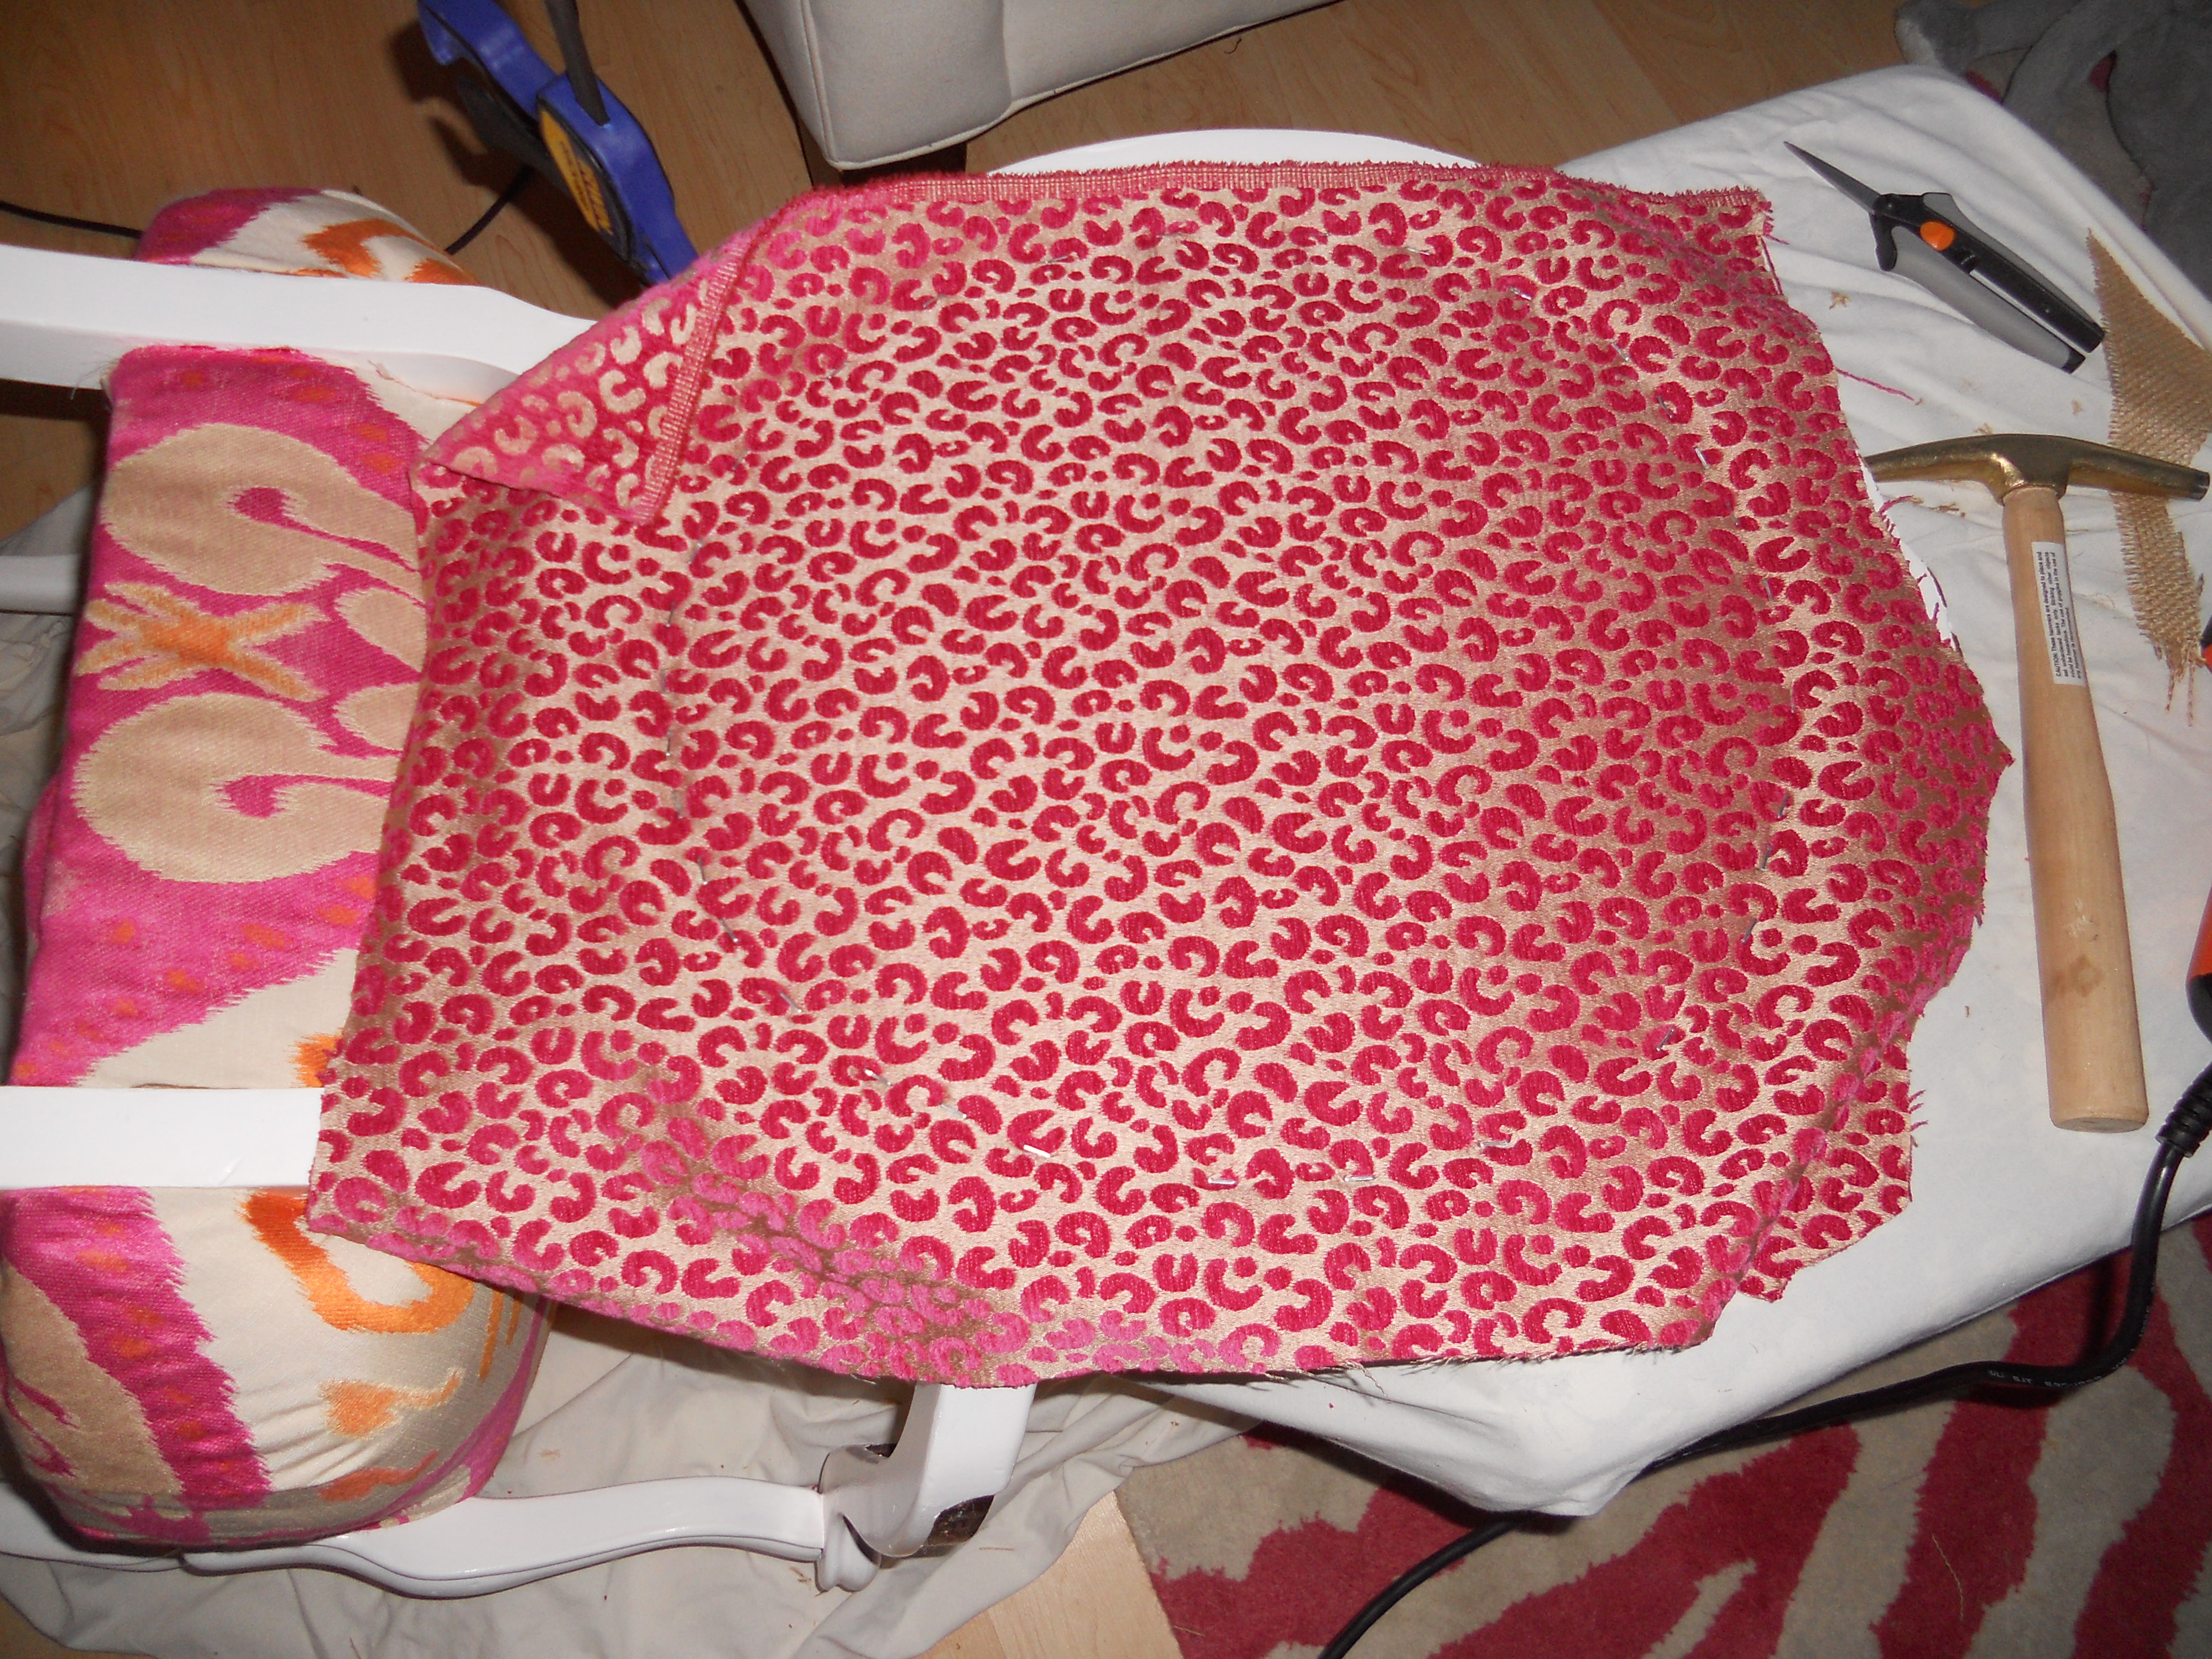
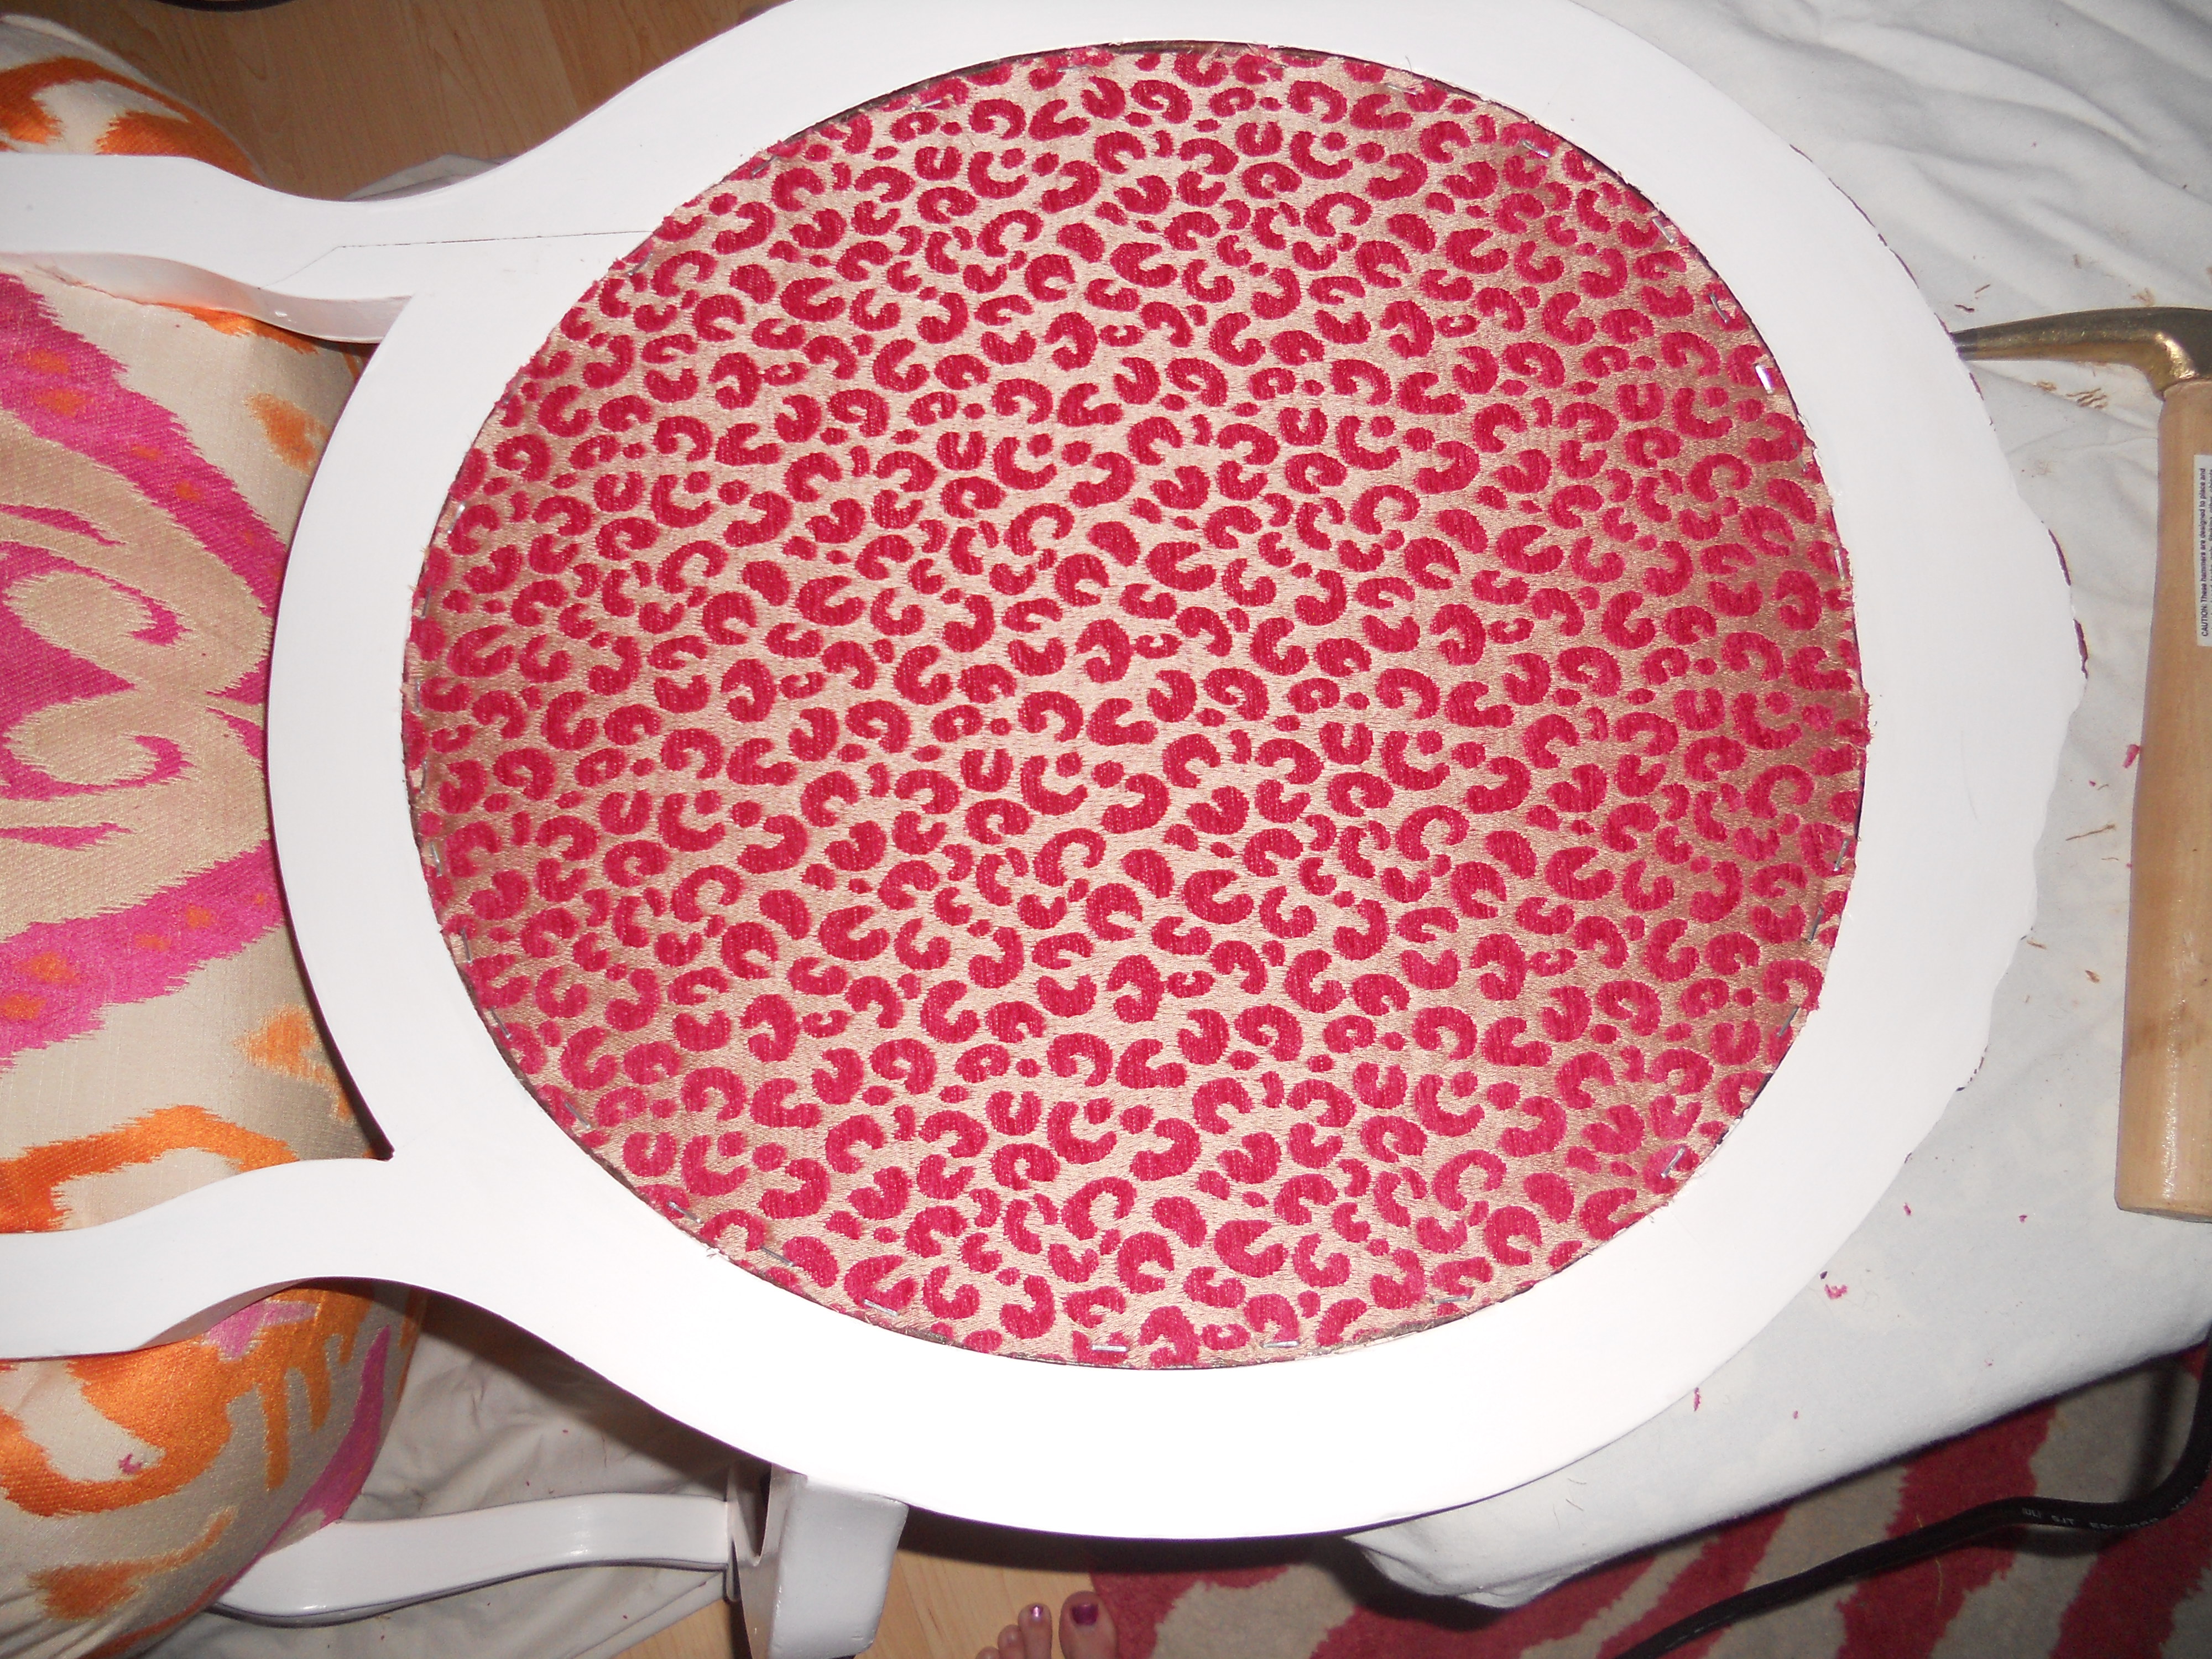
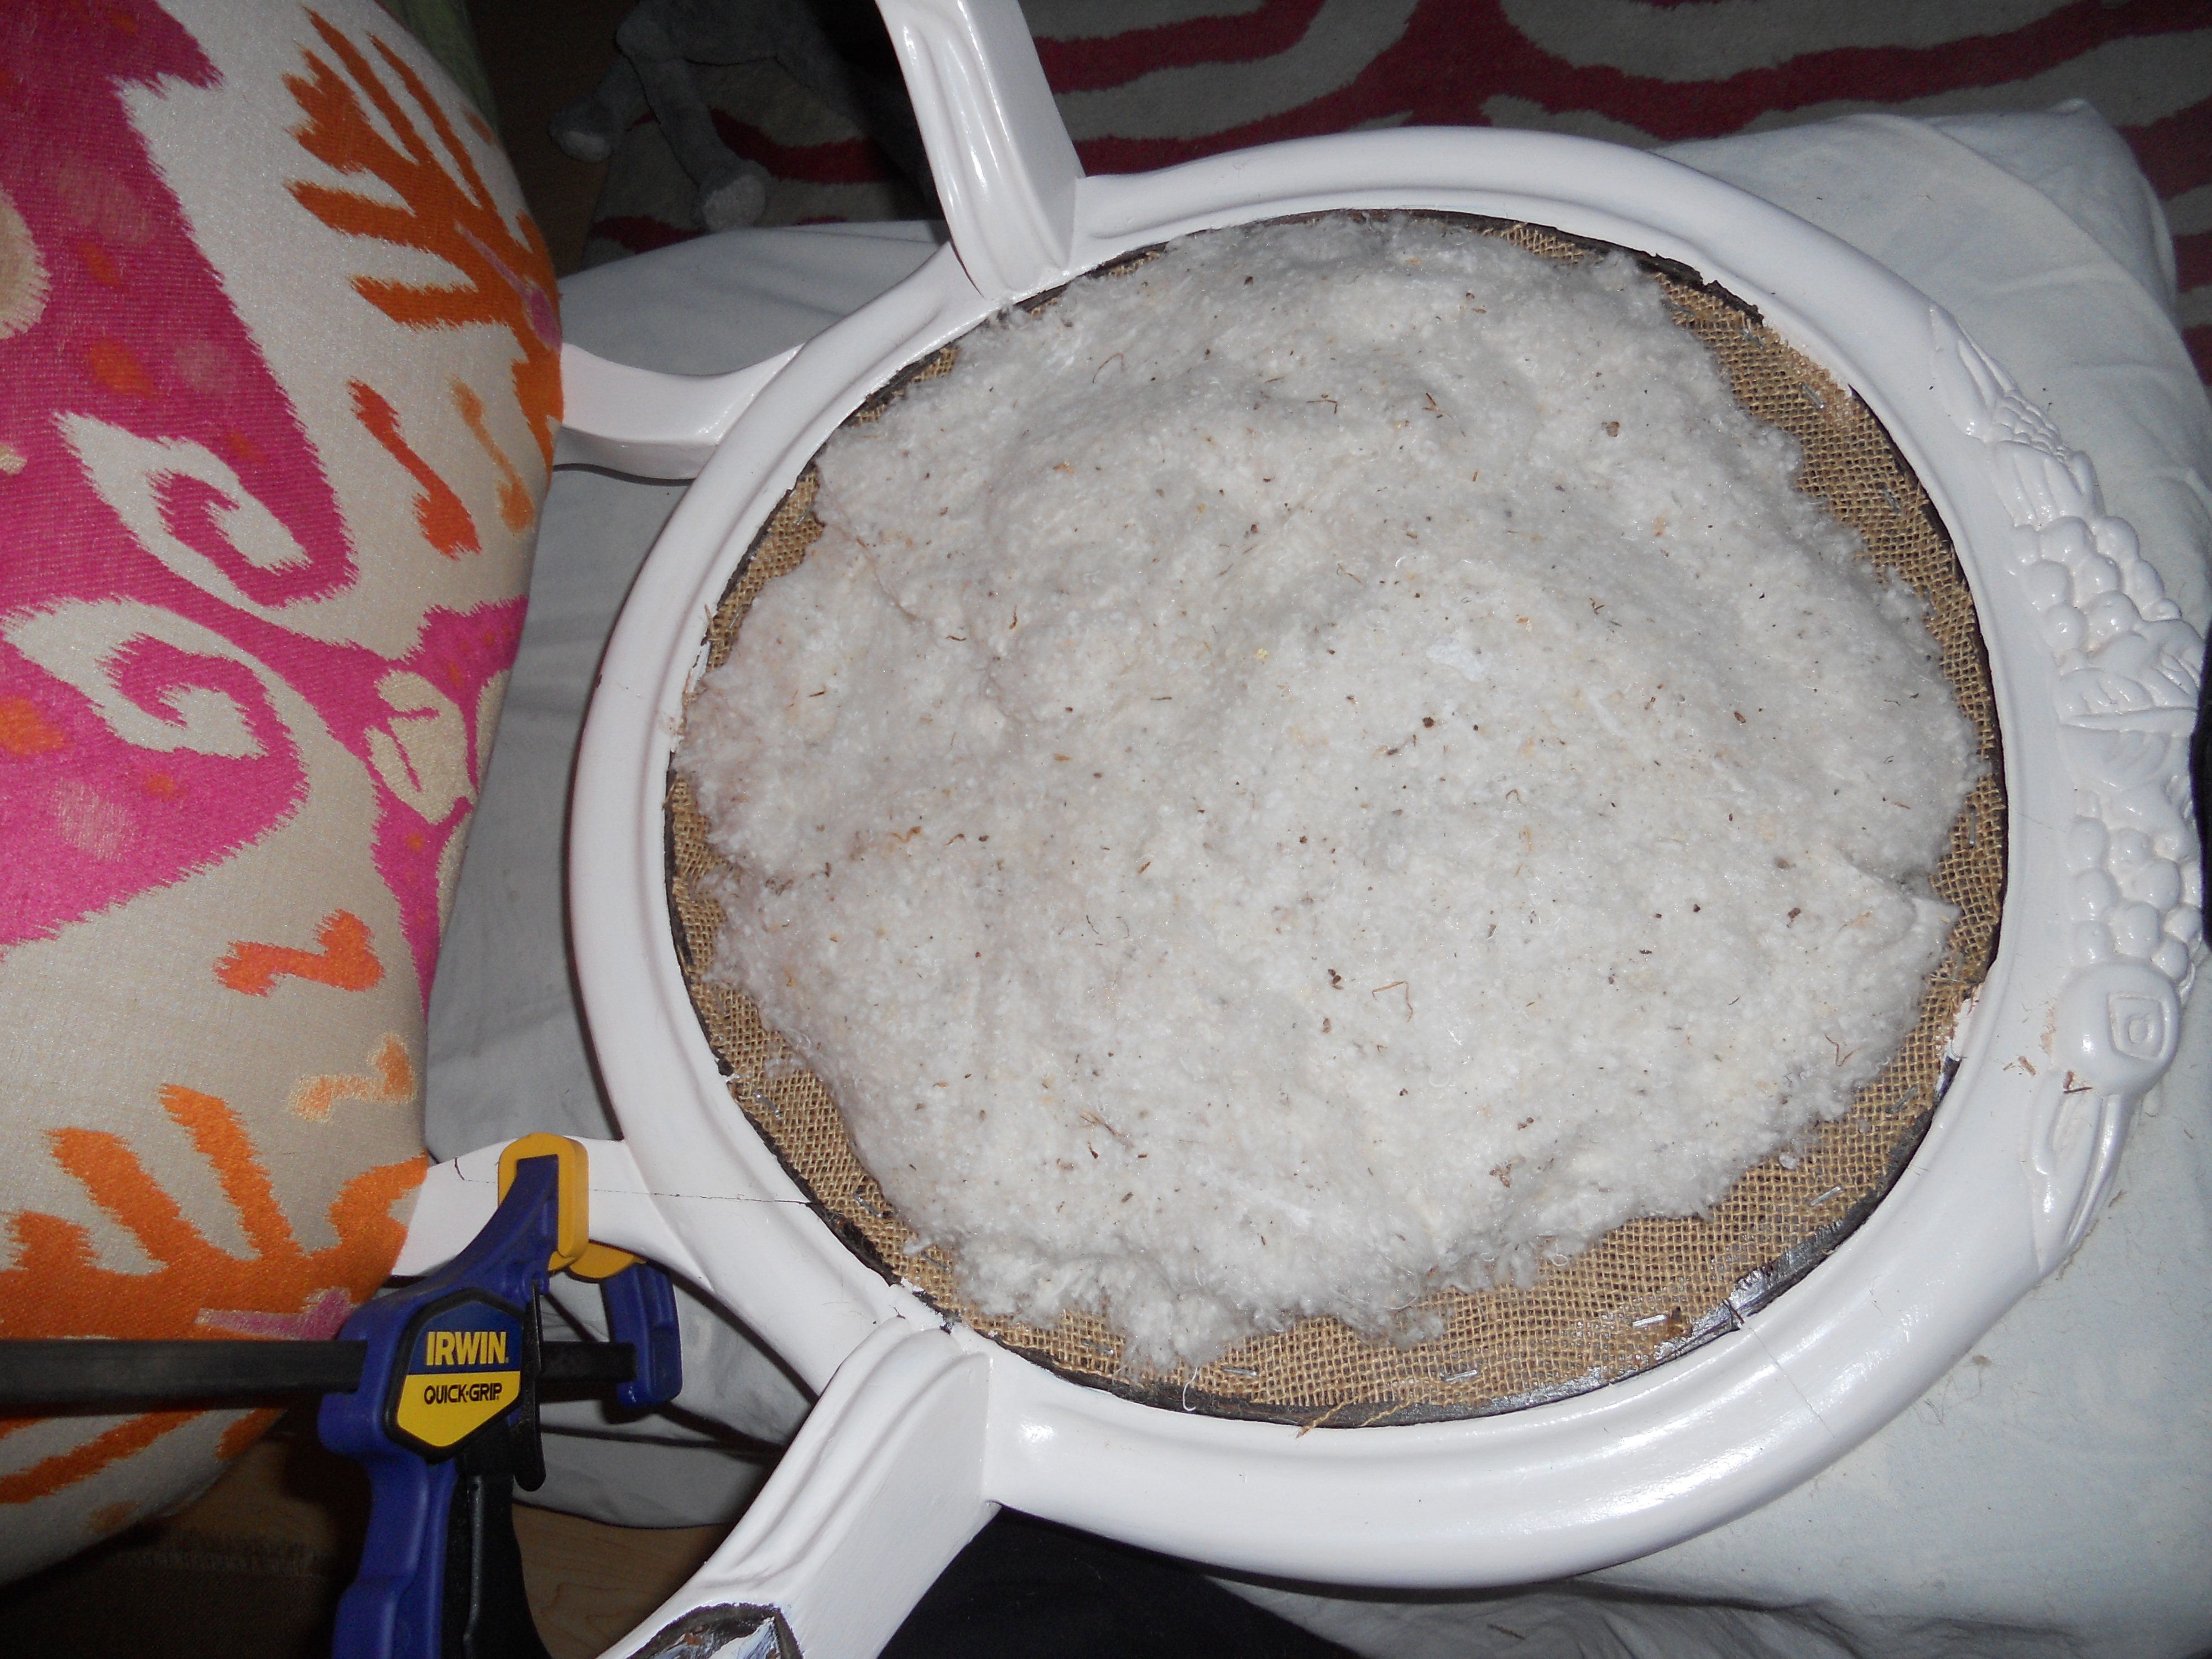
Don’t mind all my extra stuff in this pic!

IMG_0788

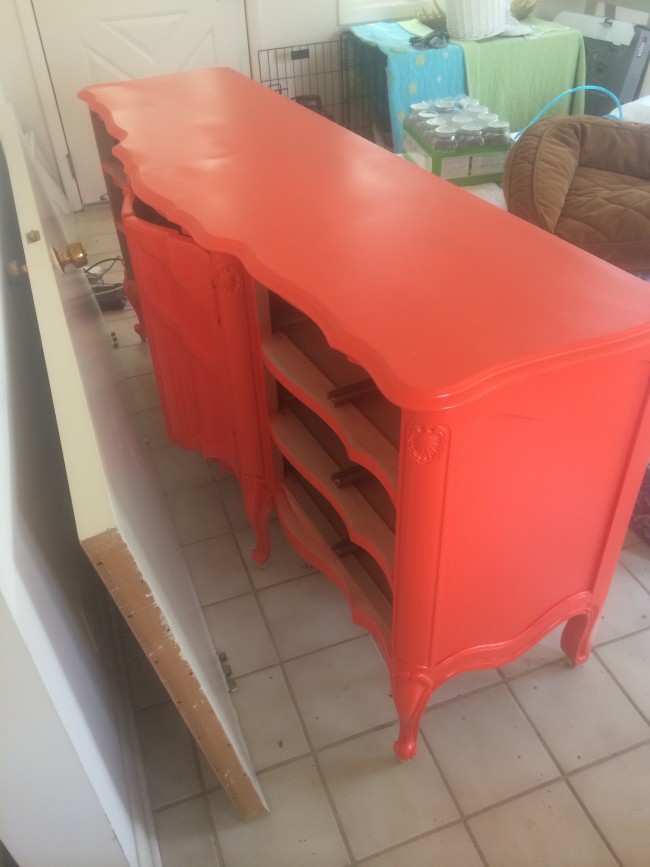
After I did all of that I used a spray can of lacquer. I looked high and low for a lacquer paint to just put in my critter spray gun, however I couldn’t find one so I bought several cans (like 6) of the clear coat lacquer product and sprayed and sprayed.

IMG_0789

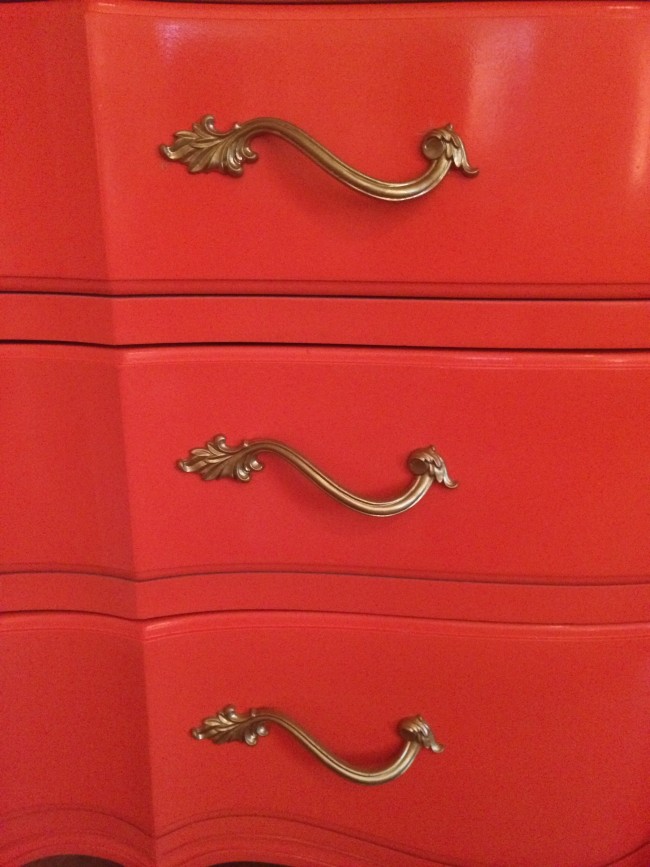
I kept getting frustrated because of the over spray that happened. However I watched this video from the blogger Alchemy Fine Living over and over again. And just trusted that I was doing all the steps right. She recommends after you spray your lacquer coating that you use 0000 steel wool to sand it down and then you polish the furniture with a wax coating. After this step it cleared up the over spray issue and I got the high gloss look I had been going for.

IMG_0785

Then I just sprayed the knobs to get a fresh look to them and we were done.

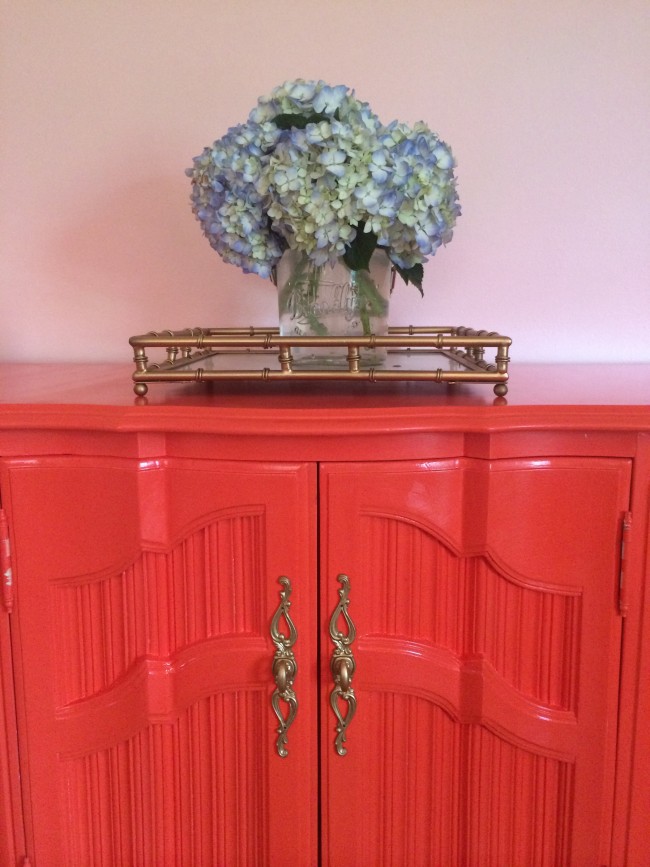
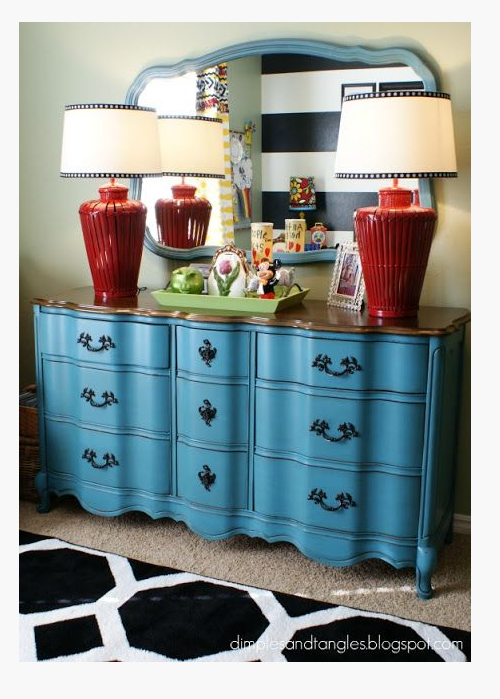
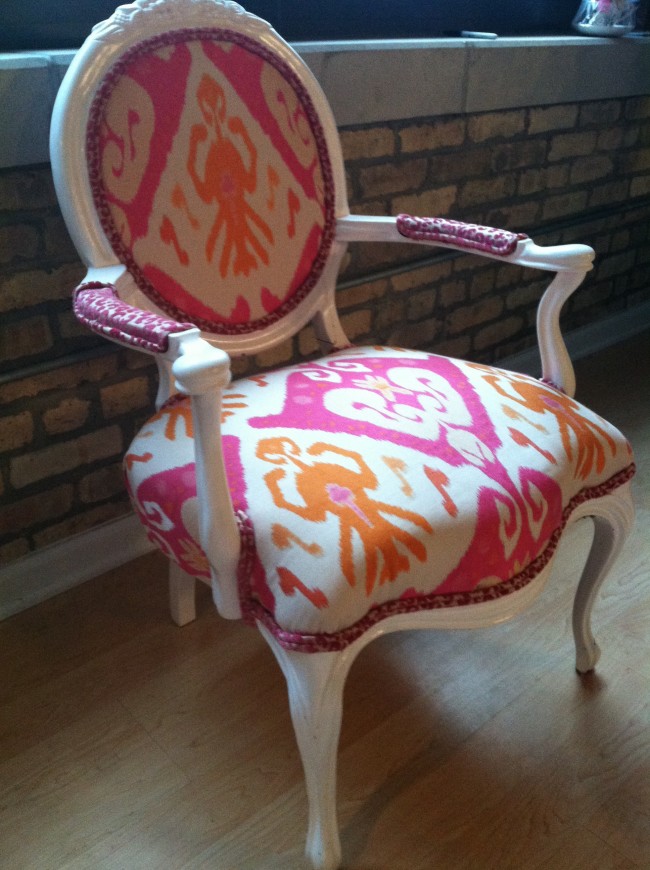
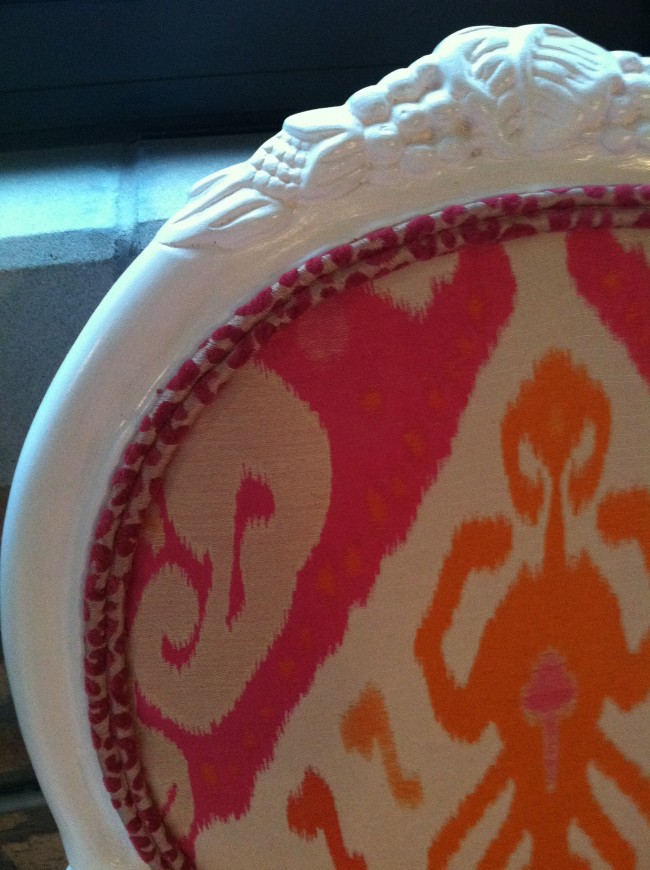
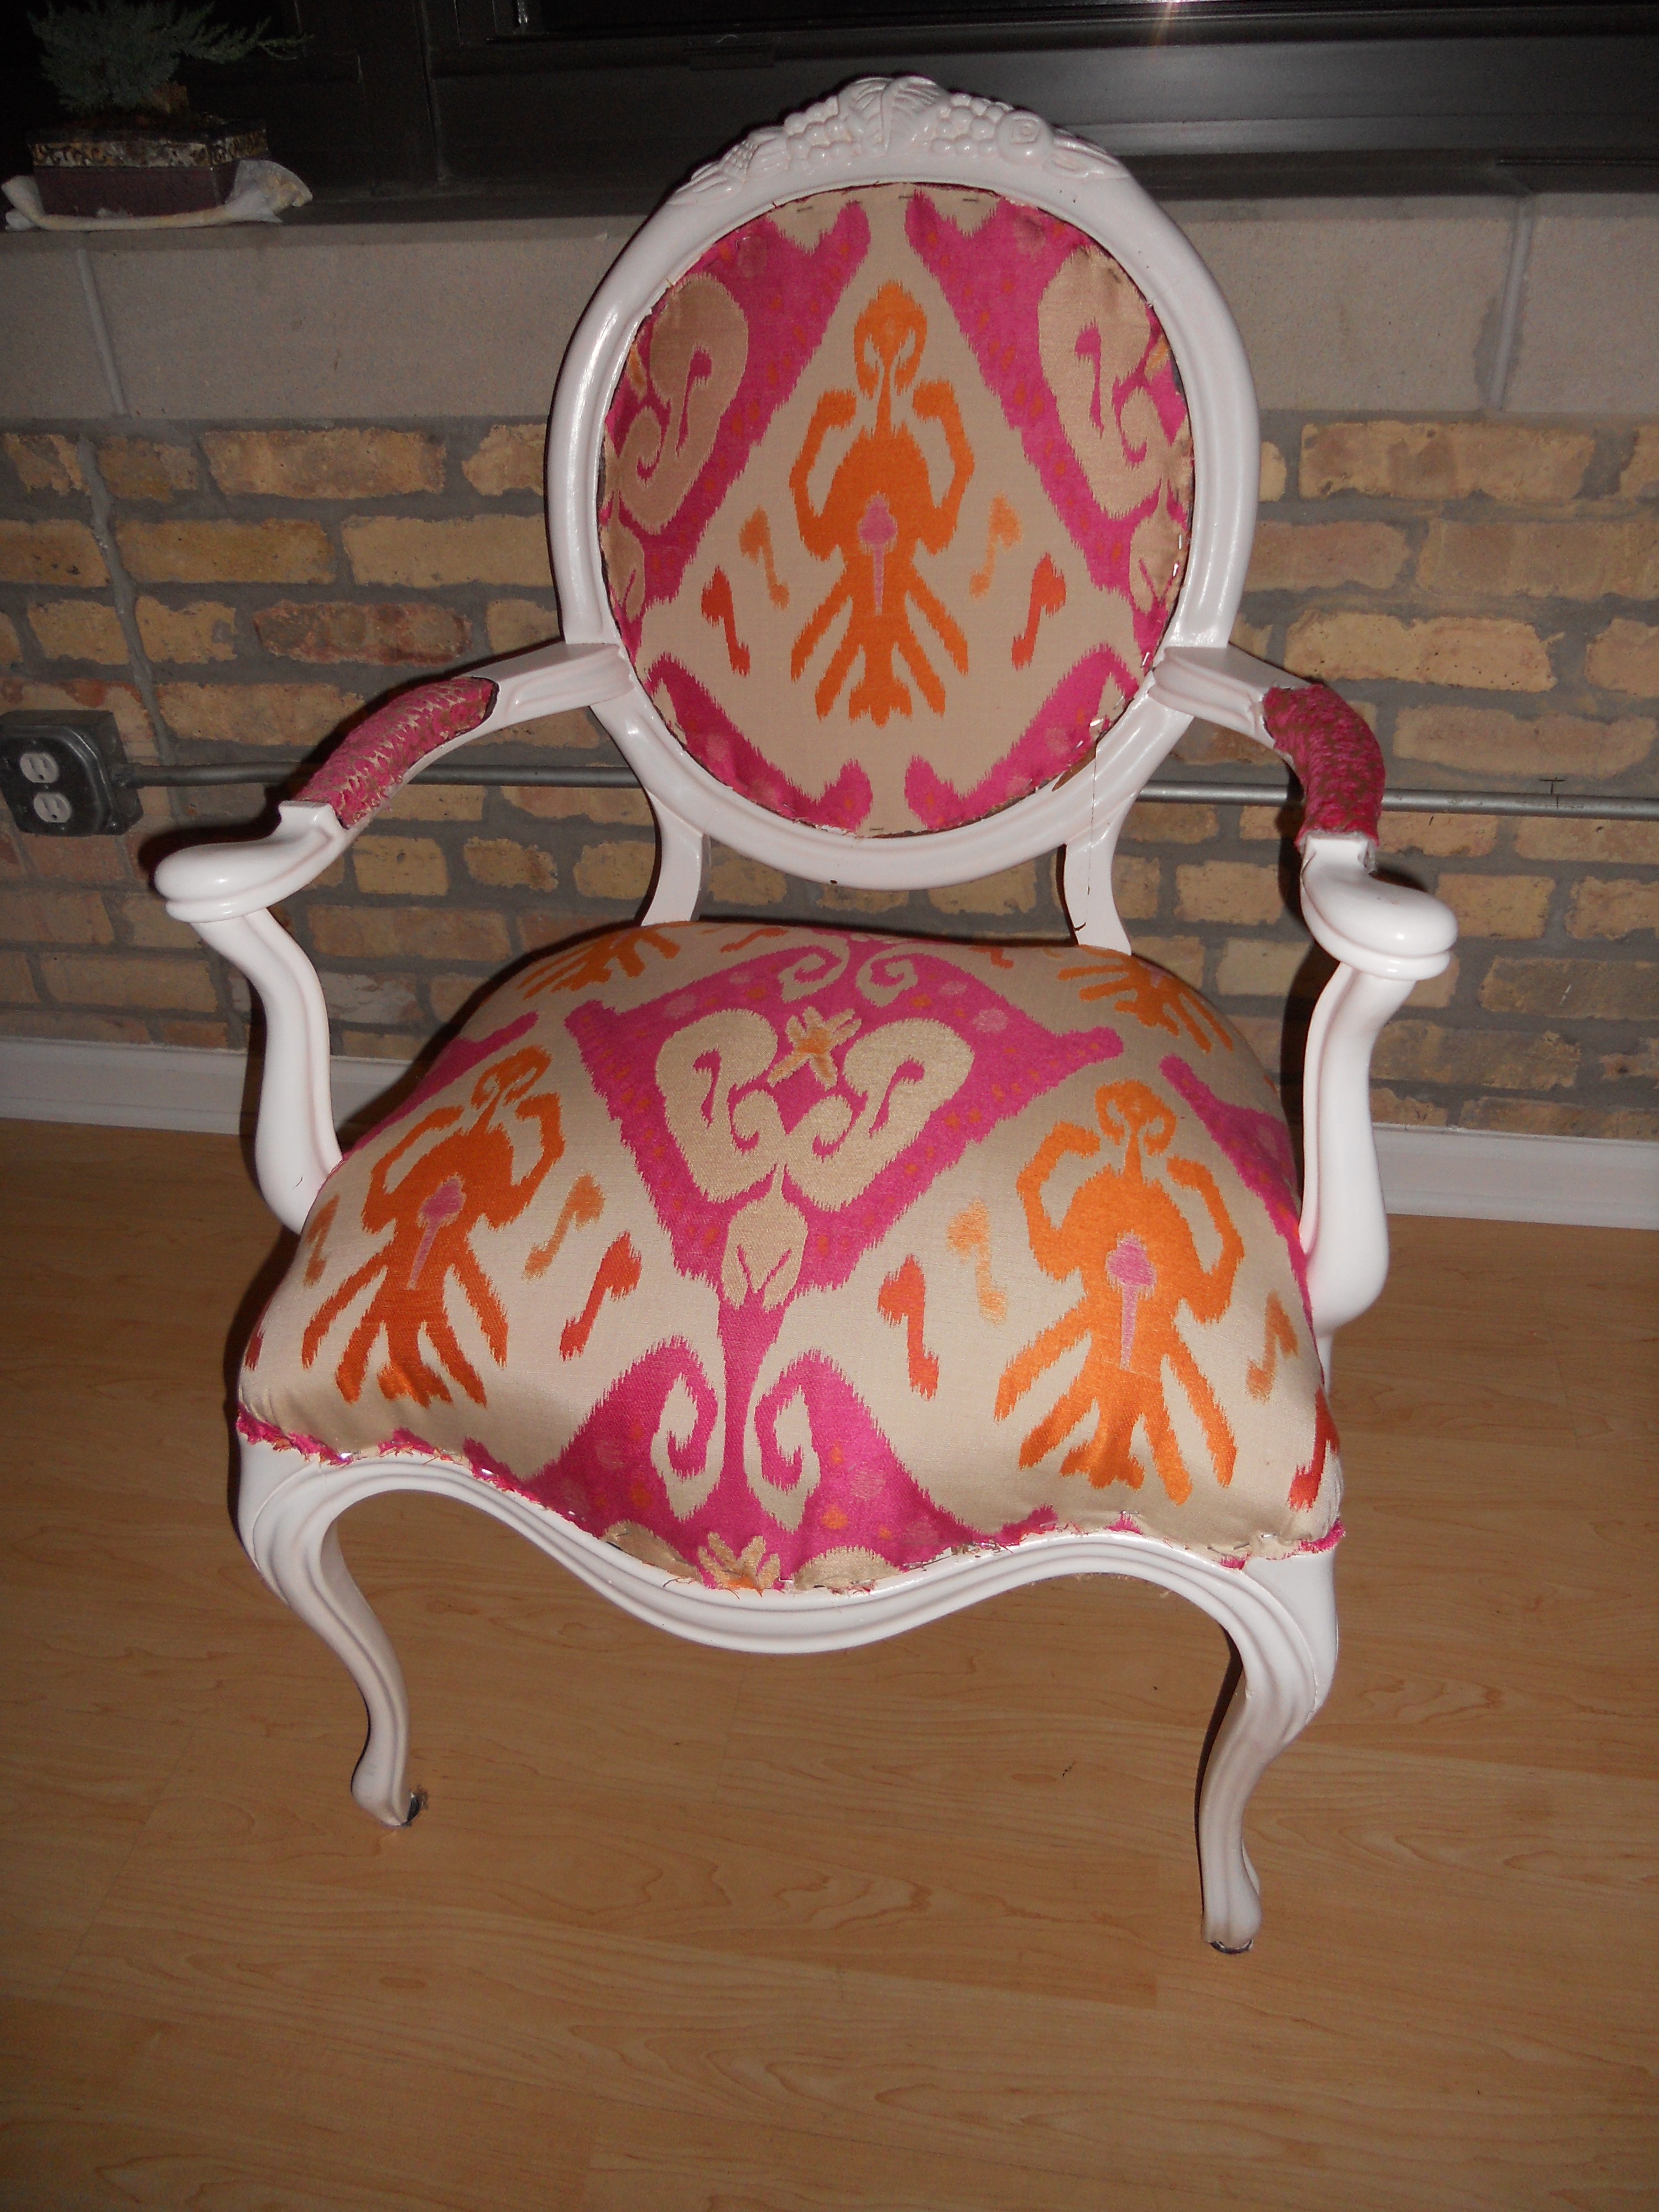
I just love the way it turned out. The color is fun and fresh! Can’t wait to dress it up a bit with mirrors and some lamps and such!

Project: Lacquered Dresser Experiment

Hope everyone had a great weekend. Mine was good – more working on the house. I was pumped because I scored the below dresser at a local consignment shop. I was scouting out for a new dresser because the one we used in our condo in our master bedroom was just a little too small (it was actually a buffet my grandmother refinished). So Friday night I was searing craigslist and my husband actually found a different dresser, and upon scouting it out I found a whole new consignment shop I hadn’t been to – it was awesome! Lots of goodies, but this one came home with me!!!

TNPLH: Craigslist Dresser

So my mission on this project is to try and lacquer it. For those of you following my ORC, you will know that we are re-doing the master bathroom and I am having a custom vanity made lacquered in an orangery/cherry red color. So I decided to try and make them match. I have re-finished many a peice of furniture before, however whenever I try to do something in the high gloss it is never that lacquered look that I really want. So I am goign to give it a whirl – any words of wisdom or encouragement is much appreciated!

Upholstering Chair: Part 5

I am happy to announce the chair that I have been working on for a while is finally DONE! See my previous post here.

I found this chair on craigslist for $25 a while back and have been working on refinishing it. But between work, full time MBA and wedding planning (and not having a sewing machine to finish the last details) I haven’t had chance to finish before this weekend. As of the last step the only thing I had to do was the double cording for the trim.

So here we go! First I had to sew the double cording. I had never done this before. I have done single cording but for this project I wanted to use double. I used some good how do’s from bloggers I love. I found them very helpful see them here and here.

Sewing Double Cording

First I had to sew the cording. When I finally bought my sewing maching a couple months ago I bought a cording foot. It is heaven. If you want to make cording/piping for any project. I recommend getting one. I think mine was only about $20. It guides the sewing so nicely it practically sews itself.

Double Cording

It’s surprising how much cording you need to make for a full chair. I would say I probably used over 30 yards to do the whole thing.

Double Cording

Trim!

Fabric Glue

The different Blog call for different glues. This is the one I used for the trim and it worked great! Be careful – it dries fast!

Adding the Trim

Next was just gluing it down. I did small sections at a time because the glue dries so fast. I put glue on the chair I found it worked better than putting it on the double cording itself.

The cording is so nice. I hides lots of mistakes.

Adding the Trim

Adding the Trim

I just put the ends and put some fray – check on it. I have seen different ways to handle the ends. In my upholstery class I took we overlapped fabric on the one send to make it more seamless. This way it easier and you can barley tell there is a seam. Just cutting is the way Little Green Notebook recommended so I took her word for it!

Final DIY Upholstery

Final DIY Arm Chair - Upholstery

Final DIY Upholstery

Final DIY Upholstery Arm Chair

Ta Da! Here is the final. I know it took a while but in reality I didn’t spend that much time doing it. It only took long because of my busy schedule and not having time to do it right in a row!

What do you think?

Upholstering Chair: Part 4

 Over break I FINALLY had time to work on my chair again. Click here for part 3. And it is continuing to go smoothly.

DSCN0648First I stapled the burlap to the back of the chair. I cut the burlap to a square bigger than the back of the chair. Pull really tight. Then you can cut the burlap to size after.

DSCN0649

 Next I used cotton stuffing to give the back a bit of padding.

DSCN0644

DSCN0645  Next do the same thing to with the fabric. Cut to a bigger size. Pull tight, staple, and cut. For the back I used a different fabric, leapoard for a bit of print mixing.

DSCN0646

 Next I just had to do the same thing with the front.

DSCN0650

DSCN0651

 On the front I also used batting over the cotton fill. I found that the cotton fill looked a bit bumpy so the batting helped make it look a bit more smooth.

DSCN0652

DSCN0653

chair

Next I have to do the pipping trim and fill in a couple paint chips from where I nicked the chair a bit.

Upholstering Chair: Part 3

This Sunday I FINALLY had some time to work on my chair again. I am feeling good about how much I got done with the project! To see the previous steps check here.

First I had to fill in the coil areas with cotton fill  prior to putting the cushion on. This helps to make your platform real even.

Next I took the cushion that I already glued to burlap in the last segment and stapled down to the bottom.

Next, I added the cotton batting. I used this step to make sure that the cushion was stapled down nice and tight. Any area that wasn’t secure in the previous step I just made sure to reinforce as much as possible.

Trim your edges!

Next I just started laying out the fabric and slowly stapling down sections. Always start in the center of each side doing one at a time. For instance I stapled the front center with one staple first. The one in the back center, left center, right center. Slowly you keep rotation like this keeping the fabric stretching down and outside.

The corners are always a little tricky and take some working.

You can see here that around one of the arms I made a bit of an oops. Around each arm I cut a small notch out of the fabric to make it so the fabric can wrap around the arm. Here you can see I cut it a bit too deep. I put some fray check on it to make sure it doesn’t unravel anymore. Hopefully the double cording will cover the cut!

Ta Da! cushion all done. I think it went well for my first time ever trying the process!