Every weekend we have continued to work on the kitchen and weeks have gotten away from me. Wanted to take a moment to walk you through all the things we have been up to. If you have been following along on instagram you know we are a bit farther than this, I will do some posts to get us caught up with all the detail!
Since we were moving the kitchen we had some rough work to do in the basement crawl space below. We have a full basement downstairs but for whatever reason there is only a crawl space directly under the new kitchen space. so we were in there a lot.
One day during demo I jumped up and down in excitement, because I do that, and my dad realized the floor was a bit more bouncy than he liked. So we went in the hole. First, Chris got in there and re-enforced the floor to see if that helped the bouncy factor.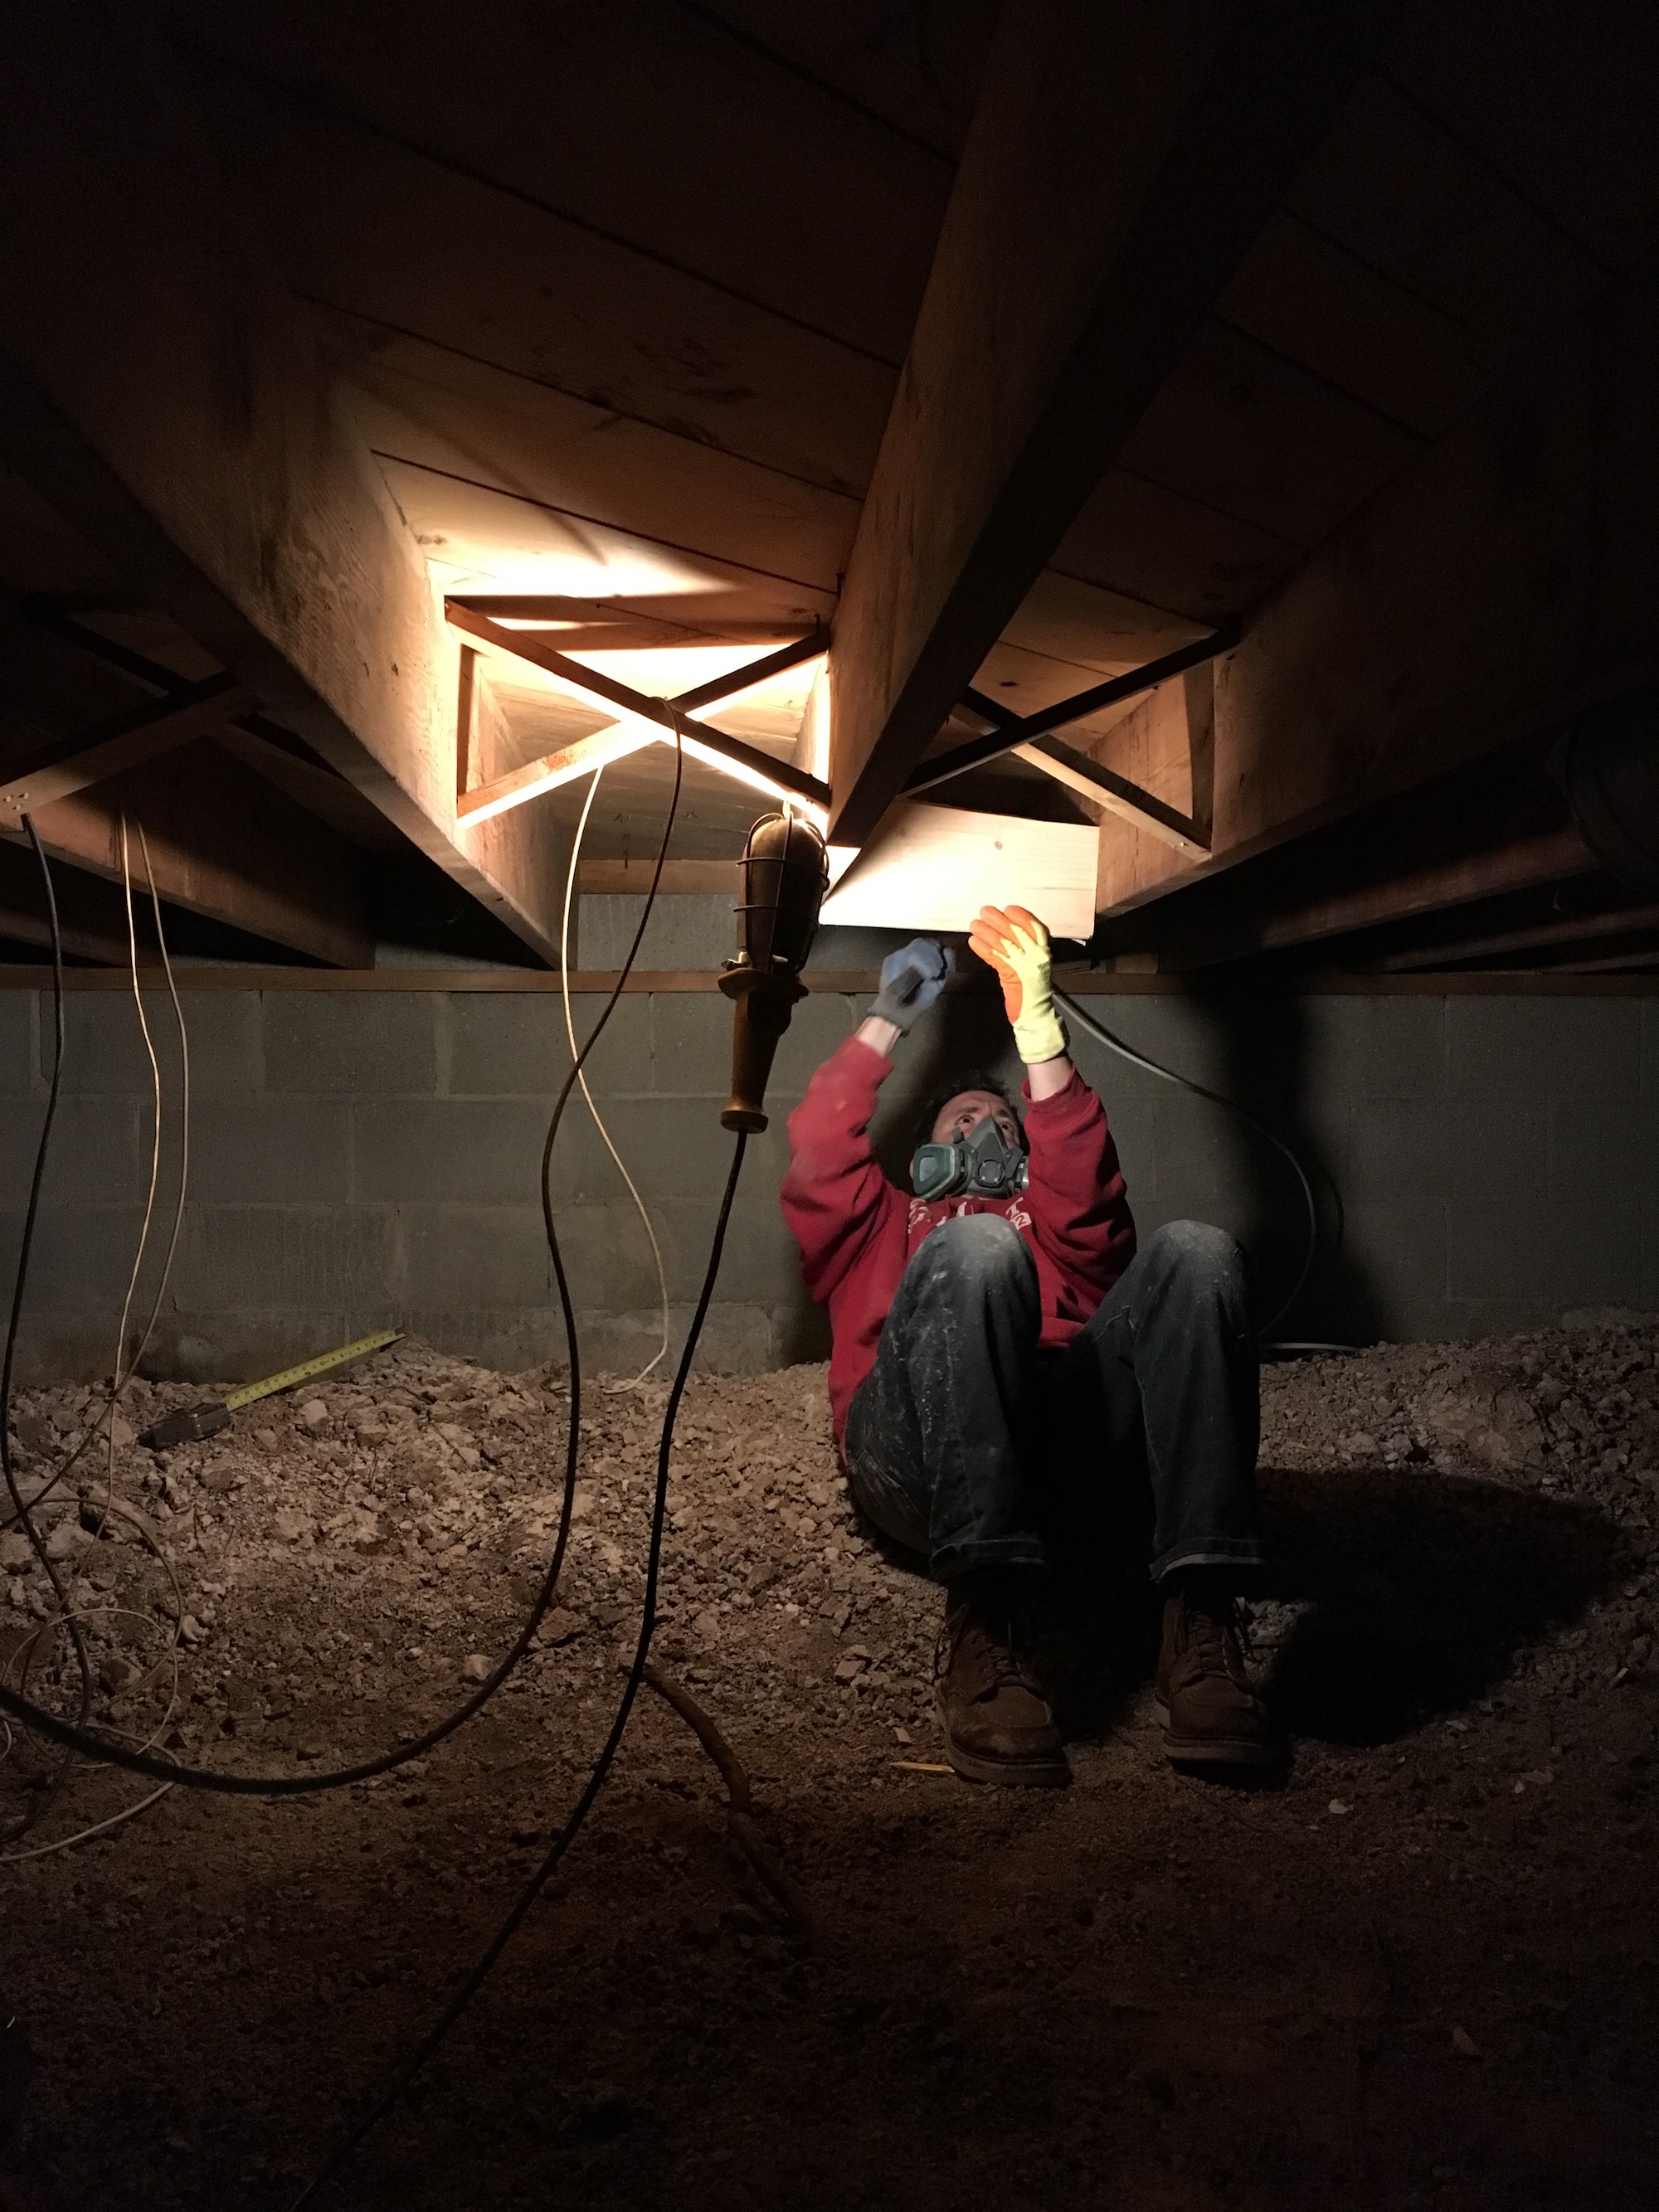
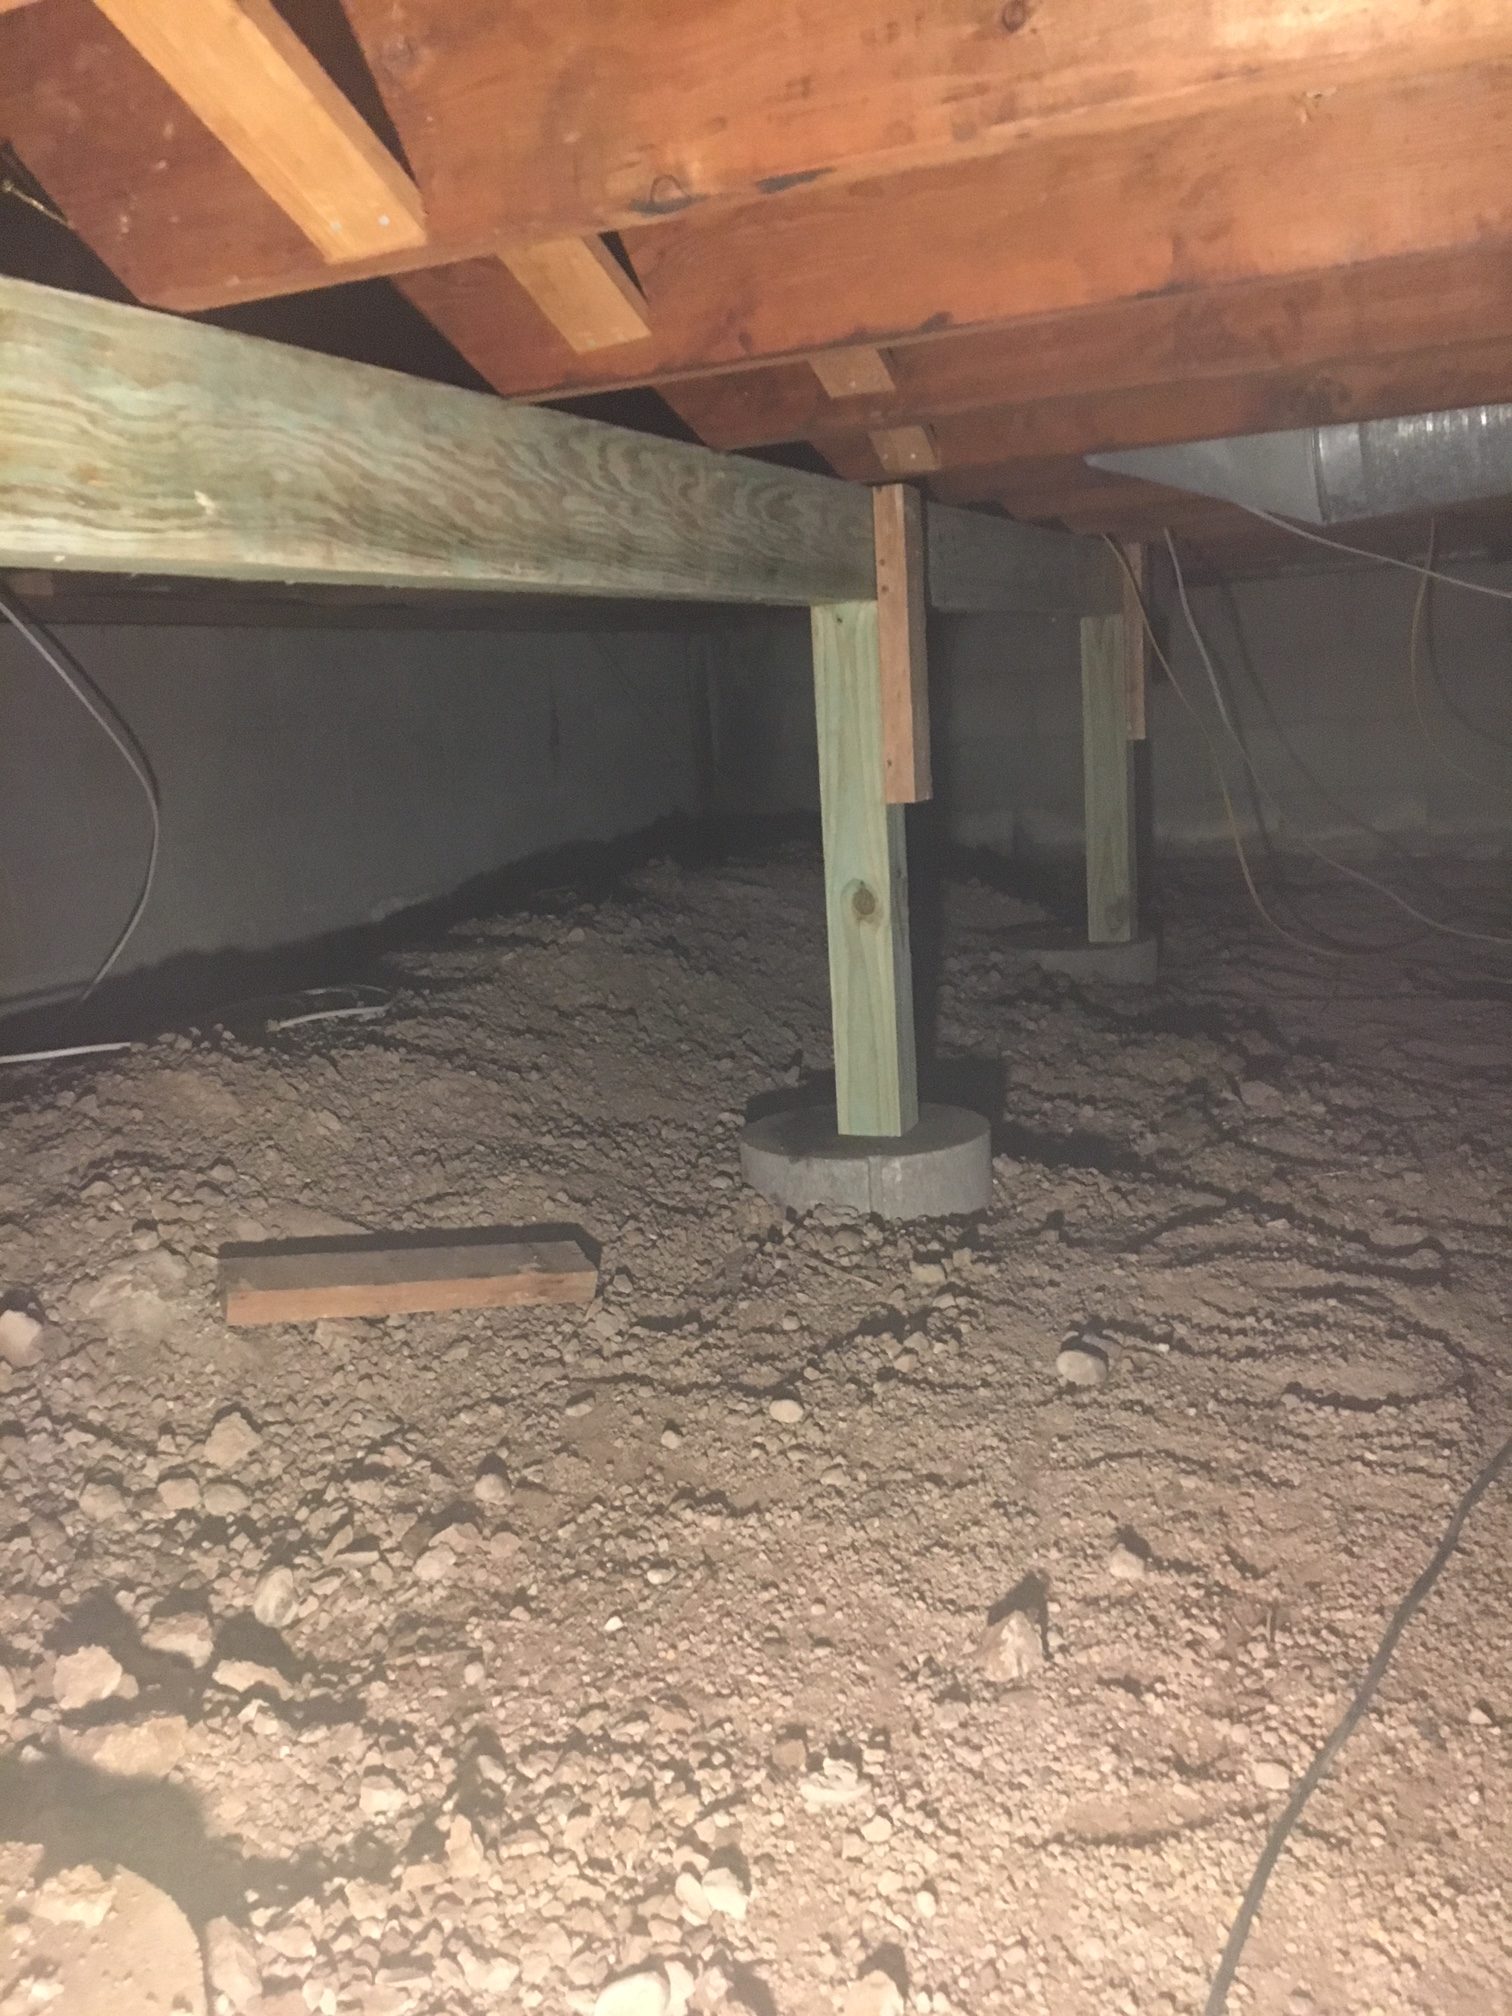
To do this he took some boards and wedged them between the floor joist near the other supports. Although this helped it didn’t fully solve the problem. So dad recommended we add a support beam underneath. Keep in mind this area of the kitchen was going to have a huge (5’x6′) island sitting on it, so we wanted to be sure that the floor wasn’t going to wiggle around.
First we brought a huge beam into the hole. It was a 16 foot 8×8 beam. We lifted it up to the ceiling so it was flush with the top. We hung it up there using wire, which honestly was kinda scary I kept thinking it was going to fall but it stayed.
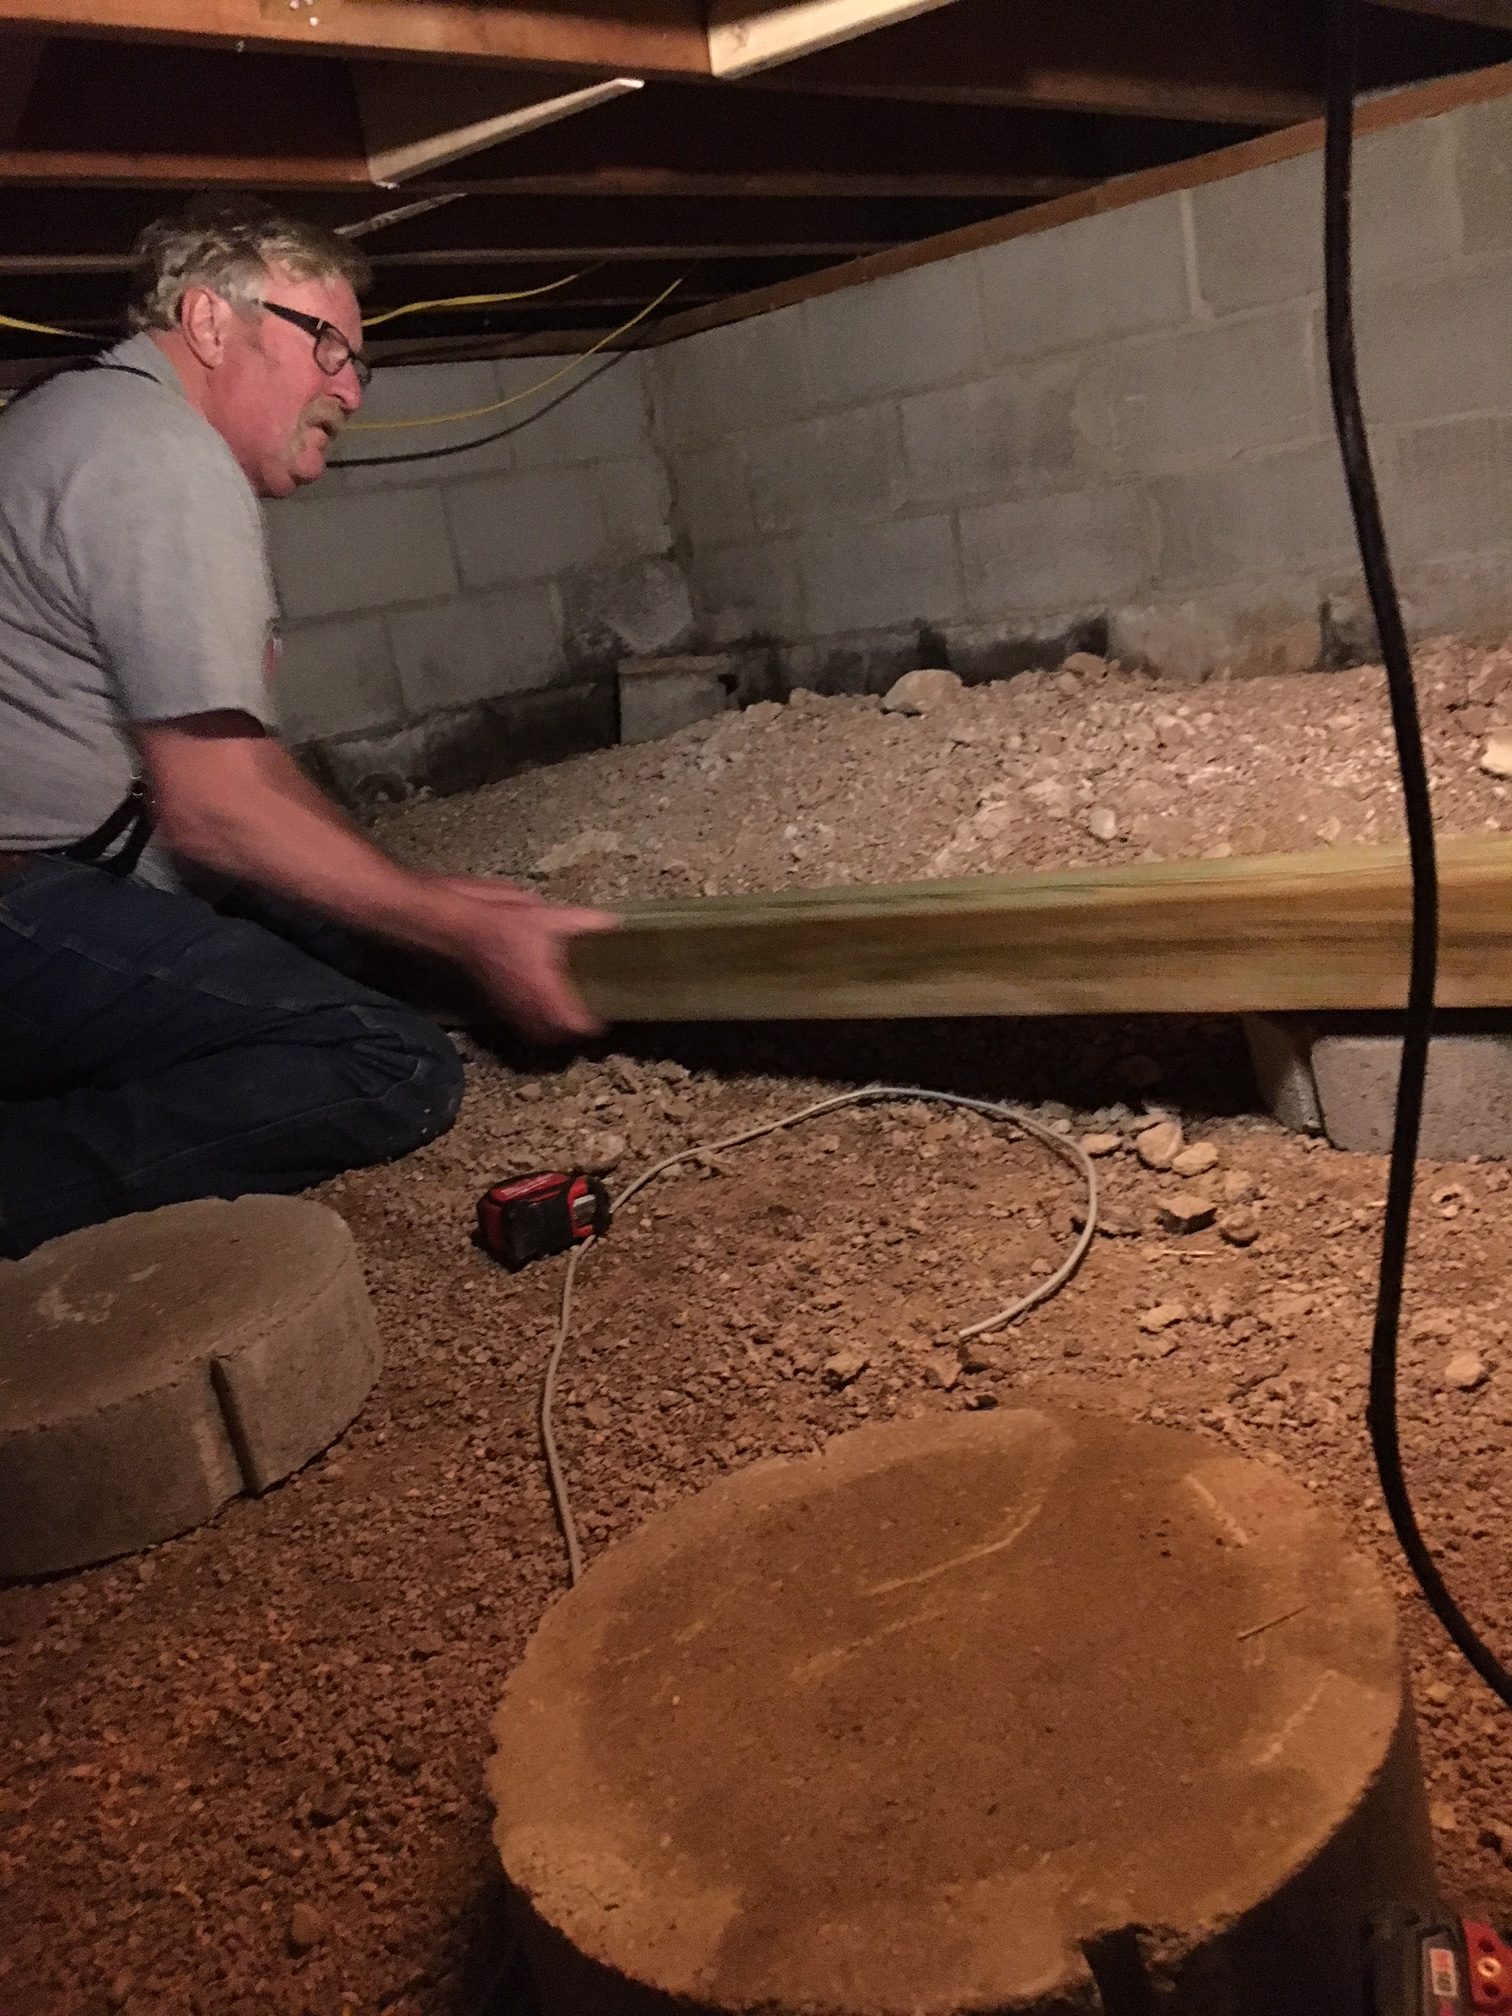
Then we played down 4 cement block and made sure they were level. These would be the support structure to put the incremental 4×4 beams up to support the big horizontal beam.
Then we used a jack to jack up the big beam to be a bit taller than we really wanted it, so then we could wedge a 4×4 beam in sitting on the cement block. The jack helped us to make sure we got a really tight fit with the support beams.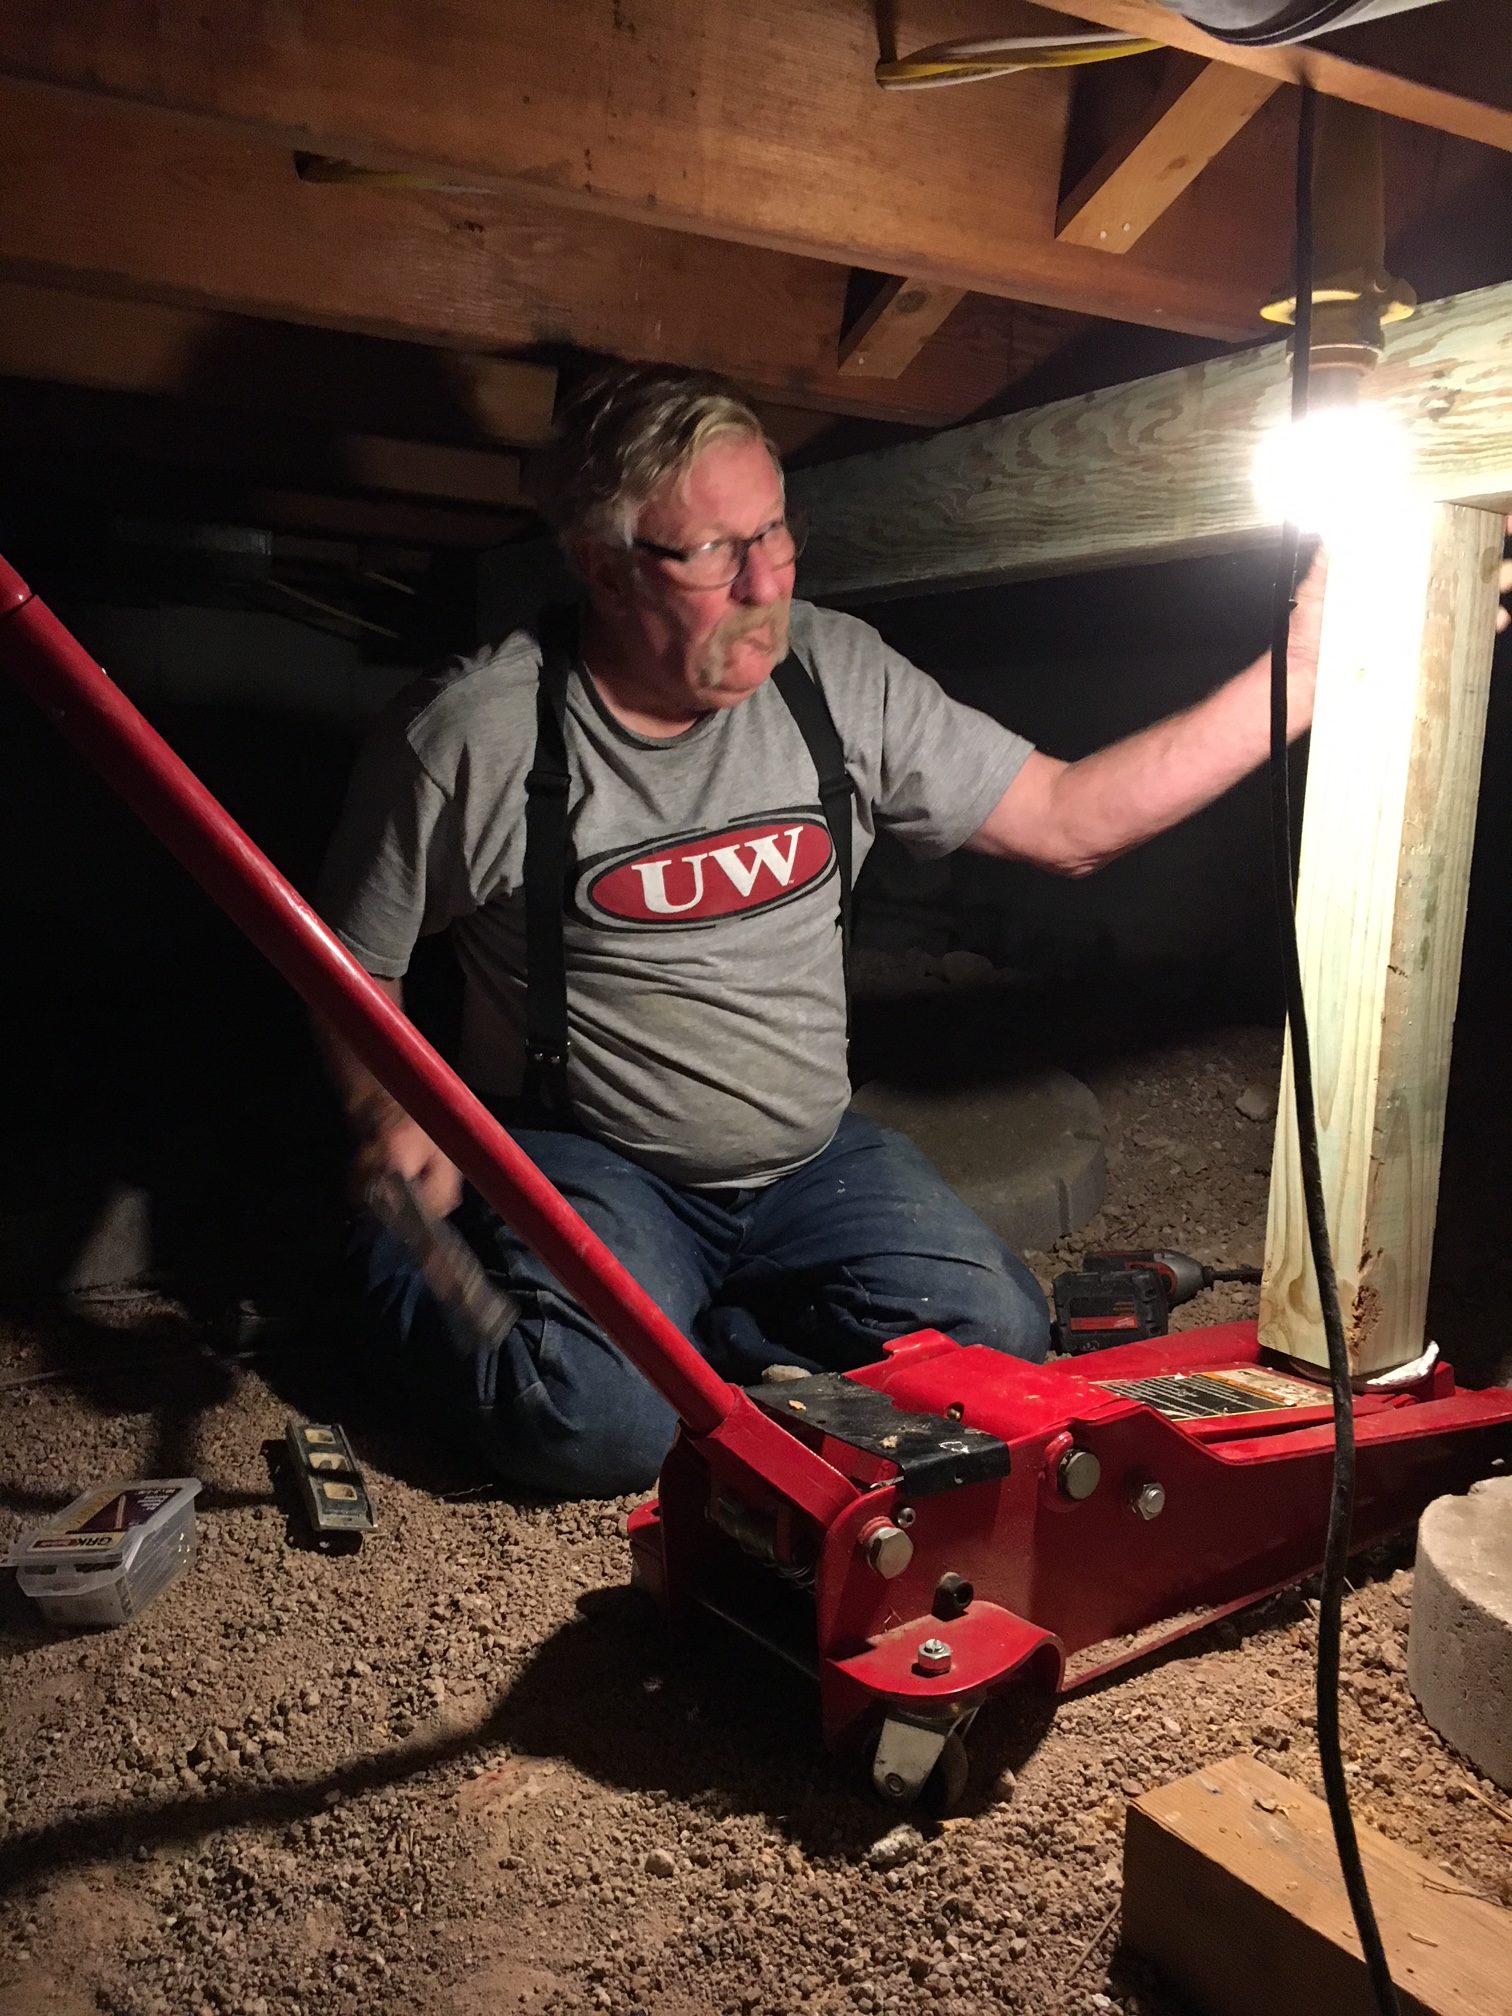
We did this 4 times evenly spaced. Once we went up stairs the floor wasn’t moving one bit! This whole project took us about 45 mins and cost about $100 to make a much better support base for the house.