Little Yellow House: Kitchen Update

Hey friends. Some of you have been asking for an update of what our kitchen is looking like. If you have been following along you have probably seen some instastory updates, but here you go.

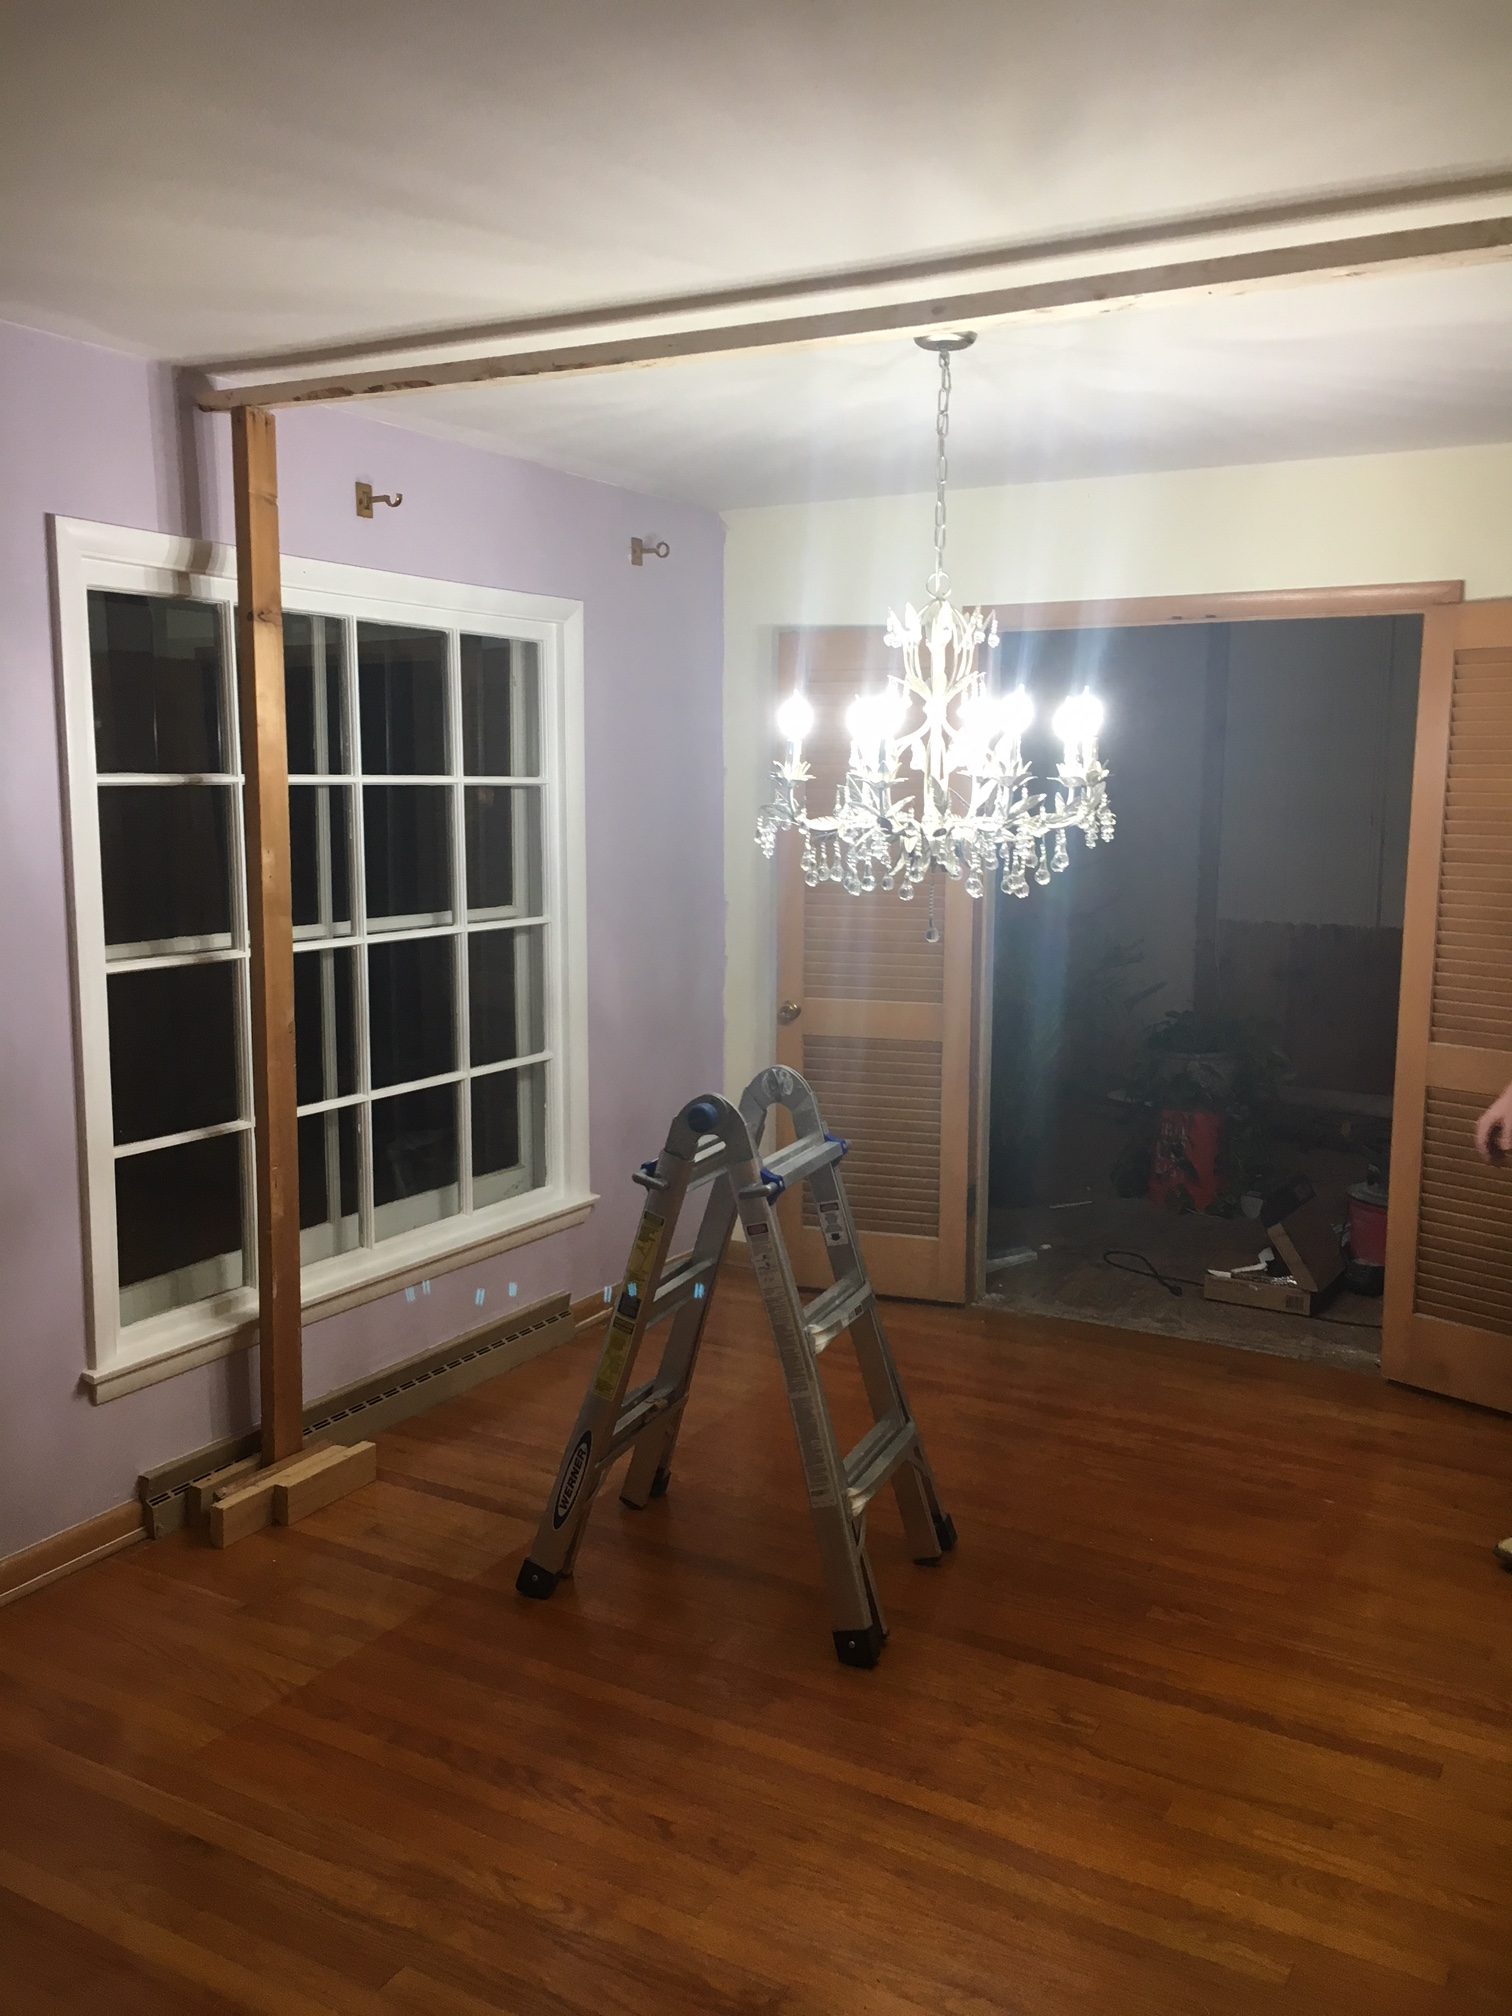
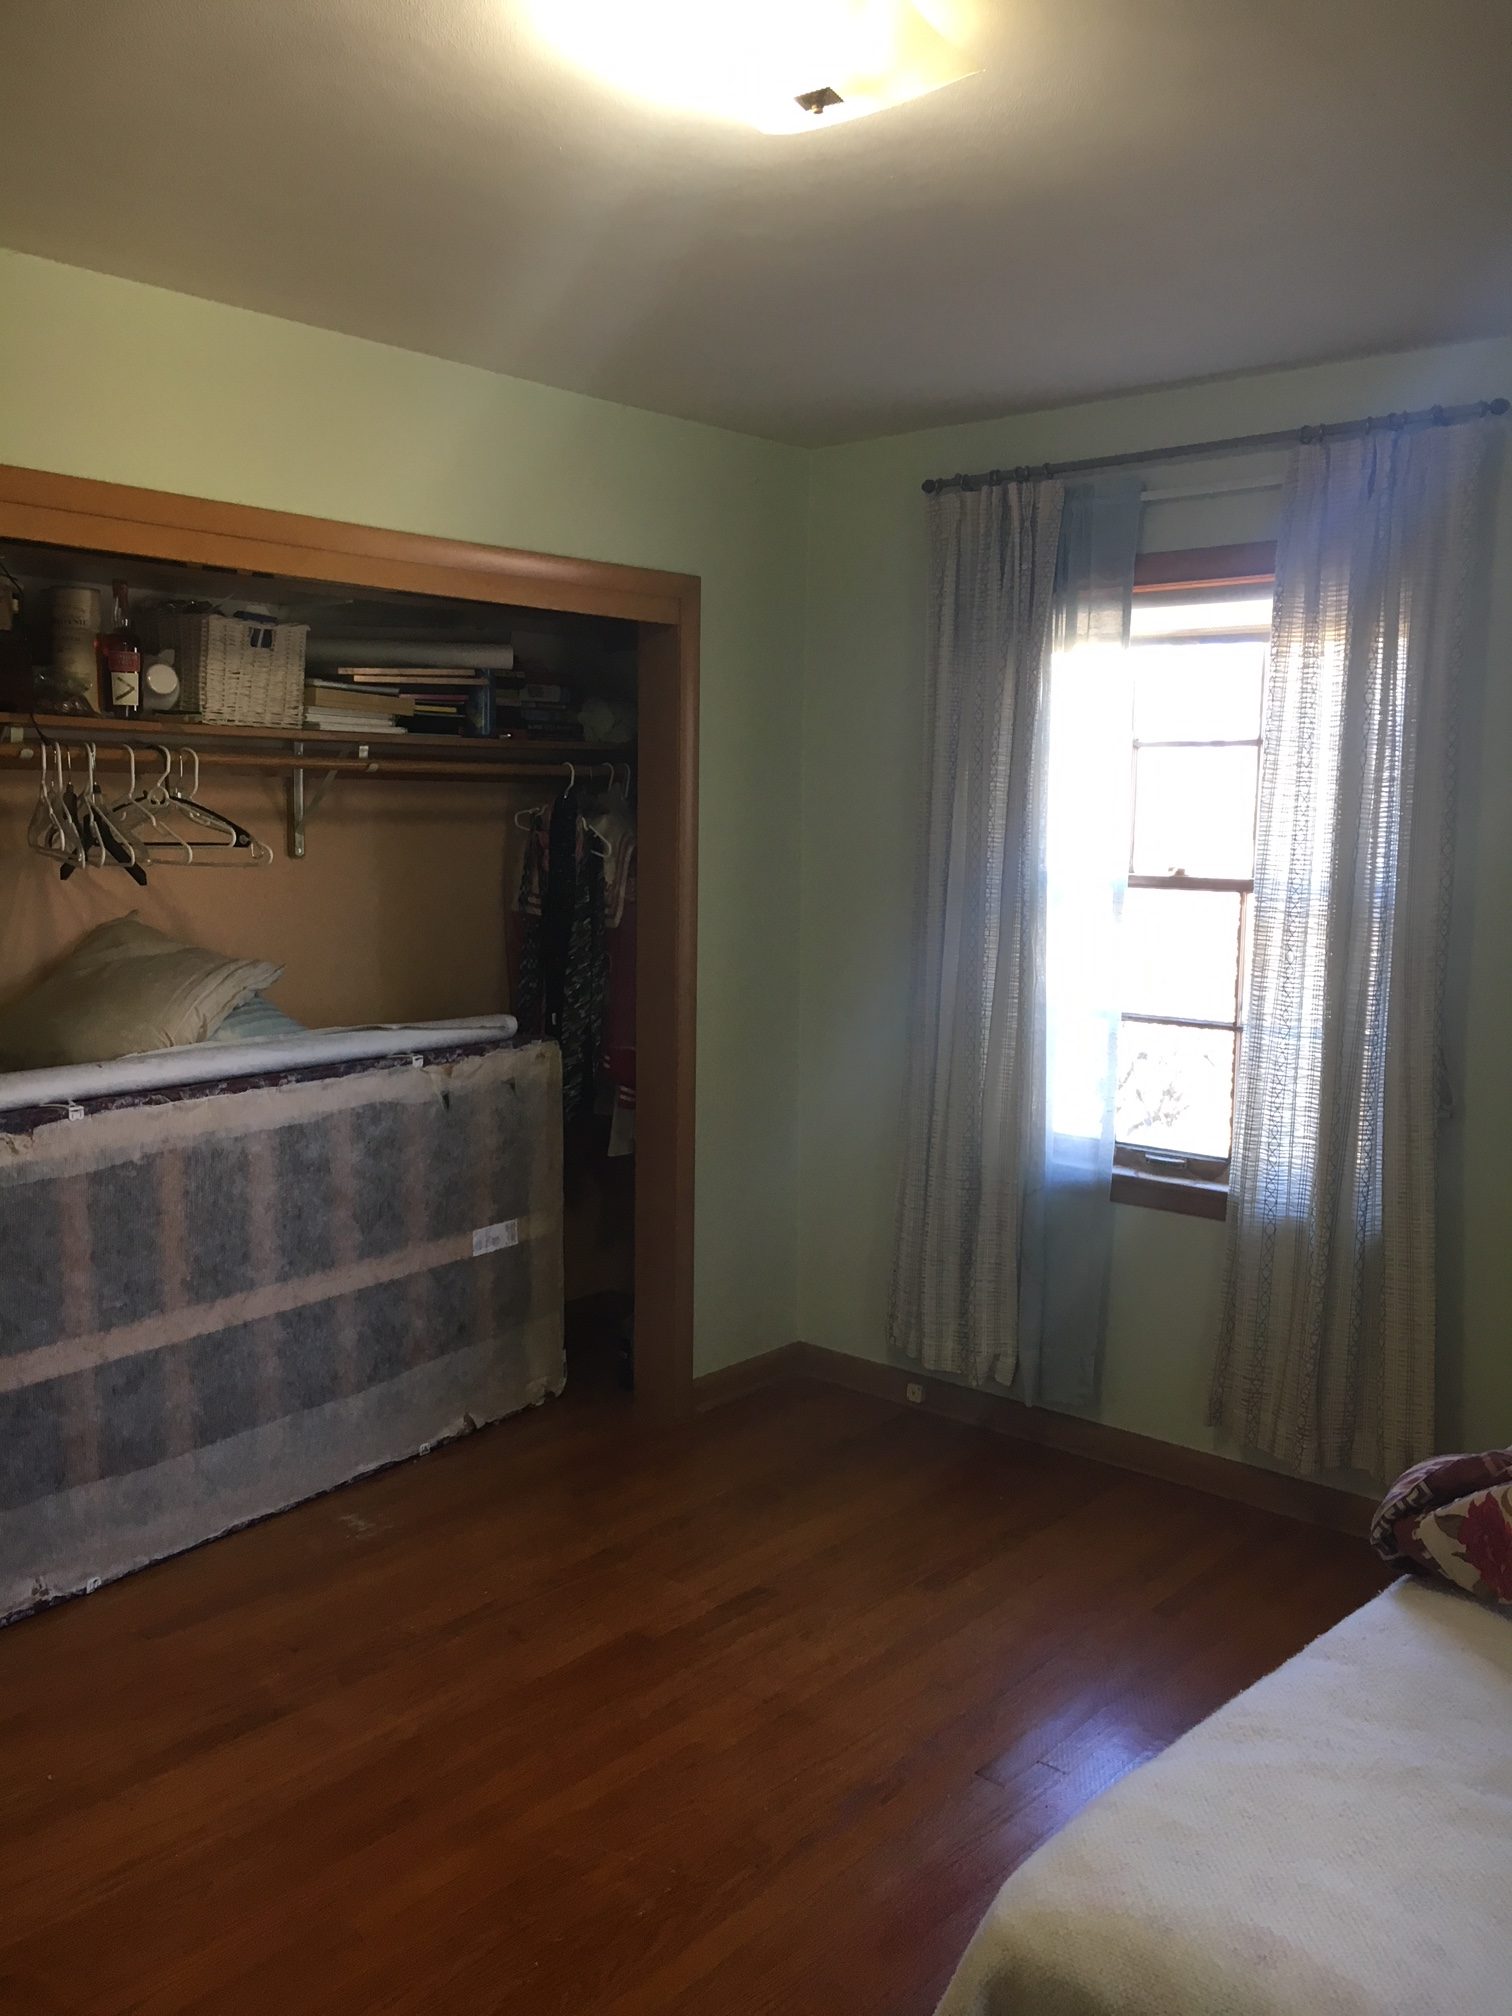
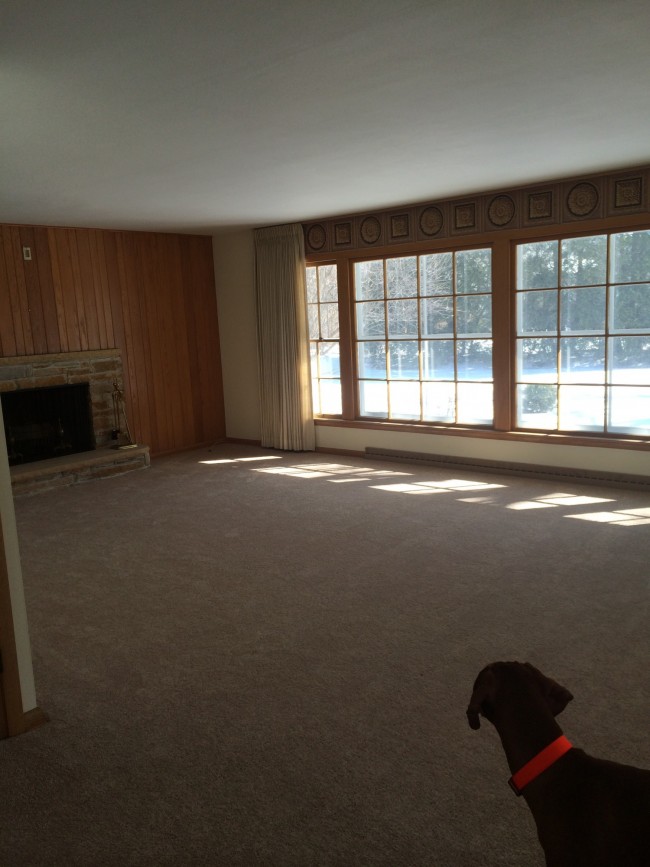
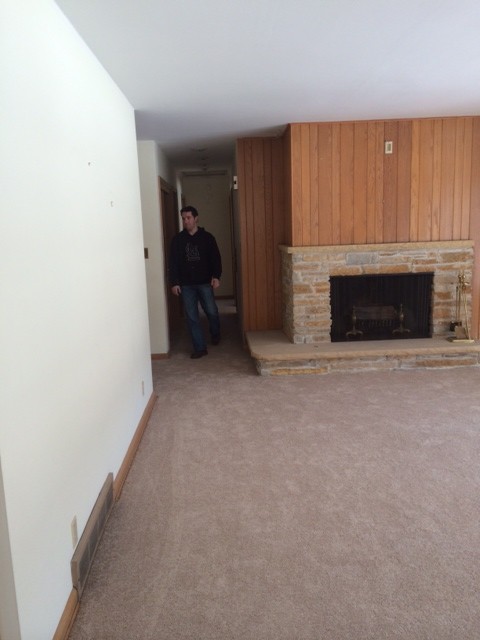
As a reminder this is what the main part of the kitchen looked like when we started. To check out more posts of how we got where we are today follow along with #littleyellowhouserefresh

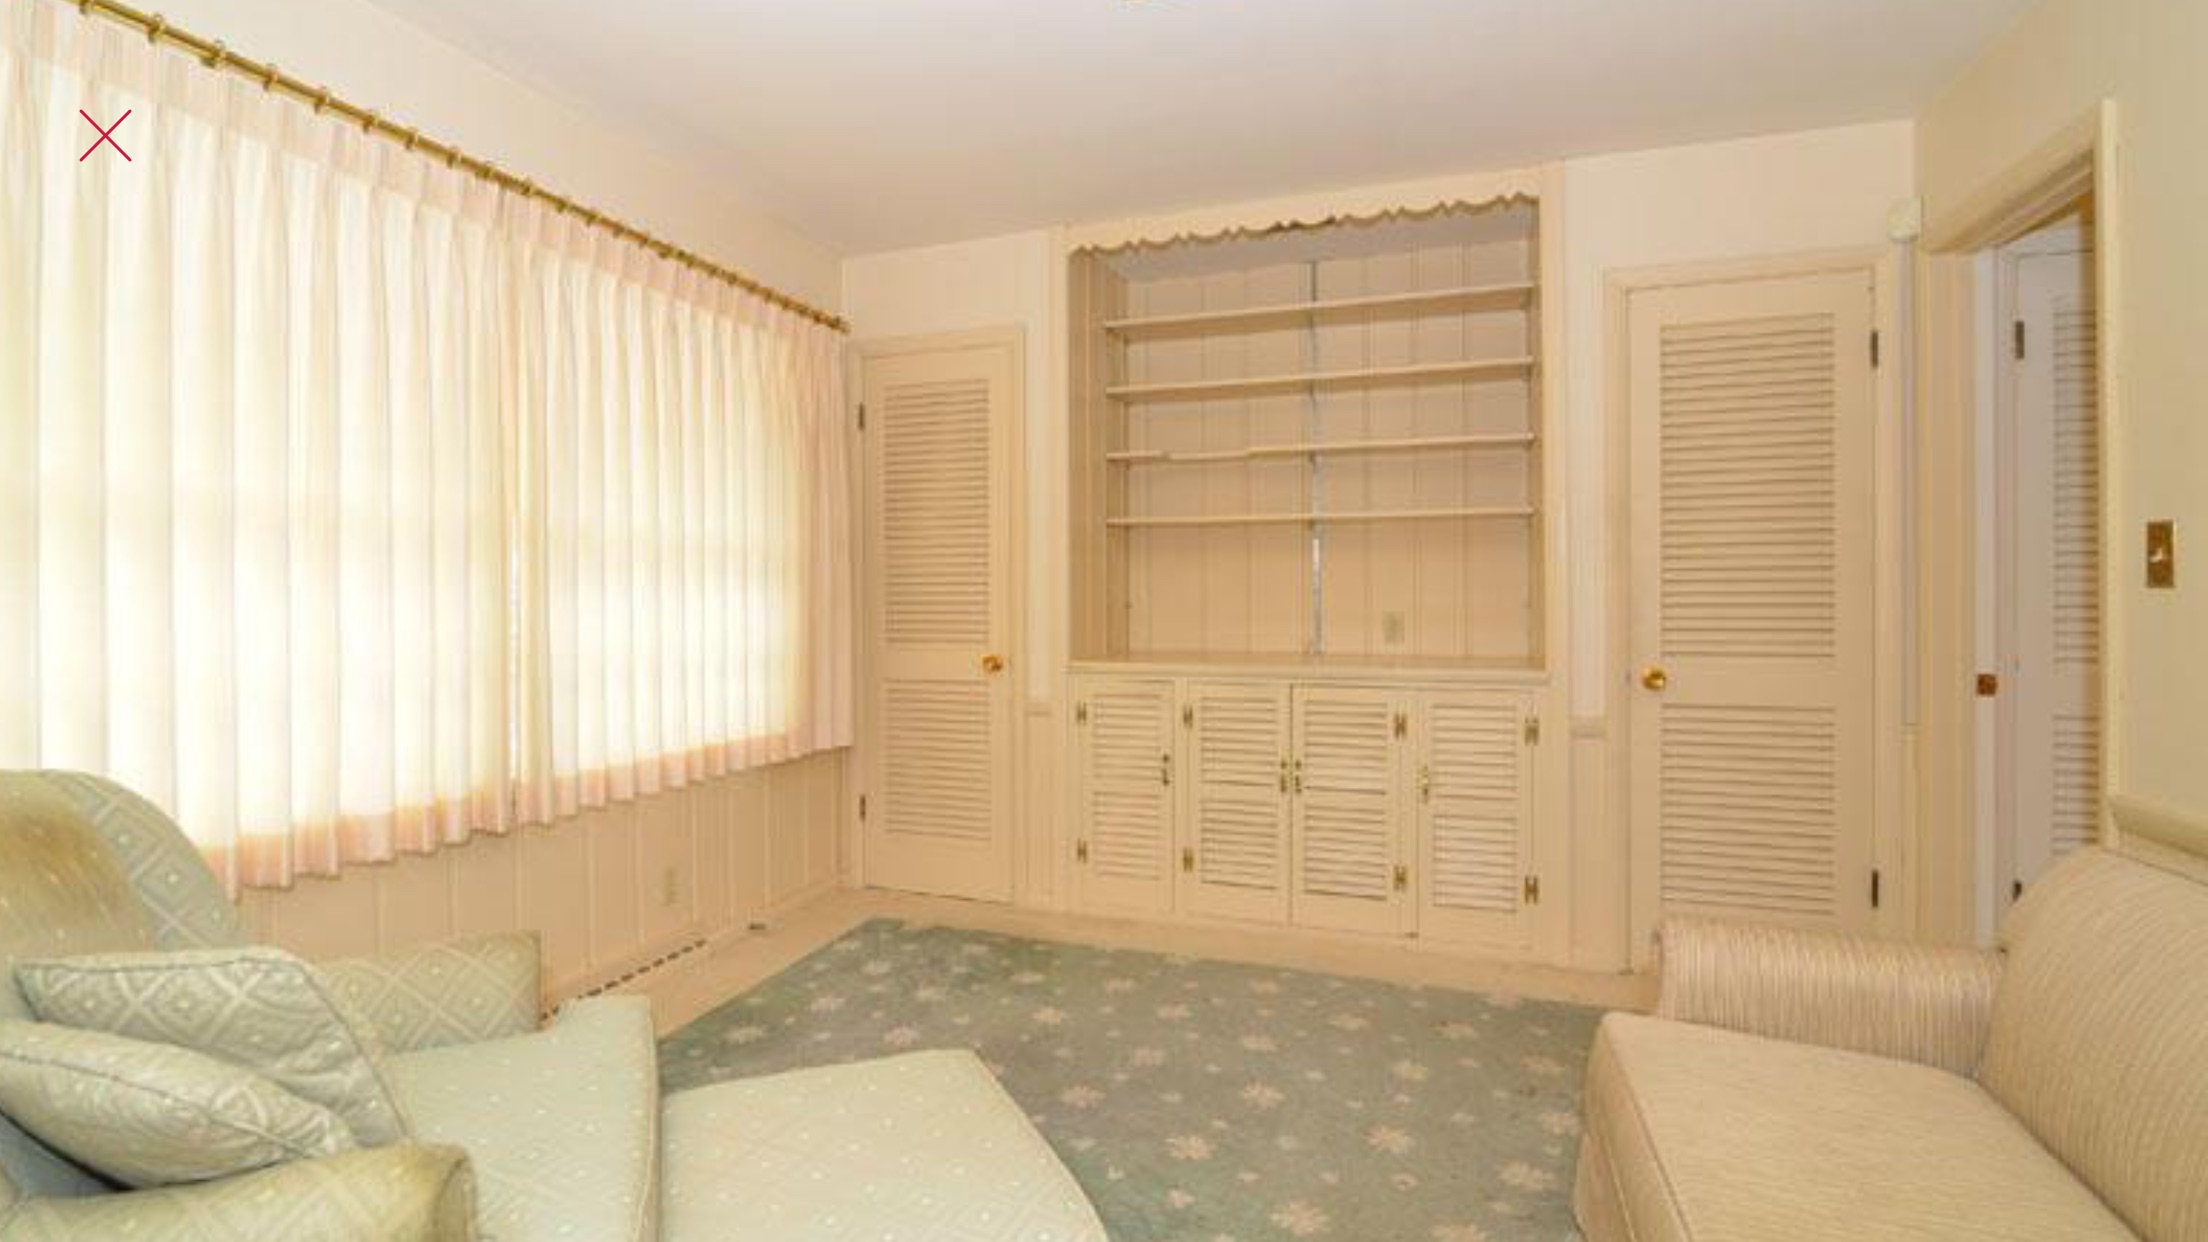
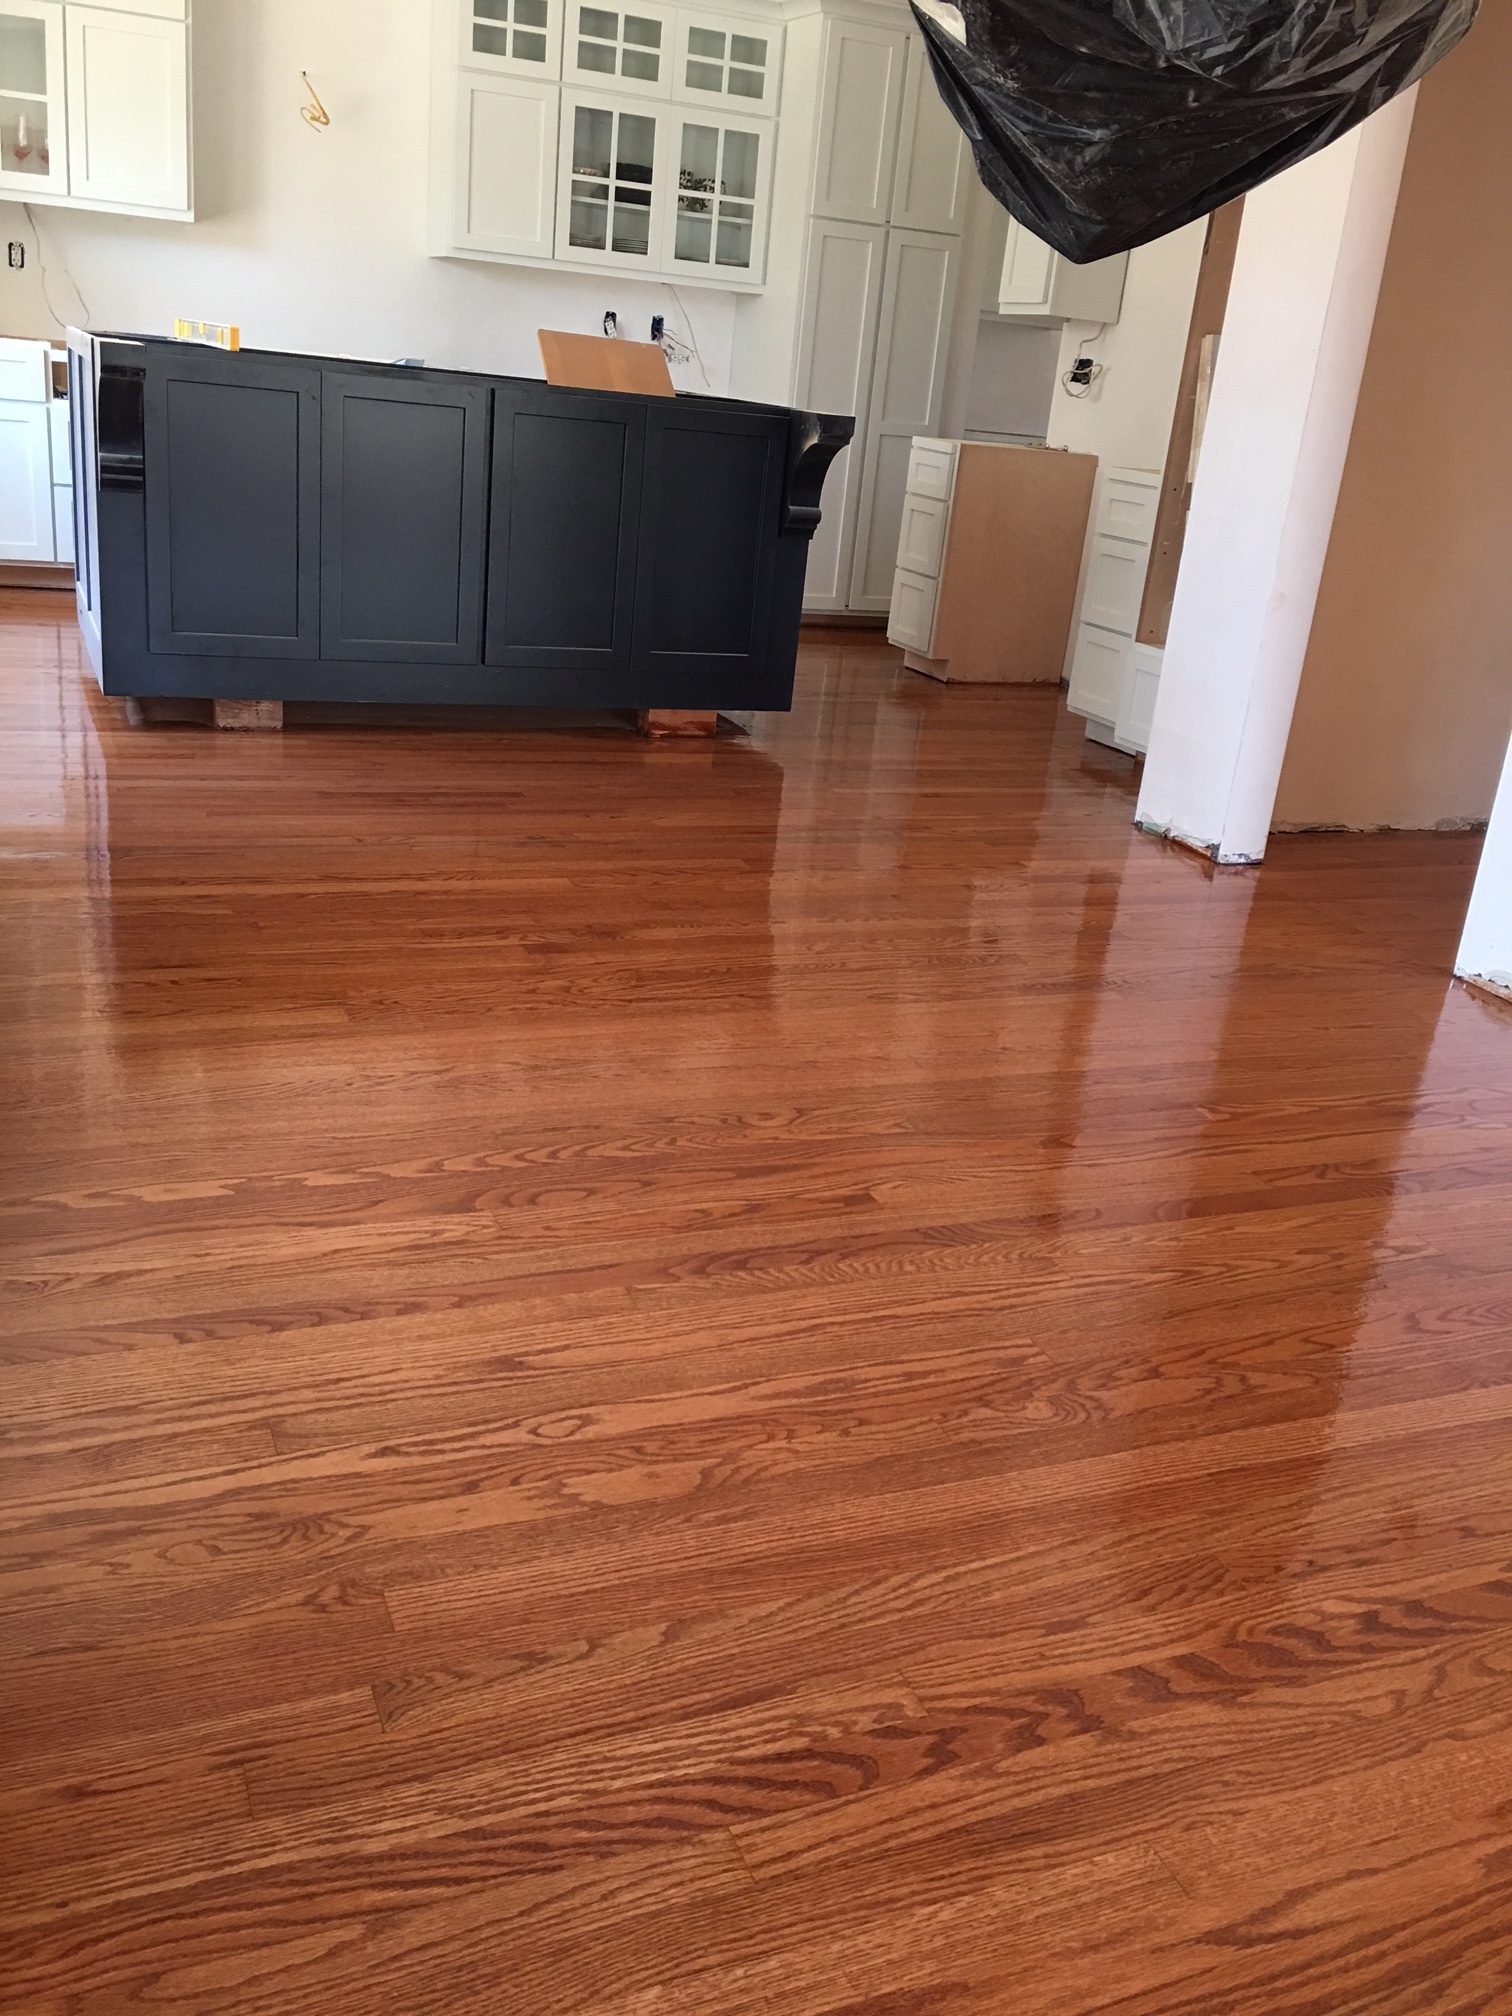
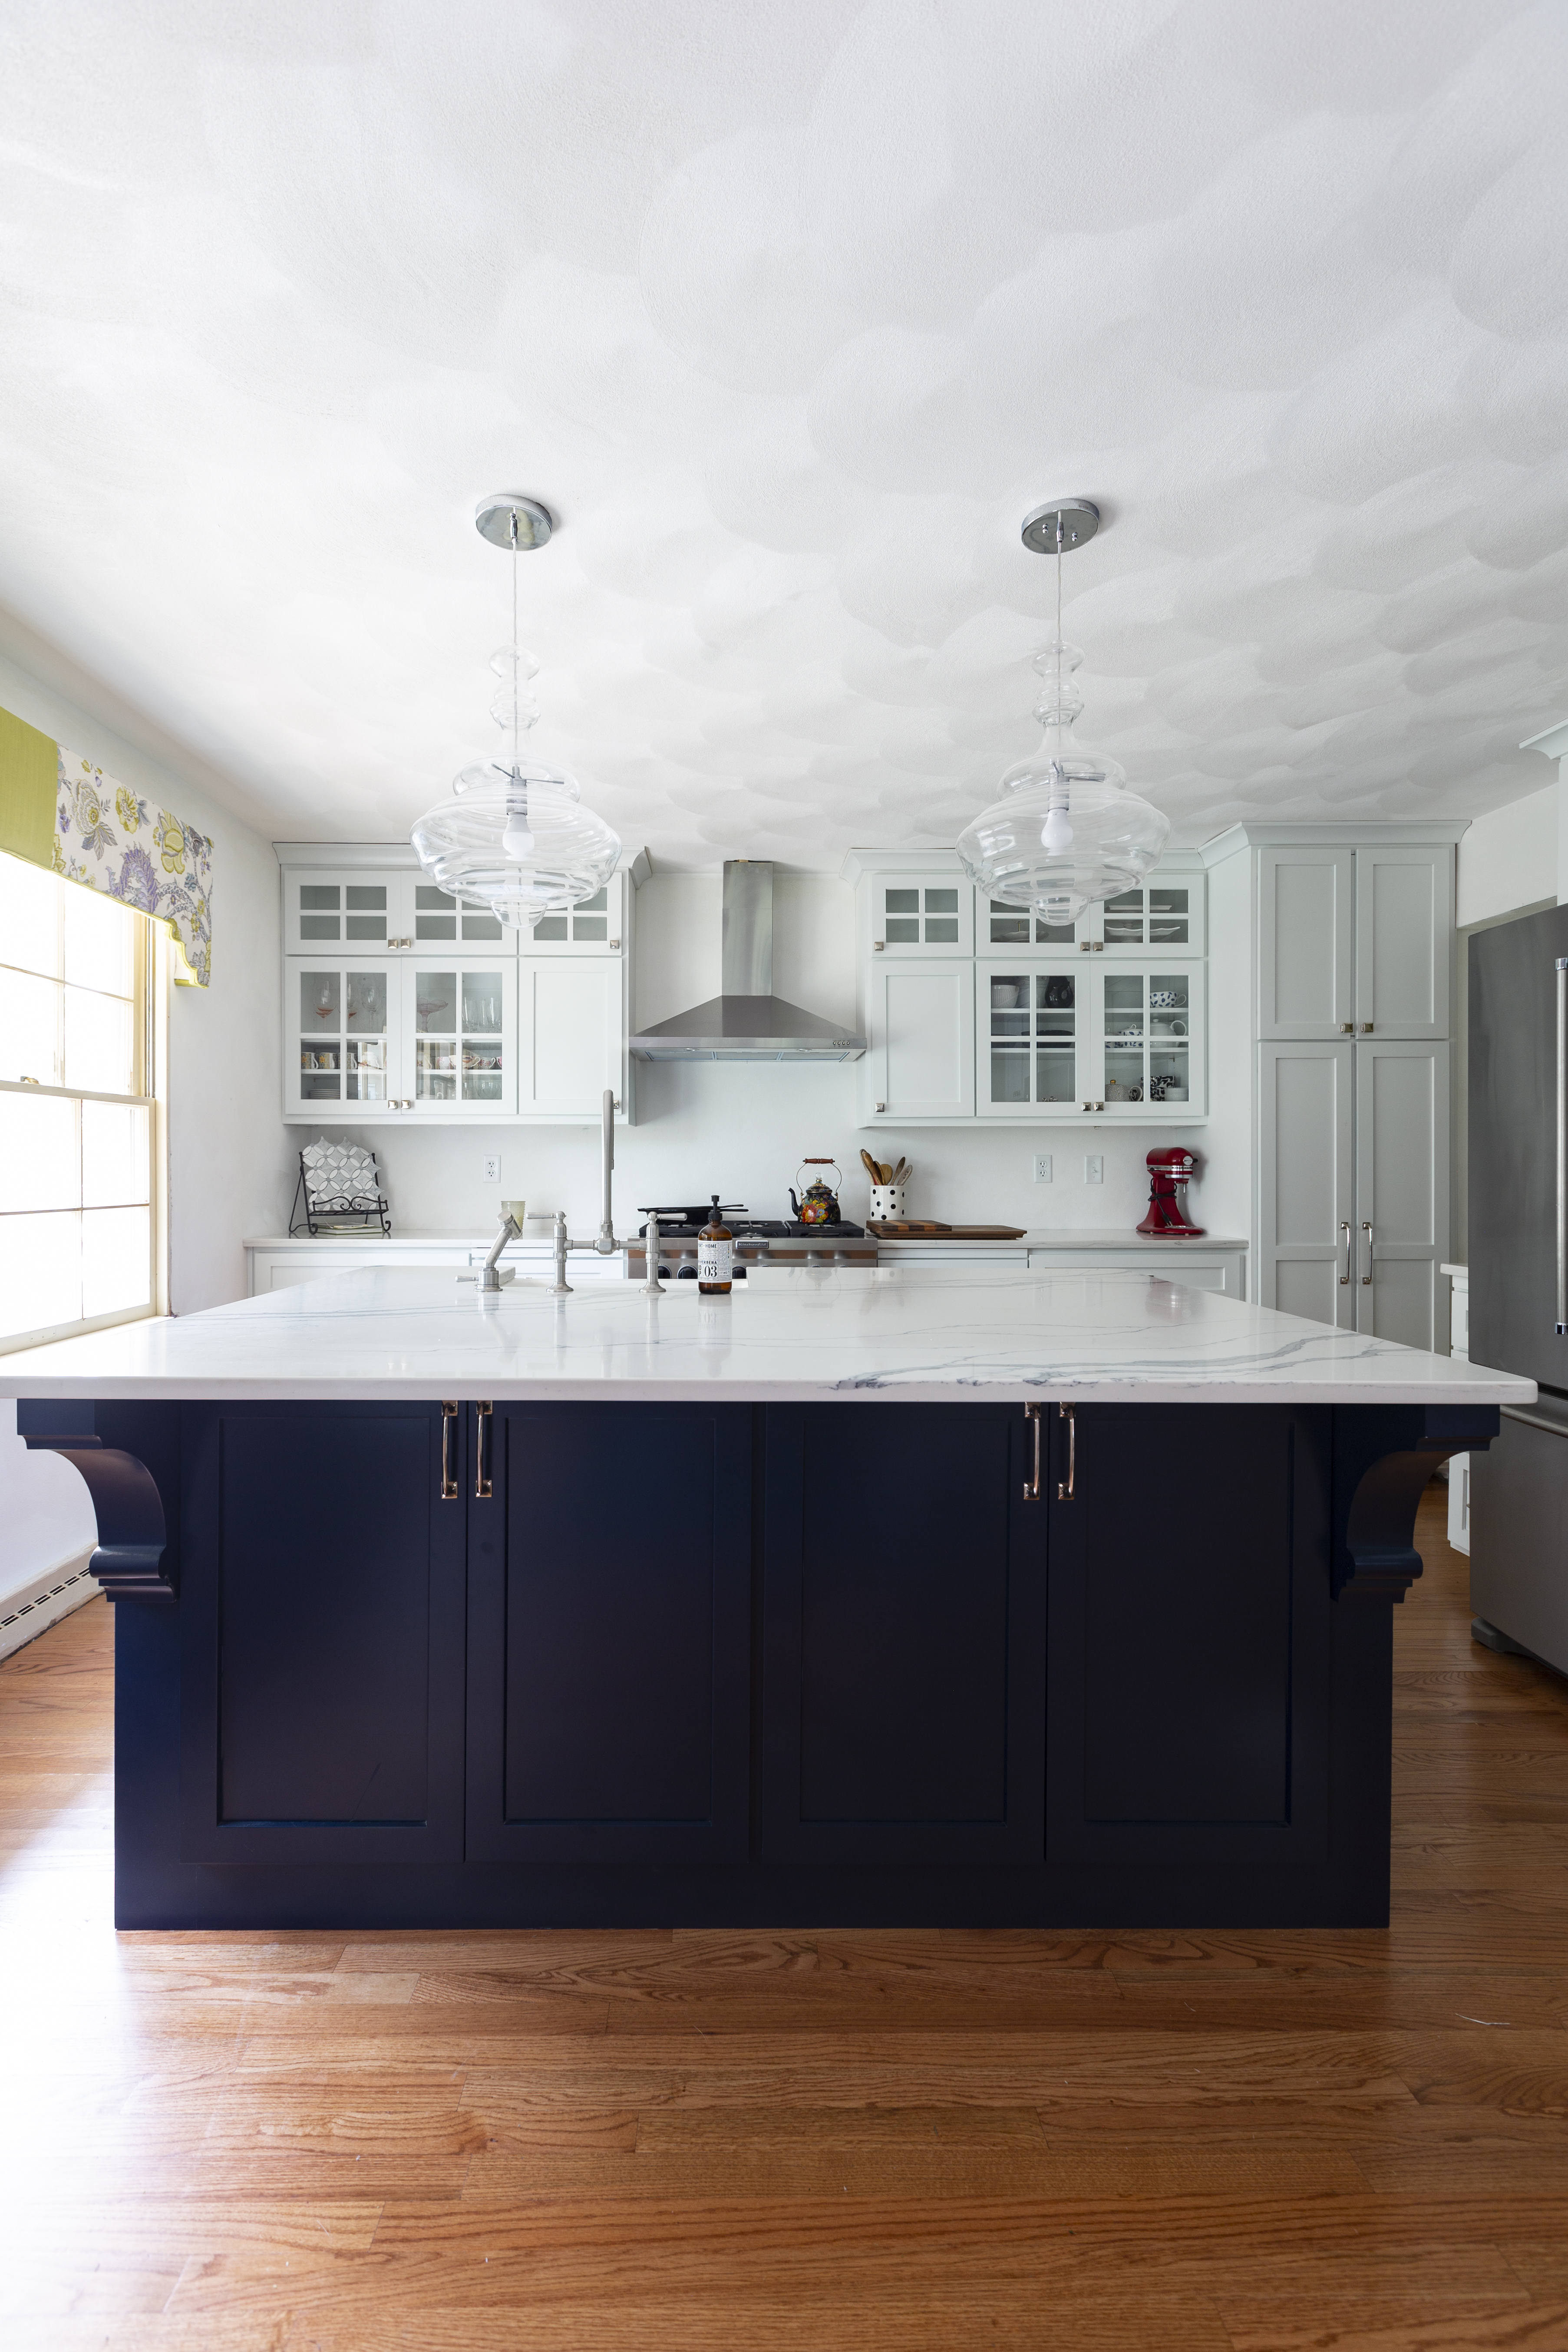
If you remember the new kitchen space used to be this weird cocktail room. But now it opens up right to our dinning space and it’s nice and open.

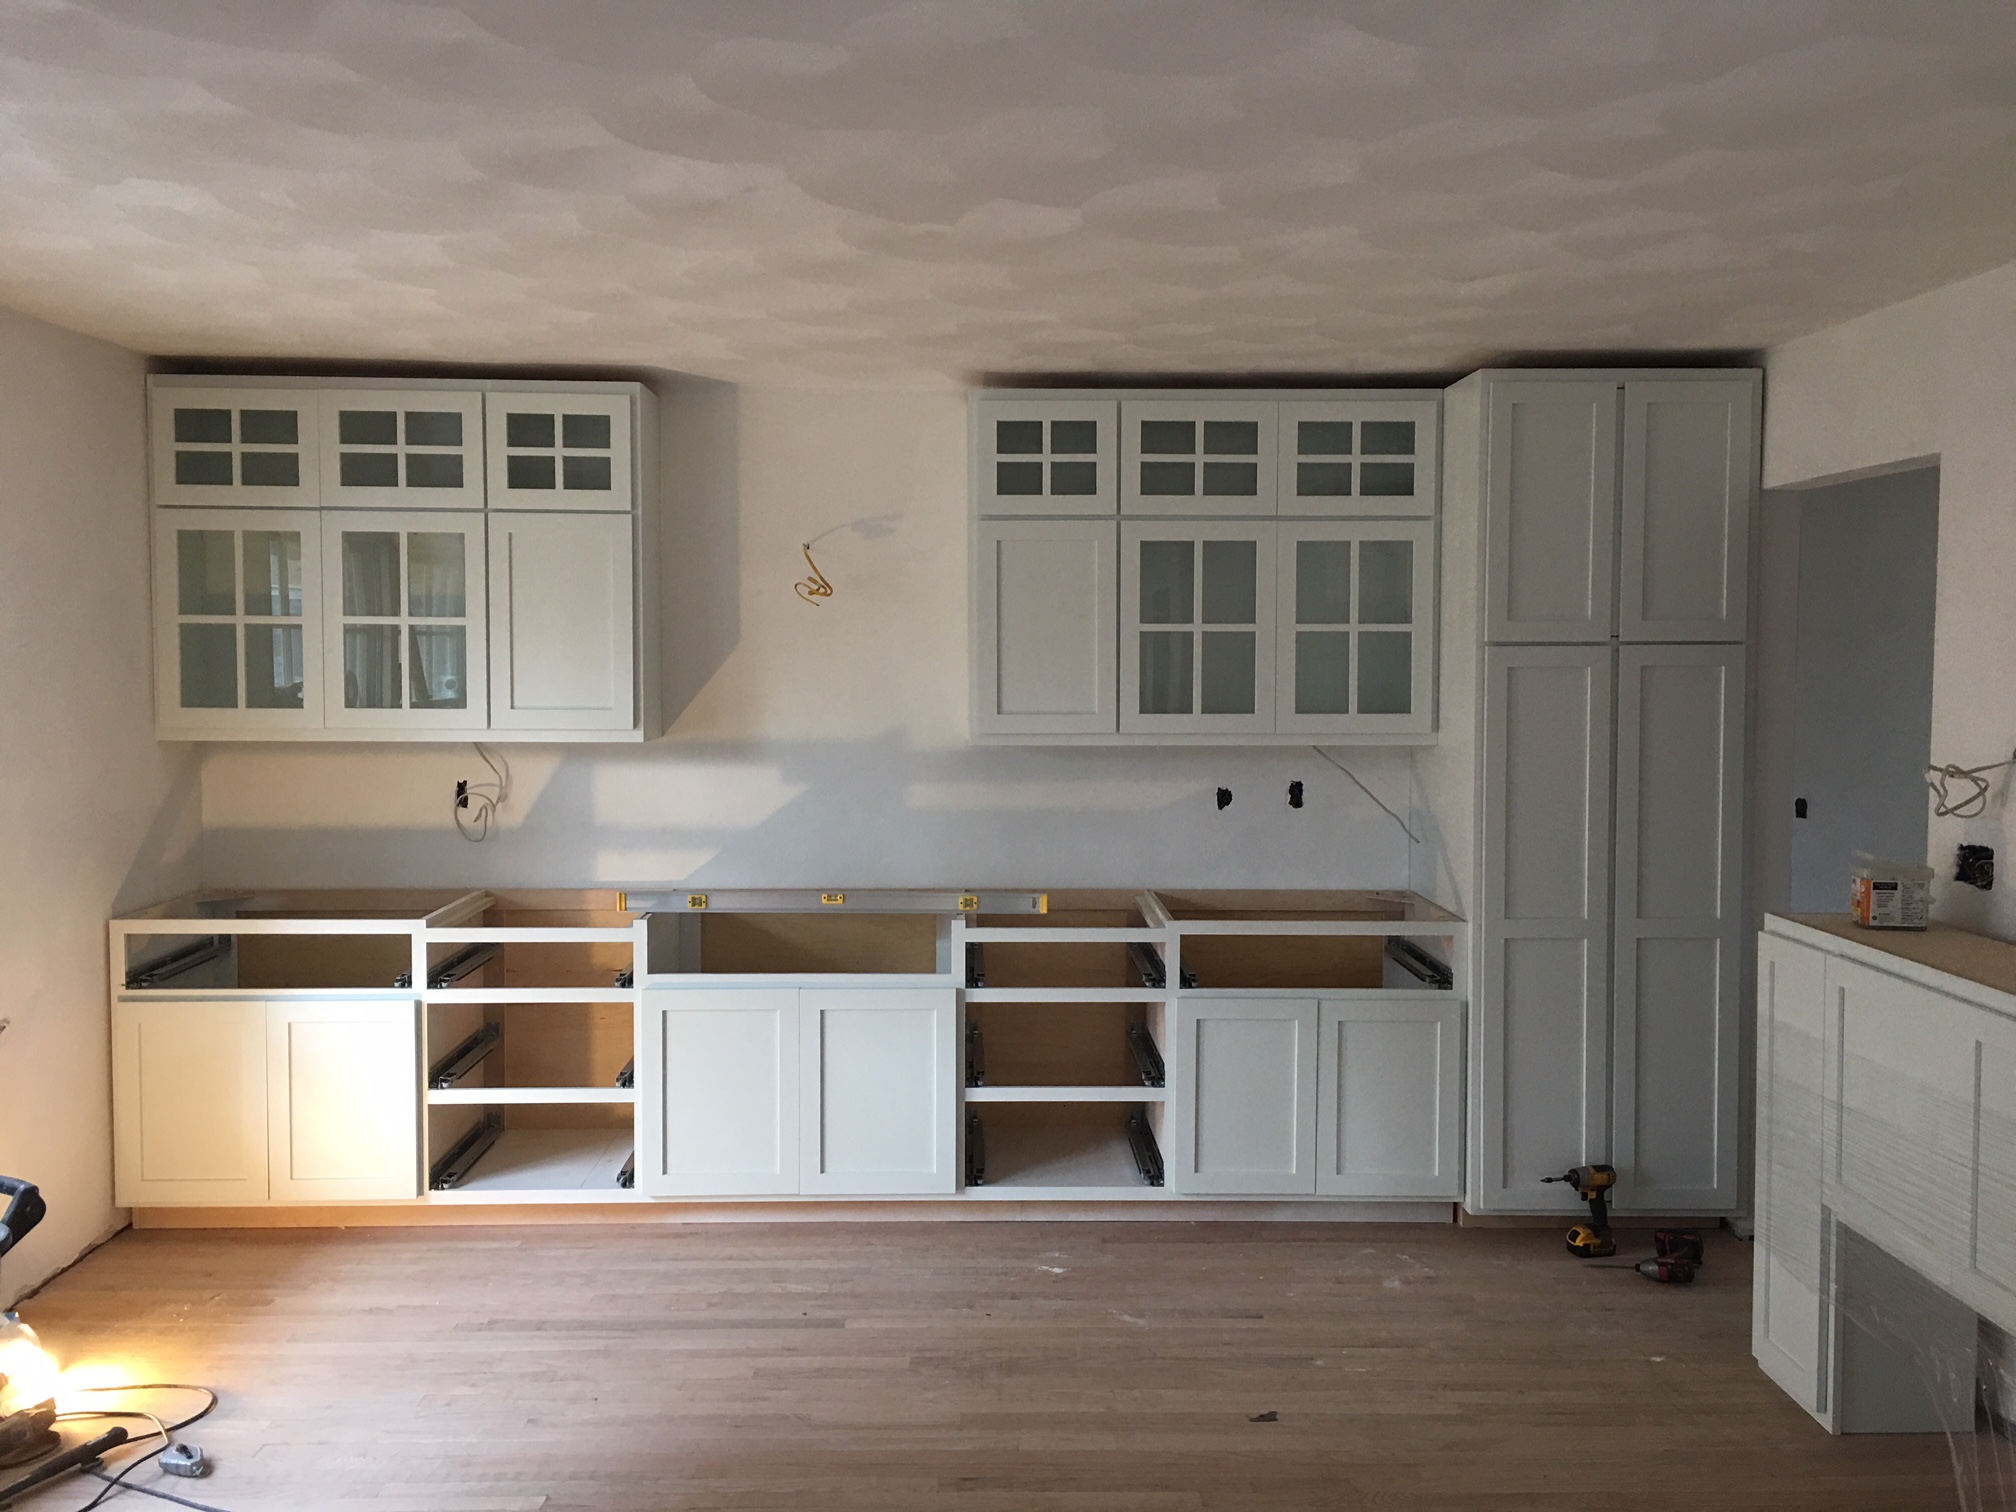
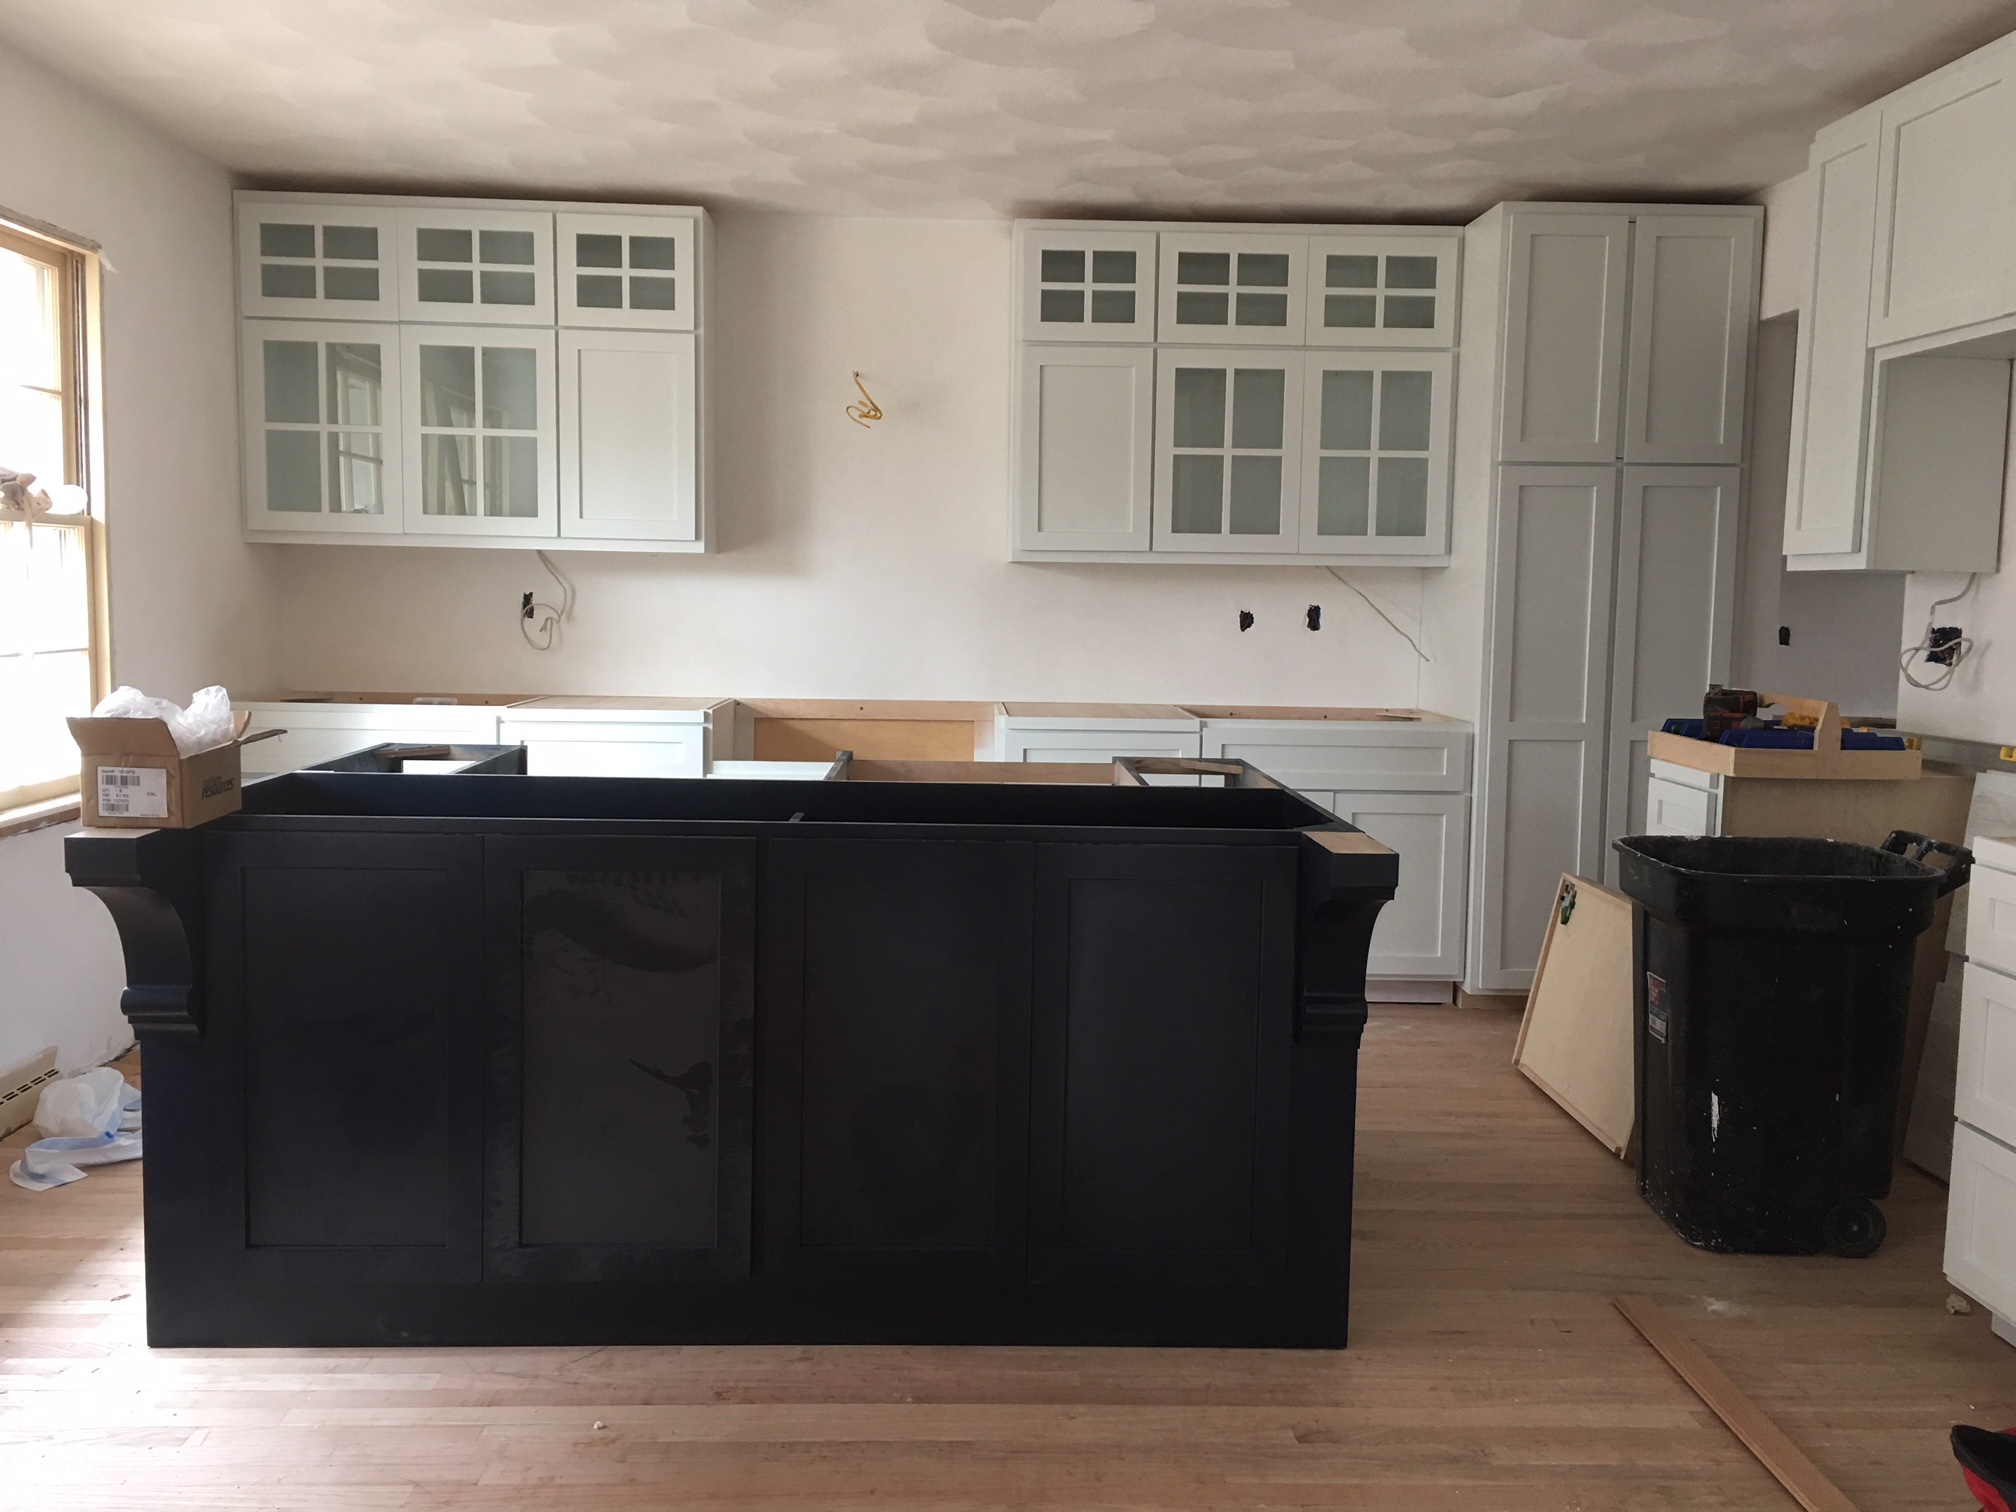
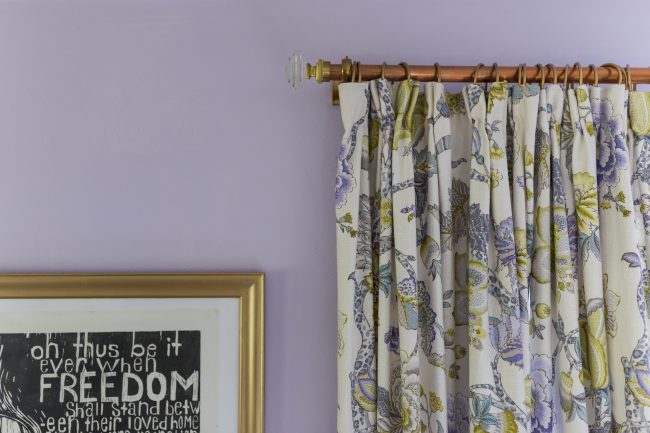
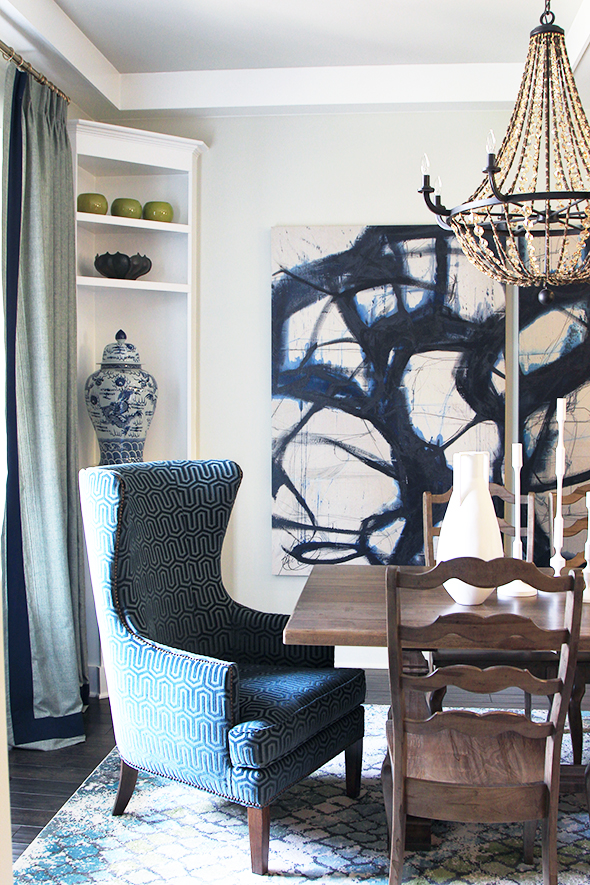
We finally got the hood up about a week ago, we were still waiting on that. And I made the cornice and finished upholstering this past weekend. As you can see there is still detail work to be done. Trim. Paint that ugly cream color off the window. And we need to put up the backsplash. Here is what I am leaning toward for the tile.

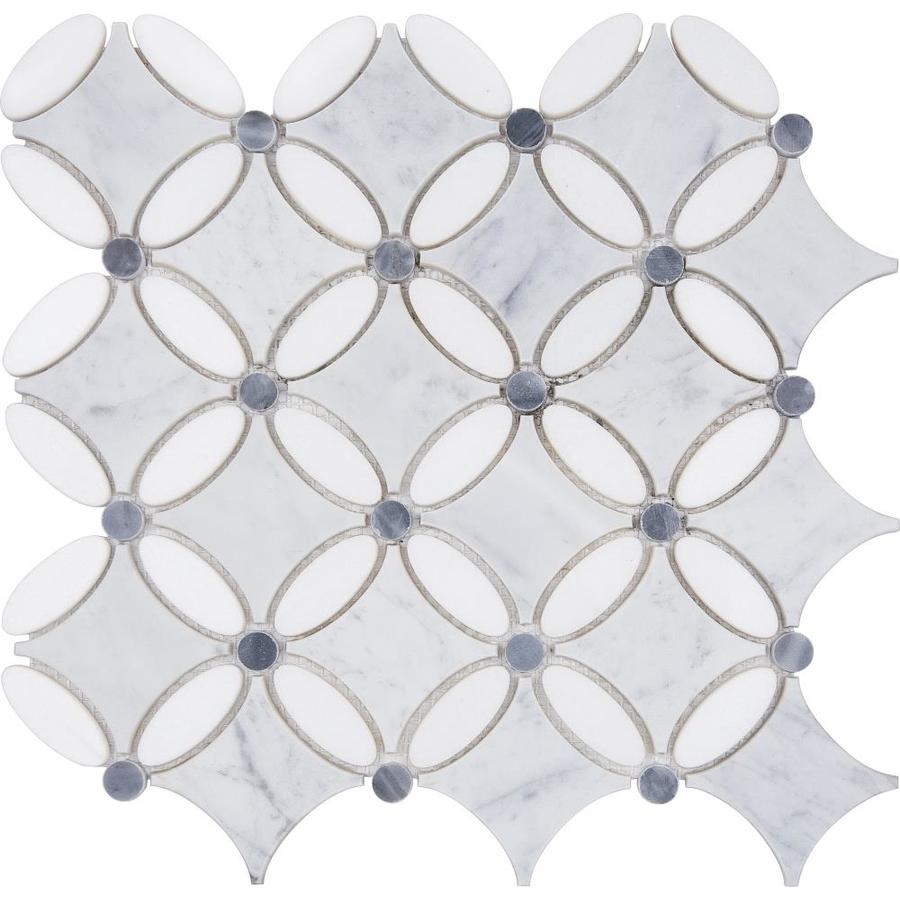
Do you like it? if you look closely in the pictures you will see it sitting in y recipe holder on the left of the countertop space. We are letting our spending pockets breath a bit before we buy this to put up. But overall I love the subtle pattern that it creates. The wall is so white with all the cabinetry, I think this will provide a nice bit of texture.

Now that all the major major heavy lifting is done. It has been nice to focus on all the detail that makes a house a home. Like the cornice upholstery. I can’t wait to get the tile in, it will make it feel more cozy. And barstools! I have my eye on some but again, waiting for the spending to cool down a bit before I get them.

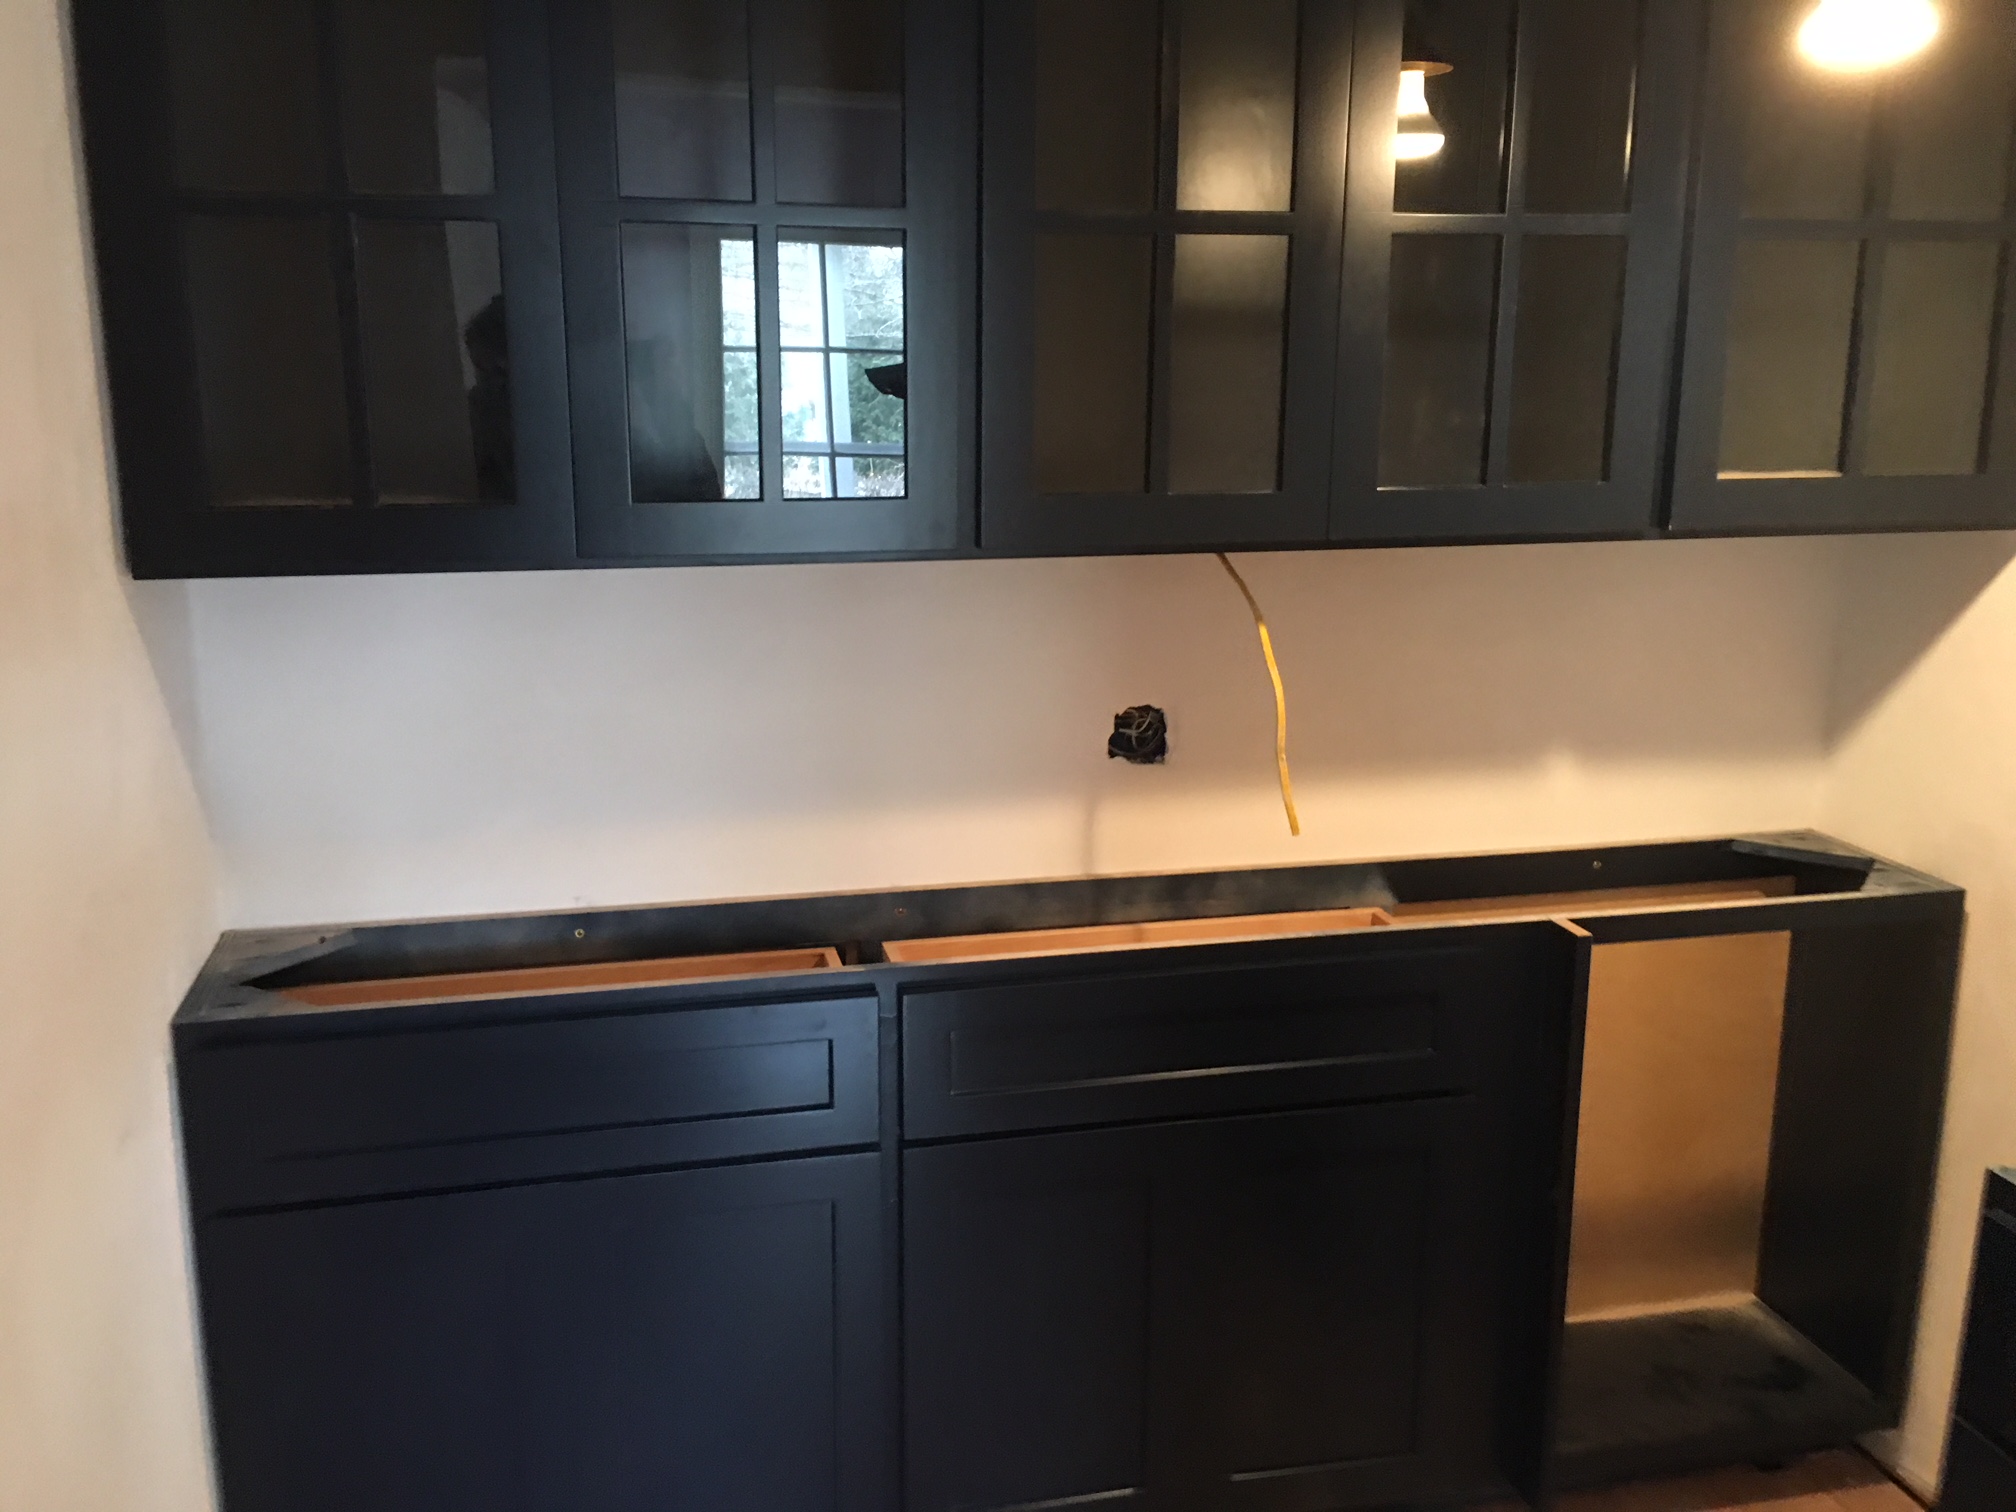
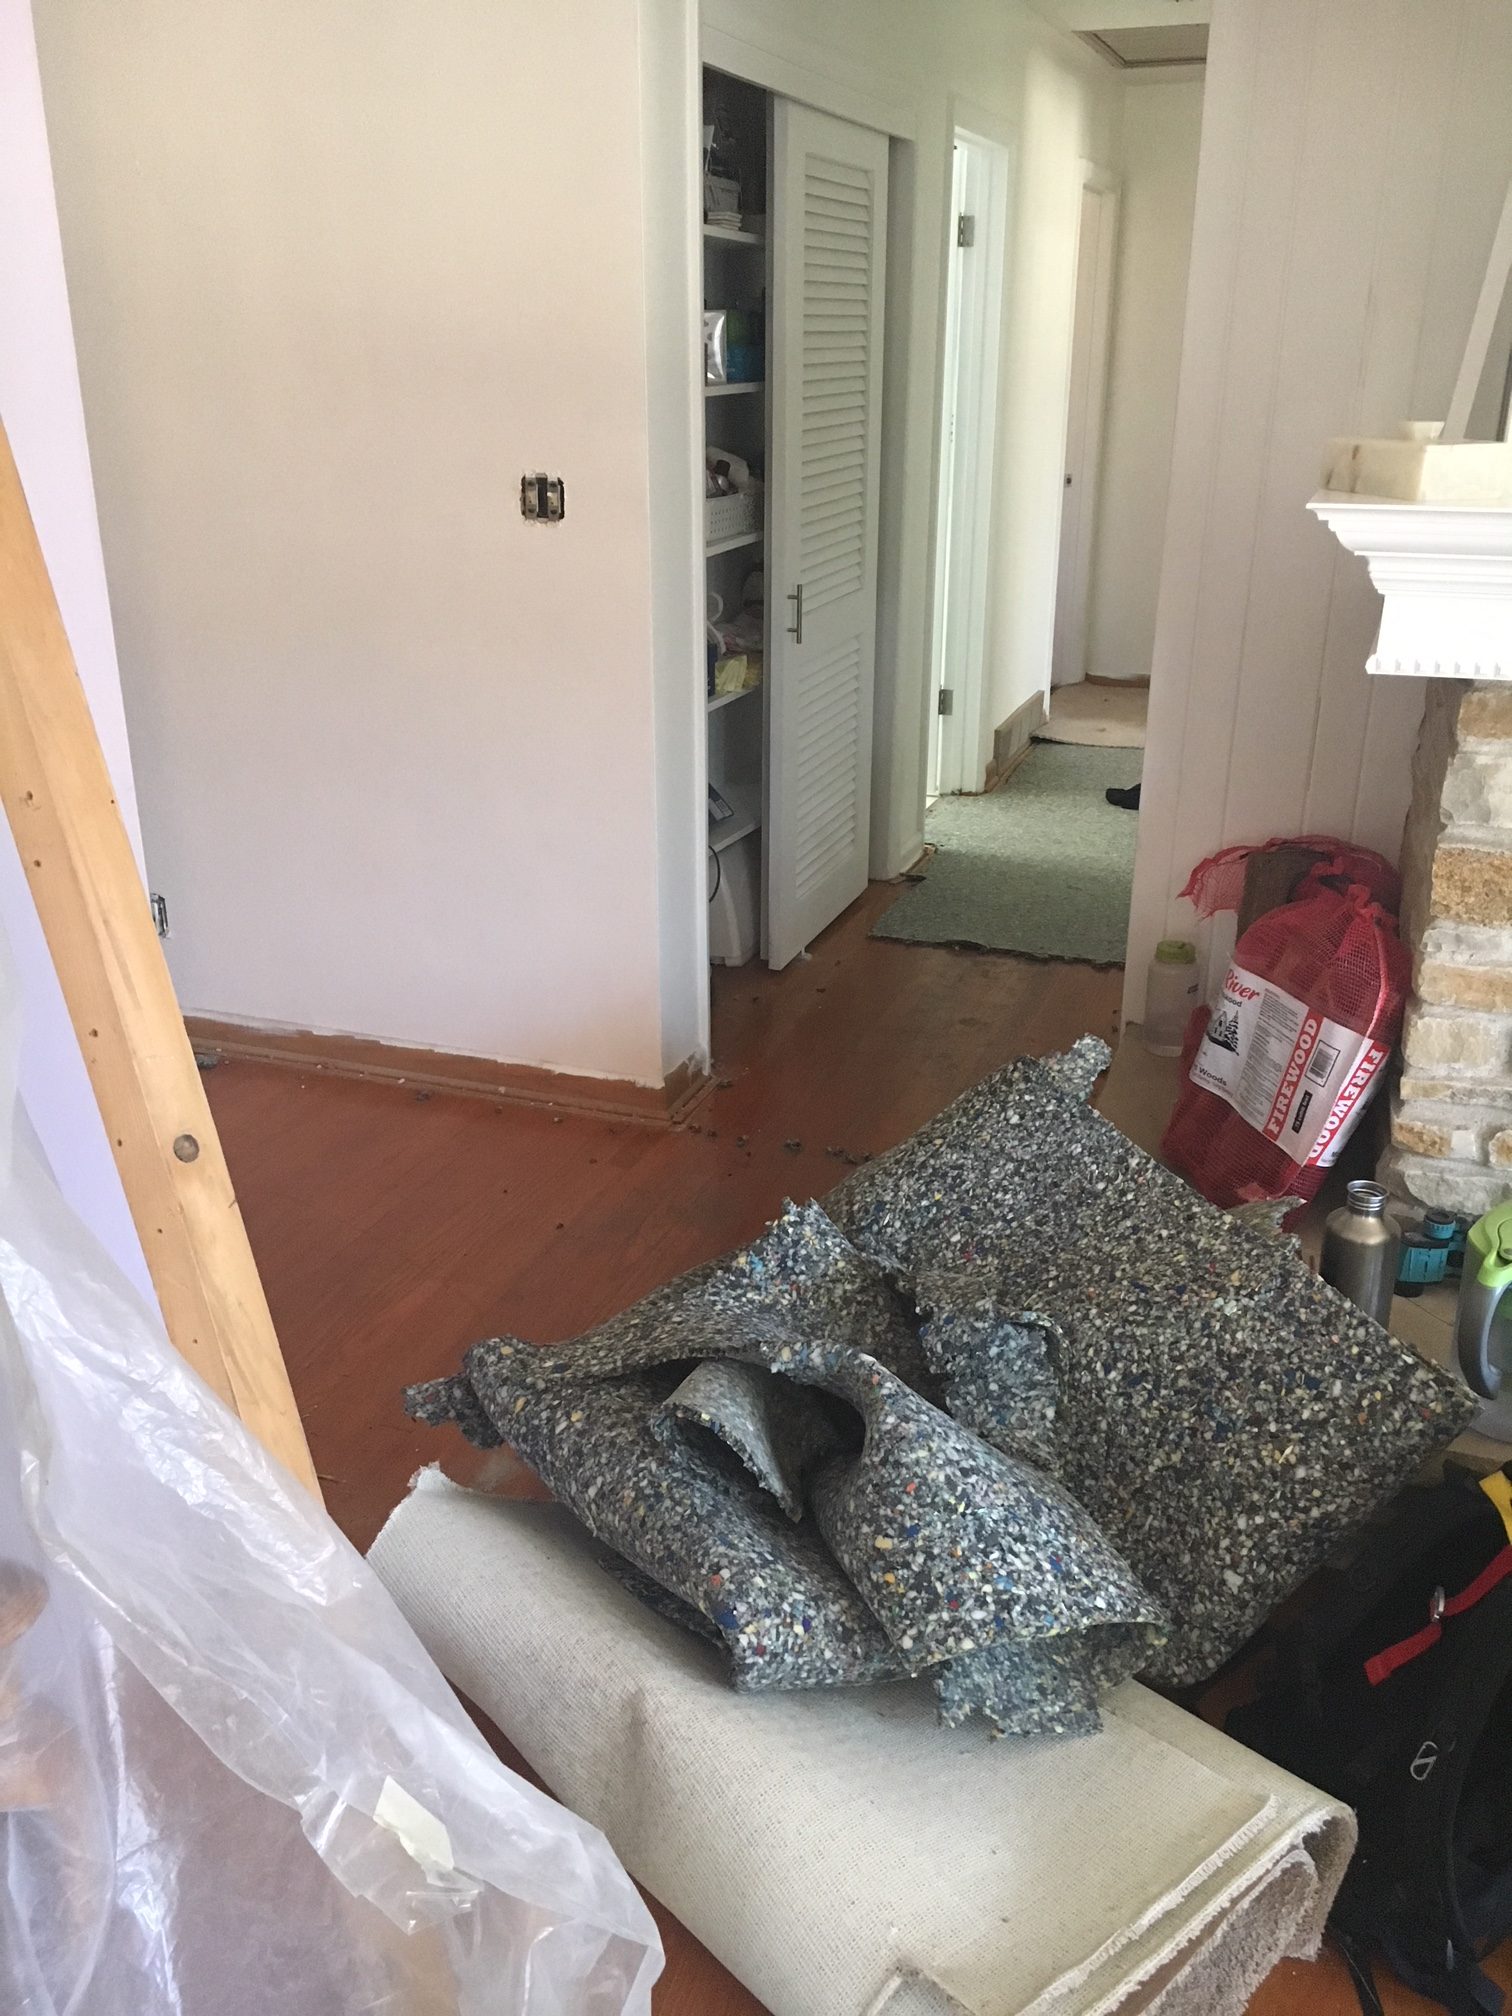
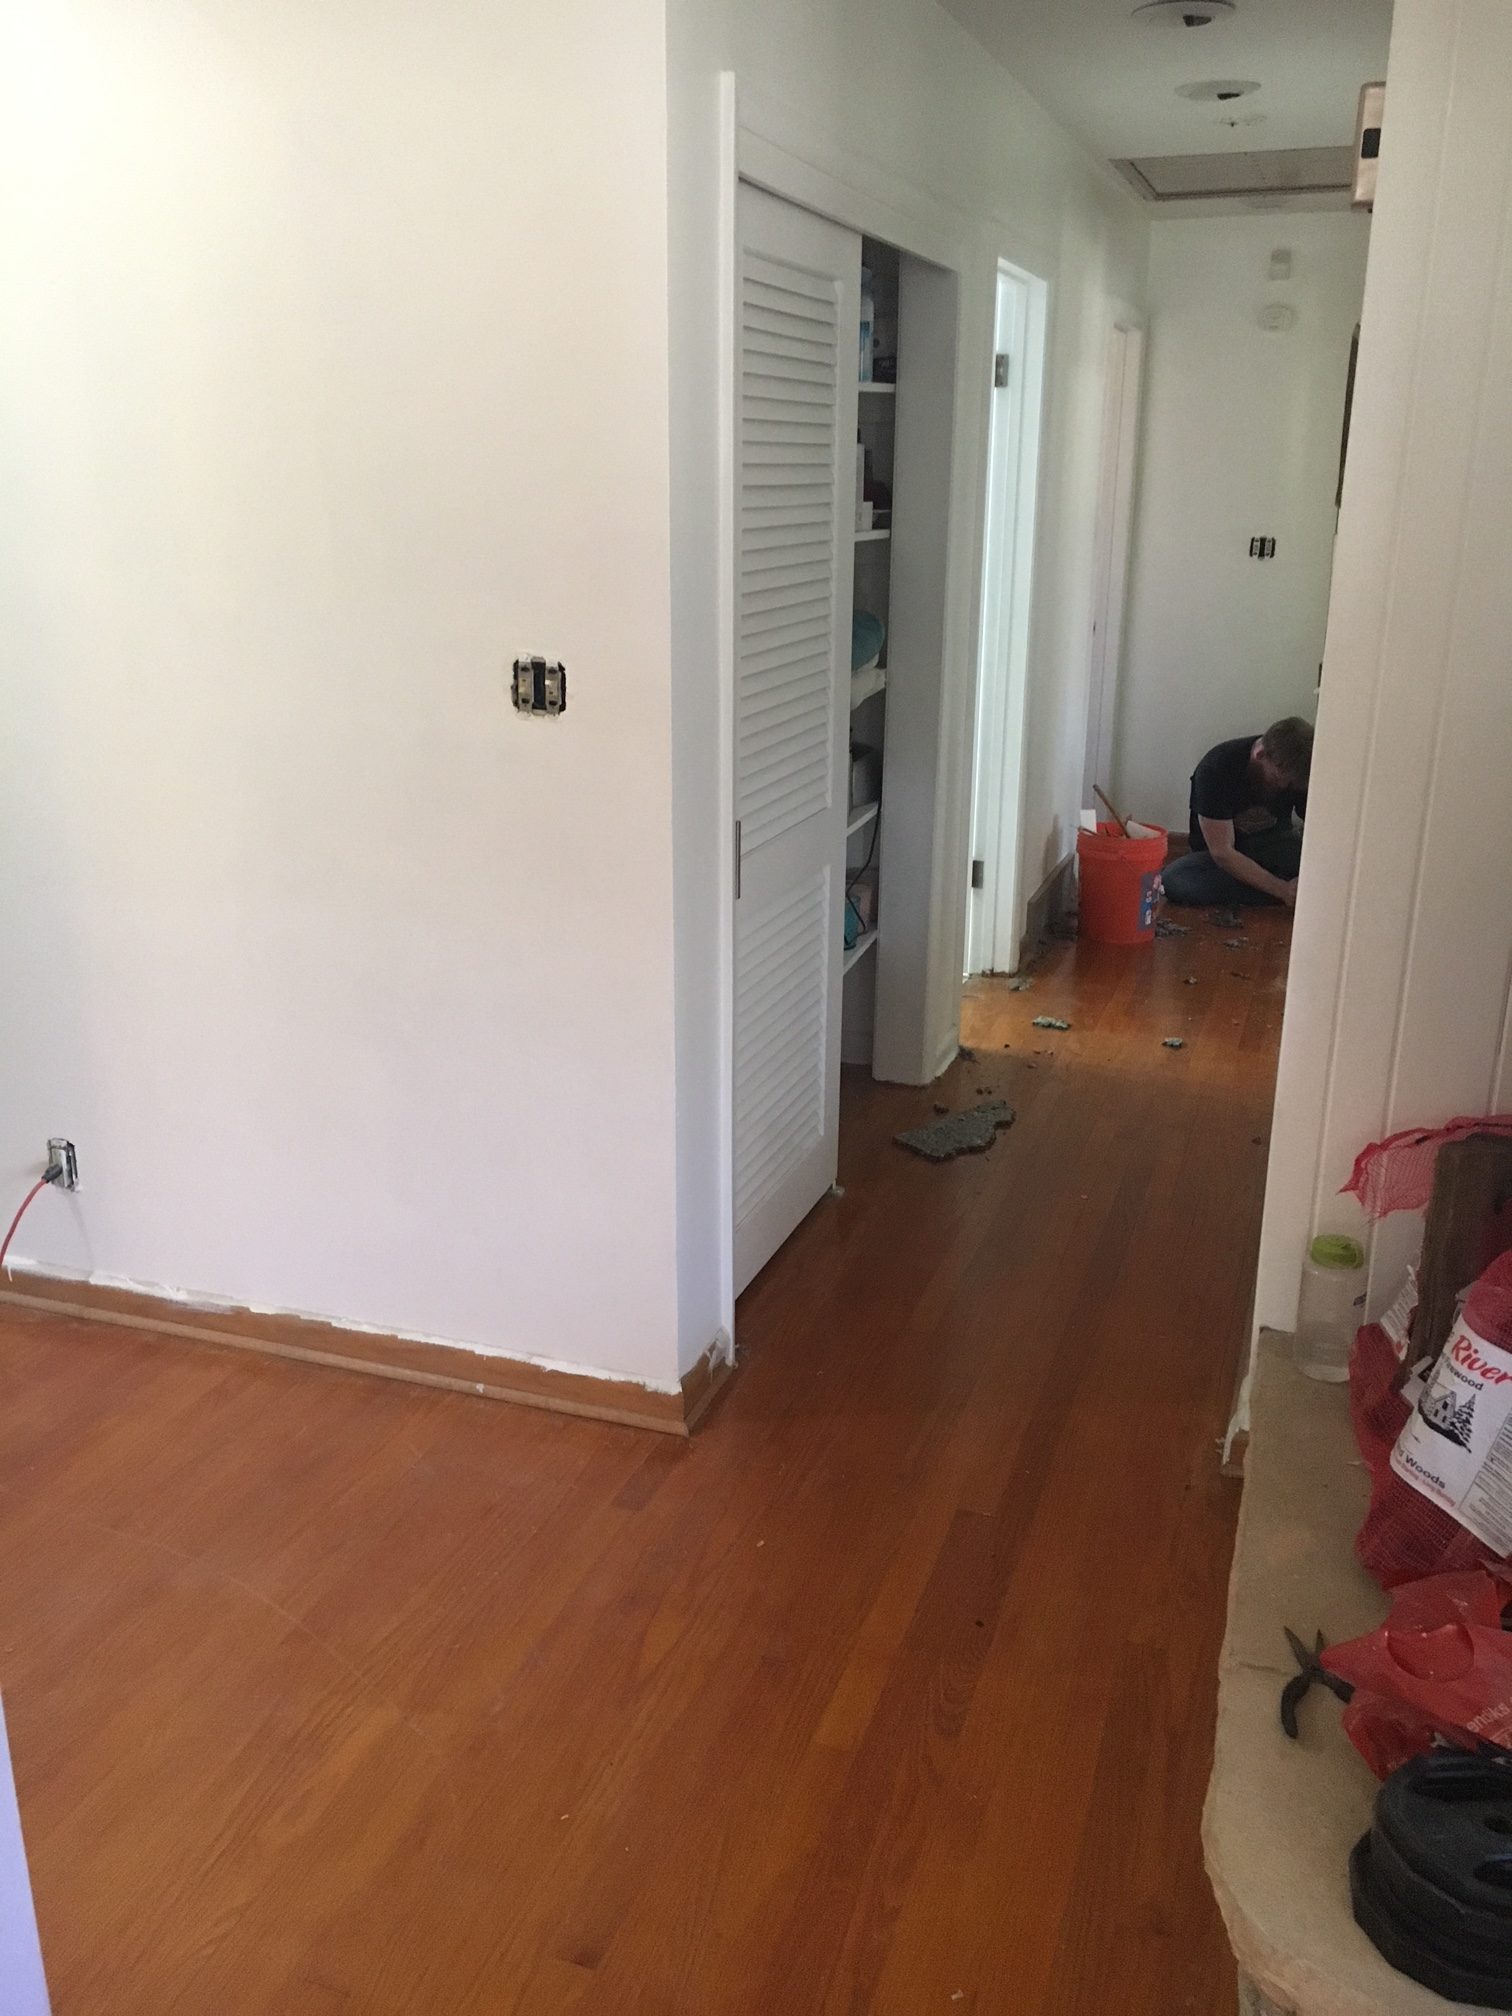
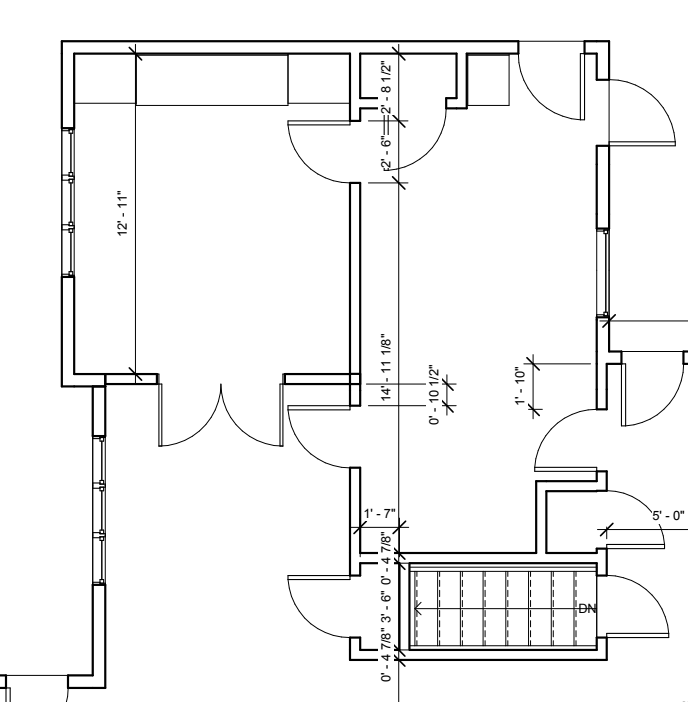
When we re-configured the space we added a butters pantry, back hallway, and a half bath. See the before and after floor pad below as a reminder.

Before: not fully labeled but the long space on the right was the kitchen. and the room on the left was that odd sitting room pictured above.


After:

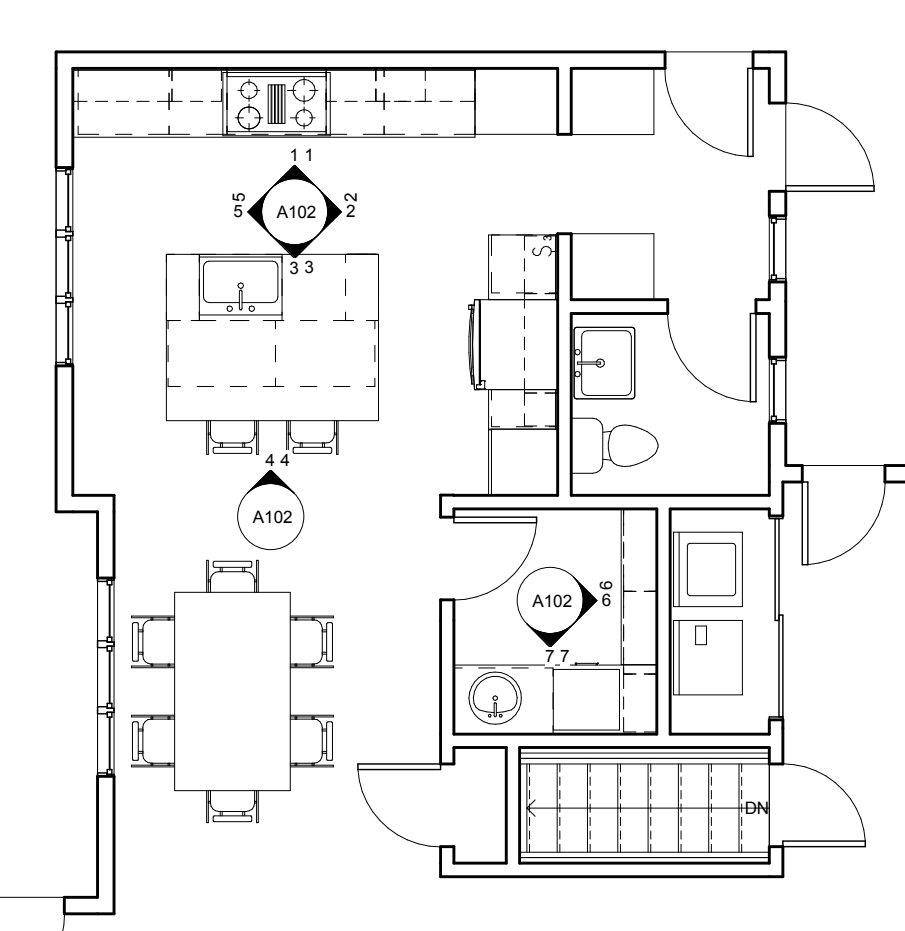
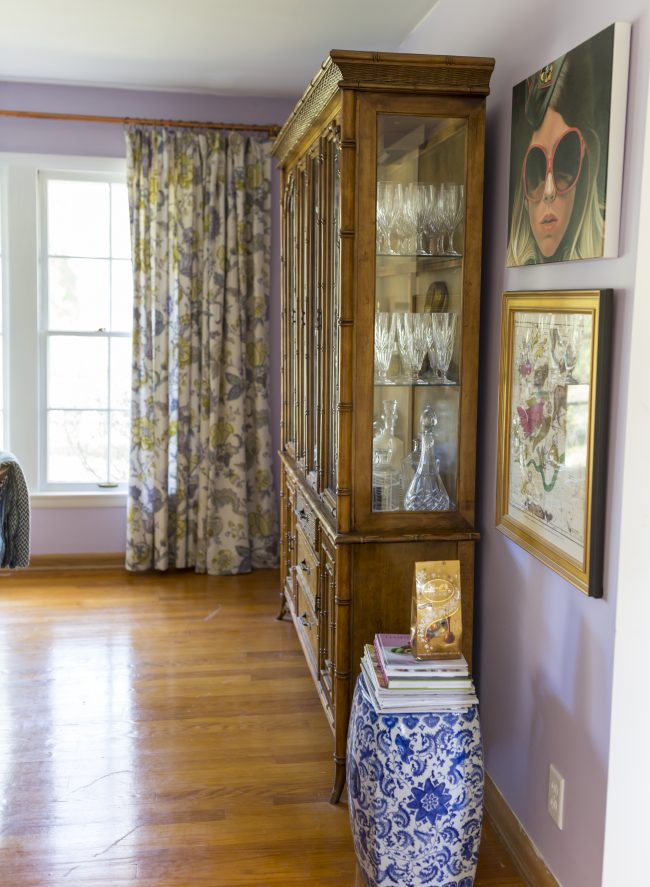
We plan on starting the half bath and back hallwy organization this fall (fingers crossed!). But I will give an update on the butlers pantry in the next week! You can see a glimpse of where the butlers pantry is relative to the kitchen here.

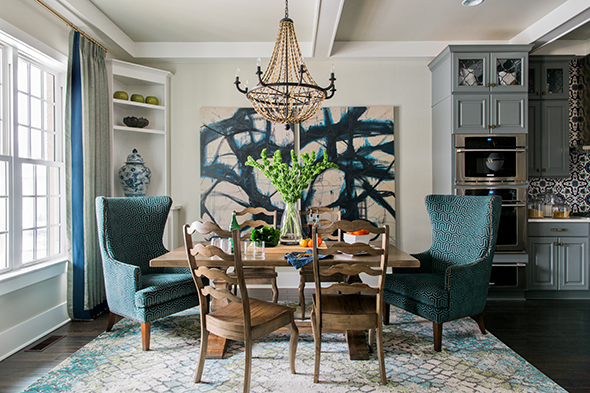
It’s all nice and open and I am loving it!

What do you think? anything you would have done differently?

Little Yellow House Refresh: Cabinets

First, I am letting you know I am skipping ahead a bit from the last post. Since the floor re-enforincg day we have done the following (which isn’t fun to see in pictures hence me skipping ahead). Rough in: plumbing, electrical, installation work, drywall, plaster, installing wood floors where new kitchen is. That all took several weeks ๐Ÿ™‚

To remember where we started check out the initial demo day post here.

Here is the day we finally took the plastic down, post plaster work. To remind you, this was the view of that back wall pre-work.

Looks much different right? Remember this little sitting room was all doored off from the main kitchen, we really didn’t use the space a lot so now we have a much more functional way to use the space.

And here is cabinet day. That back wall is transformed into a highly functional kitchen!

And the island!!! my dream!! My interior designer sister is amazing and she helped us adjust the layout of the space. I kept saying to her, I think the island should be bigger, bigger, bigger. She listened and seriously it’s huge. As you can see in this pic these floors are still raw, not stained.

Don’t forget the butlers pantry! If you know me at all you know I have a dish problem so this space was a perfect addition for all my table trinkets.

Check back in a couple days to see the process of the floors!

Little Yellow House Kitchen: Floor Progress

When we first started the kitchen project I was thinking I would do tile on the floor. However I just couldn’t find what I really wanted to use, and since the kitchen butted right up to the dinning area I decided to go ahead and continue the hardwood floor in the house. So before we put the cabinets in we had to lay new hardwood floors. The kitchen area was the only area of the house that didn’t have hardwood underneath the carpet. We had them stained after cabinet installation to ensure we wouldn’t harm our newly stained floors dragging cabinets in.

In order to do this we actually raised the island up to make sure they didn’t damage the island during staining. The cabinets have toe kicks so we weren’t as concerned on those. This pic is post first layer of stain.

When we first moved in we had the master bedroom and one guest bedroom floors re-done (there was carpet everywhere in the house when we first moved in). So this means that once we got the cabinets in we had to move everything else out of our house to get the floors done too.

This is what our sunroom looked like during this process.

We even had 3 nights that we couldn’t even be in our house. 2 spent at mom and dad’s and one night we stayed in a hotel.

We also still had carpet in the hallway an
d 3rd bedroom. So that had to be removed before the guys came. Overall, we had to pack up and move out everything in our living room and 3rd bedroom. When you already have the whole kitchen and dinning room packed up it starts to get a bit tight around the house.


The crazy thing is. When you get floors done you can’t walk on the floors for quiet some time. Like you can’t walk at all on them for 2 days after first coat, and 1 day after second coat. And then they recommend you don’t drag furniture out over anything for at least a week. This time was difficult. But now that it is done, the floors are looking good.

Little Yellow House: DIY Curtains

When we first moved into the house the number one priority was curtains. But I could never find prints I really wanted myself so I knew from day 1 I would have to make them myself.

TNPLH: Curtain DIY

I follow the tutorial by Design Sponge. The one thing I would say is that the pleating tape was pretty difficult to work with. If I made pleated drapes again, I think I would just try to them from scratch – the old fashioned way. My mom tried to convince me to do the that way to begin with, but I didn’t listen ๐Ÿ˜‰

See it here.

TNPLH: Little Yellow House Living Room Before 2

Just as a reminder – I have one very very large window in the living room (17 feet long!). and then I have one window that is connected in the dinning room. So I needed an economical solution for the 17ft window on the curtain rod. If I bought a curtain rod in the store it would be so expensive. So instead I bought a 20 foot copper pipe. Yep a 20ft pipe! Then I jazzed it up with fun Restoration Hardware ends. I like that it mixed copper and brass and it was economical!

TNPLH: Living Room Curtains

The curtains make the whole space so full and homey.

TNPLH: Curtain DIY

Curtain Estate Crystal Square Finials/Estate End Brackets/Estate Center Brackets

Little Yellow House: TV Wall Reveal

A difficult thing to do in the living room, is balancing the practically of cozy TV time and the aesthetic need to make your living room look pretty. This being our first house, it’s small and we don’t have a tv and a formal living room. So we have to combine our area. A great way to do that is to hide it with a great gallery wall.

TNPLH: Living Room TV 1

The other thing I love doing is tucking ottomans under a console table. It’s a perfectly practical way to add two more spots to sit. These two ottomans I bought from target and easily re-upholstered the cushions to make them fit in our colors. We are often having a lot of guests over for the extra ottomans are also an added bonus for that!

TNPLH: Living Room TV 2

My apologies ย for the late post. I took the pics right before we switched over to our holiday decor! But overall another way I conceal the TV is by hiding fun accessories around the console. This console was a great find too! Craigslist $80, and it didn’t even need any updating!!!

TNPLH: Living Room TV 3

It’s a great conceal!

Mantel Art DIY

Excited to share the most recent update to our Mantel in the #littleyellowhouserefresh

TNPLH: DIY Mantel Art 2

Just as a reminder. This is what it looked like when we moved in.

Little Yellow House: Firehouse Before

And this was when it looked like when we first re-did the mantel.

Little Yellow House: DIY Mantle Reveal 1

See the DIY Mantel Post here, and here.

I liked the way we did the mantel at first. But there is just something about really big art that brings a level of sophistication to a room. So I got an itch to try and do a DIY piece of art. I first found the below inspiration and knew I wanted to try and re-create. It was from the HGTV Smart Home in North Carolina Last year. I love how sophisticated the large piece of art made the whole room feel.

art-inspiration

HGTV Smart Home 2016 in Raleigh, North Carolina

So, with the help of my husband we gave it a whirl.

TNPLH: Mantel Art DIY 1

Making the art was super fun. I pulled my husband in, he was a double major in multi-media and fine art in college. So he was a huge help in the process.

img_0336

img_0337

TNPLH: DIY Mantel Art 4

I love the crisp blue tones with the white and the pop of green. Can’t wait to decorate the mantel for Christmas!!!