DIY Wallpaper Panels

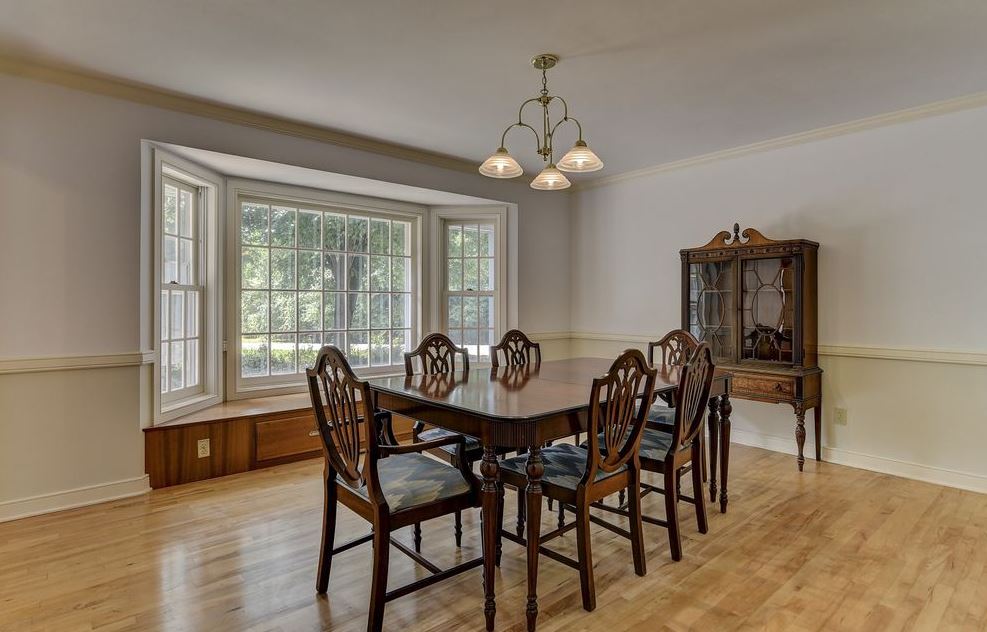
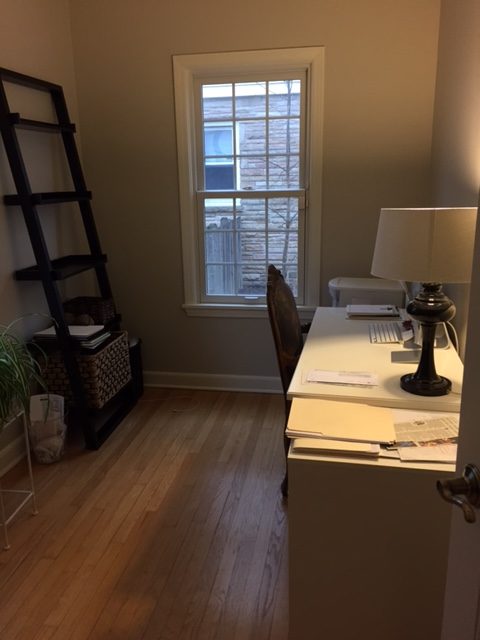
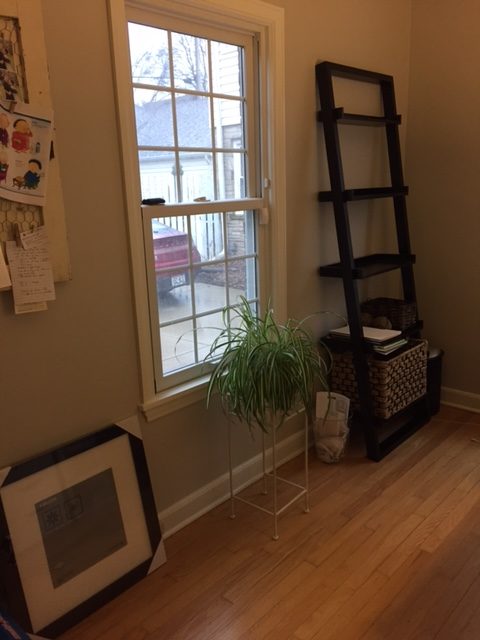
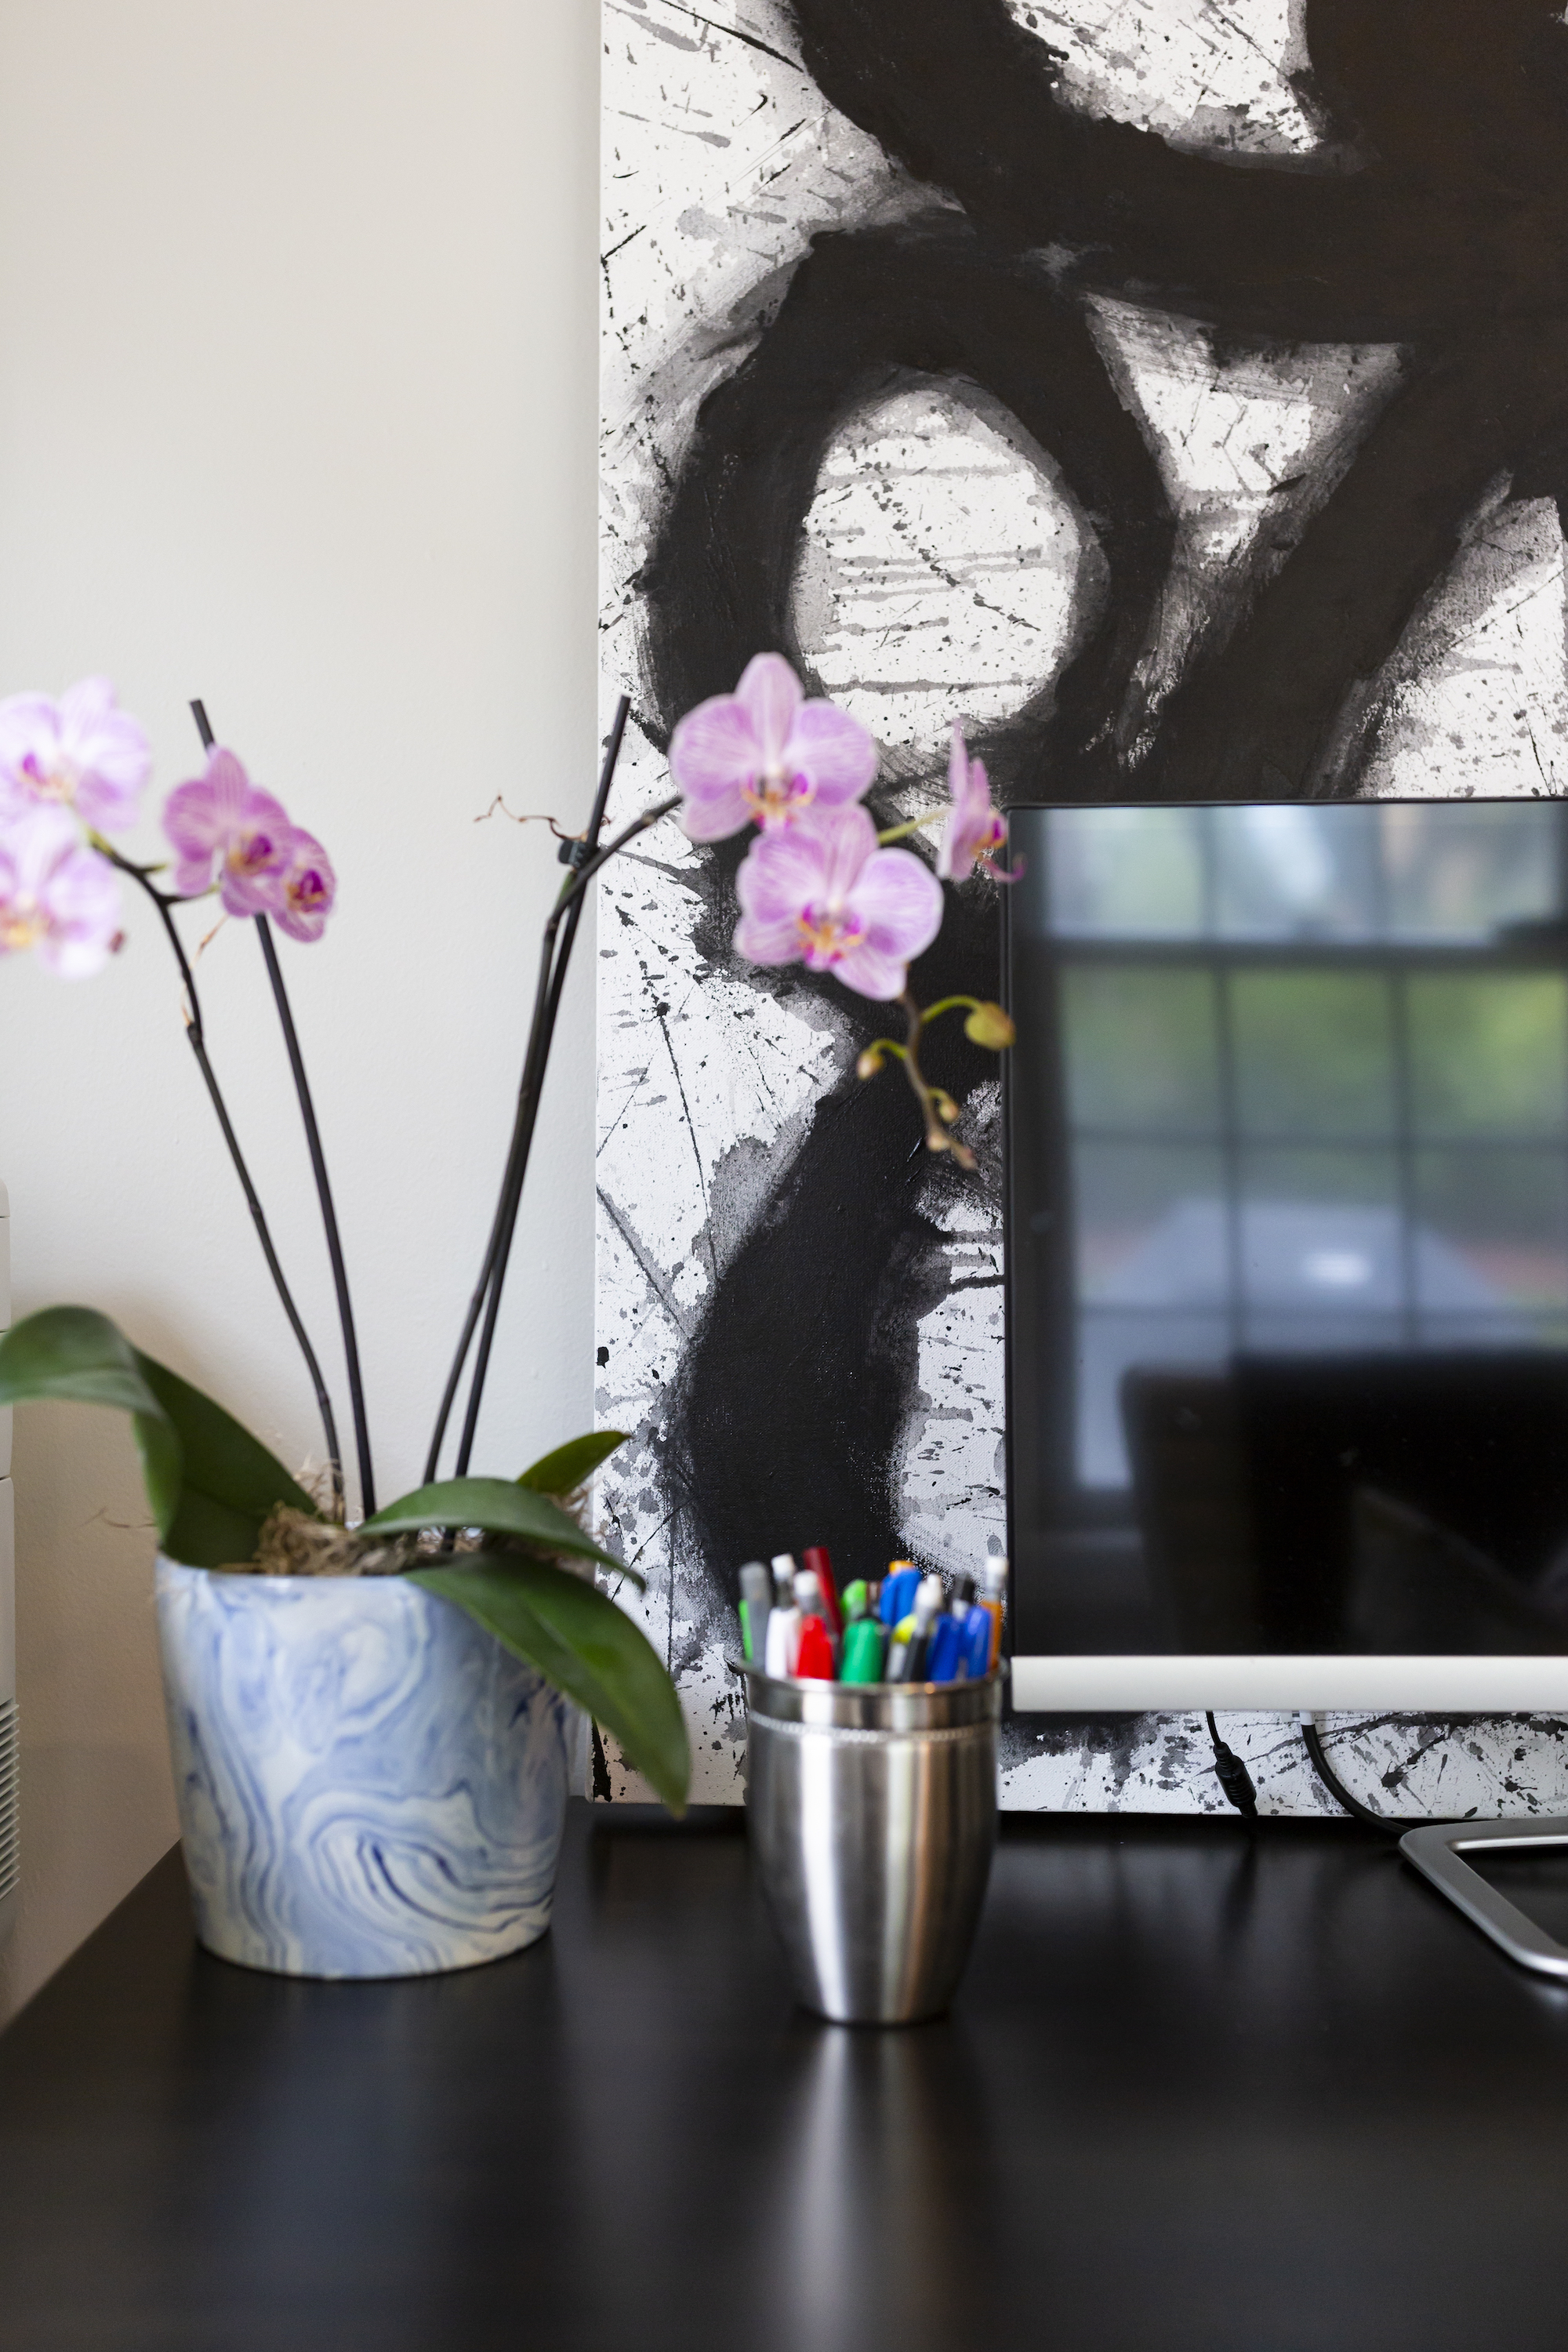
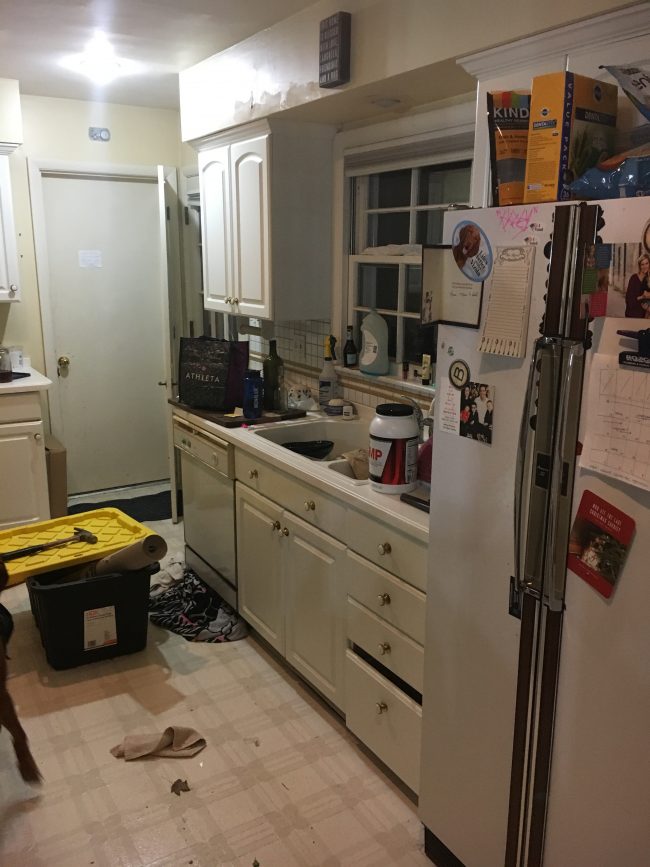
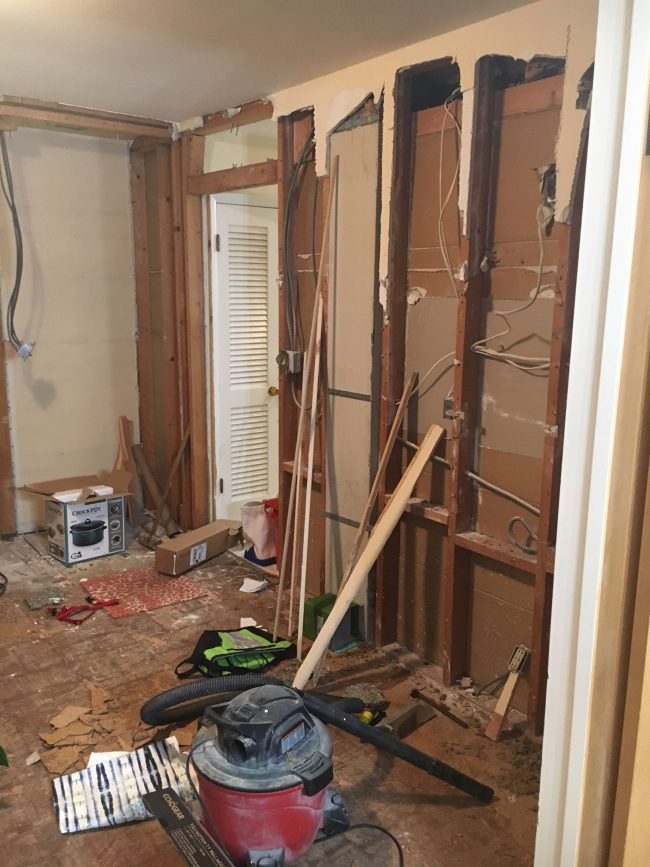
I love big art. I also love wallpaper panels covering a full wall. However the price tag on them is usually unsavory. This hallway isn’t done yet, during our kitchen renovation we changed it around a bit and now it will be an area with a new laundry closet. But, I am done with this hallway always looking ugly. So I am working on sprucing it up a bit.

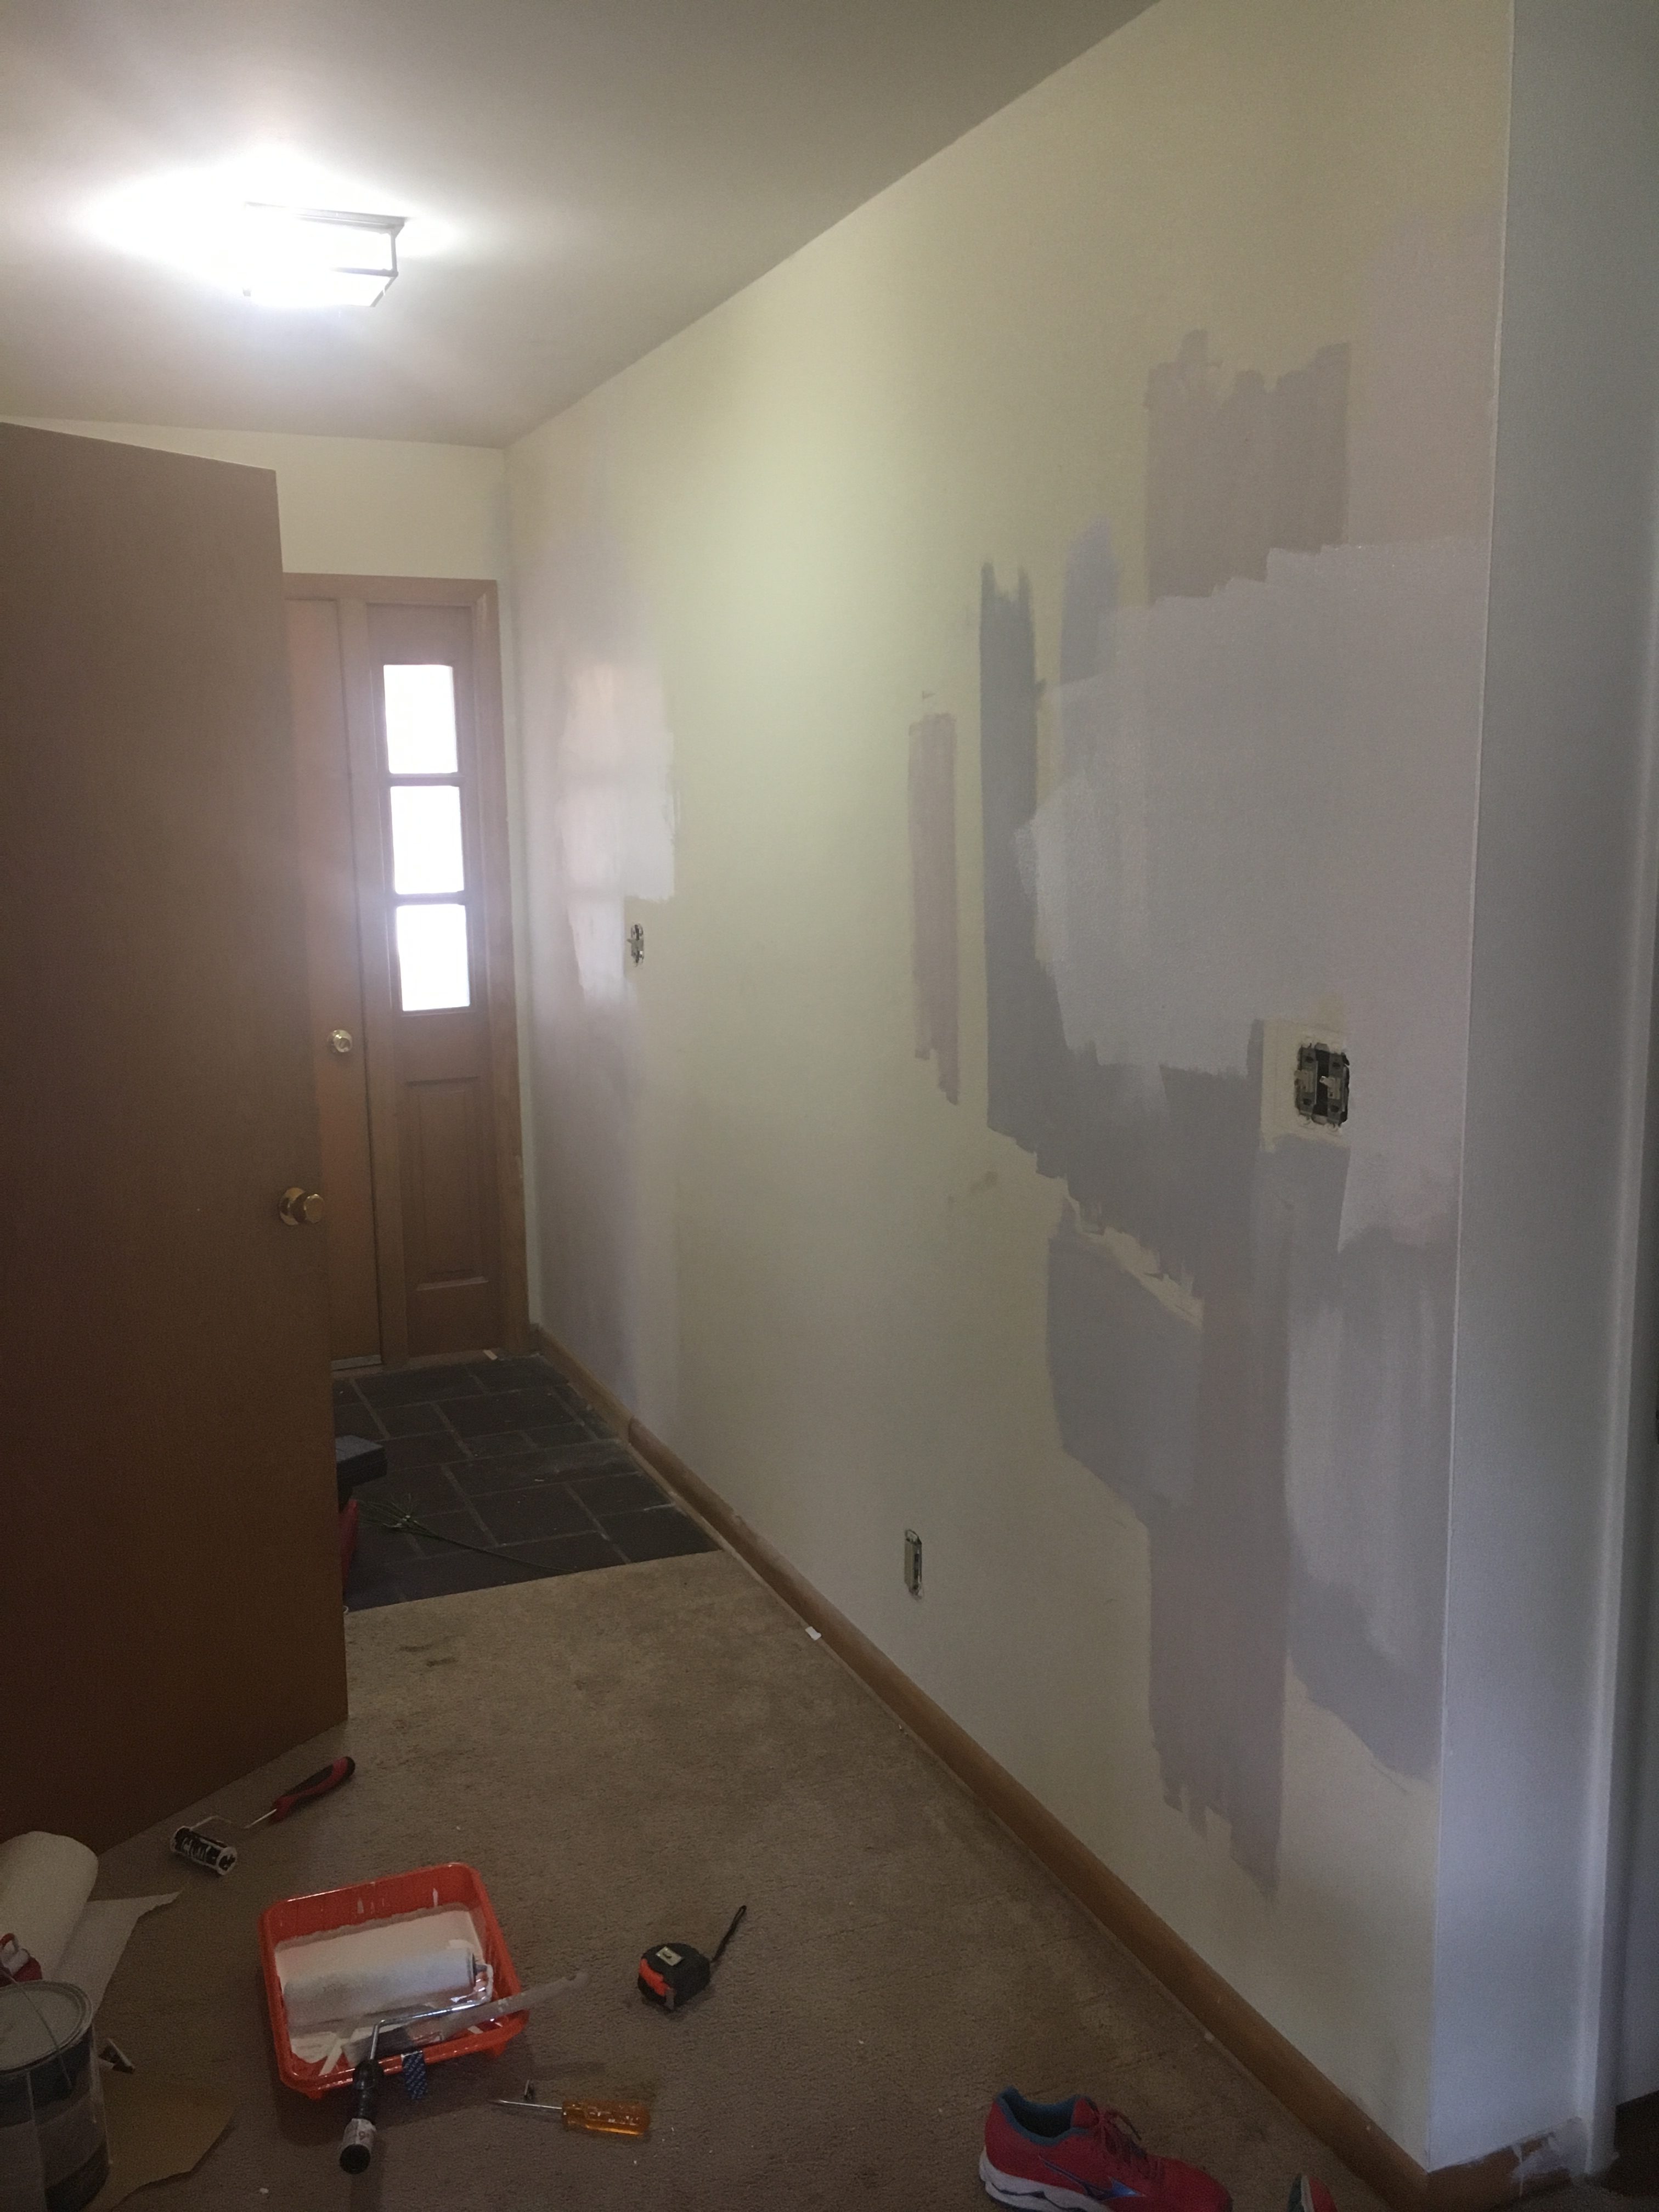
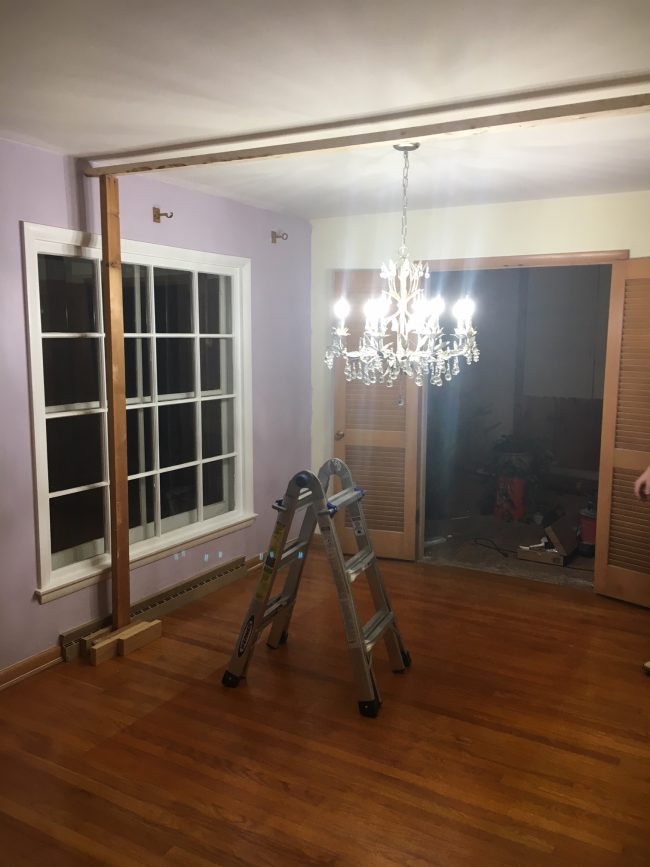
I have a lot of color in the house so I decided to paint the area white. As you can see above I just wasn’t finding a gray that I liked. The white helped break up the color but it also means that it was a lot of white. So thought wallpaper would be just the thing to spruce up this space.

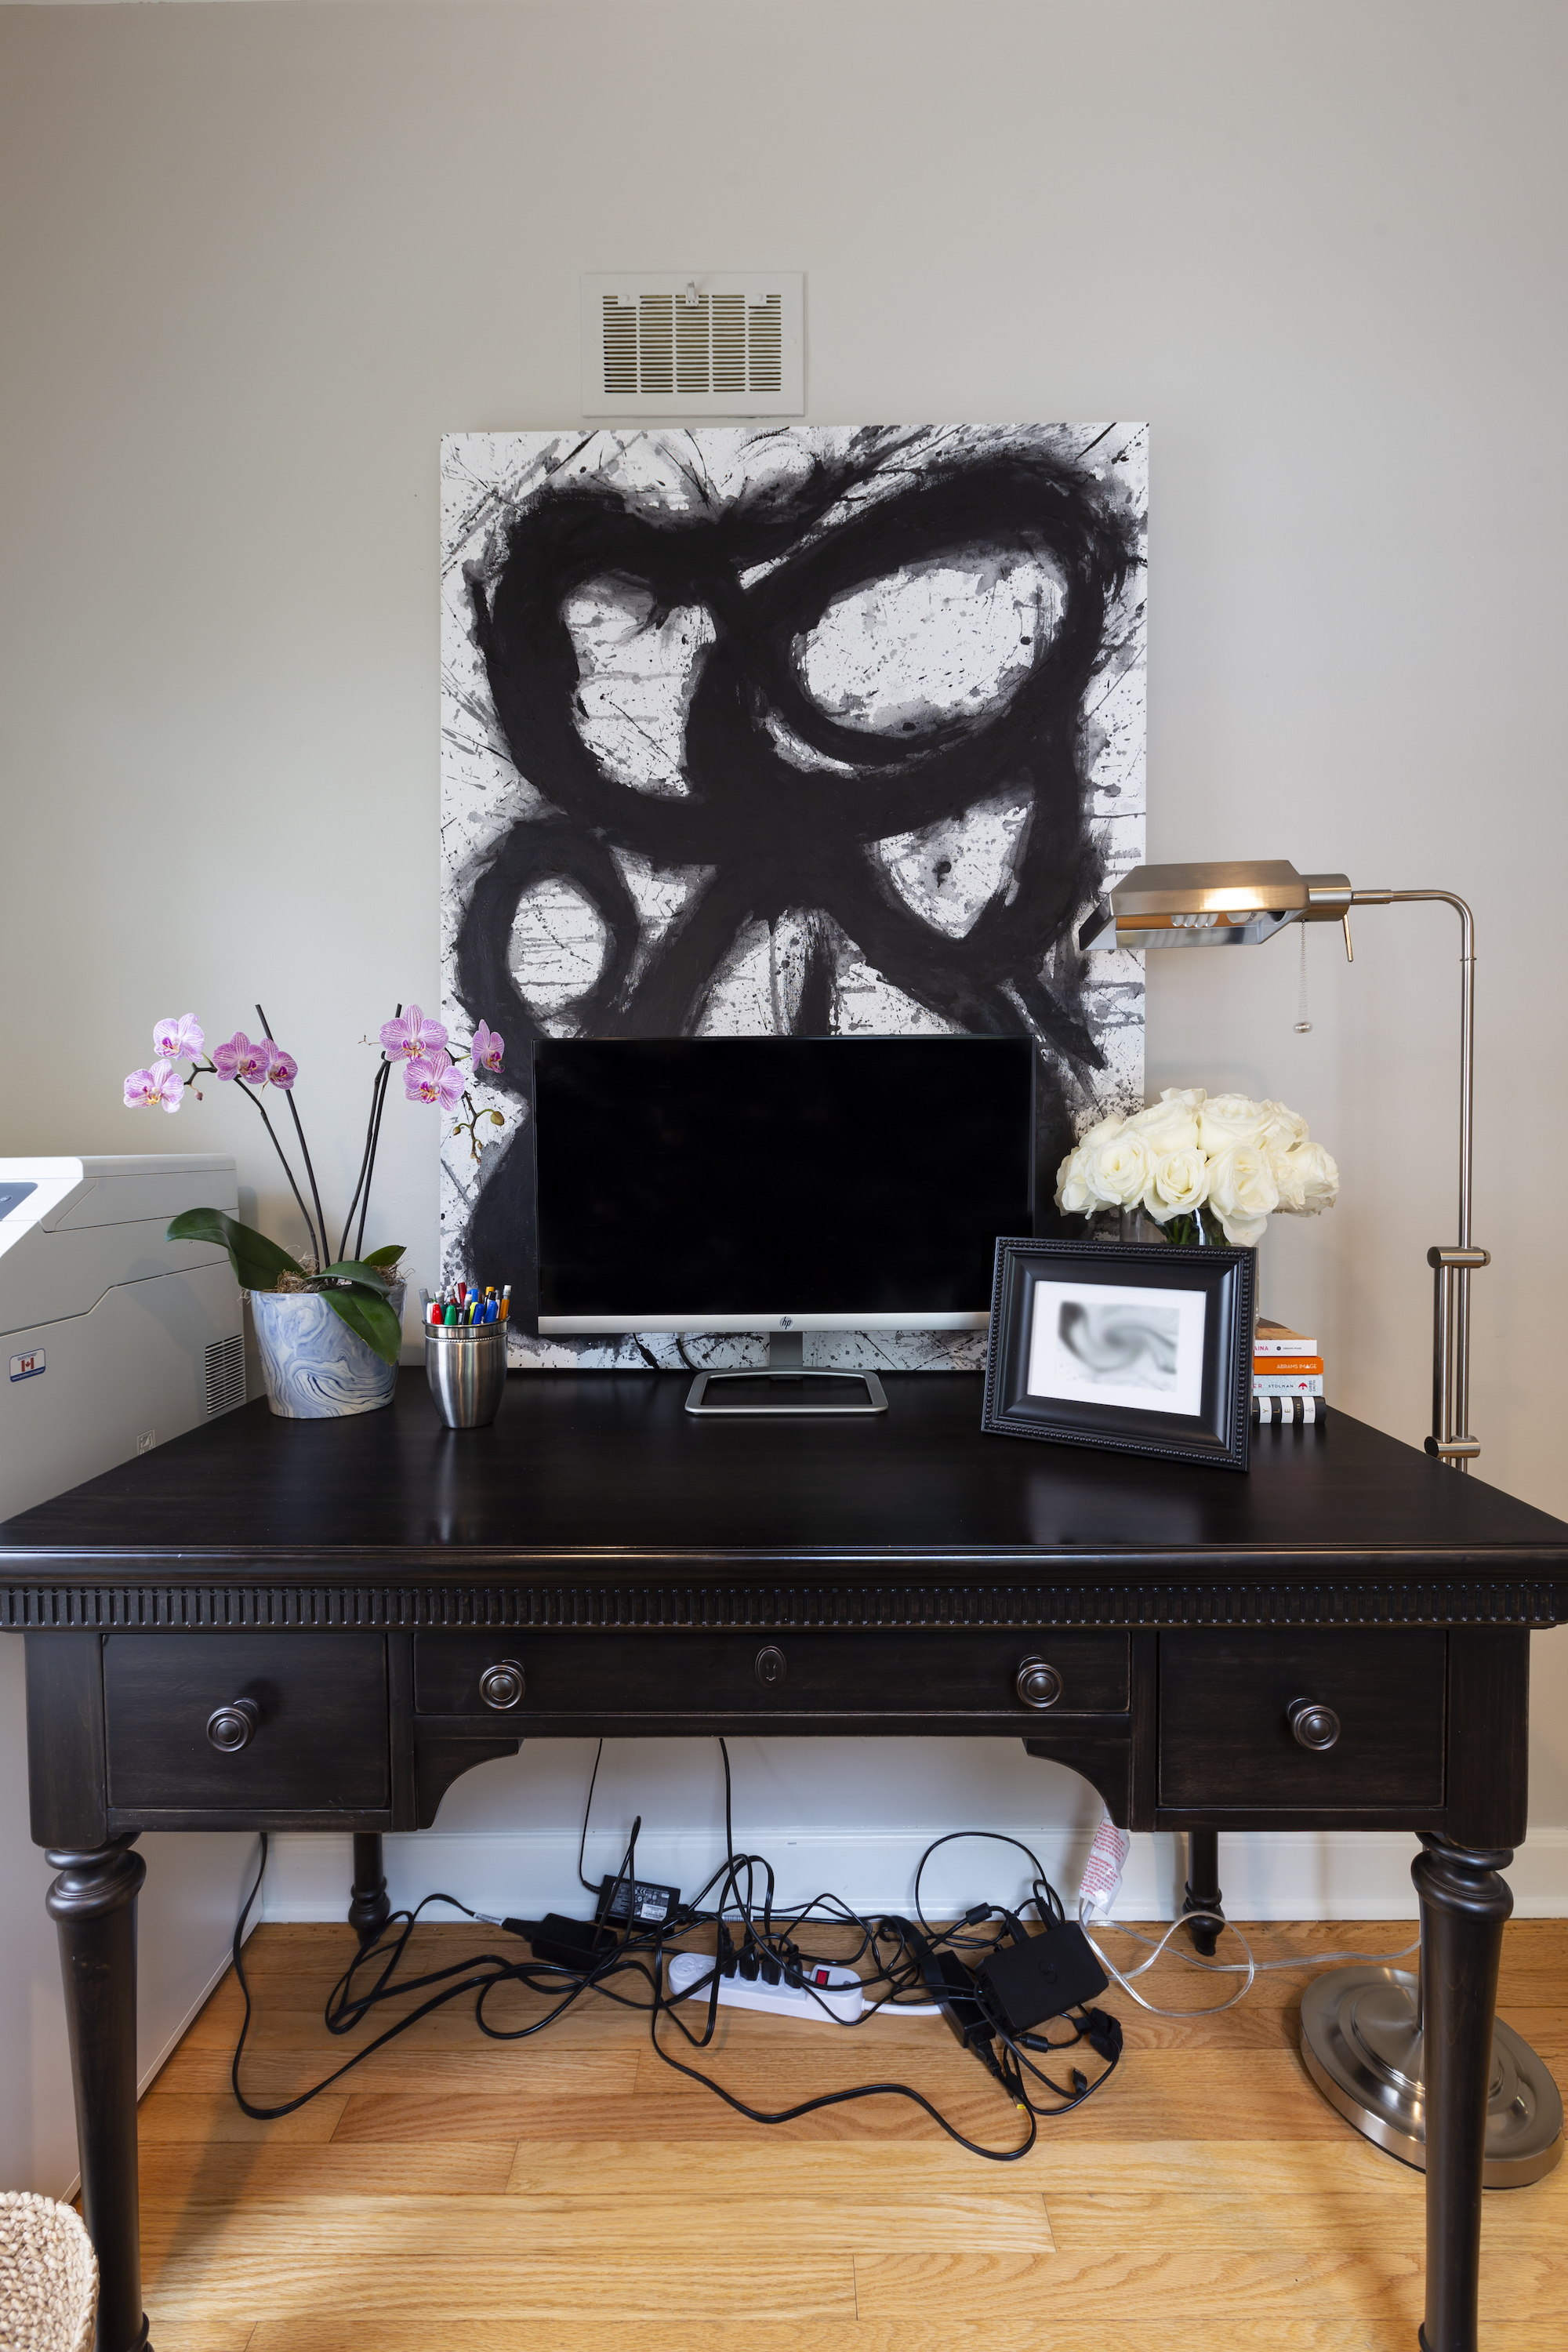
Wallpaper panels are fun, but super expensive. So I decided to make them myself.

First you just start with MDF wood. I cut mine 5 feet tall. The middle was 2 feet wide and the the 2 end panels are 1 foot wide. I got mine at the home depot, and got them to cut them down for me. I find this easier because of how big they are.

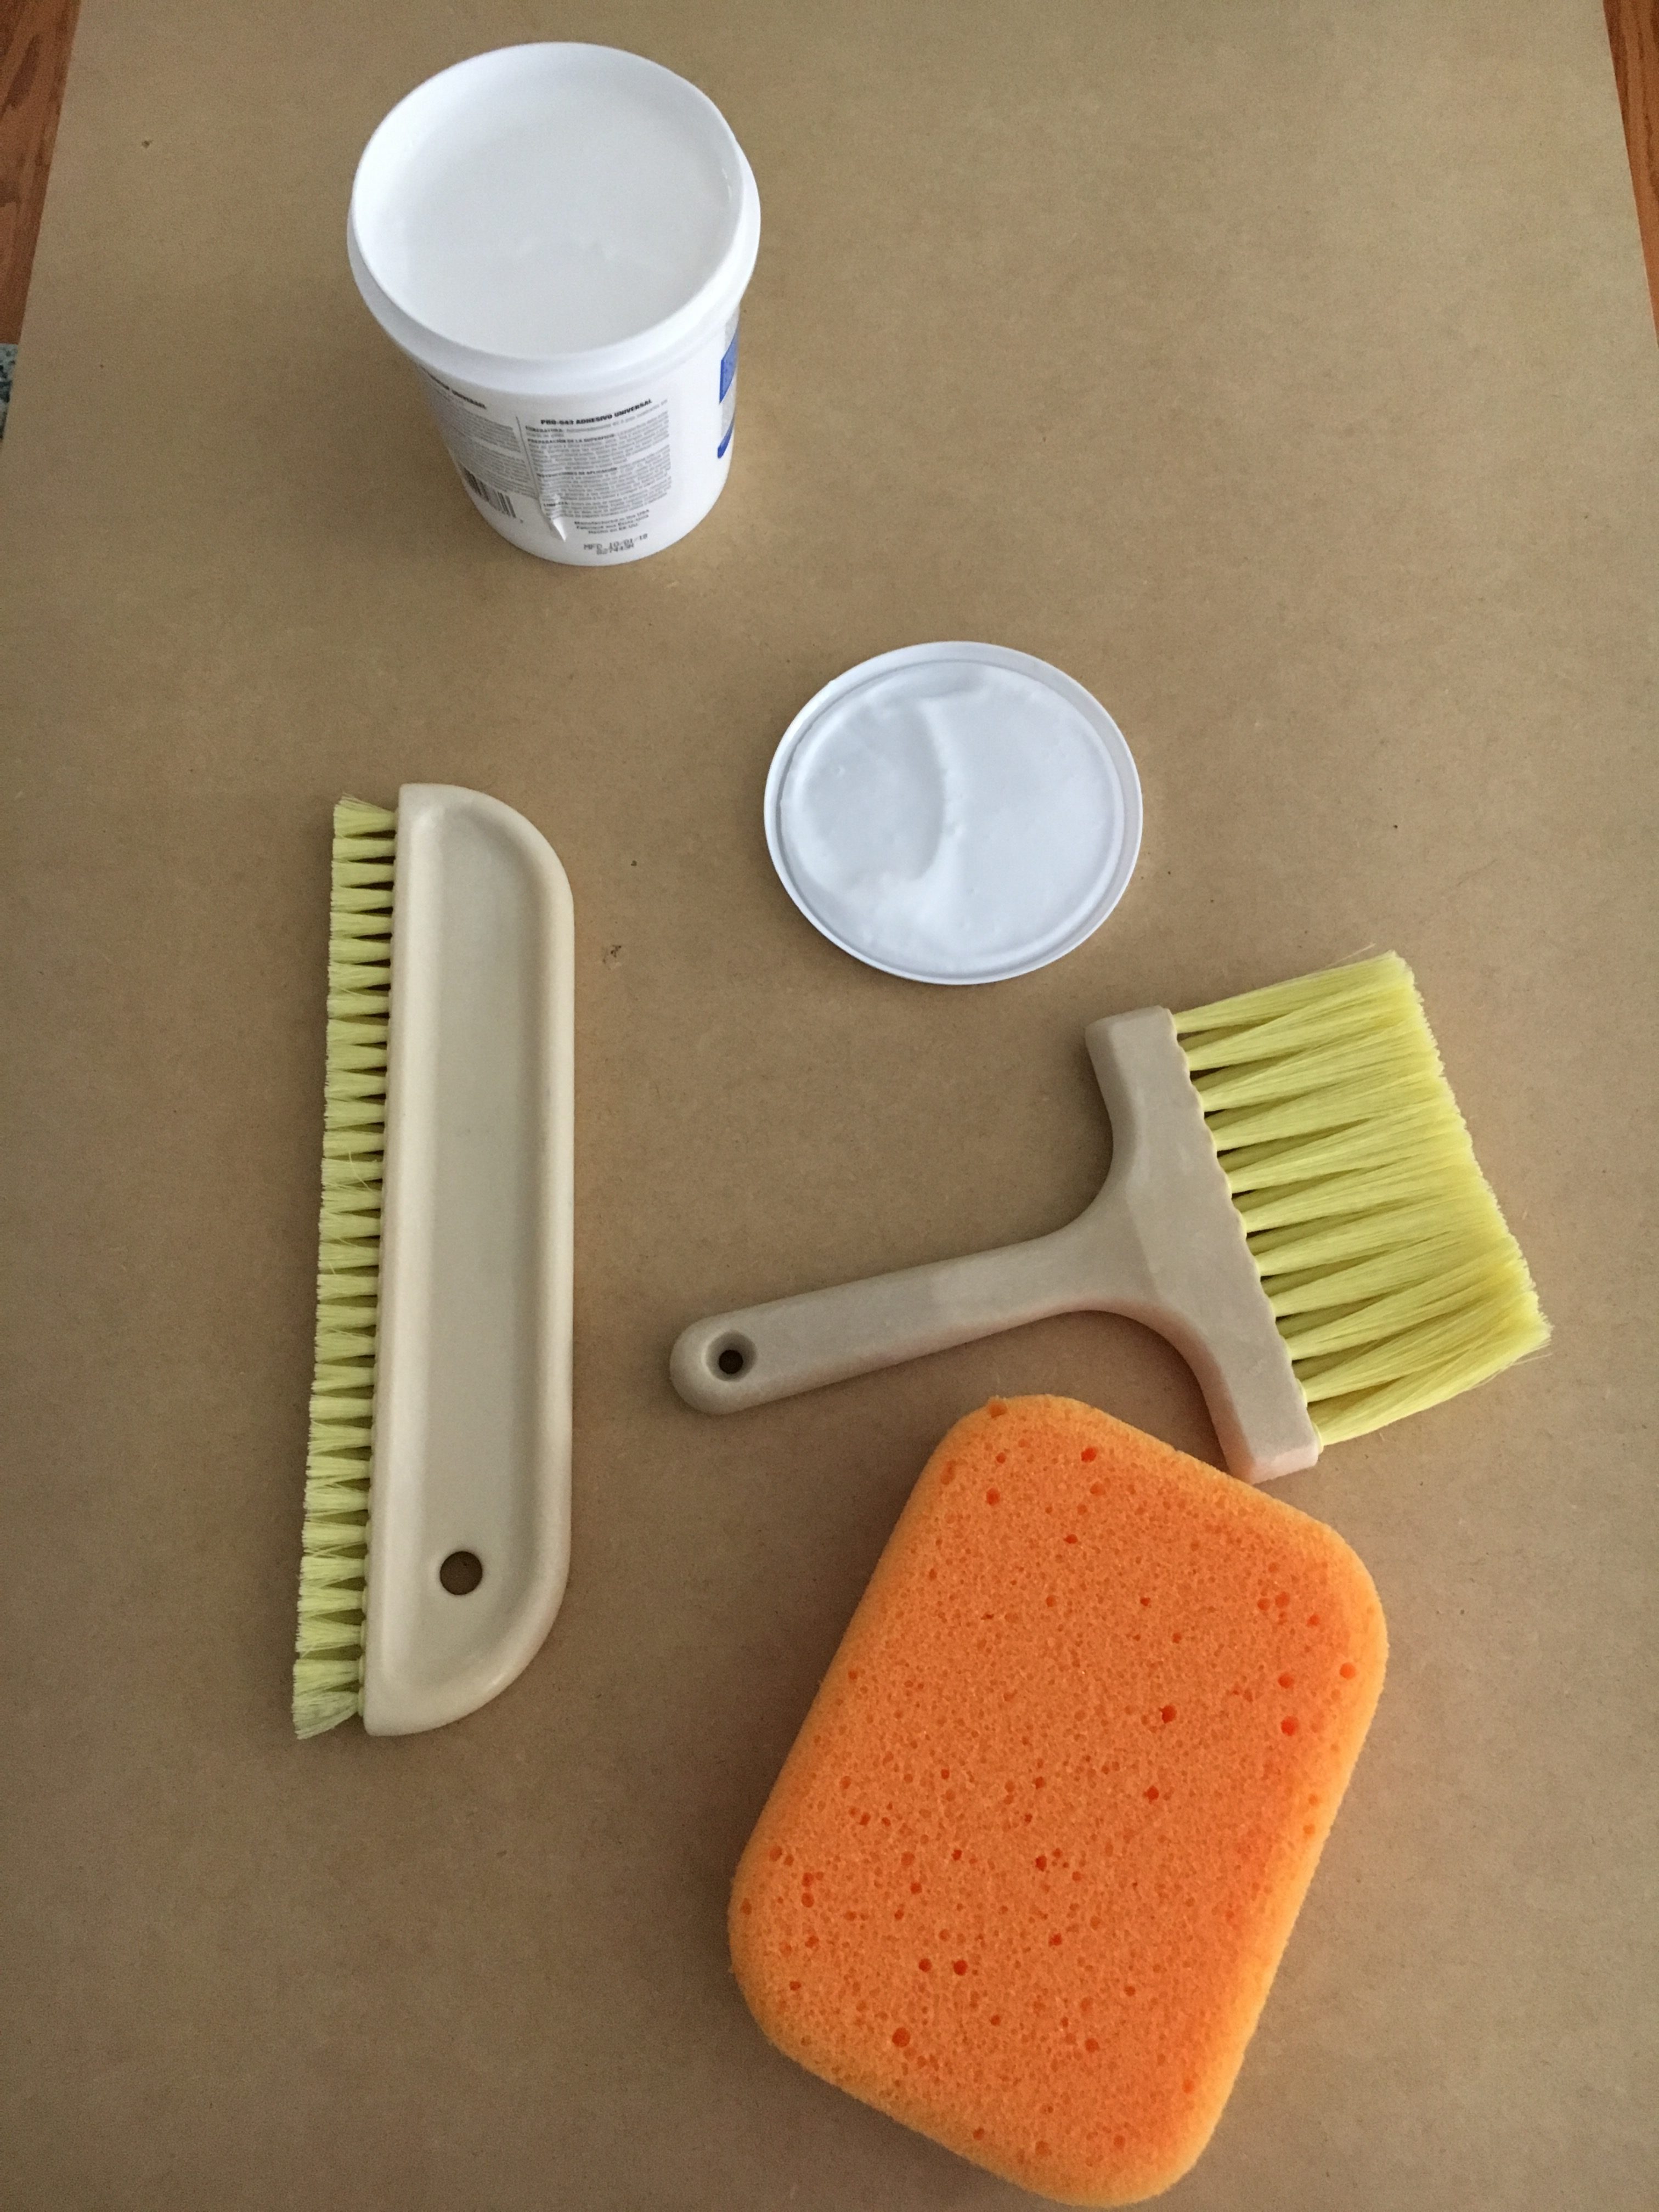
To start them out all you need are the standard wallpaper tools as shown above.

The panel is pretty small (relative to the full wall) so it’s pretty easy to get it done right by yourself. If you have never wallpapered just remember a couple things. Loosely lay it down in the spot you want and then start at one end. work from the middle out using the wallpaper brush with the short bristles. Then go back over with a plastic wallpaper smoother in the same way using your hand to feel for air bubbles.

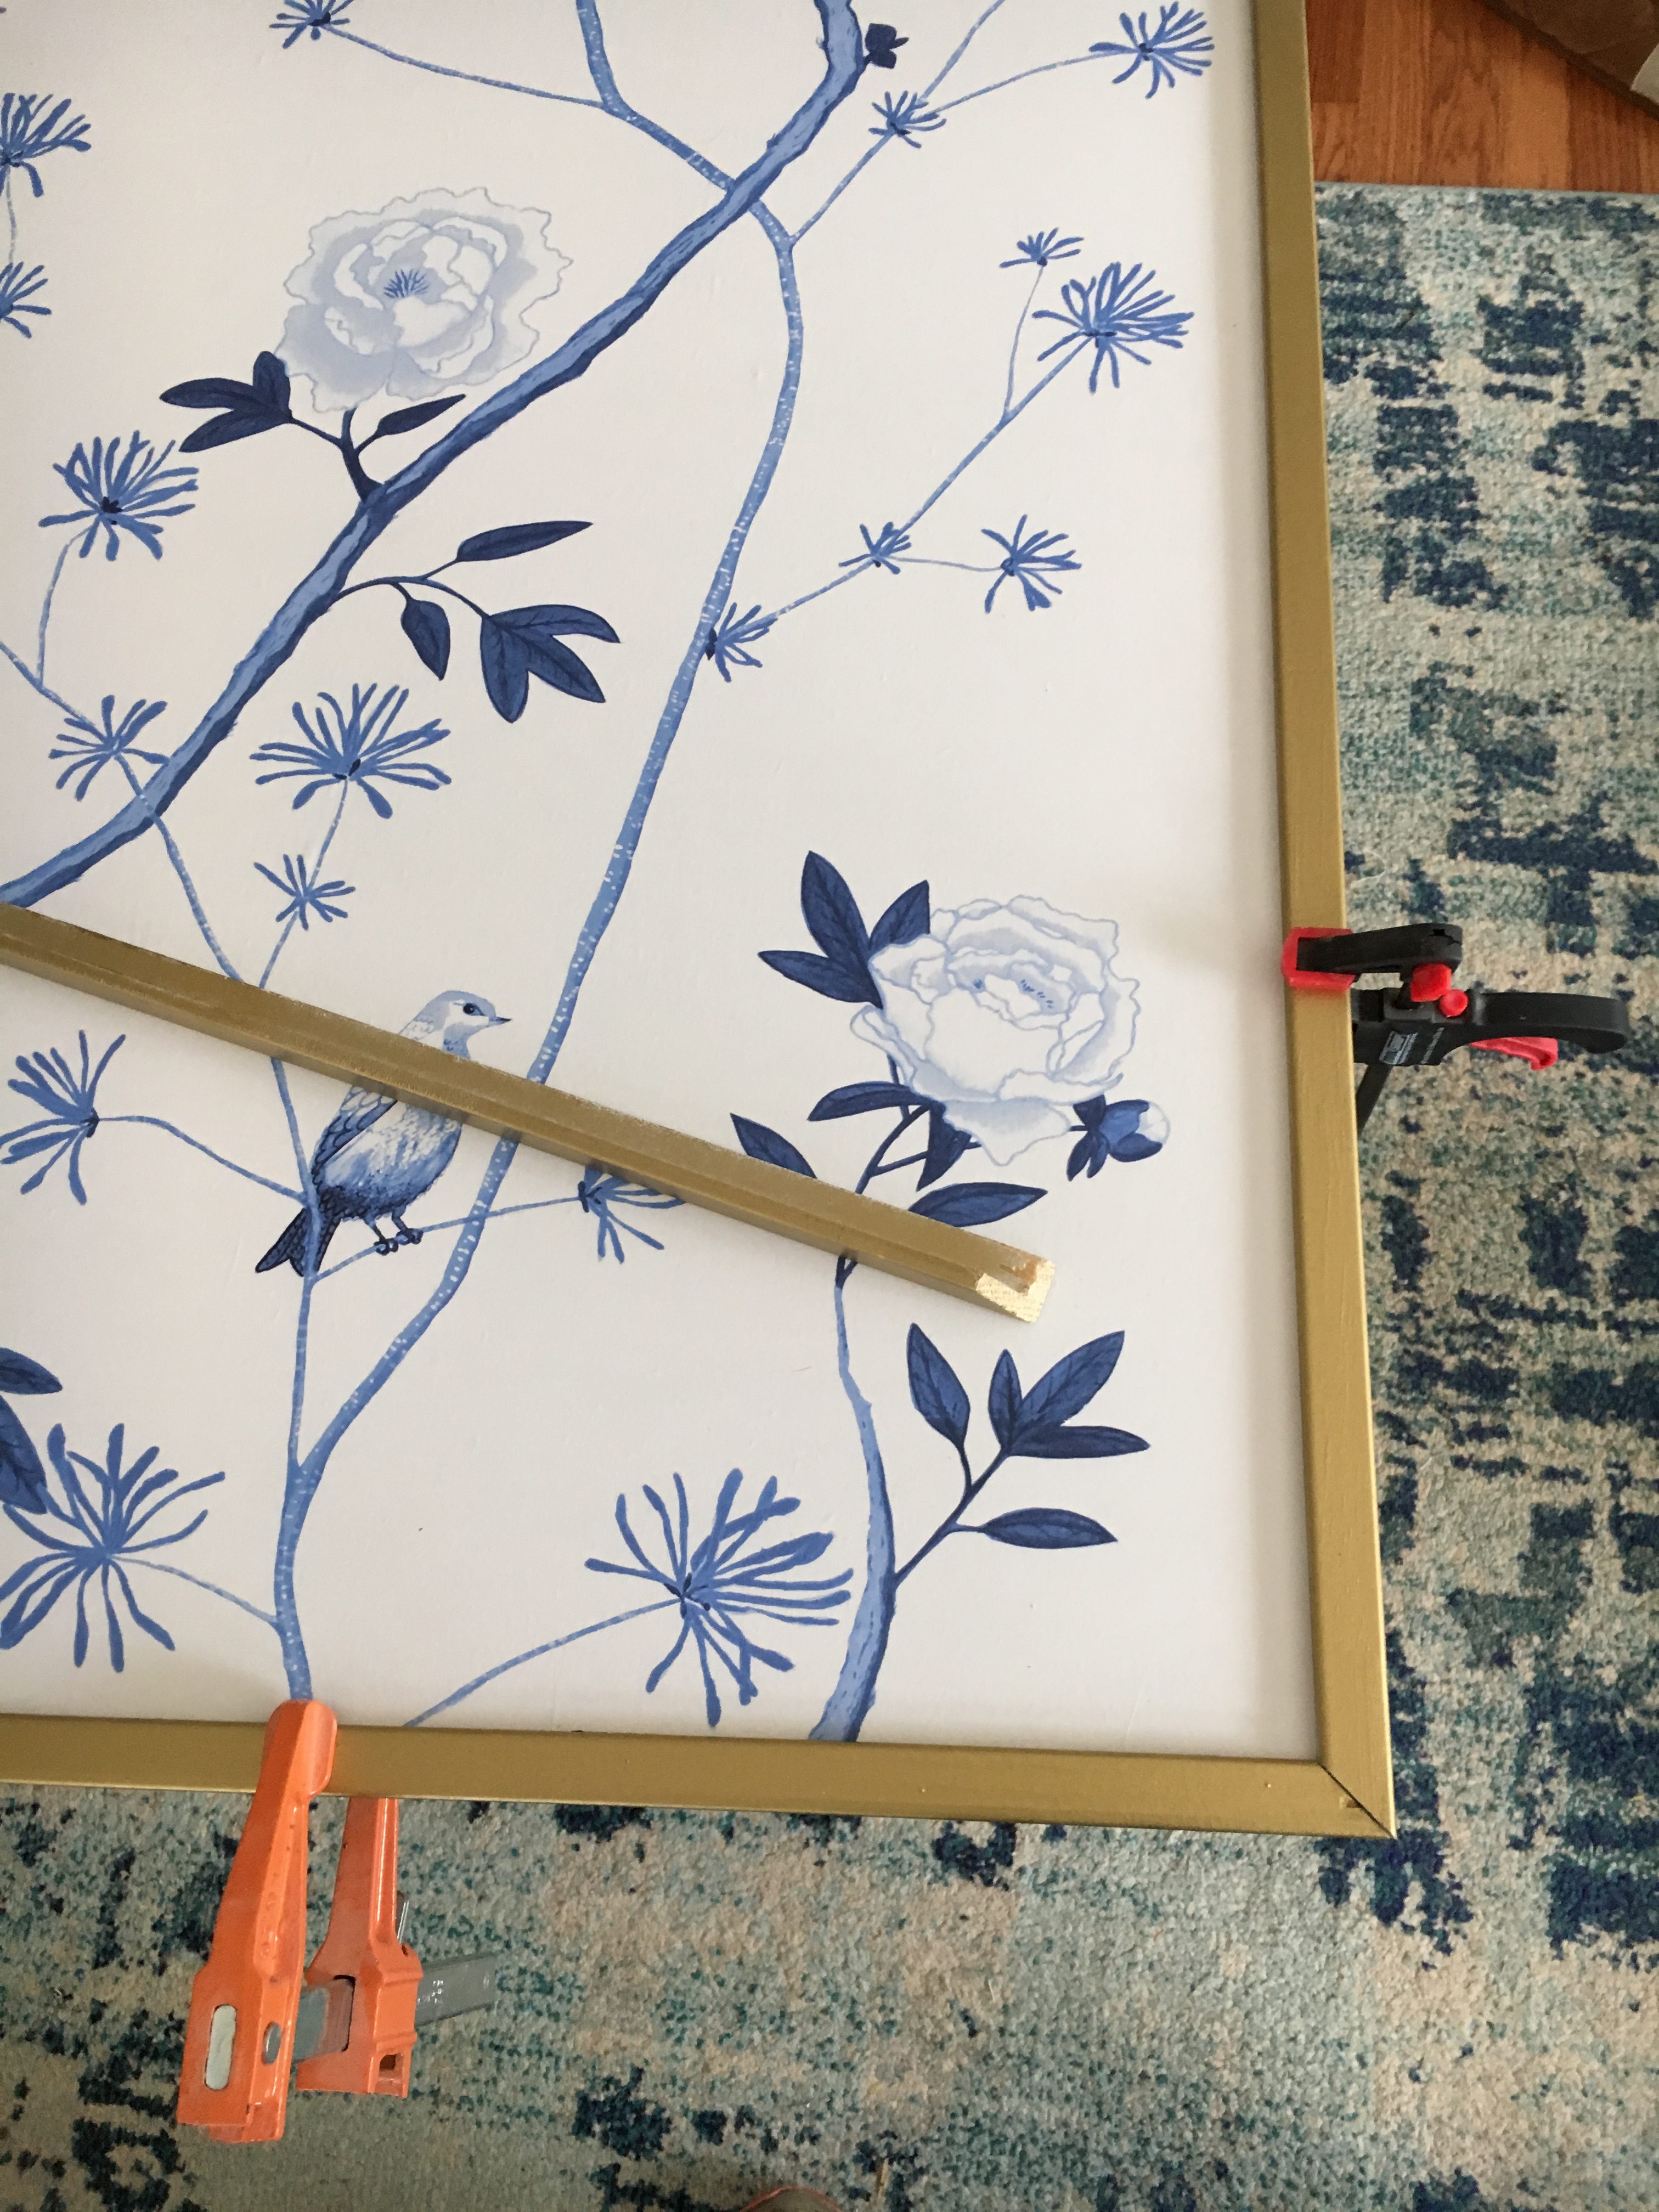
Next step. Trim. I bought corner trim as shown above. Cut down to size. I sprayed it with gold spray paint and then used liquid nails to glue onto the side.

Chris helped me adhere hangers to the back. We used French Cleats. See a pic below. We got an easy to use little kit from Ace Hardware. And Chris said they made it super easy to hang.

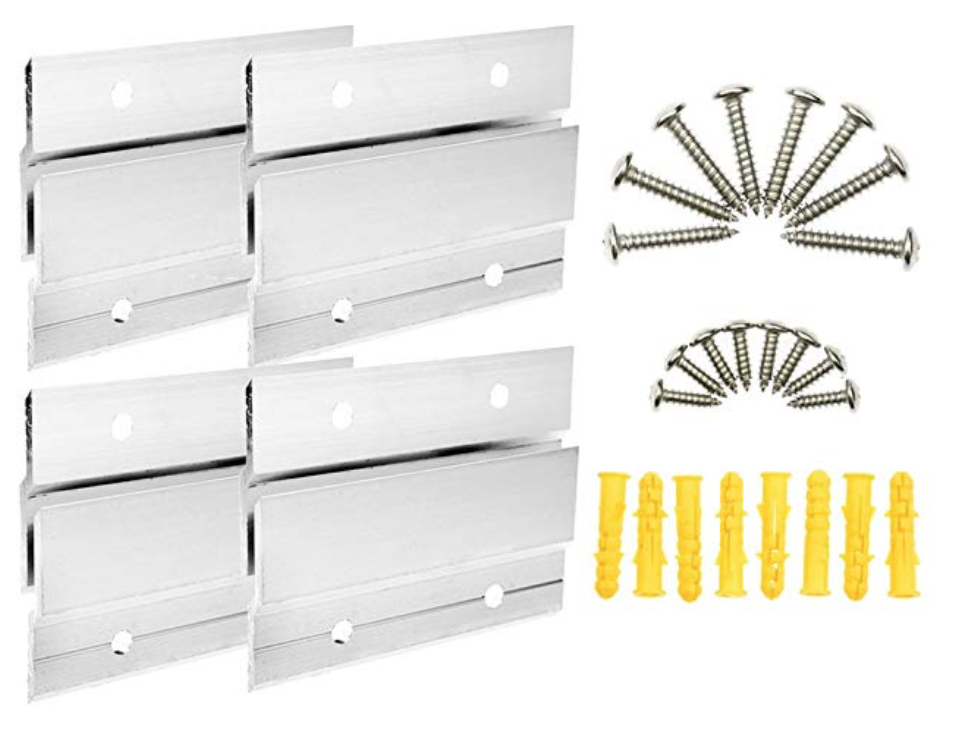
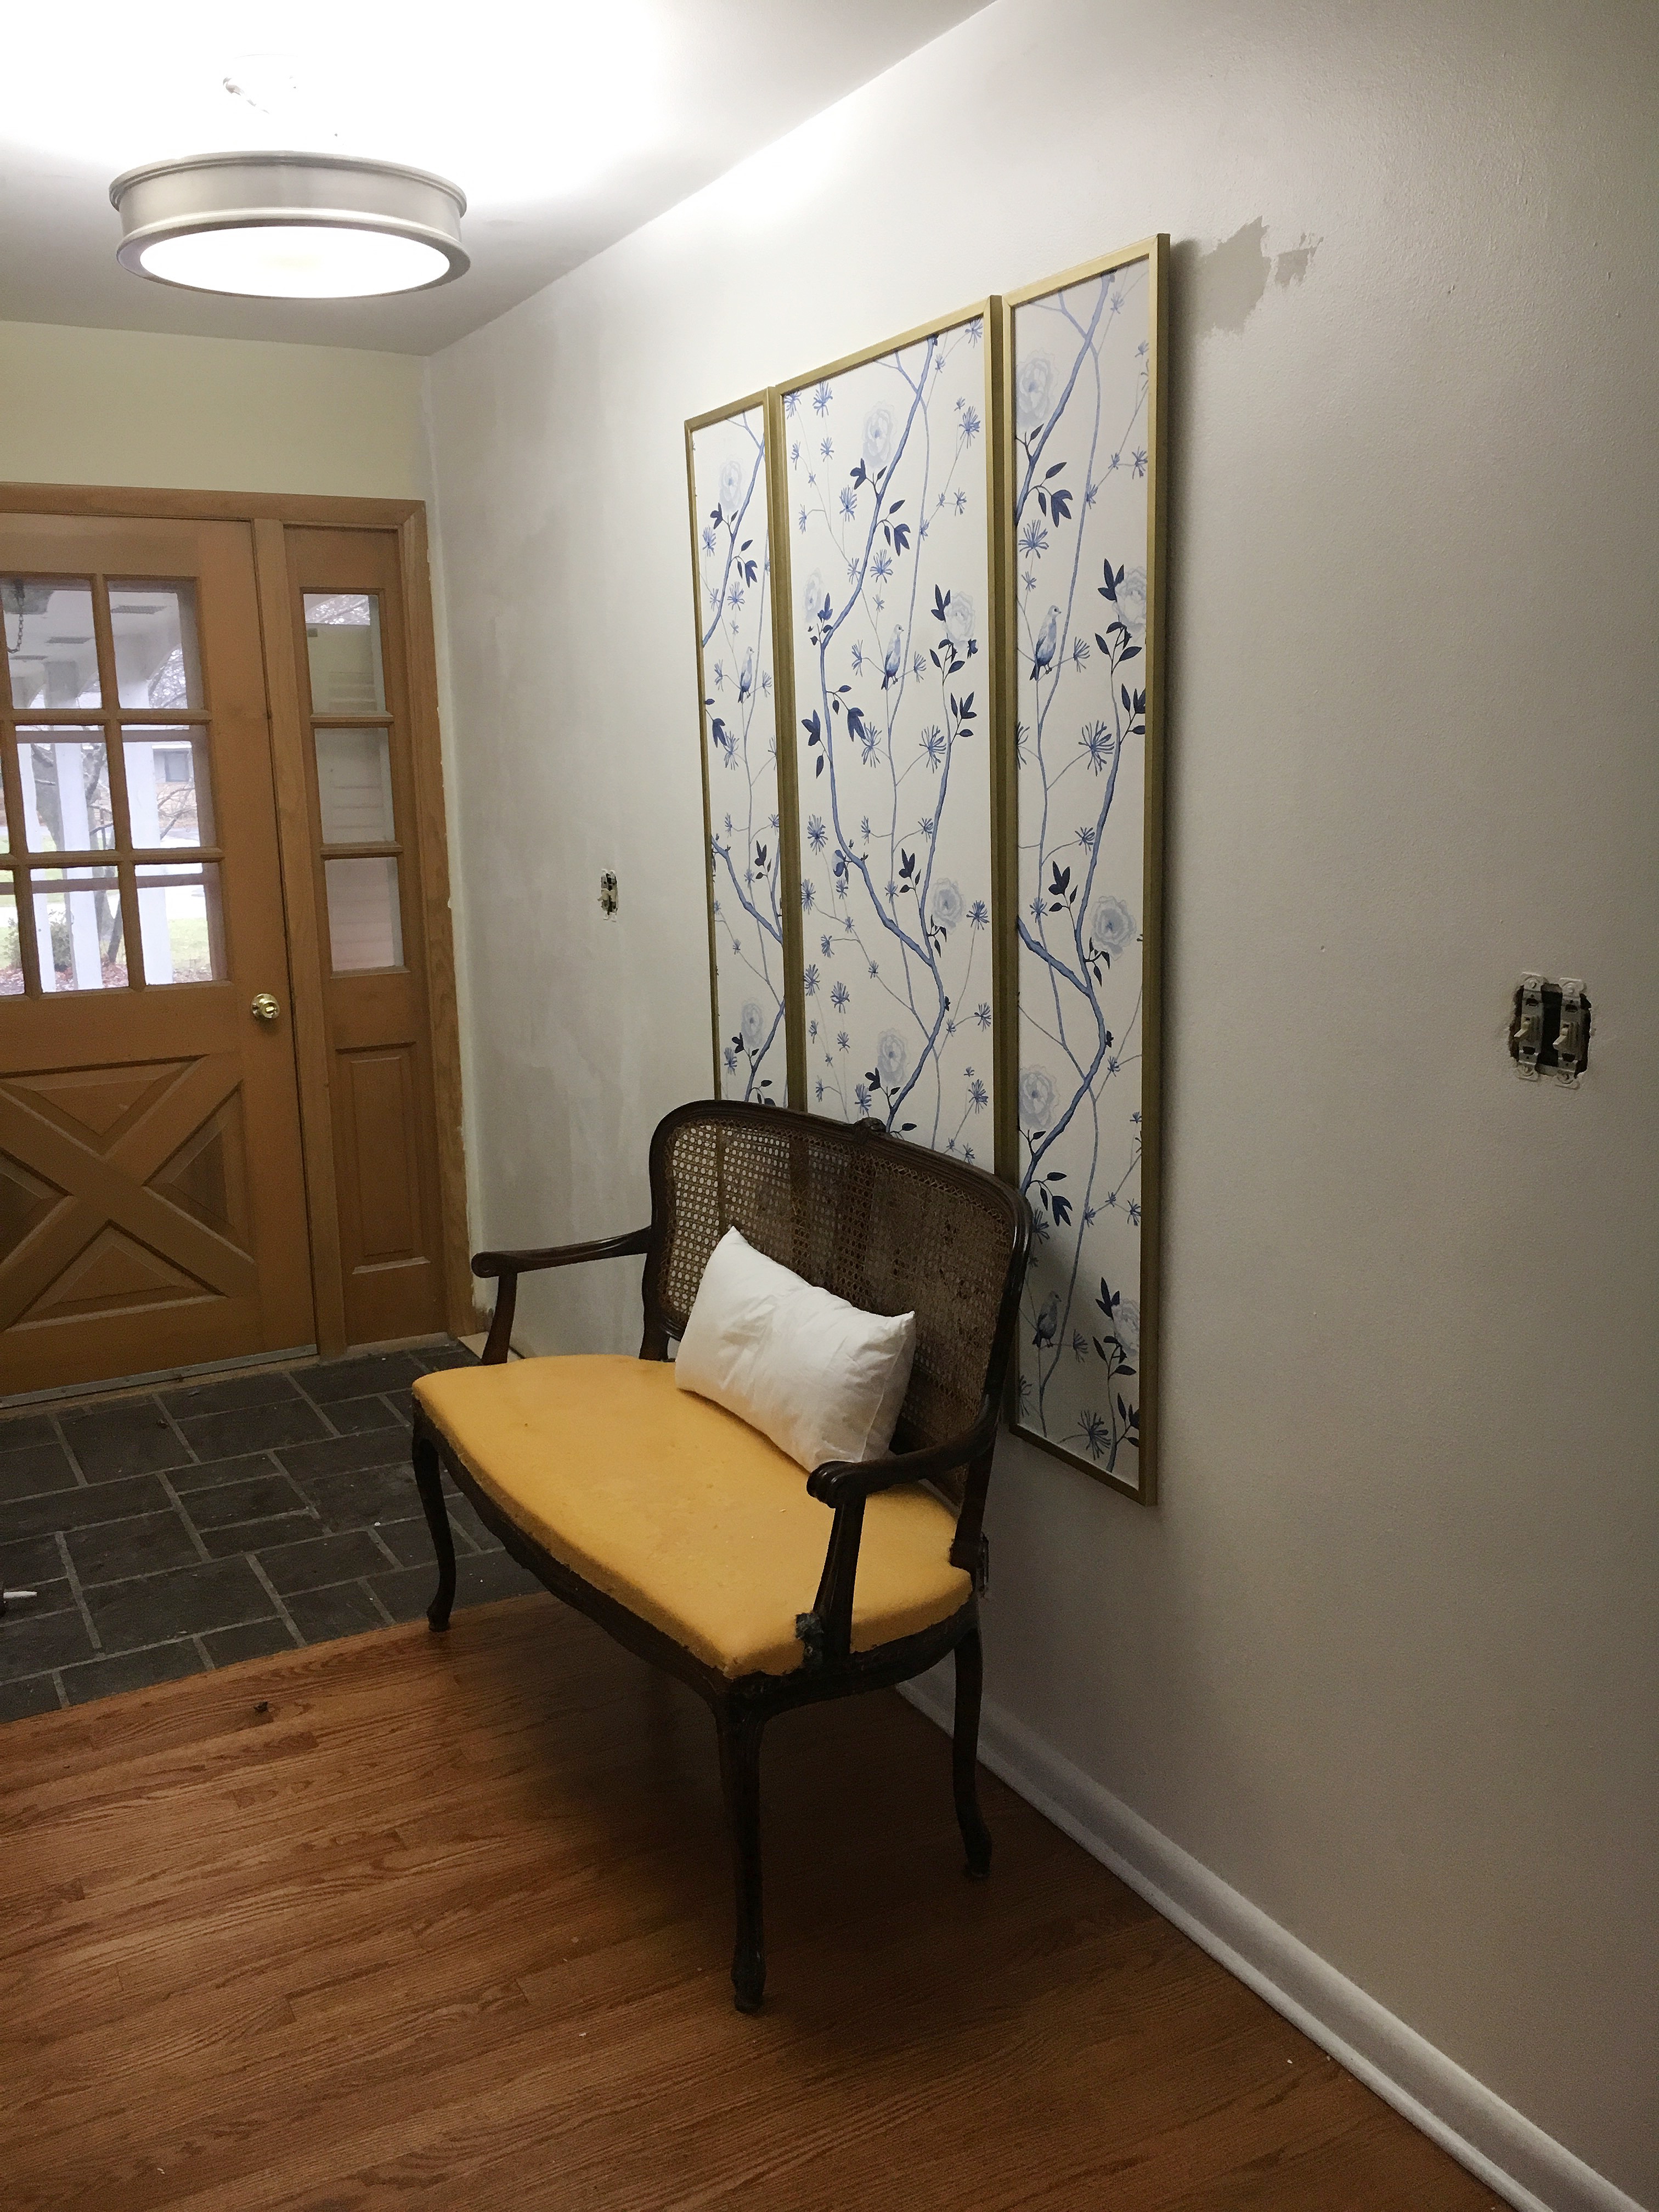
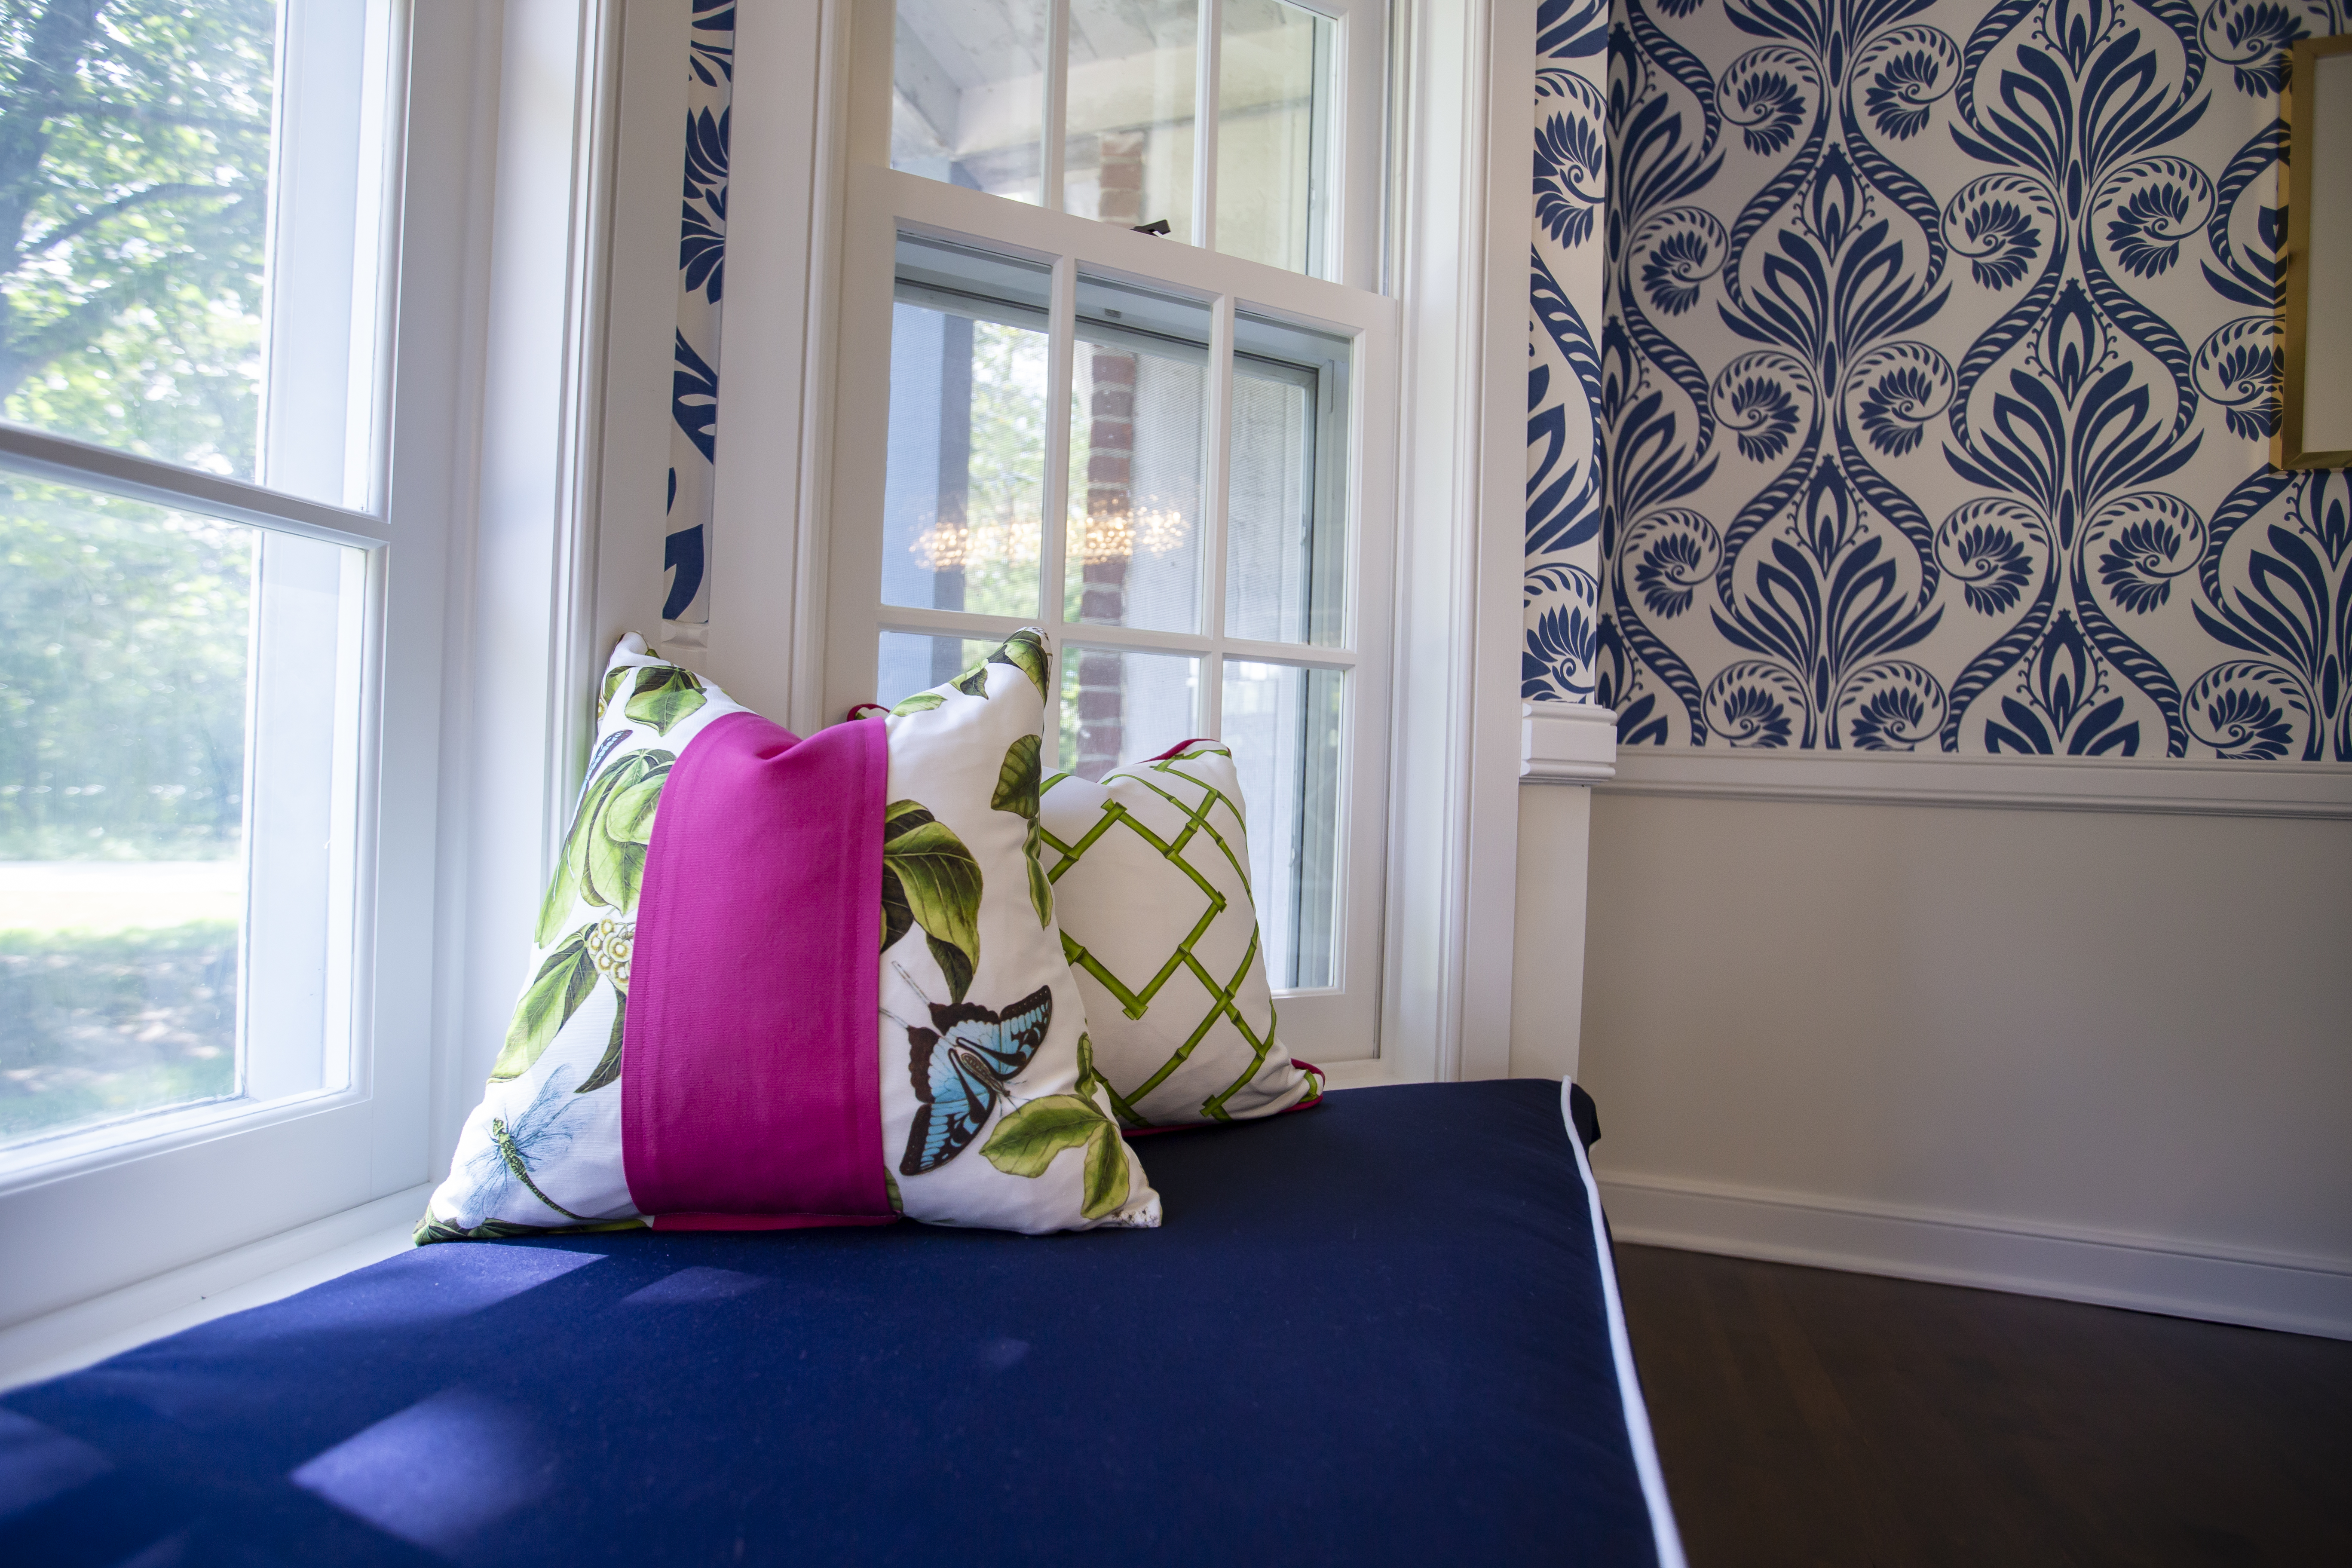
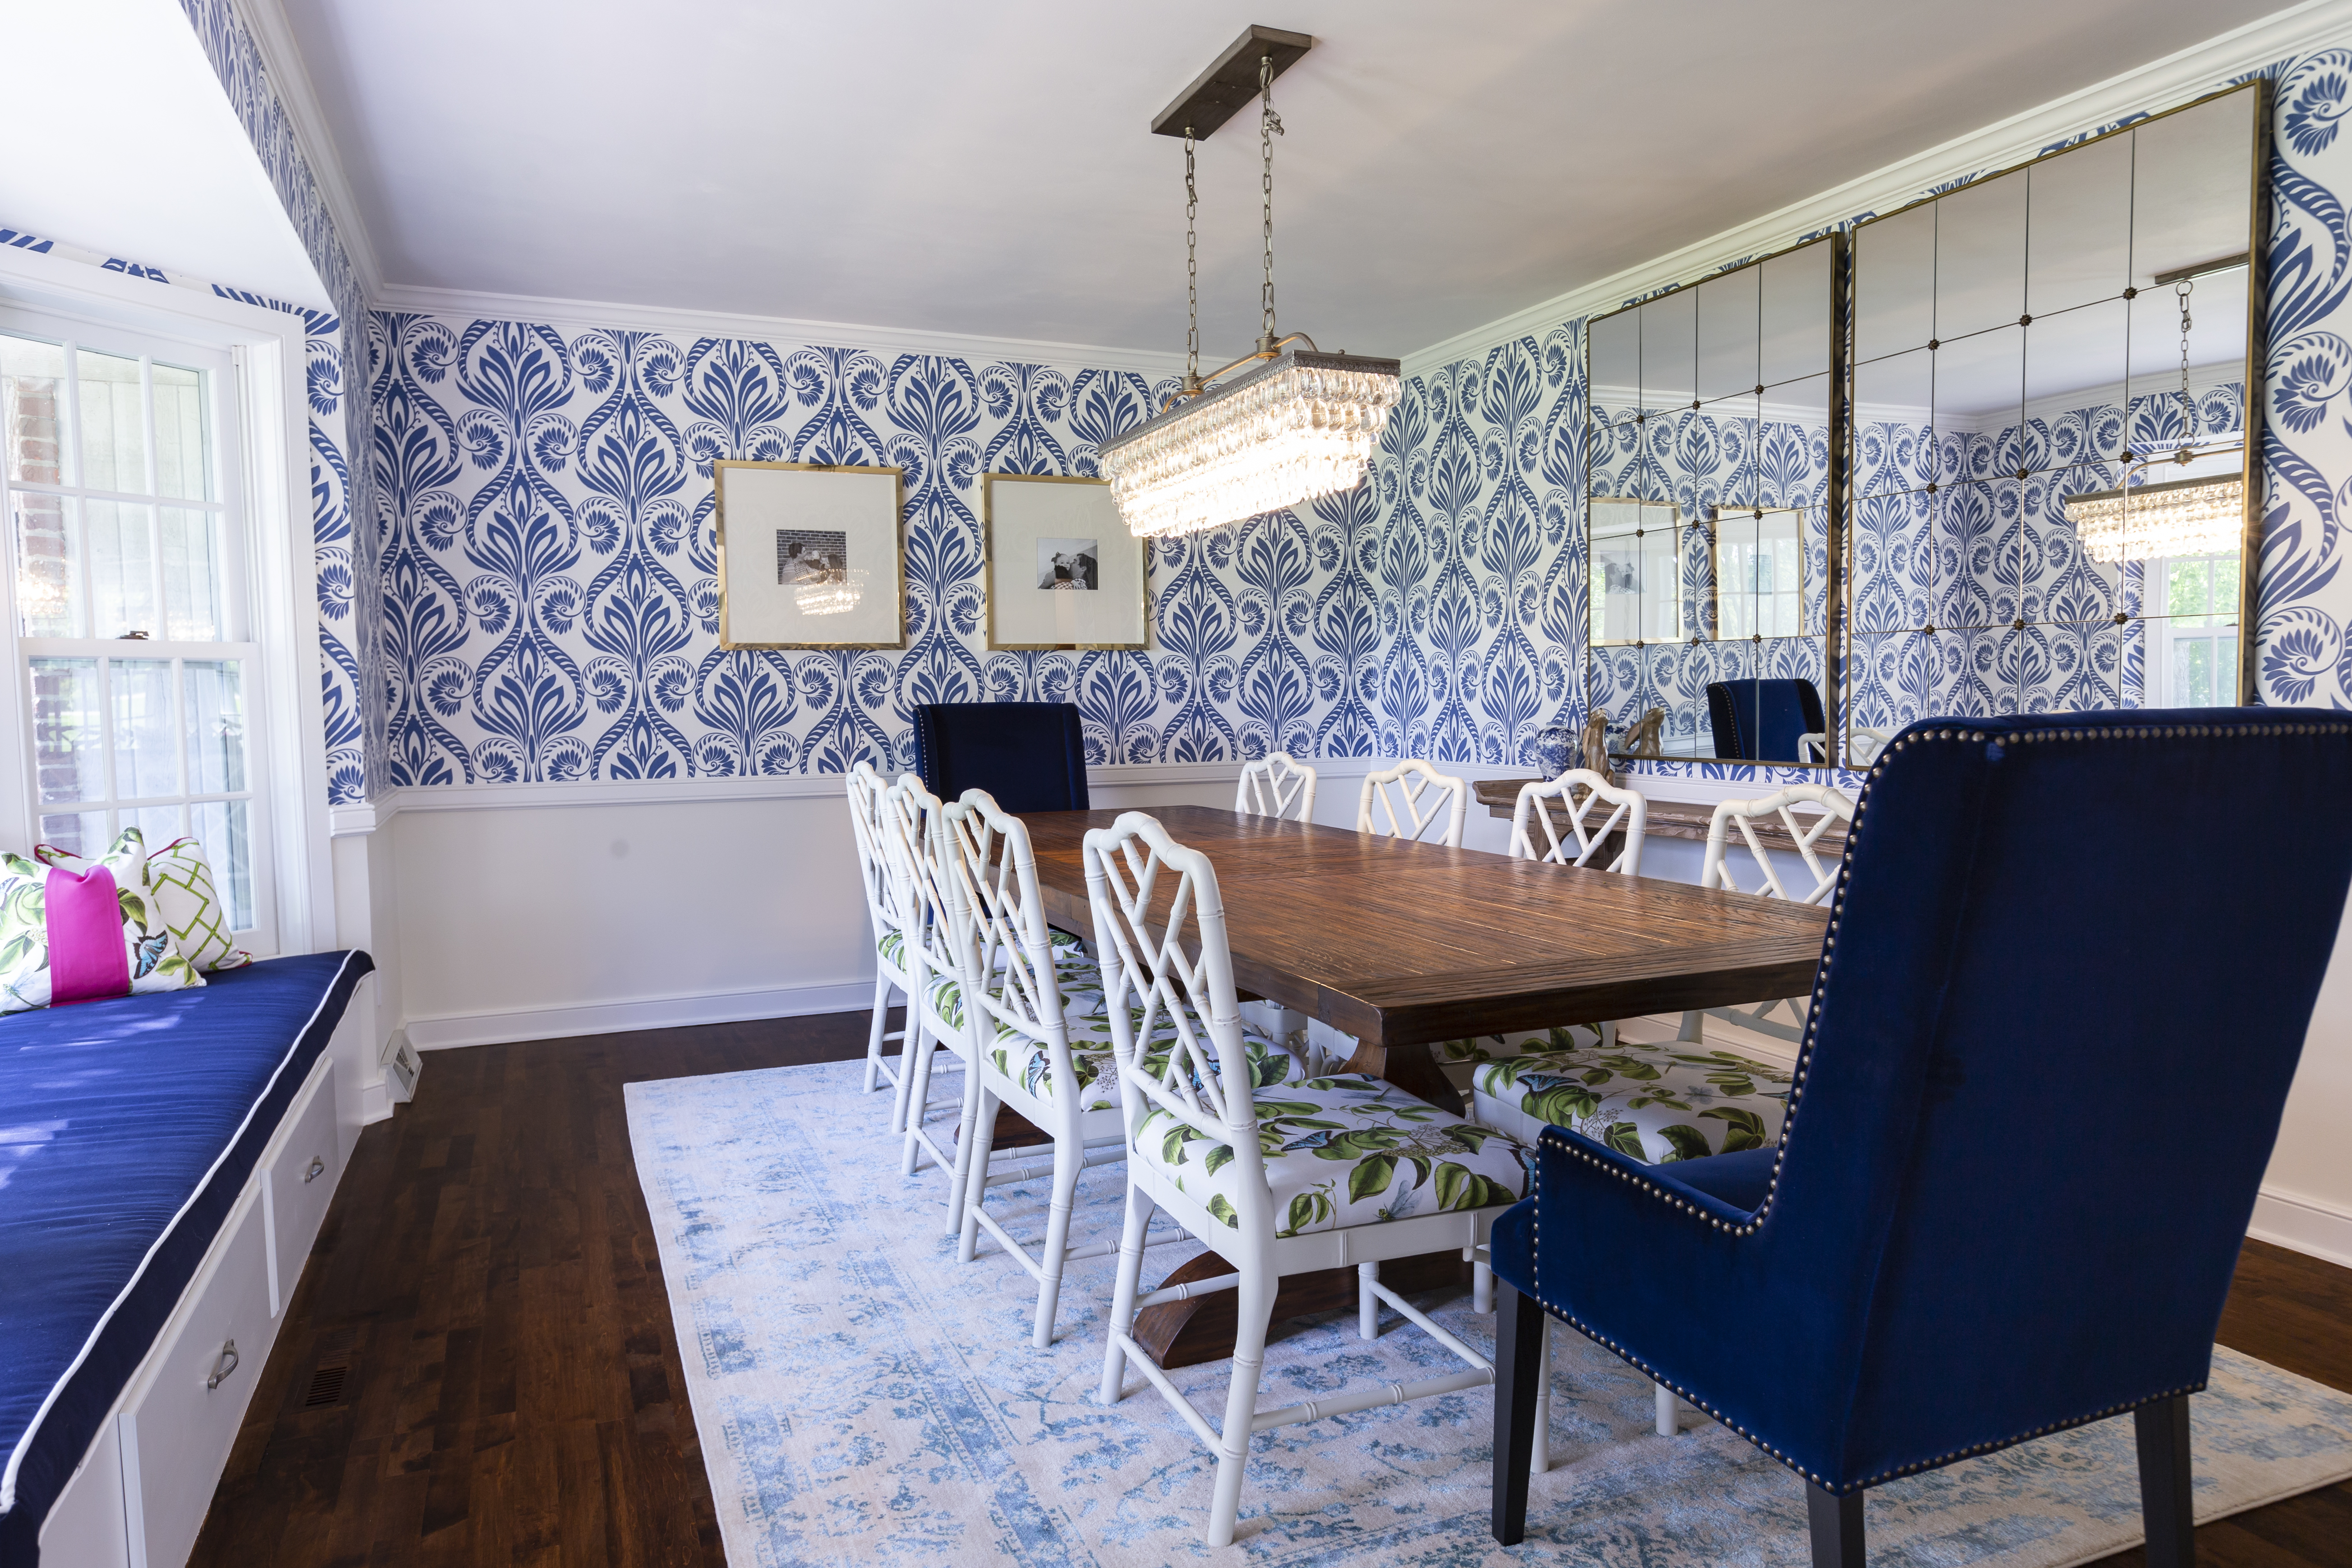
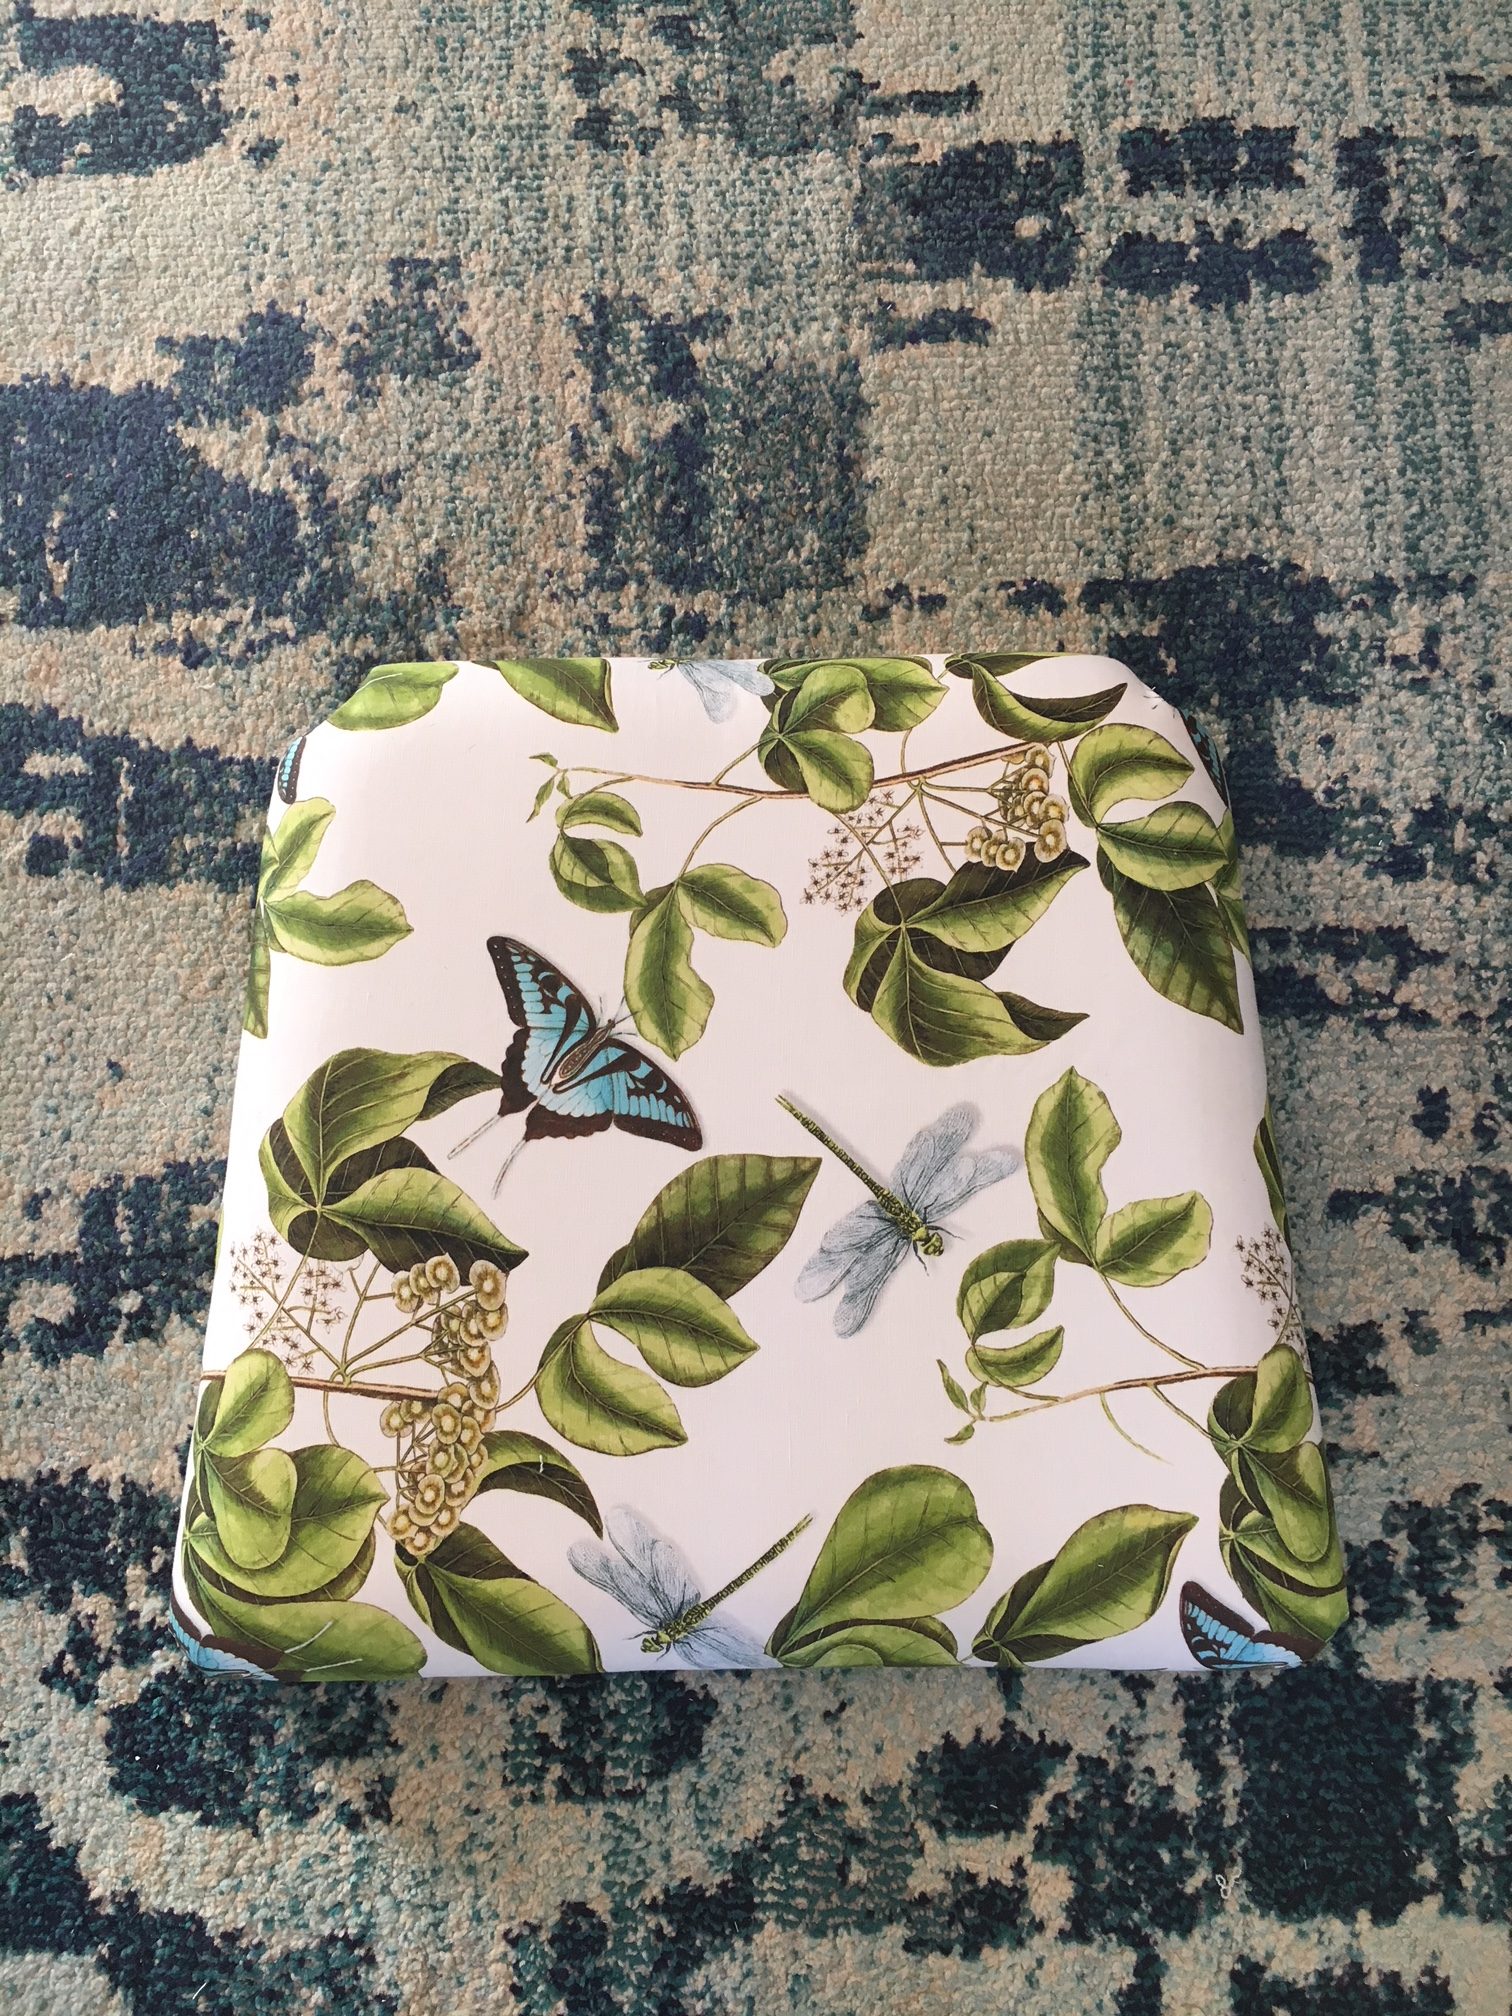
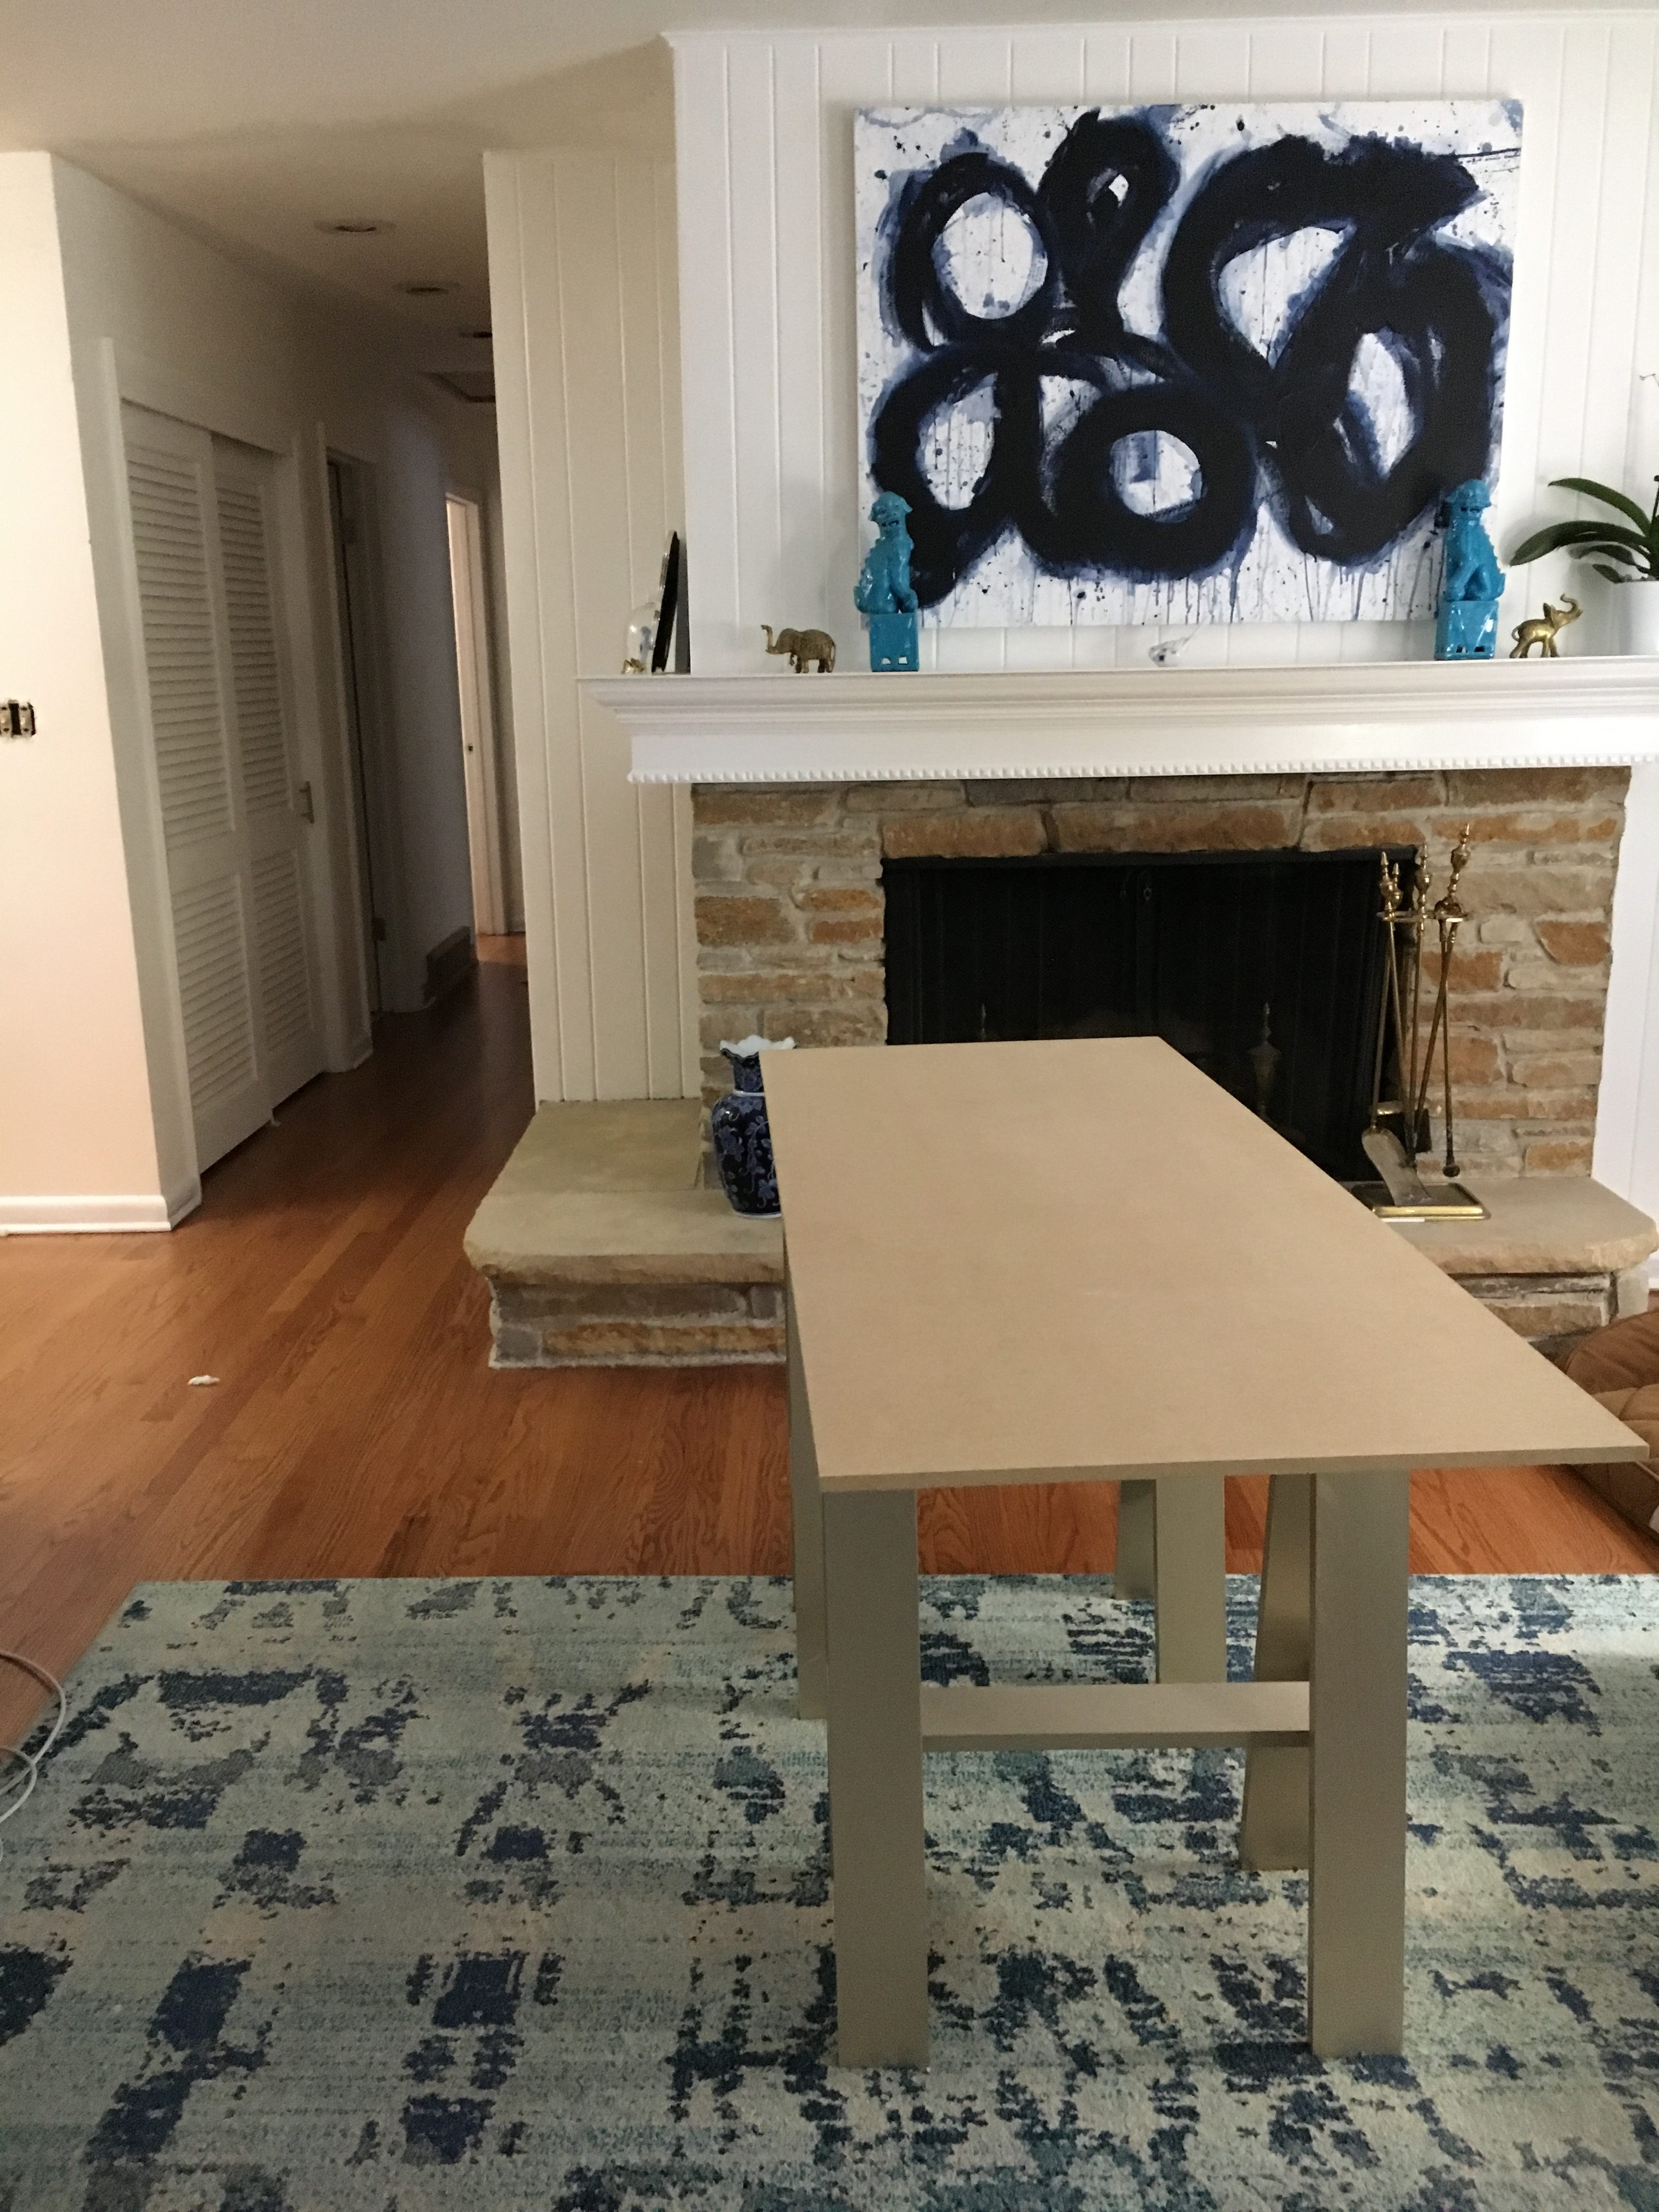
Here is the hallway as it looks today. I got this bench on craigslist. As you can see I un-upholstered and waiting for the fabric to make it a bit prettier. So stay tuned for how this comes together. In general we still need some sprucing but it does look much better than before. Things still to do: skim coat wall, update electrical outlets, paint exterior wall, and the laundry closet is still only roughed in.

For now it’s much better. I also like that the bench will be on the opposite wall of the future laundry closet. It will be an easy spot to put a laundry basket. Good luck with your panels!

Dining Room Reveal

Today I am super excited to share a great before and after of a dinning room I did for some good friends. This might be one of my favorites so far because you know this girl loves a good wallpaper, and I was so excited they were game to use it. It think it made the space extra special.

Here above is the before and what it looks like now. We utilized the chair rail to bring in the print of the wallpaper but didn’t let the print take over the whole room.

To give you an idea of what the inspiration board looked like…we followed it pretty closely to original plan!

Above is picture of the room from the front door. Right when guests enter the house they see this welcoming space and again, the wallpaper helps bring interest to the eye immediately.

I love a good sitting nook. We took advantage of the space by having a custom cushion made and I made the pillows. I love the bit of pink pop. We agree we wanted a hint of pink, but felt for the longevity of the room utilizing the color in a pillow would be a great option, so they can trade it out easily in the future.

We added a nice long thin console table to the wall behind the table. This will allow for an extra spot to tuck food during group dinner parties and utilizing that back space well. I also love that the mirrors help to bring even more light into the room.

I love this print! we took the cushions from the ballard design chairs and upholstered them with this fun print. I love how it adds in more color!! Honestly I am a little jealous of these.

What do you think? Do you think you would brave a wallpaper?

Little Yellow House: Kitchen Update

Hey friends. Some of you have been asking for an update of what our kitchen is looking like. If you have been following along you have probably seen some instastory updates, but here you go.

As a reminder this is what the main part of the kitchen looked like when we started. To check out more posts of how we got where we are today follow along with #littleyellowhouserefresh

If you remember the new kitchen space used to be this weird cocktail room. But now it opens up right to our dinning space and it’s nice and open.

We finally got the hood up about a week ago, we were still waiting on that. And I made the cornice and finished upholstering this past weekend. As you can see there is still detail work to be done. Trim. Paint that ugly cream color off the window. And we need to put up the backsplash. Here is what I am leaning toward for the tile.

Do you like it? if you look closely in the pictures you will see it sitting in y recipe holder on the left of the countertop space. We are letting our spending pockets breath a bit before we buy this to put up. But overall I love the subtle pattern that it creates. The wall is so white with all the cabinetry, I think this will provide a nice bit of texture.

Now that all the major major heavy lifting is done. It has been nice to focus on all the detail that makes a house a home. Like the cornice upholstery. I can’t wait to get the tile in, it will make it feel more cozy. And barstools! I have my eye on some but again, waiting for the spending to cool down a bit before I get them.

When we re-configured the space we added a butters pantry, back hallway, and a half bath. See the before and after floor pad below as a reminder.

Before: not fully labeled but the long space on the right was the kitchen. and the room on the left was that odd sitting room pictured above.


After:

We plan on starting the half bath and back hallwy organization this fall (fingers crossed!). But I will give an update on the butlers pantry in the next week! You can see a glimpse of where the butlers pantry is relative to the kitchen here.

It’s all nice and open and I am loving it!

What do you think? anything you would have done differently?

Design Reveal: Black & White Home Office

I had the pleasure of transforming a home office space for a friend that recently started working from home. See the full post including the inspiration board here.

First for the before.

The space is small, long and narrow. One thing she knew was that she didn’t have enough storage space to accommodate actually working in here. so that was a priority for sure. 

And here is the after. For starters we added simple easy ikea bookshelves to surround the window. Our goal was to create a functional spot that mimics a built in without the cost and fuss. Tucking the bench in-between was a great way to make just a hint of extra coziness. The bench is a favorite (cheap!) item have used several times. It is just an easy target piece that is easy to reupholster to make it seem custom. Check it out here.

The plug in library lights mounted above the bookshelves also helps give that custom feel without breaking the bank. They are plug into the wall too! the cord here is tucked right behind the shelf so you can’t even tell, but it gives a nice little additional ambiance, especially when winter comes and the light goes away!


We stocked the shelves with books mixed with little nick necks to help it feel cozy, but again also organized and ready for the work day.

Next we made sure she had a practical open desk for working but also infused some inspiration. I love the way this canvas fills the entire space, and another little library lamp allows for practicality.

I love the print we used for both the custom made window cornices and the pillow. Fabric and cozy pillows help layer in a level of comfort in the space to make it feel extra homey.

Above I zoomed in a bit on the cornices. As I mentioned I custom made these for this space. I will be posting a tutorial on how to, but honestly I was a little nervous to box out custom ones myself, but I love the way they turned out and they were super easy. If you follow me on insta stories you may have seen a big one I just made for my kitchen. Once I get that finished I will post on the process.

So, I was very happy with the way the space came together. I am just jealous of her that she works from home and I don’t!

Little Yellow House Refresh: Cabinets

First, I am letting you know I am skipping ahead a bit from the last post. Since the floor re-enforincg day we have done the following (which isn’t fun to see in pictures hence me skipping ahead). Rough in: plumbing, electrical, installation work, drywall, plaster, installing wood floors where new kitchen is. That all took several weeks 🙂

To remember where we started check out the initial demo day post here.

Here is the day we finally took the plastic down, post plaster work. To remind you, this was the view of that back wall pre-work.

Looks much different right? Remember this little sitting room was all doored off from the main kitchen, we really didn’t use the space a lot so now we have a much more functional way to use the space.

And here is cabinet day. That back wall is transformed into a highly functional kitchen!

And the island!!! my dream!! My interior designer sister is amazing and she helped us adjust the layout of the space. I kept saying to her, I think the island should be bigger, bigger, bigger. She listened and seriously it’s huge. As you can see in this pic these floors are still raw, not stained.

Don’t forget the butlers pantry! If you know me at all you know I have a dish problem so this space was a perfect addition for all my table trinkets.

Check back in a couple days to see the process of the floors!

Little Yellow House: Kitchen Plans

Hey All. Today, I am both excited and nervous. We are about to totally deconstruct our kitchen. We are almost at our 3 year mark on the house. We have done a lot, come a long way, but sometimes it feels like we still have a lot to do. A big project being the kitchen. And this weekend is go time.

We were lucky because although the kitchen isn’t glamorous it was nice that the appliances hung in there till the end (even with a leaky dishwasher it still worked!).

So, these before pics are pretty bad (I took them when we were half way through packing everything up)….but here we go.

See this below pic? The door right in the back there goes right out to the garage. Which is hard for organization. You will also notice that although it’s pretty big kitchen, there really is very little counter top space. It’s all these small fragmented spots. Difficult for cooking.

Here is a pic of the opposite end. Potentially there was a dinning nook here once?

Here is the current layout. The space on the right side of this is where the kitchen is today. See the room on the left? That seriously was, what I think was a cocktail room. Full built ins, not big enough for a dinning room space.

Here is a pic of the room mentioned above that was “on the left side” Again this room was right off the kitchen and a hard space to actually use.

Here you can see we have already demo’ed this space. Since we weren’t using it for anything it was easier to start on at our leisure before we were really in high gear.

The “weird cocktail room” opens up to where our kitchen table is, through the double doors….

My sister is an architect so she created the perfect use of this space.

And now the today. Here is the plan!

This new layout gains us a couple things.

1. It allows us to have a little mud room off the garage before entering the kitchen. Today the kitchen is always a mess because everything gets dumped right when we get home from work.

2. It opens up the kitchen to the dinning area and right into the rest of the living room.

3. It adds a half bath.

4. It also adds a…..butlers pantry! because we all know I have a dish problem!

5. And it adds laundry on floor vs. in the basement.

So pretty much my sister is the shit and utilized the space 100% better than it was being used before.

My sister was even able to do a cool 3D rendering.

Wish us luck and be sure to follow along on instagram for the progress!

@lianna_utley

In the next week or so I will show you some inspiration pics on what we are going for with all the finishings in this space!