ORC: There’s No Place Like Home Navy Bedroom

So I wasn’t sure if I was going to participate this fall in the ORC. Some of you may know that I tried to participate in the spring version (you can see it here). I had big plans to do my first bathroom in my new house and fell very short of finishing, sadly it is STILL not finished (but we are getting really really close!). Oh well. It’s my first house and I am learning how long to expect things to take.

For those new to the ORC it is hosted bi-annually by Linda over at Calling it Home, and it is so much fun! Check out all the participants here!

So this around I am taking it a bit easier.

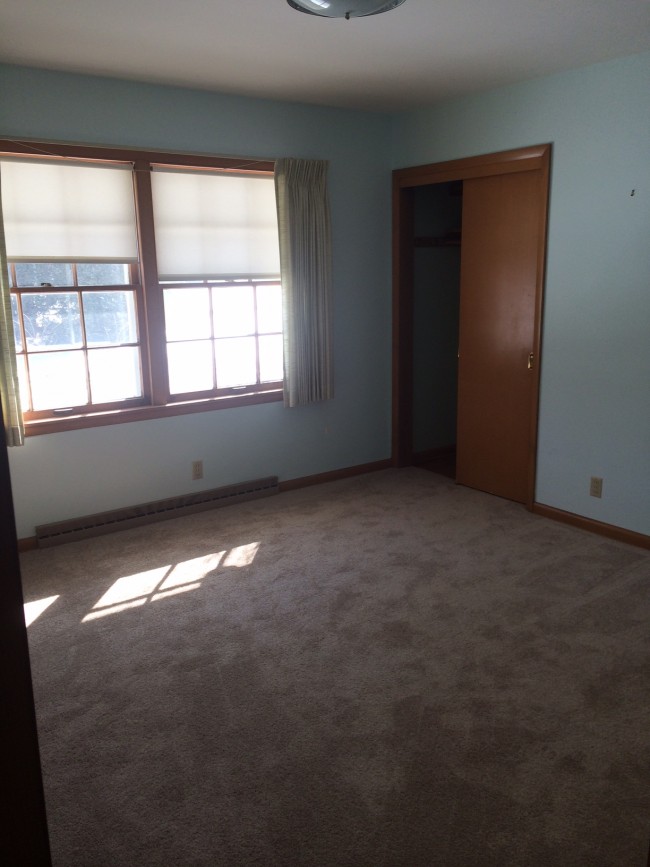
Little Yellow House Guest Bedroom Before 1

Here is my before pic. Obviously needs some love.

I shared some inspiration a bit ago, but sadly the summer got away from me and I haven’t really gotten much done at all. So I am going to start fresh and share again and use the next six weeks to have a super polished room at the end!

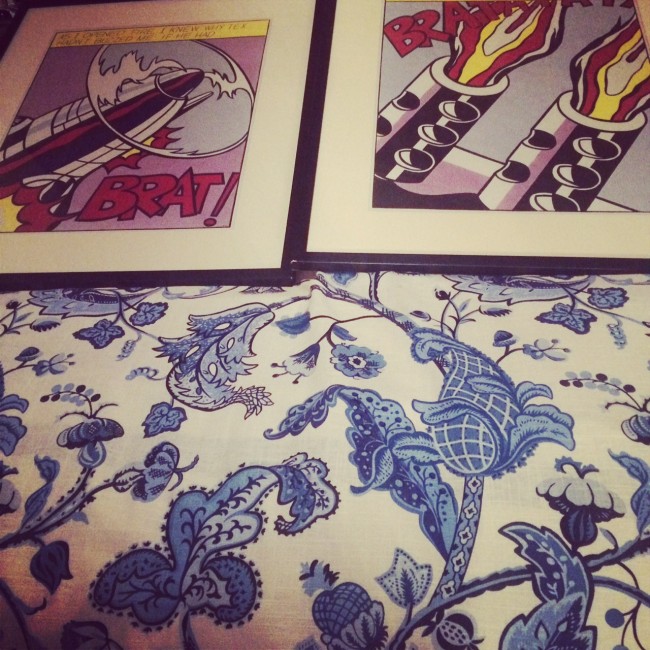
As I Open Fire Pics

The room idea all started with the above pic. My husband I found these pics about two summer’s ago at a flea market.

They are called “As I open Fire” by Roy Lictenstein. When we first saw them I could see my husband was pumped. I mean, like he couldn’t talk (he was an art/multi media graduate). They were fully framed and matted and the price was $500. After a couple minutes we walked away, and then I said to my husband, really I feel like 500 for fully matted and framed pictures is a pretty good deal (I mean framing these days is so expensive). He thought they were 500 for 1 not for all 3. He quickly continued googling their value, and the cheapest they were anyone online (unframed) was $500 all the way up to several thousand depending on the printing, so I figured we were getting a good deal since they were framed and all. So we went back  (even negotiated down to 400) and brought them home, and ever since I have been decorating a room around them in my head, which includes a canopy bed.

TNPLH Canopy Room Inspiration

After I found these pics I had been looking for fabric for a canopy bed around it. I found this fabric which I was so happy about. I like how the traditional fabric is up against the funky prints.

navy bedroom inspirationAbove is an inspiration with the bed we bought from Room and Board. We bought the bed a while ago, and I have one drapery panel done.

List of To Do’s

1. Sewing, lots of sewing. Finish sewing all drapery panels for the bed (5 to go). Sew accent pillows for bed (need to pick out fabric)

2. Society Social Console Table: So who doesn’t love the society social console table wrapped in leather goodness. I do, but with so much spending going on I have to pick my battles so I am going to try a good old DIY to get the same look in the room.

3. Upholster 2 xbench ottomans: My dad and I made 2 xbenches together when I first graduated from college and they need some sprucing up.

4. Finish hanging doors, buy new hardware

5. Replace Light Fixture? Budget pending….

6. Hang Art, find new art for over the bed

7. I was really inspired Shine Your Lights Ikea Sconce Hack. Thought these would be perfect little sconces over the bed to make it even more cozy in there. So I need to spray those and get them hung.

8. Create Valance over windows (think I’m going to upholster in the same fabric as the canopy bed).

9. Of course style the room and get it ready for guests!

So nothing major. The DIY’s and sewing will take the longest so I need to start on that asap. I just can’t wait to have the room more polished. Since we painted it we just have the bed sitting in there, which is nice, but I am looking forward to having it more welcoming for our guests.

 So here we go!
 

Bathroom Update

So the bathroom is still slowly coming along. You can see my previous posts here, I started with the One Room Challenge and I am not quiet done yet!

We were still on hold for a while because we were waiting for our faucet, now that the faucet is here we are now waiting for the counter tops to go in! But it is getting closer to actually being able to begin using it which is super exciting!

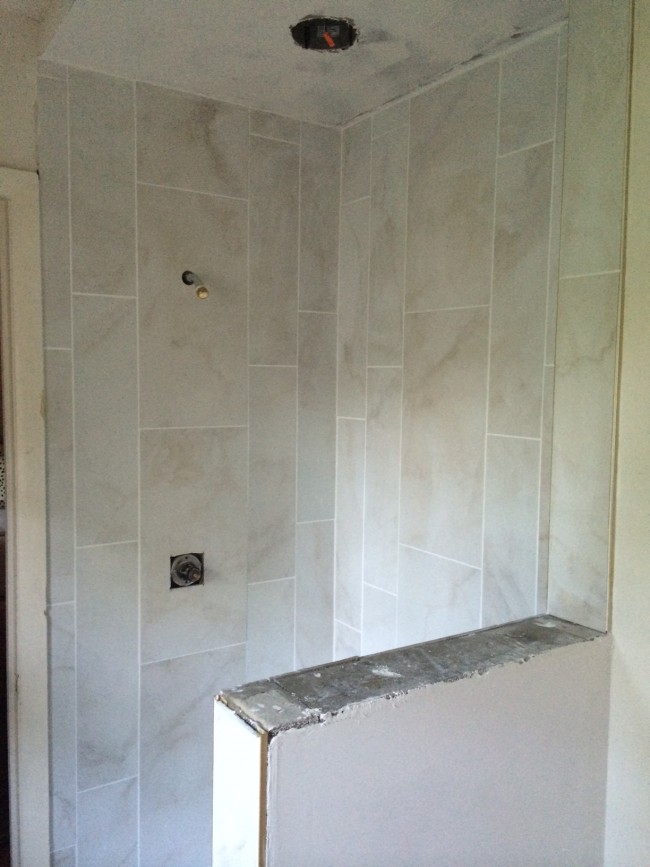
TNPLH: Tile Shower Progress

We finally have all the tile done and grouted. The top of the half wall will have marble to match the vanity. After consulting my sister (architect) she recommended a solid piece to match so there wouldn’t be any seems.

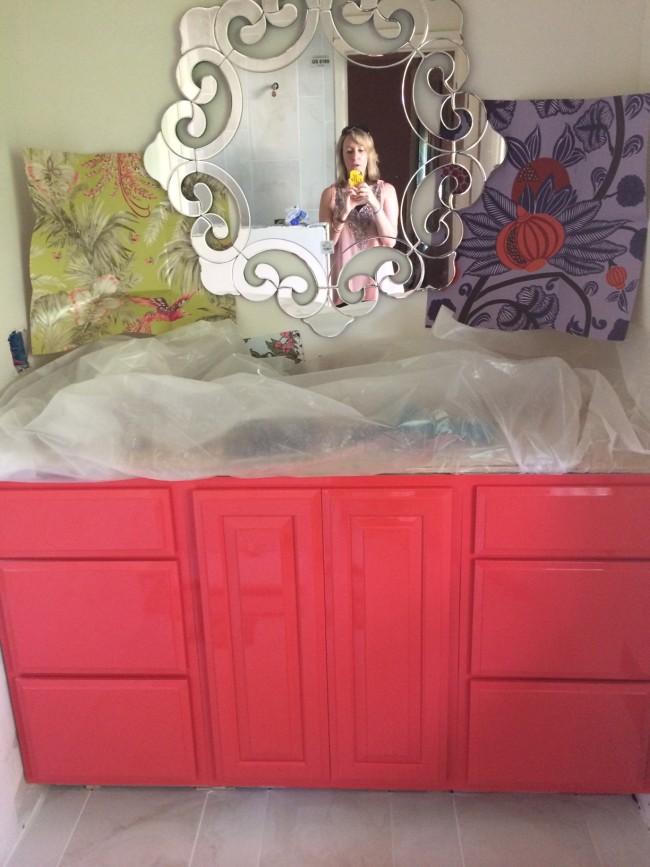
TNPLH: Bright Bathroom Vanity!

And my lovley vanity has been in for a couple weeks – just waiting for the counter top so we can begin using! I am just in love with the color. And currently contemplating wallpapers…..what do you think? Keep the walls white or add some spice with wallpaper?

ORC: Wk 6 Little Yellow House Bathroom 1

Good Morning! Today is the official “Reveal” day, the final day for the One Room Challenge lead by Calling it Home twice a year. It was my first time participating, and my husband and I took on quiet a challenge, our first bathroom remodel. I am sad to say we are no where near done, but I am still excited to show you where we are and hope to show my actual reveal in a couple weeks.

To start below are my previous weeks so you can catch up!

wk 5

wk 4

wk3

wk2

wk 1

Bathroom 1 #littleyellowhouserefresh

Bathroom 1 #littleyellowhouserefresh

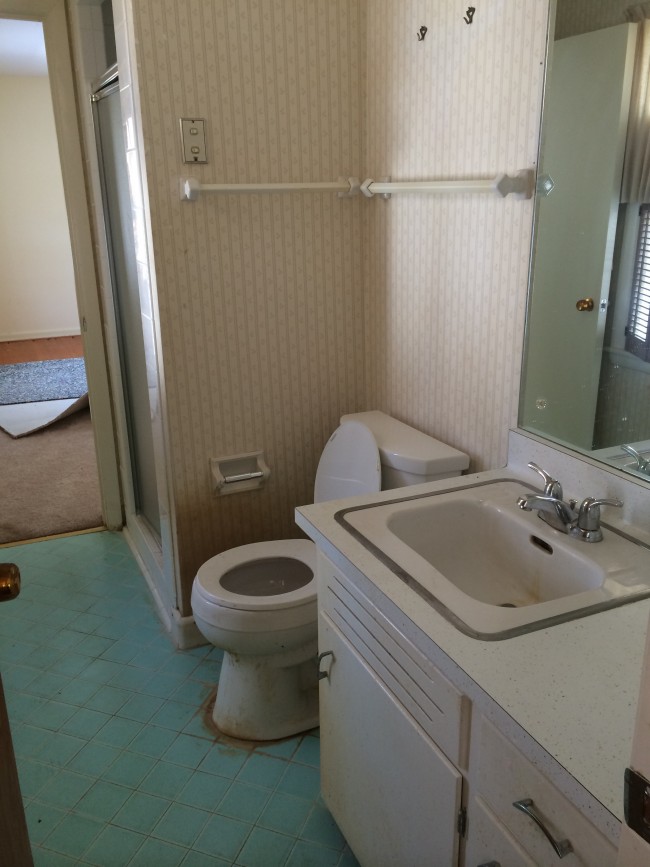
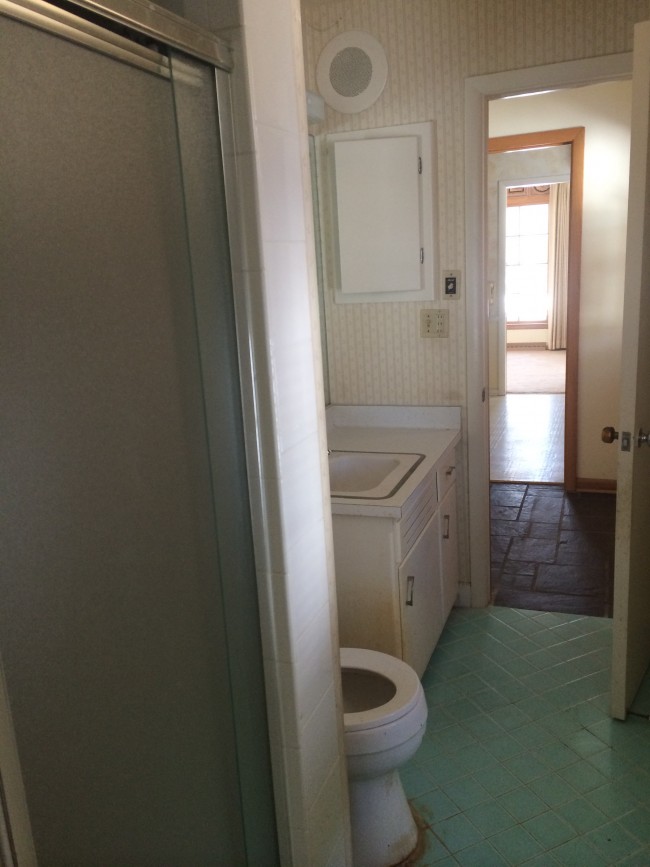
This was the original bathroom that we started with – yuck!

Bathroom Remodel 5.7 - 4

My husband and I are doing the tiling ourselves, we are really doing the entire bathroom ourselves, so I probably took off more than I could chew when I said we could be done in 6 weeks (my poor husband).

🙂

Bathroom Remodel Progress 5.7 - 2

Bathroom Remodel Progress 5.7

Bathroom Remodel Progress 5.7 -3

I think it is looking good even though we are a little behind. My vanity, fixtures are not here yet. Lesson Learned: if you are trying to get a bathroom done in 6 weeks make sure you have all your supplies at the ready!

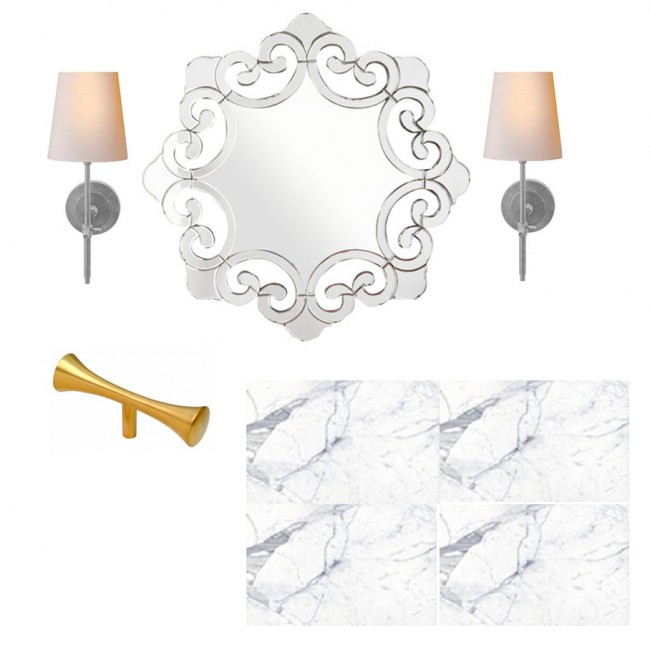
bathroom inspiration

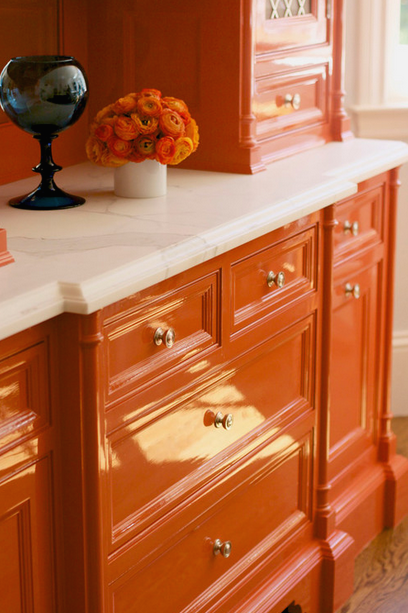
orange cabinet inspiraiton

Here is what some of my inspiration looked like – I hope you stop back soon to see the actual reveal!

ORC: Wk 5 Little Yellow House Refresh

Good Morning All! Although I am excited about my progress at this point I have definitely fallen behind. The bathroom might have been lofty for me to take on, since this is my first ORC, and my first bathroom remodel in general. But Oh well it has been fun and I will hang in till the end to keep sharing my progress!

wk1

wk 2

wk3

wk4

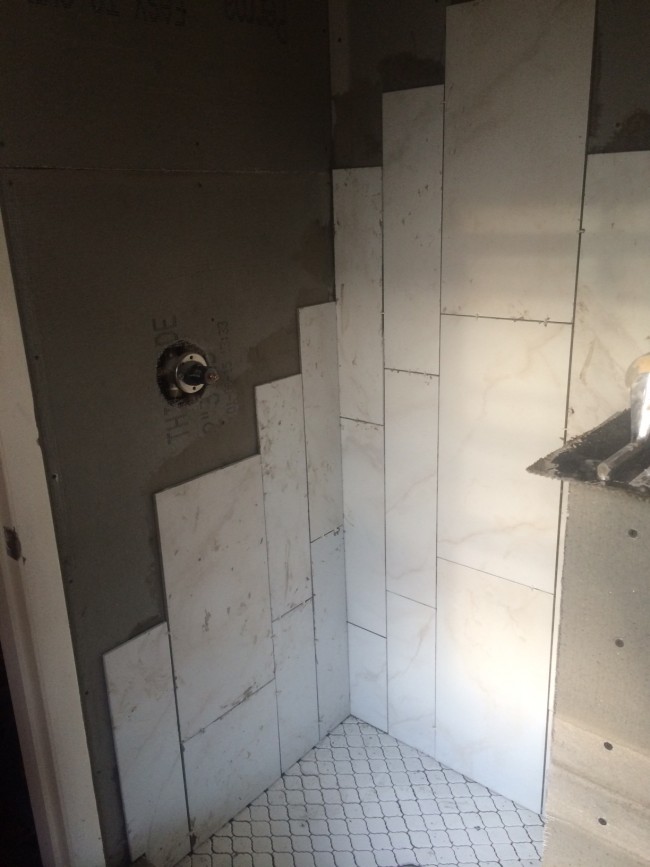
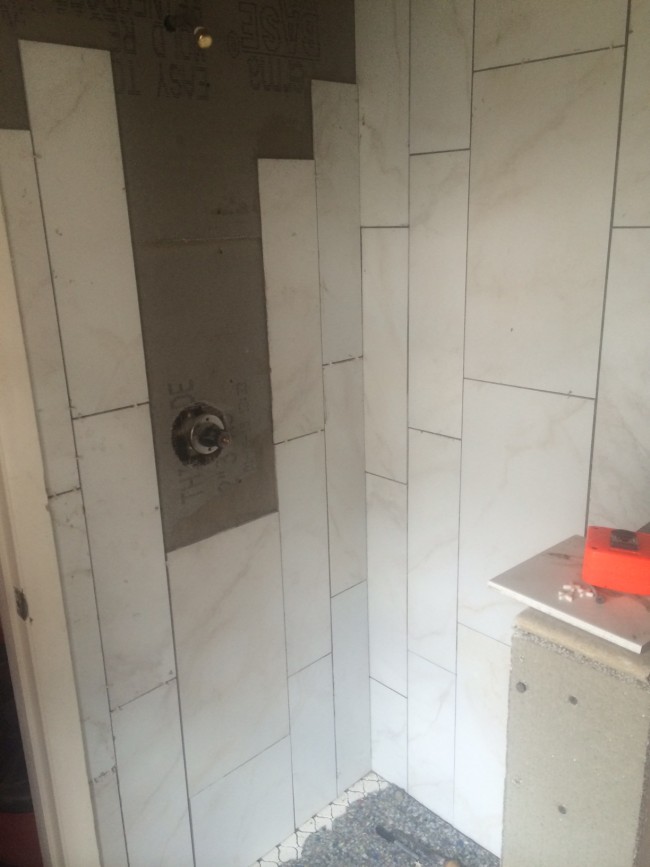
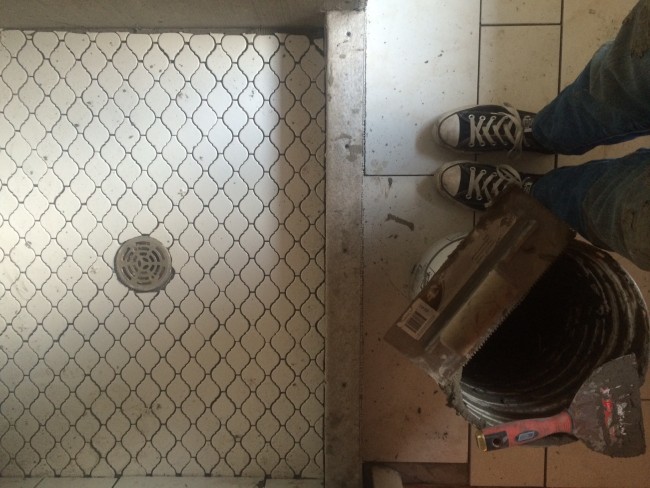
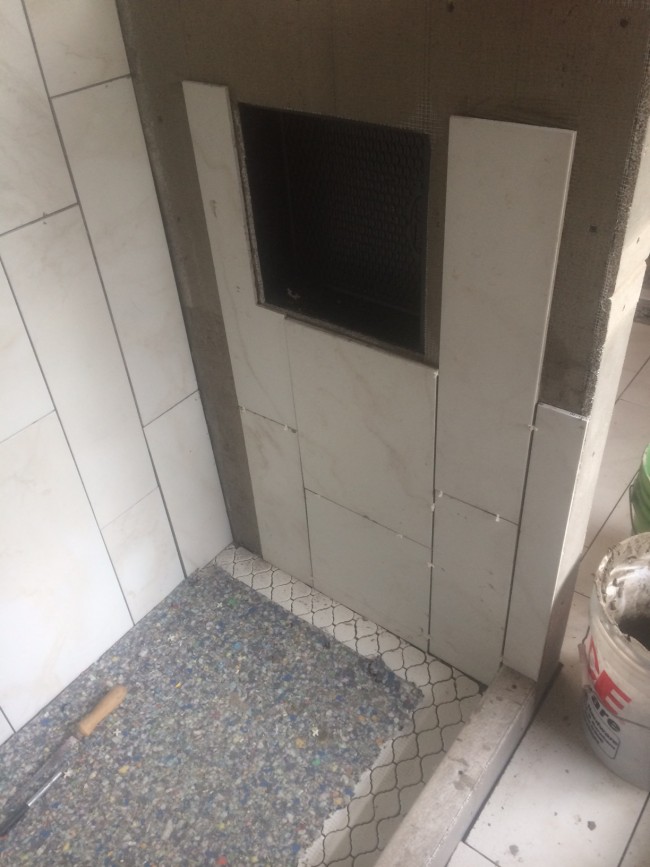
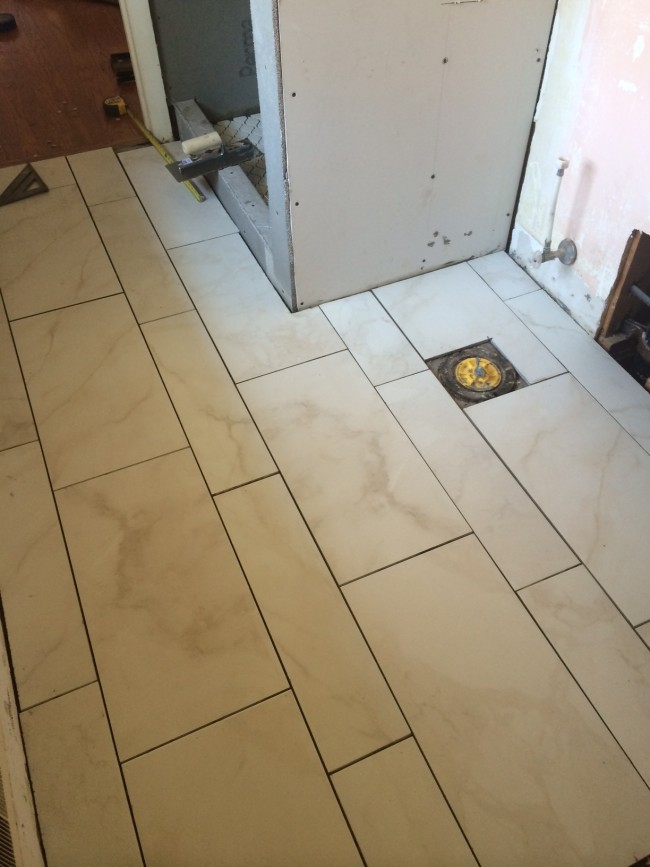
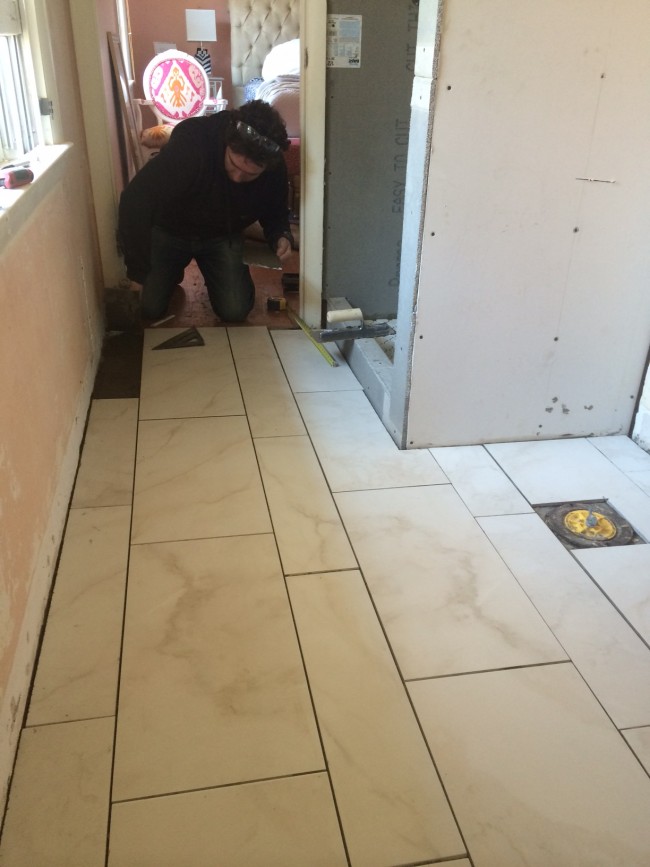
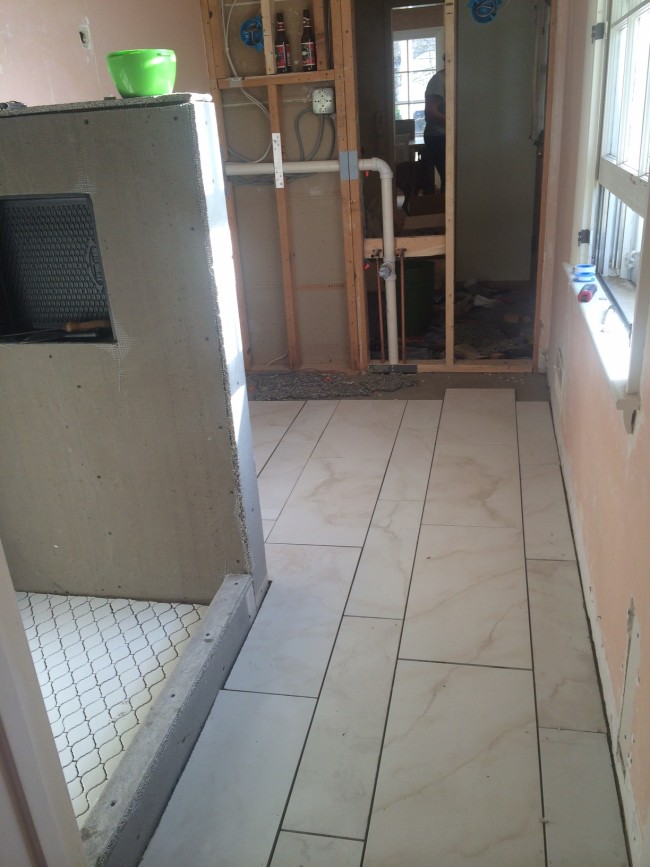
In the last week my dad and husband first had to finish walling out the shower, it had been down to the studs last week then we started tiling. I have only tiled once before and my husband has helped tile once as well. But over the weekend we started on the floors and we got them all done. Once you start putting it back together it is looking really nice!

ORC Wk 5 Tiling 1

We went with two different sizes of the same tiles, I like the interest it created in doing every other row!

ORC WK 5 Tiling 2

ORC wk 5 Tiling 3

We hadn’t originally planned for it but we did a fun mosaic for the floor of the shower, my dad said that would be a better way to go than having the big tiles in there. I think it added really nice texture.

I hope in the next week to finish up tiling the whole shower, put up the walls, and get the walls treated and painted.

The other lesson I learned that I shared a bit with last week, is if you only have 6 weeks to do a shower make sure you have all your items ordred and at your house already. Many of my items are taking longer to deliver than planned (tile, vanity, fixtures…). Oh well! Lesson learned on material timing. In the end it is going to look amazing!

Be sure to follow along with others here!

ORC: Wk 4 There’s No Place Like Home Bathroom 1

So it is week 4 and at this point I am realizing a couple lessons of the challenge. But first. My husband and I have now been fulling moved into our new house for 5 weeks. Which feels crazy. I don’t’ give myself enough credit for all the things we have done in the house considering our short time here.

If you want to catch up from previous weeks see them below.

wk 1

wk2

wk3

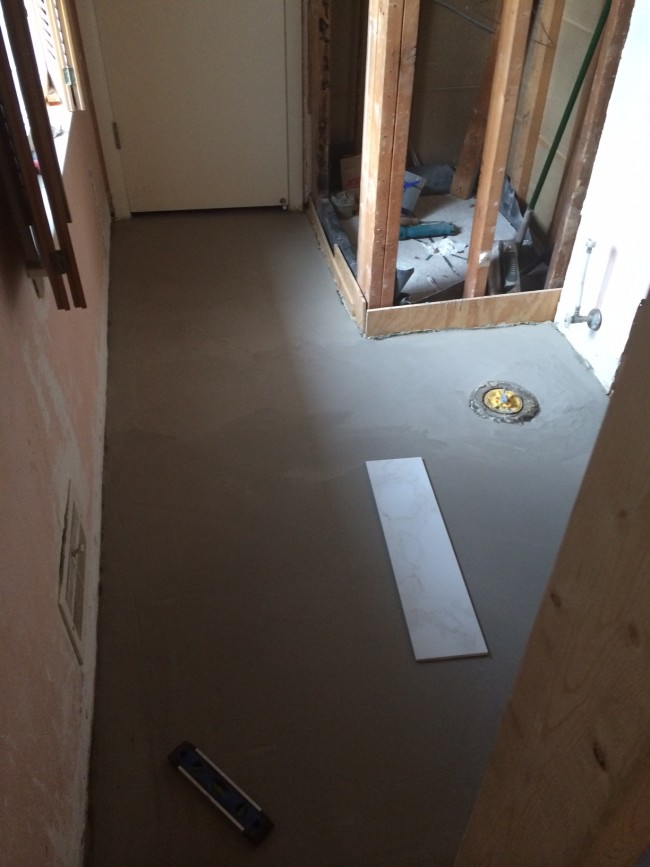
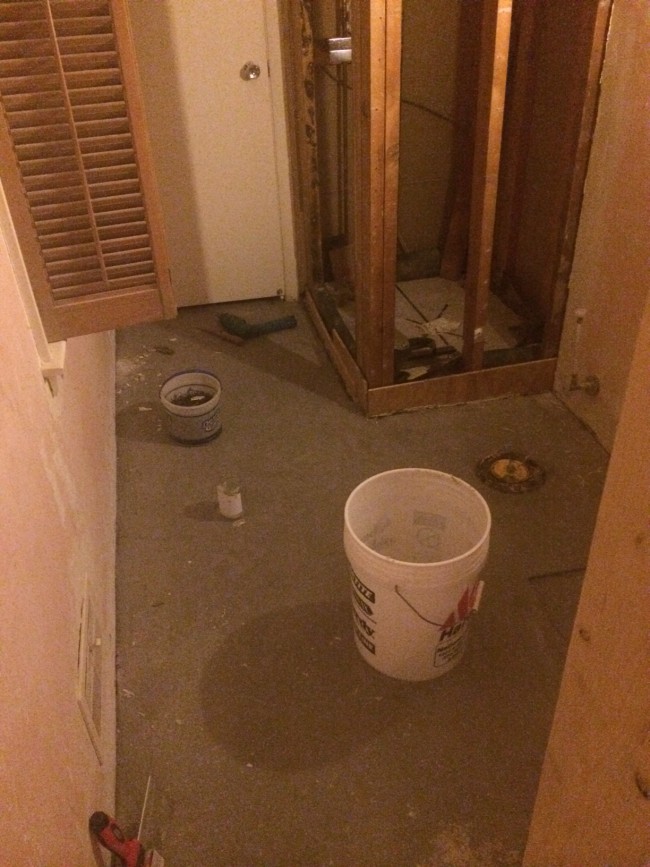
Now, in the last week the one big thing we got done was evening out the cement for the floor to prep it for the tile. I was really hoping we would have gotten the tile done this past weekend, but the tile didn’t get delivered in a timely manner and so we lost a weekend. Flash back to the lesson I have learned in doing my first challenge — if you are going to take on such a big project as a bathroom, make sure all your supplies are here and ordered before it even begins so you don’t’ have these waiting games.

TNPLH: ORC Bathroom 1

before – bumpy floor – no good for tiles

One Room Challenge Wk 4 - 1

One Room Challenge Wk 4 - 2

after: nice smooth, level ready for tile!

Once again – my husband to the rescue getting this project done. First he did a nice layer of cement, and then he applied a layer of self leveling cement to get all the extra spots nice and even.

For the next week we hope to get the bathroom walled off and to get it tiled. We are also waiting for our lacquered vanity to get here, which I am hoping we will get this weekend – fingers crossed!!!

Don’t forget to check out all the other amazing projects and get some inspiration here!

ORC: Wk 3 There’s No Place Like Home Bathroom 1

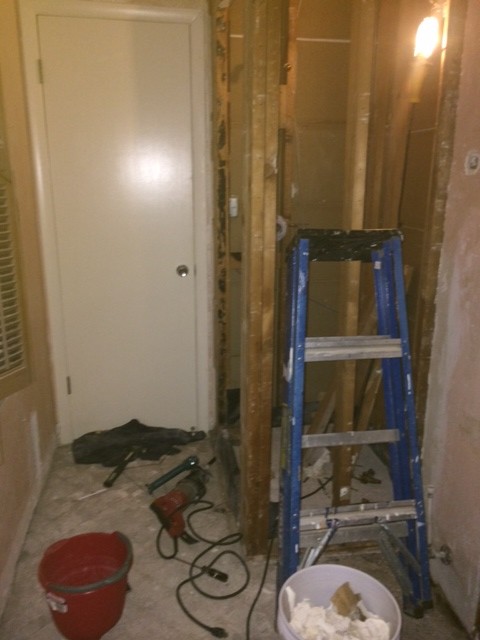
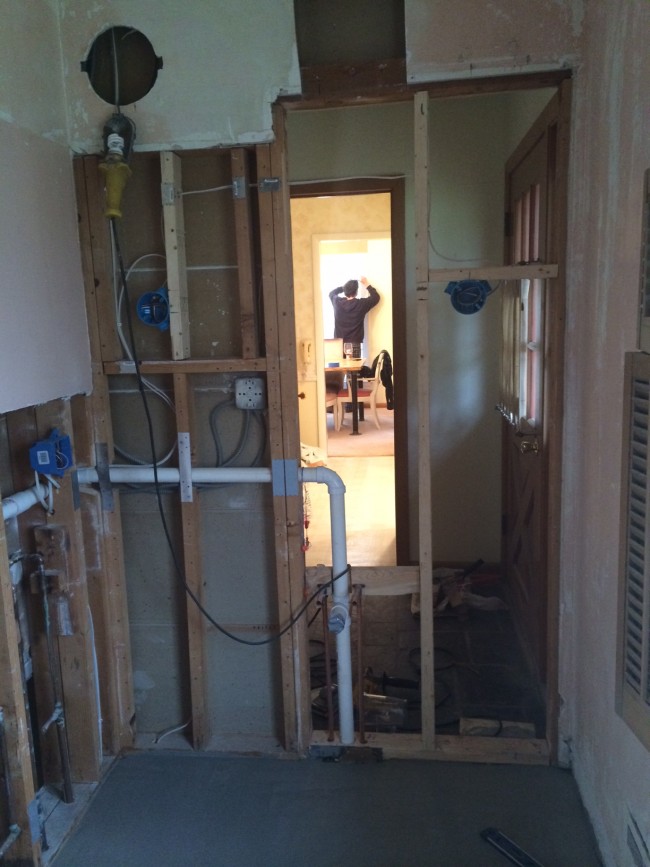
So the last week has been a busy one. Unfortunately we were gone over the weekend so I feel like we didn’t’ get anything major done but we have gotten a couple things done (I never give myself enough credit). In case you are just tuning in my husband and I just bought a house on March 6th, moved in on March 13th – so this week marjked our one month in the house. We dove right into our first bathroom complete gut job, because it was gross…

Bathroom 1 #littleyellowhouserefresh

See I warned you – gross.

Weekly Plan:

Wk 1: Gut Bathroom/Move around plumbing – finish ordering all supplies — DONE!

Wk 2: Remove wallpaper/sand window trim — DONE!

Wk 3: Electrical — DONE!

Wk 4: Tile/Wall off the old Door

Wk 5: Install Vanity, Shower Glass, Countertop

Wk 6: Last minute finishes

TNPLH: ORC Bathroom 1

Above is where we were last week.

TNPLH: ORC Wk 3

So the two big things we did this week were level out the floor in preparation for the tile and scrape wallpaper.

I couldn’t believe how the wallpaper came off. My husband did the scraping (actually he has been doing pretty much all of the demo). He used fabric softener to remove it. Once it was wet it came off just by scrapping.

So in the next week – my fingers are crossed that the tile gets here by Friday so we can tile this weekend. Hopefully we will start having some pretty pics next week!

Be sure to check out all the participants here.