Little Yellow House Kitchen: Floor Progress

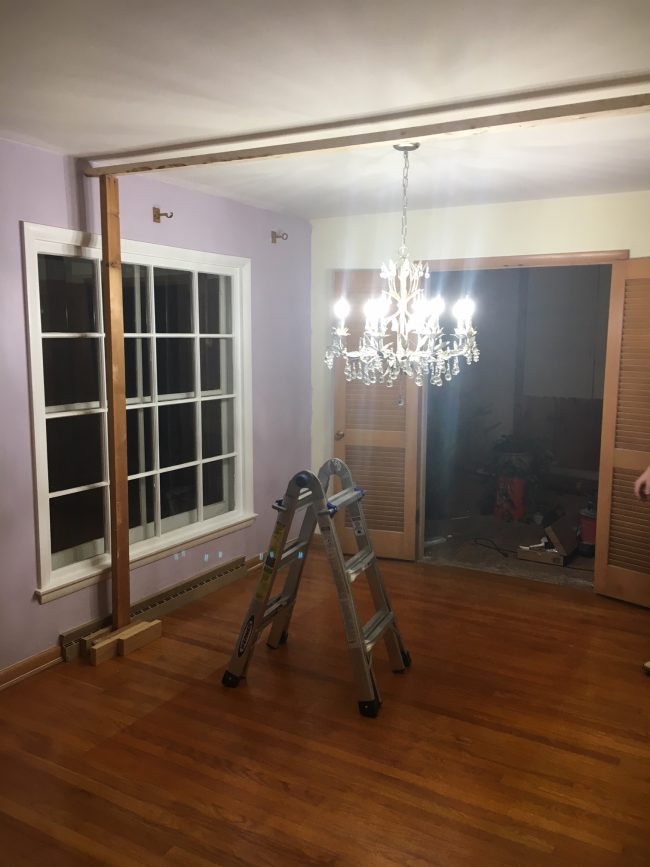
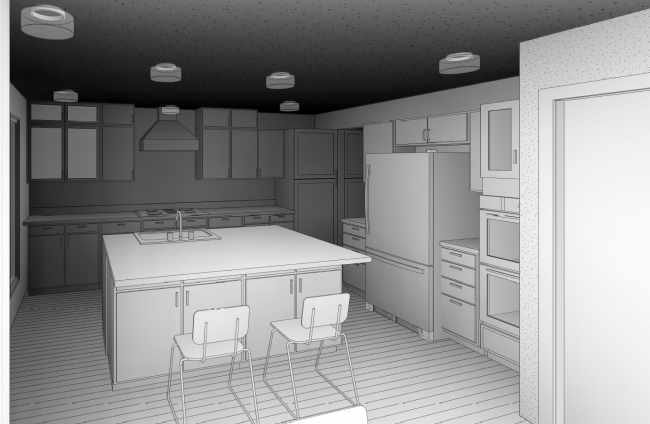
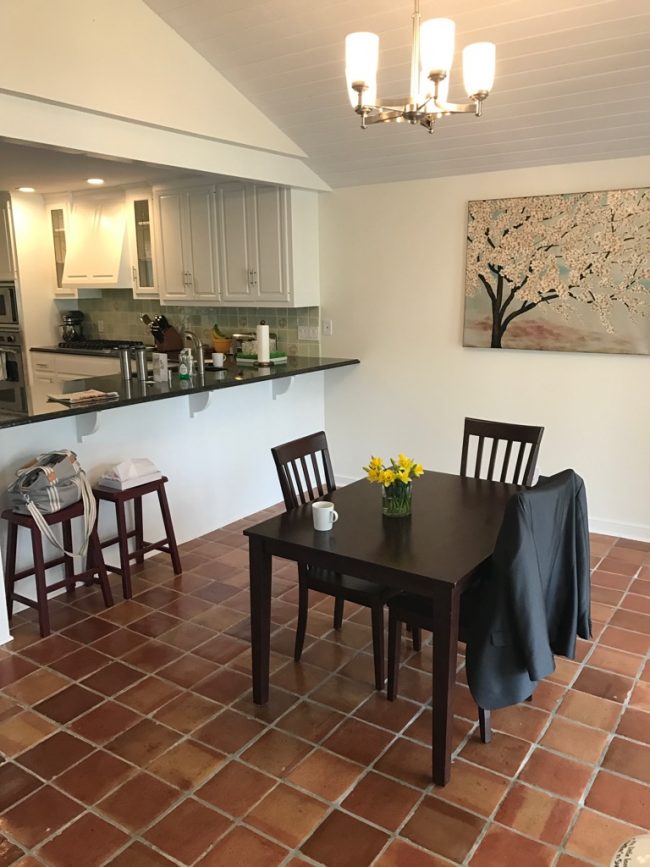
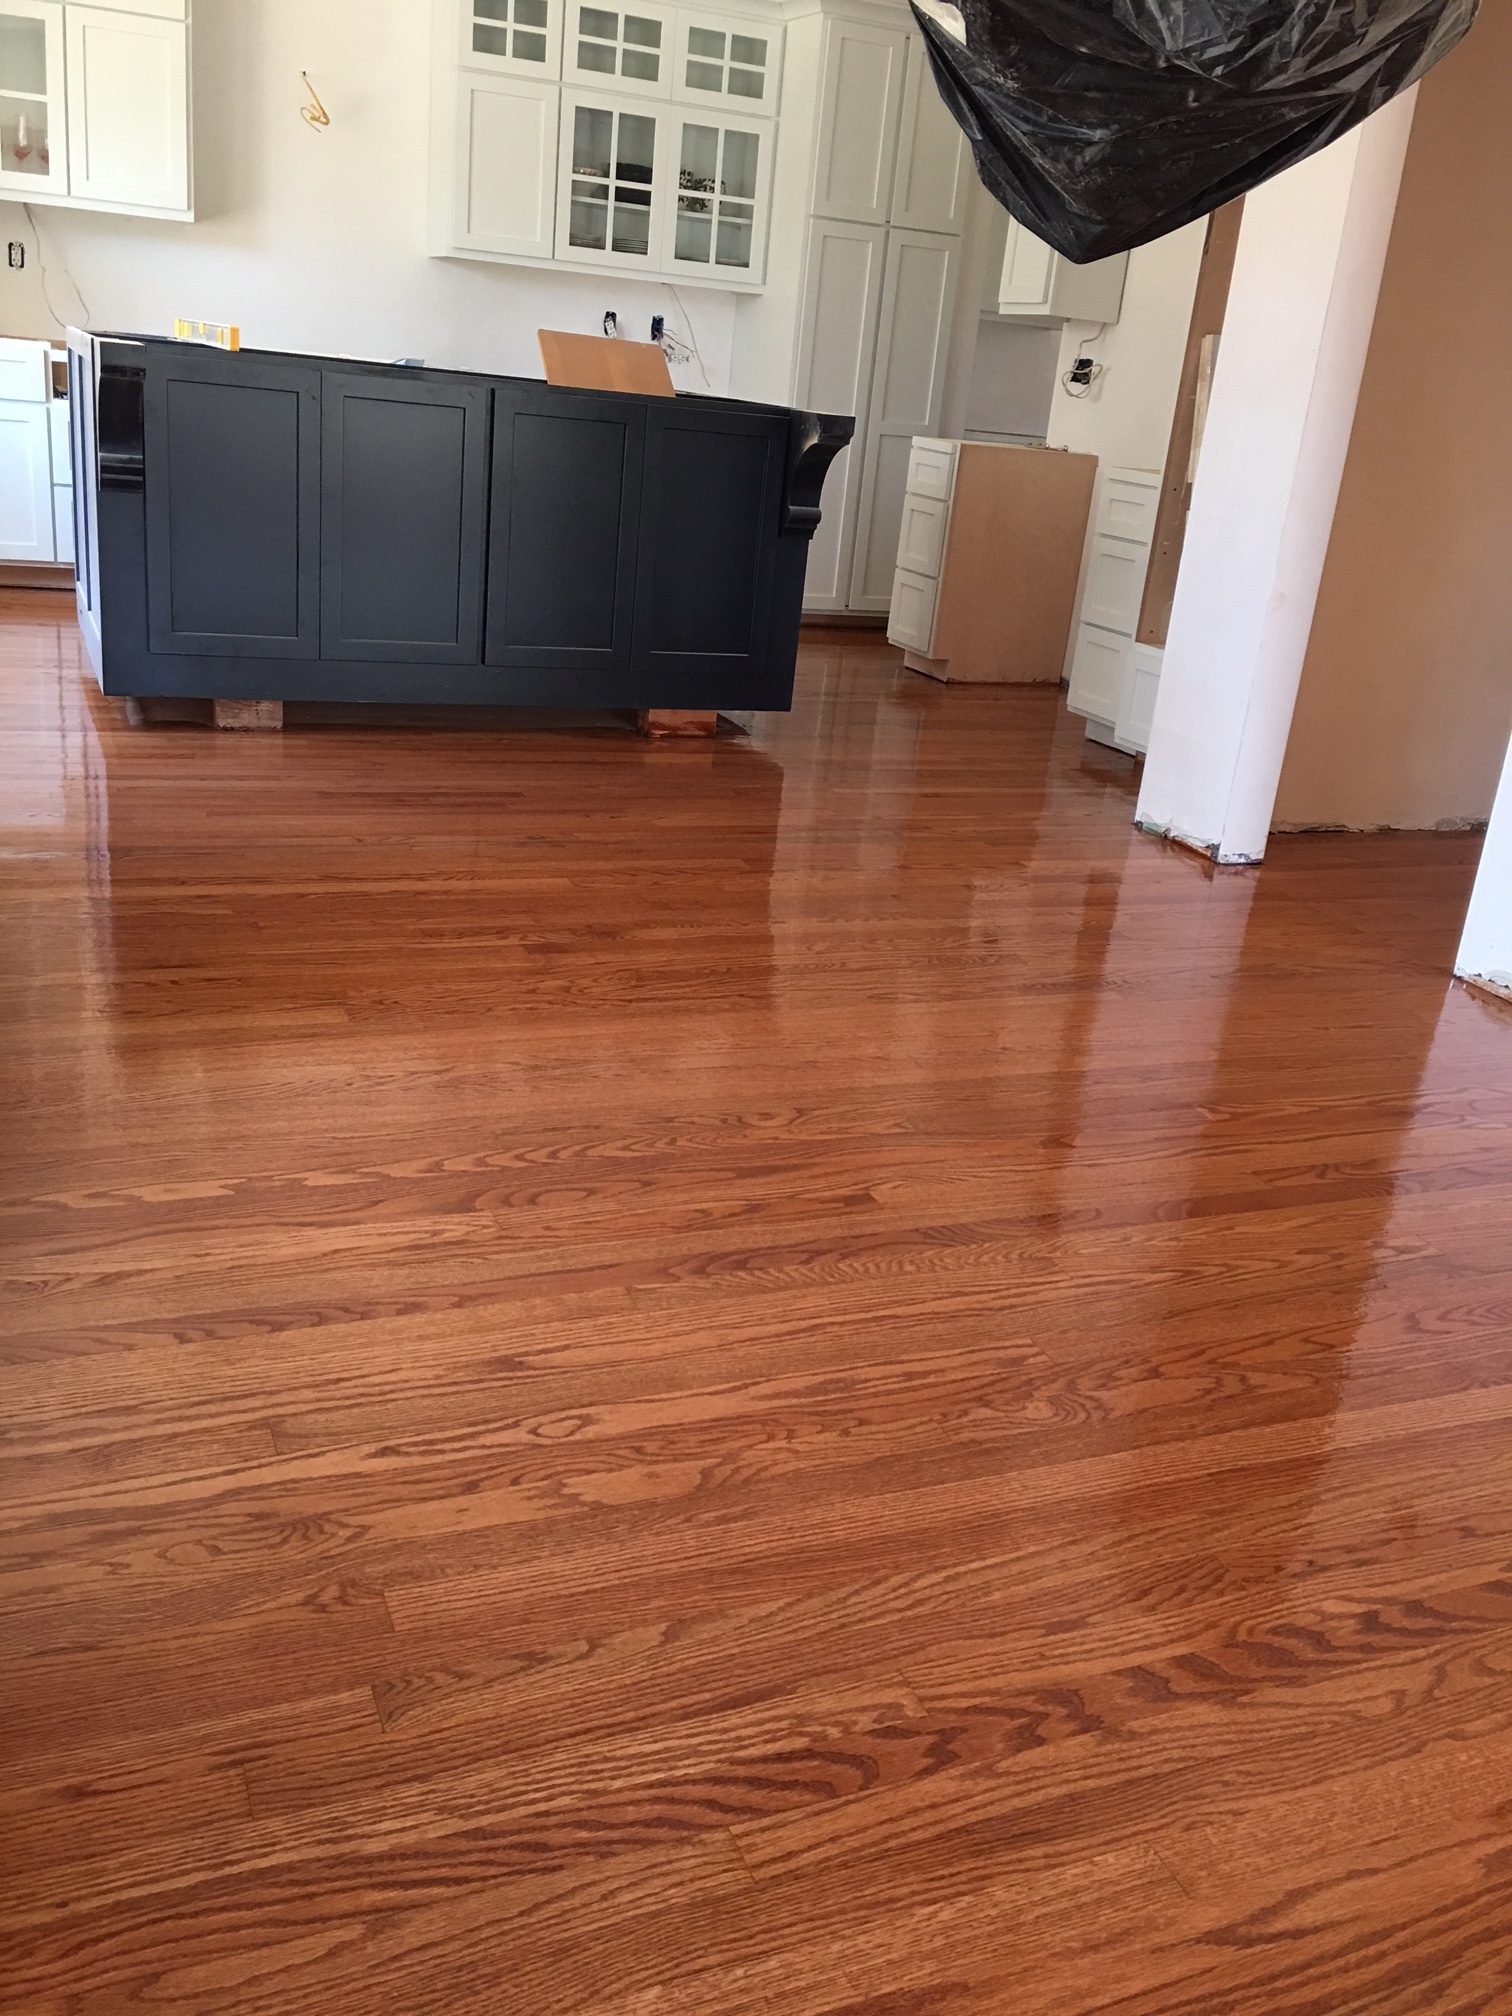
When we first started the kitchen project I was thinking I would do tile on the floor. However I just couldn’t find what I really wanted to use, and since the kitchen butted right up to the dinning area I decided to go ahead and continue the hardwood floor in the house. So before we put the cabinets in we had to lay new hardwood floors. The kitchen area was the only area of the house that didn’t have hardwood underneath the carpet. We had them stained after cabinet installation to ensure we wouldn’t harm our newly stained floors dragging cabinets in.

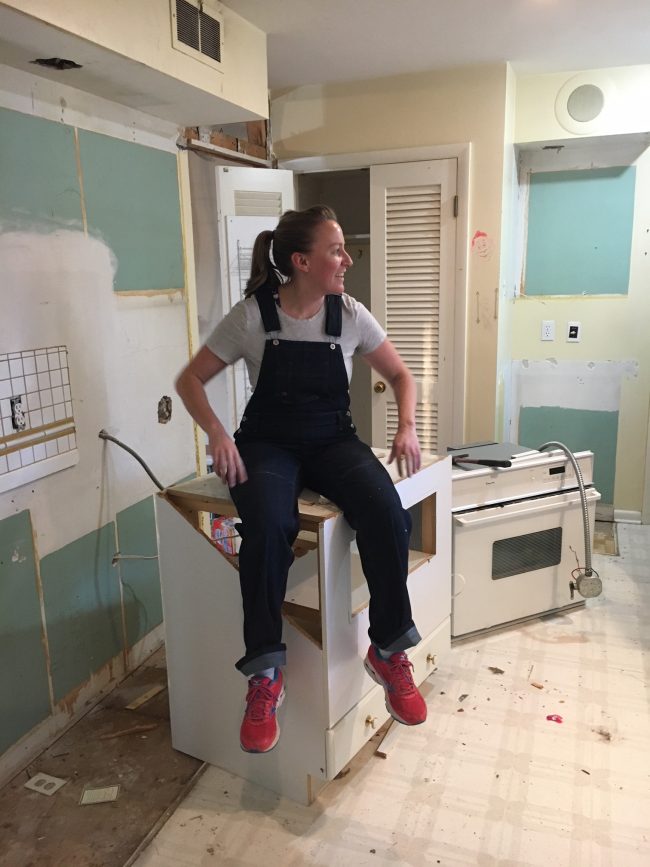
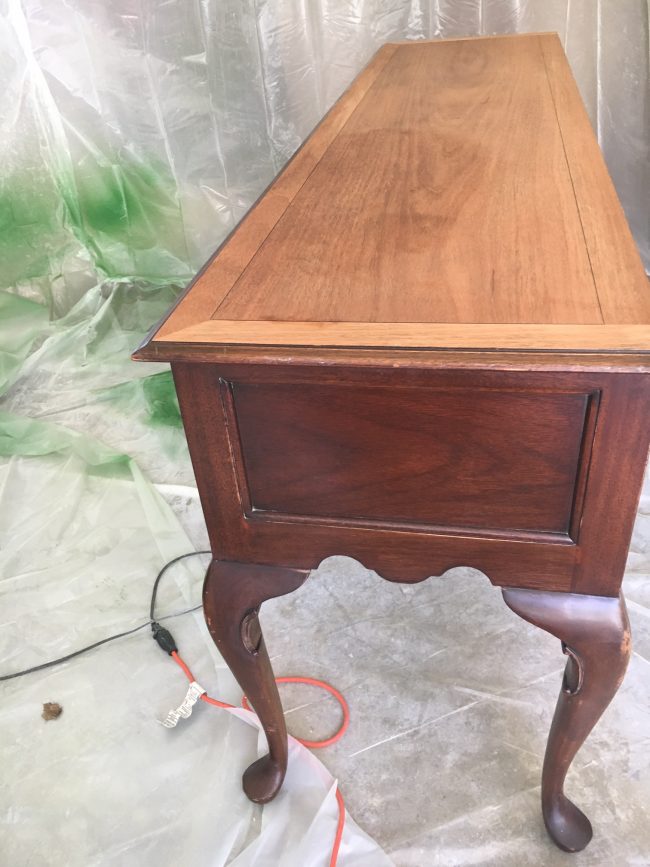
In order to do this we actually raised the island up to make sure they didn’t damage the island during staining. The cabinets have toe kicks so we weren’t as concerned on those. This pic is post first layer of stain.

When we first moved in we had the master bedroom and one guest bedroom floors re-done (there was carpet everywhere in the house when we first moved in). So this means that once we got the cabinets in we had to move everything else out of our house to get the floors done too.

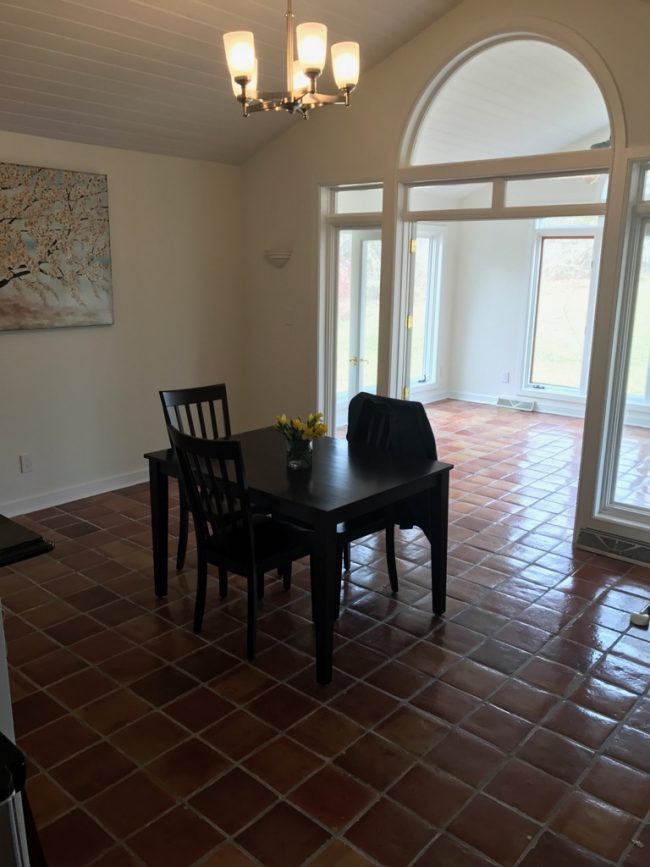
This is what our sunroom looked like during this process.

We even had 3 nights that we couldn’t even be in our house. 2 spent at mom and dad’s and one night we stayed in a hotel.

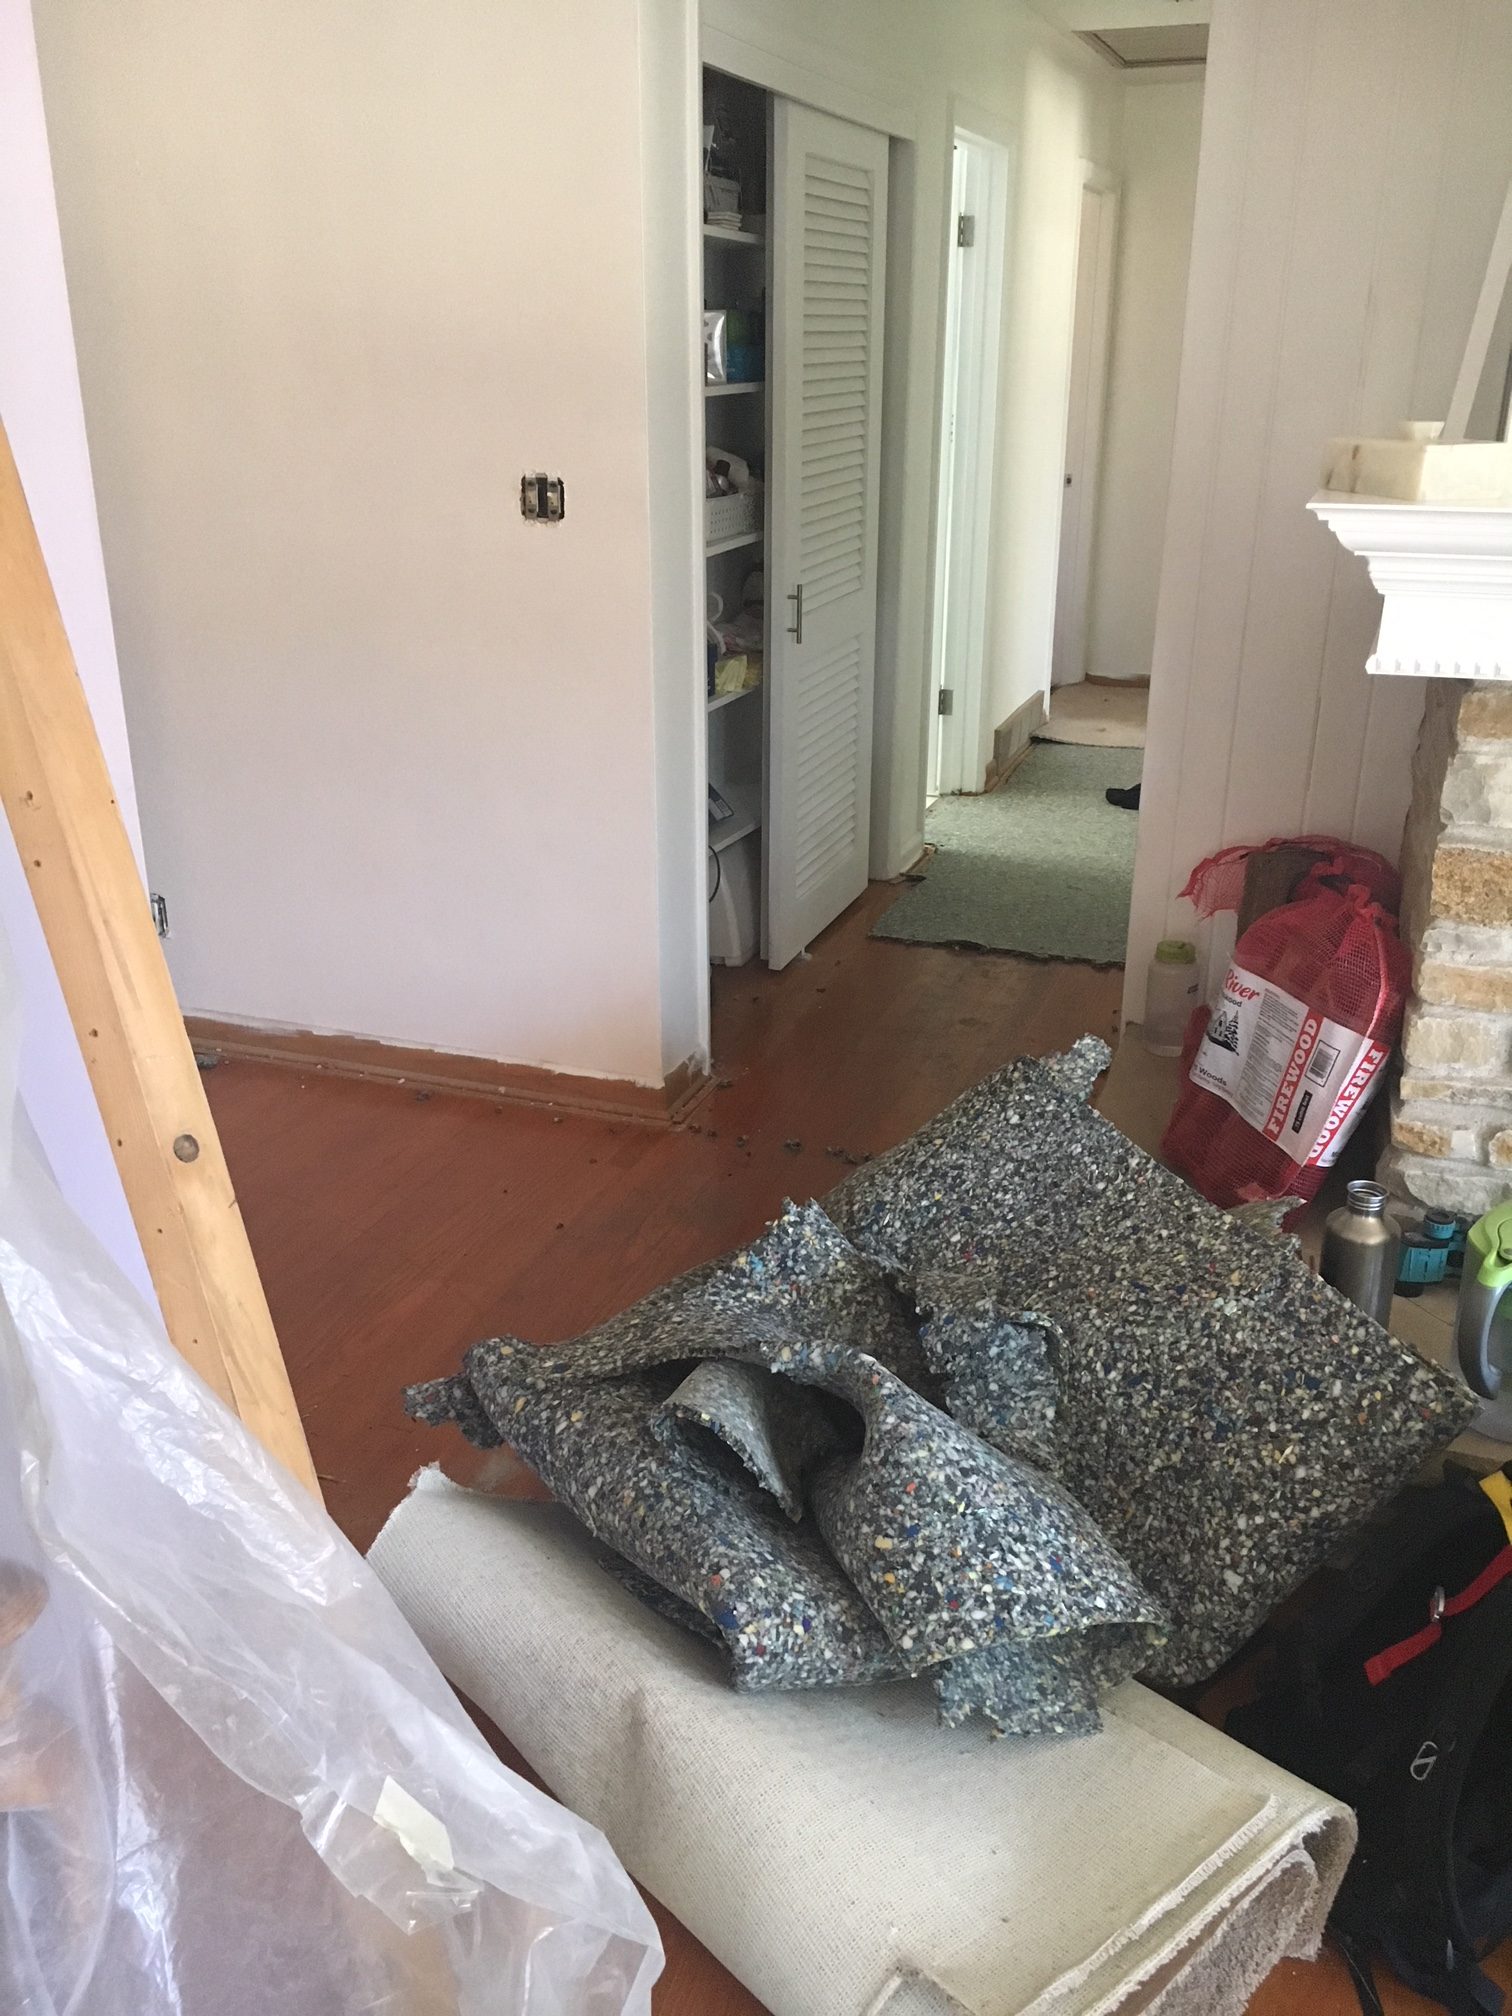
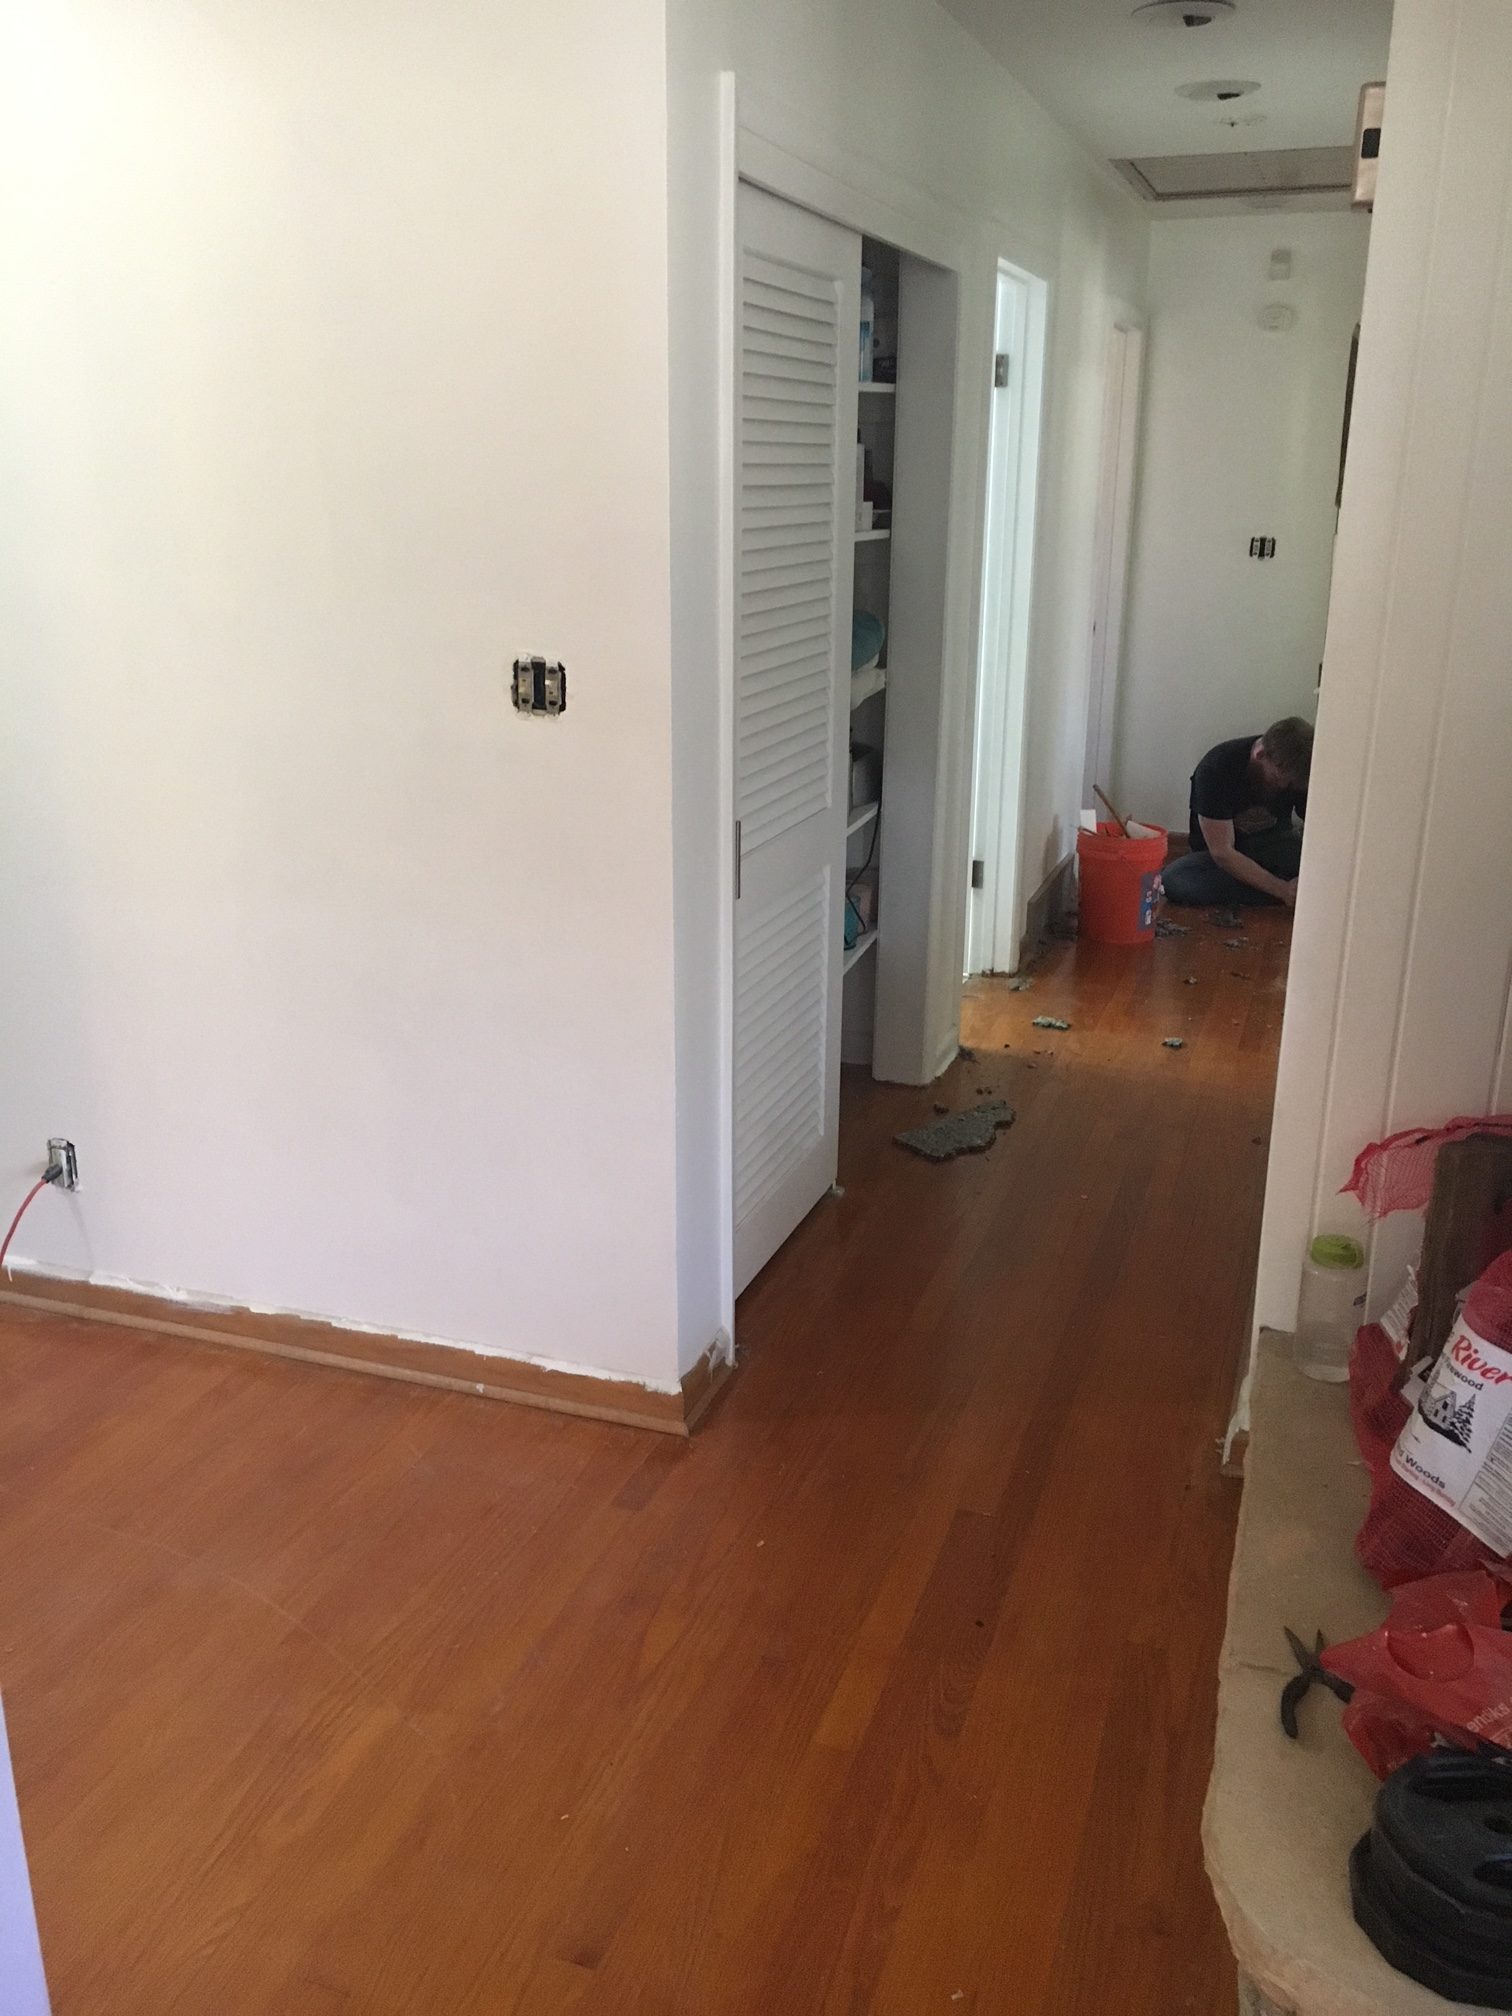
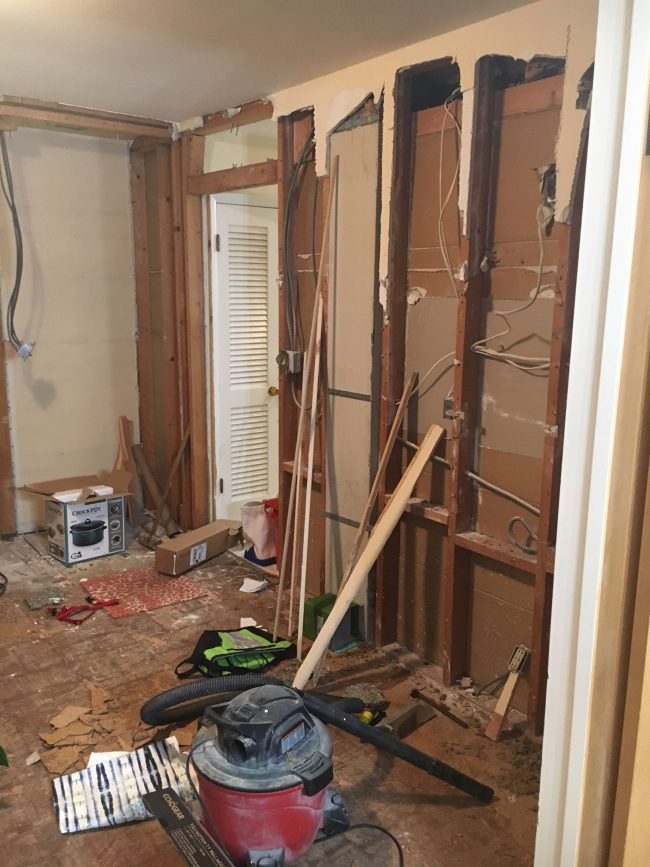
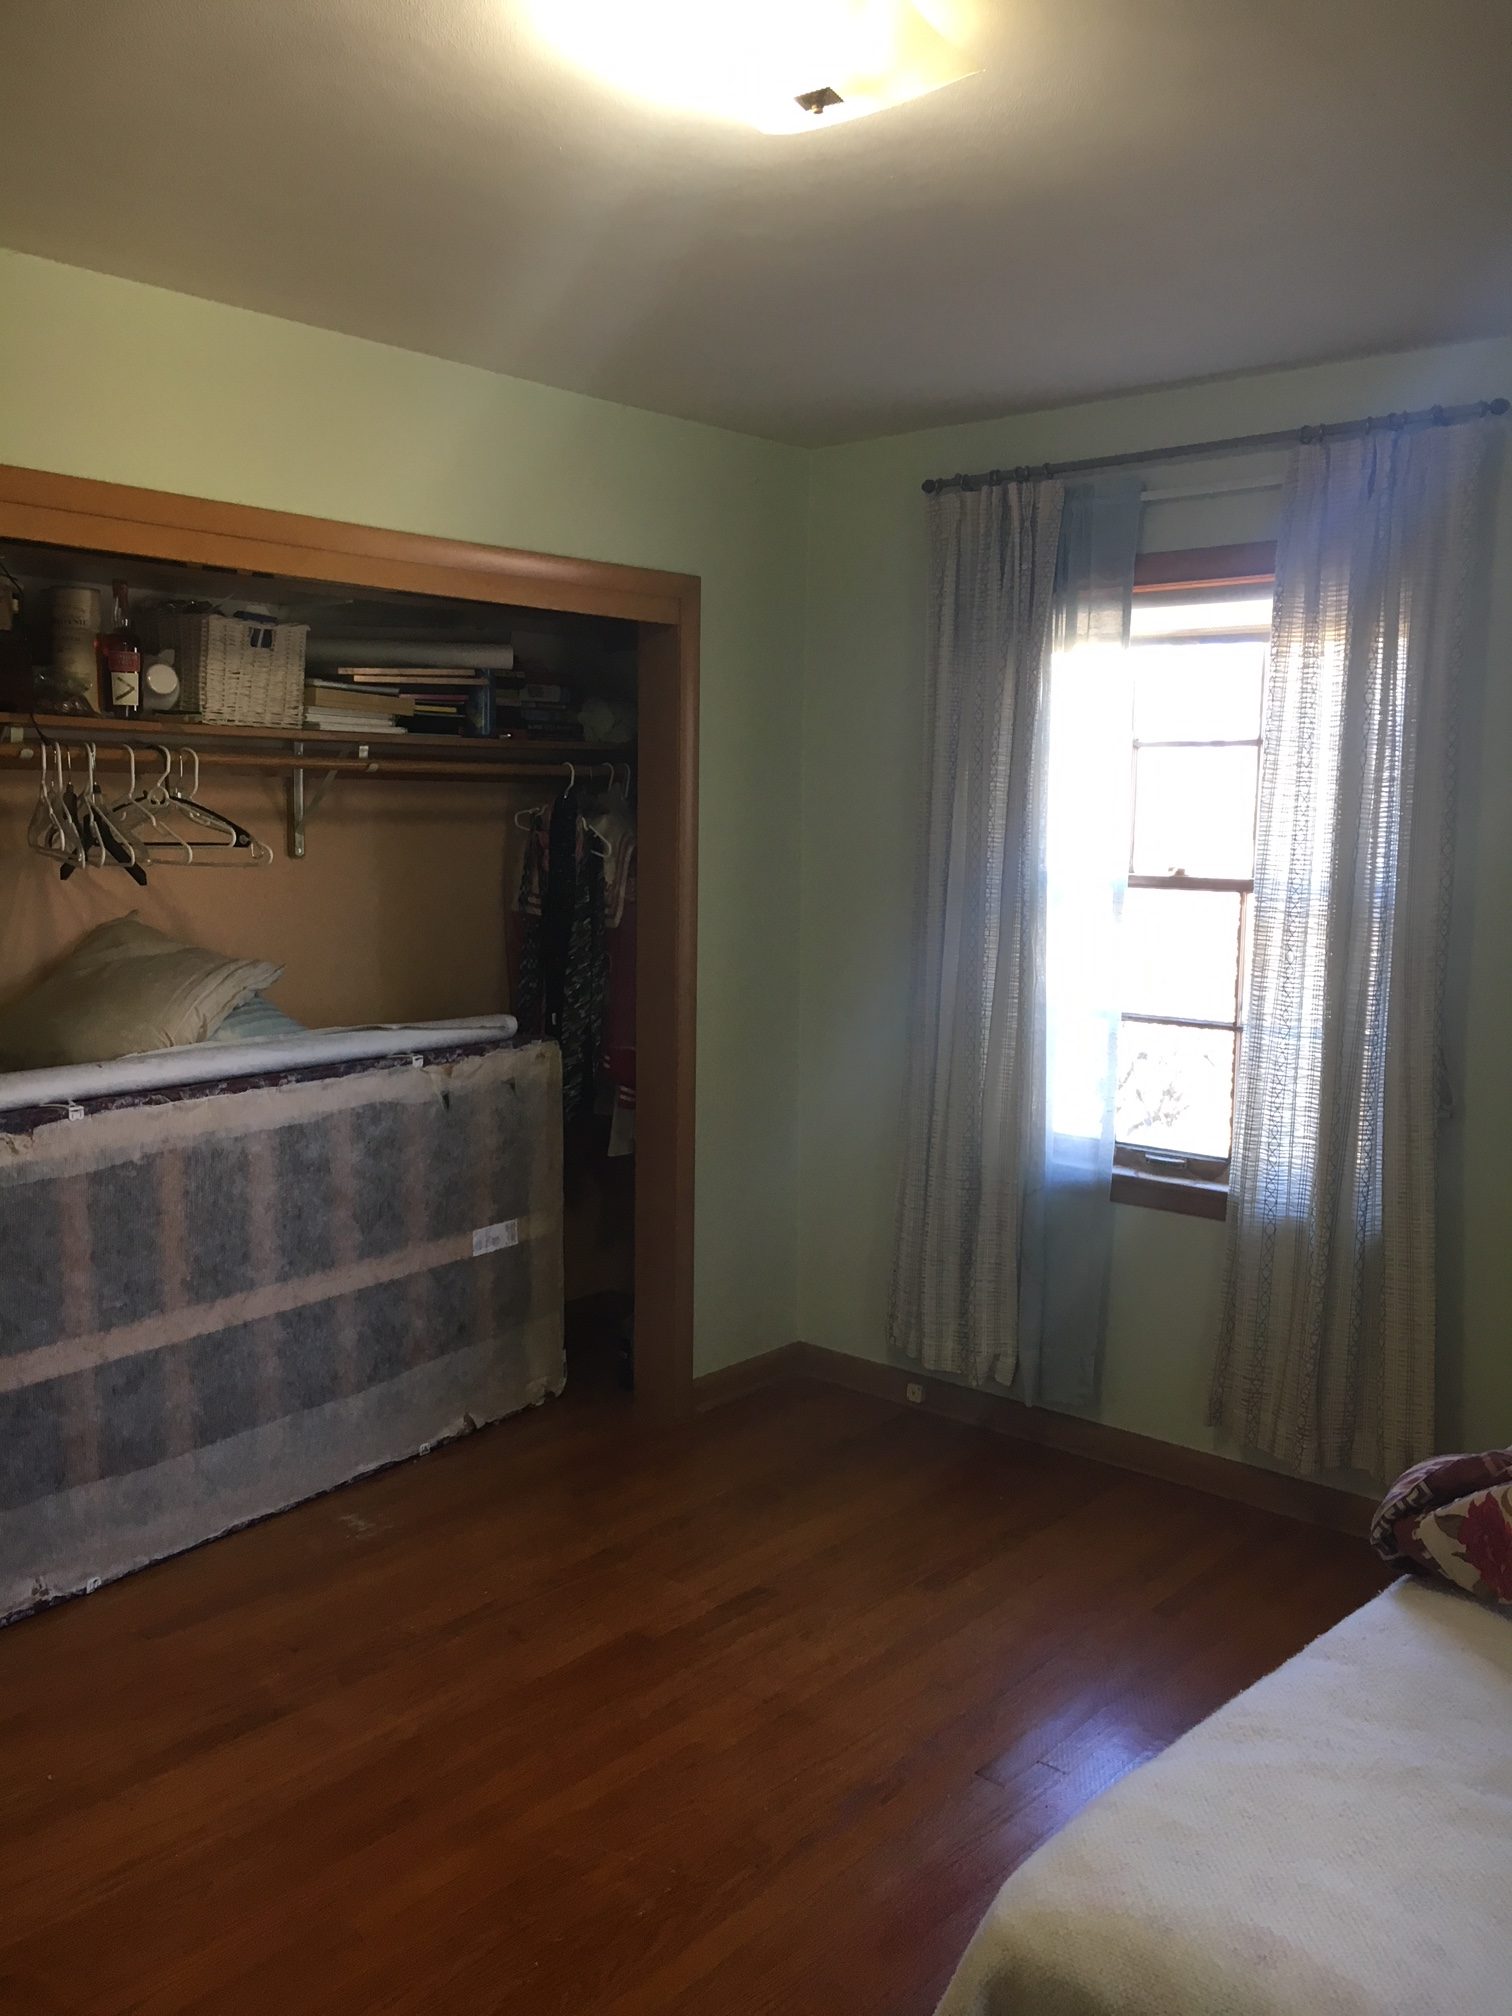
We also still had carpet in the hallway an
d 3rd bedroom. So that had to be removed before the guys came. Overall, we had to pack up and move out everything in our living room and 3rd bedroom. When you already have the whole kitchen and dinning room packed up it starts to get a bit tight around the house.


The crazy thing is. When you get floors done you can’t walk on the floors for quiet some time. Like you can’t walk at all on them for 2 days after first coat, and 1 day after second coat. And then they recommend you don’t drag furniture out over anything for at least a week. This time was difficult. But now that it is done, the floors are looking good.

Little Yellow House: Kitchen Wk 1

Hey Friends! So last weekend was the kickoff to our demo on the kitchen remodel. We got a lot done. We were exhausted by the end of the weekend. But so far we are on schedule. In case you missed what the full plan check out the last post here.

As a reminder this is what the kitchen looked like.

And here is the progress during Saturday.

We were up by 5AM finishing up the packing up of the space. Then at 7AM we started taking down the cabinets.

I wear bibs when we work on projects. They are comfortable. They have a lot of pockets. And you don’t get upset if something happens to them.

We had all the cabinets out before 10AM.

Then we started taking down the walls. Very carefully…

By the end of the first day we had all the cabinets down, and about 50% of the new walls were put up.

Day 2 of weekend 1 we focused on getting the rest of the bits of demon done, and finishing up the walls.

It’s hard to tell in all the pictures, but here we took down a closet (in progress in picture above) so we could expand it for enough room to have first floor laundry. And then in front of it we will have a butlers pantry.

Shown here we are adding a half bath and we will have a little back hallway when you walk in from the garage. Which will be amazing. So much more organized than it was before!

This weekend we will be doing the electrical and plumbing rough in. Follow along on insta stories to see what we are up to, and next week I will share the mood board for all the fun finishes in the space. I am still debating over tile samples!

Little Yellow House: Kitchen Plans

Hey All. Today, I am both excited and nervous. We are about to totally deconstruct our kitchen. We are almost at our 3 year mark on the house. We have done a lot, come a long way, but sometimes it feels like we still have a lot to do. A big project being the kitchen. And this weekend is go time.

We were lucky because although the kitchen isn’t glamorous it was nice that the appliances hung in there till the end (even with a leaky dishwasher it still worked!).

So, these before pics are pretty bad (I took them when we were half way through packing everything up)….but here we go.

See this below pic? The door right in the back there goes right out to the garage. Which is hard for organization. You will also notice that although it’s pretty big kitchen, there really is very little counter top space. It’s all these small fragmented spots. Difficult for cooking.

Here is a pic of the opposite end. Potentially there was a dinning nook here once?

Here is the current layout. The space on the right side of this is where the kitchen is today. See the room on the left? That seriously was, what I think was a cocktail room. Full built ins, not big enough for a dinning room space.

Here is a pic of the room mentioned above that was “on the left side” Again this room was right off the kitchen and a hard space to actually use.

Here you can see we have already demo’ed this space. Since we weren’t using it for anything it was easier to start on at our leisure before we were really in high gear.

The “weird cocktail room” opens up to where our kitchen table is, through the double doors….

My sister is an architect so she created the perfect use of this space.

And now the today. Here is the plan!

This new layout gains us a couple things.

1. It allows us to have a little mud room off the garage before entering the kitchen. Today the kitchen is always a mess because everything gets dumped right when we get home from work.

2. It opens up the kitchen to the dinning area and right into the rest of the living room.

3. It adds a half bath.

4. It also adds a…..butlers pantry! because we all know I have a dish problem!

5. And it adds laundry on floor vs. in the basement.

So pretty much my sister is the shit and utilized the space 100% better than it was being used before.

My sister was even able to do a cool 3D rendering.

Wish us luck and be sure to follow along on instagram for the progress!

@lianna_utley

In the next week or so I will show you some inspiration pics on what we are going for with all the finishings in this space!

Breakfast Nook Before & After

Last spring I started helping a good friend of mine decorate her breakfast nook. She, and her family moved into the house just before last Christmas. The space is significantly larger than the last space, so we needed to try to incorporate good pieces with some pieces that we could rescue to help save on the cost.

and a quick before….

as you can see the space was pretty empty, table was too small, bar stools too short, and a big blank wall that needed some love….

For this space one of the unique furniture rescues we did was this console table. I found it at a local consignment shop, and I refinished it in a beautiful high gloss laquer using Fine Paints of Eurpoe Paint. Have you ever used this paint. It is super tricky to paint with, but its super high quality and if you get it done right the after is beautiful.

I am the worst at taking before pictures, but here is the before of the console. Special shout out to my Uncle Bill for his help in fixing one of the feet on this piece. When I brought it home I realized one of the feet was busted off, and he kindly help me fix it. It’s a good reminder for those hunting for great pieces out there. Slow down, take your time, and make sure you know what you are getting. This worked out, but if I didn’t have someone to help, it would not have turned out nearly as good!

I also love love the art that we filled the wall with. To start we featured a vintage car picture that my brother and law and I took together on vacation last summer. The vintage car sitting on a dock on the coast of Maine was  a perfect piece for this family, and the color worked so well in the space. We mixed this with Vintage Royal Coppenhagen Christmas Plates. My mother has featured these plates in her homes the entire time I have been growing up, and considering the navy and white trend that is currently going on I am surprised I haven’t seen anyone else take on these accents. I love the way the vignette turned out!

The other rescue that we did was this chandelier. If you remember we tackled an old brass chandelier like this one for my sunroom (check it out here). It turned out so well that I wanted to do it again here. The space is so big, and the previous chandelier was just teeny tiny. So I wanted something that filled the space but didn’t break the bank. We all know that chandliers this size can come with a mightly price tag, so this was a perfect solution.

Like every good table we had to set it pretty for the pictures. Do you like this table setting? Check out the items for purchase in my coming pop up shop!

What do you think of the space? I personally love how well the big open area is filled out now. It’s the kind of space you just want to curl up in and have a cup of tea and a quiche.

Special Announcement: Pop Up Shop

Hi Friends.

Ok…I am putting myself out there today. I have had a dream for a long time. For years I have dreamed this dream and thought that it would never be possible. But last January I thought to myself. Why. In 40 years from now will I regret if I fail? Or never try. So here we go.

I have been planning a pop up shop since last January. Yes! a pop up shop! It’s been a dream to open a shop with pillows and art and refinished furniture. So that is exactly what I am doing. I figure better to test it out right?

It has provided many hurdles, but now the end, and everything I have been preparing for (along with my family along for the ride) is in sight. So, if you are in town the 2 weekends after labor day I am hoping you will join me! Follow along with the next couple weeks as I will be posting on instagram @lianna_utley and @twohigandtuinstra with pictures of all the beautiful things I have been making!!

Thanks for all your support friends! Love you all!

Master Bathroom Reveal

this post has been a long time coming – so I am so sorry for my delay. If you remember I left off diving into my master bathroom during the one room challenge (spring) right after we moved in. We knew we were going to do the bathroom right away, but honestly I was too ambitious thinking it would take only 6 weeks. Lets be real. We do 90% of the work here at the #littleyellowhouserefresh ourself so no project ever only takes 6 weeks (i’m exaggerating some stuff we can get done in that time…). Anyway so needless to say the bathroom took us 6 months to get done, and at that point I wanted to wait until we officially wallpapered to showoff the final outcome. Well we wallpapered a while ago, so since I am a bad blogger I am just now posting, but we love our new space and I am excited to finally share it with you.

so our bathroom was a MESS, and it was started day 1. Literally Chris and my dad didn’t even try to unpack any boxes to make sure we could cook dinner or wear clothes, they instead thought it would be a fantastic idea to gut the bathroom. at least they got it started.

Like I said, we did all of the work ourself, with the assistance of my trusty dad (retired plumber, lucky us) and cousin (electrical). But Chris and I did all the tile work, mudding, wallpapering ect.

And here is the after. First of all – it was a jack n jill bathroom aka it was a walk through. 2 doors, one to the master bedroom and one to the front hallway. It made the bathroom really a lot smaller than it was, because most of the area was wasted with doors and walk way. This enabled us to make a vanity about 3x the original size. I mean the old teeny vanity didn’t allow me to even have a spot for a curling iron. WTF. So that was a HUGE win.

next HUGE win was opening up the wall that the shower had. Before the bathroom didn’t have a half wall. It went all the way up. It felt like a CAVE. I love the half wall. It’s a small bathroom but the opening up the wall helps it feel much bigger than it really is.

Next. Lets talk about this vanity. Are you in love or in LOVE. I am in DOUBLE LOVE. It’s so fun. It’s exactly what I wanted. It is a custom made piece by some amish friends of my dad. They are the BOMB.

The other thing I love that we changed totally was the doorway to the bathroom. The previous door swung into the bathroom – again waste of space. So we changed it out with 2 small double doors that swing into the bedroom. much better.

I topped the doors with small little circle trim. I thought that was an adorable little touch.

Overall I am super happy with it. I love the way the master bedroom transitions, and the whole space flows together. This, with the bedroom, was the first space that really started to feel like home here. I love it and it is a delight to get ready every morning.

Let me know what you think of the new space!

Since this bathroom, we have also finished our second bathroom so I hope to share that soon!