DIY Wallpaper Panels

I love big art. I also love wallpaper panels covering a full wall. However the price tag on them is usually unsavory. This hallway isn’t done yet, during our kitchen renovation we changed it around a bit and now it will be an area with a new laundry closet. But, I am done with this hallway always looking ugly. So I am working on sprucing it up a bit.

I have a lot of color in the house so I decided to paint the area white. As you can see above I just wasn’t finding a gray that I liked. The white helped break up the color but it also means that it was a lot of white. So thought wallpaper would be just the thing to spruce up this space.

Wallpaper panels are fun, but super expensive. So I decided to make them myself.

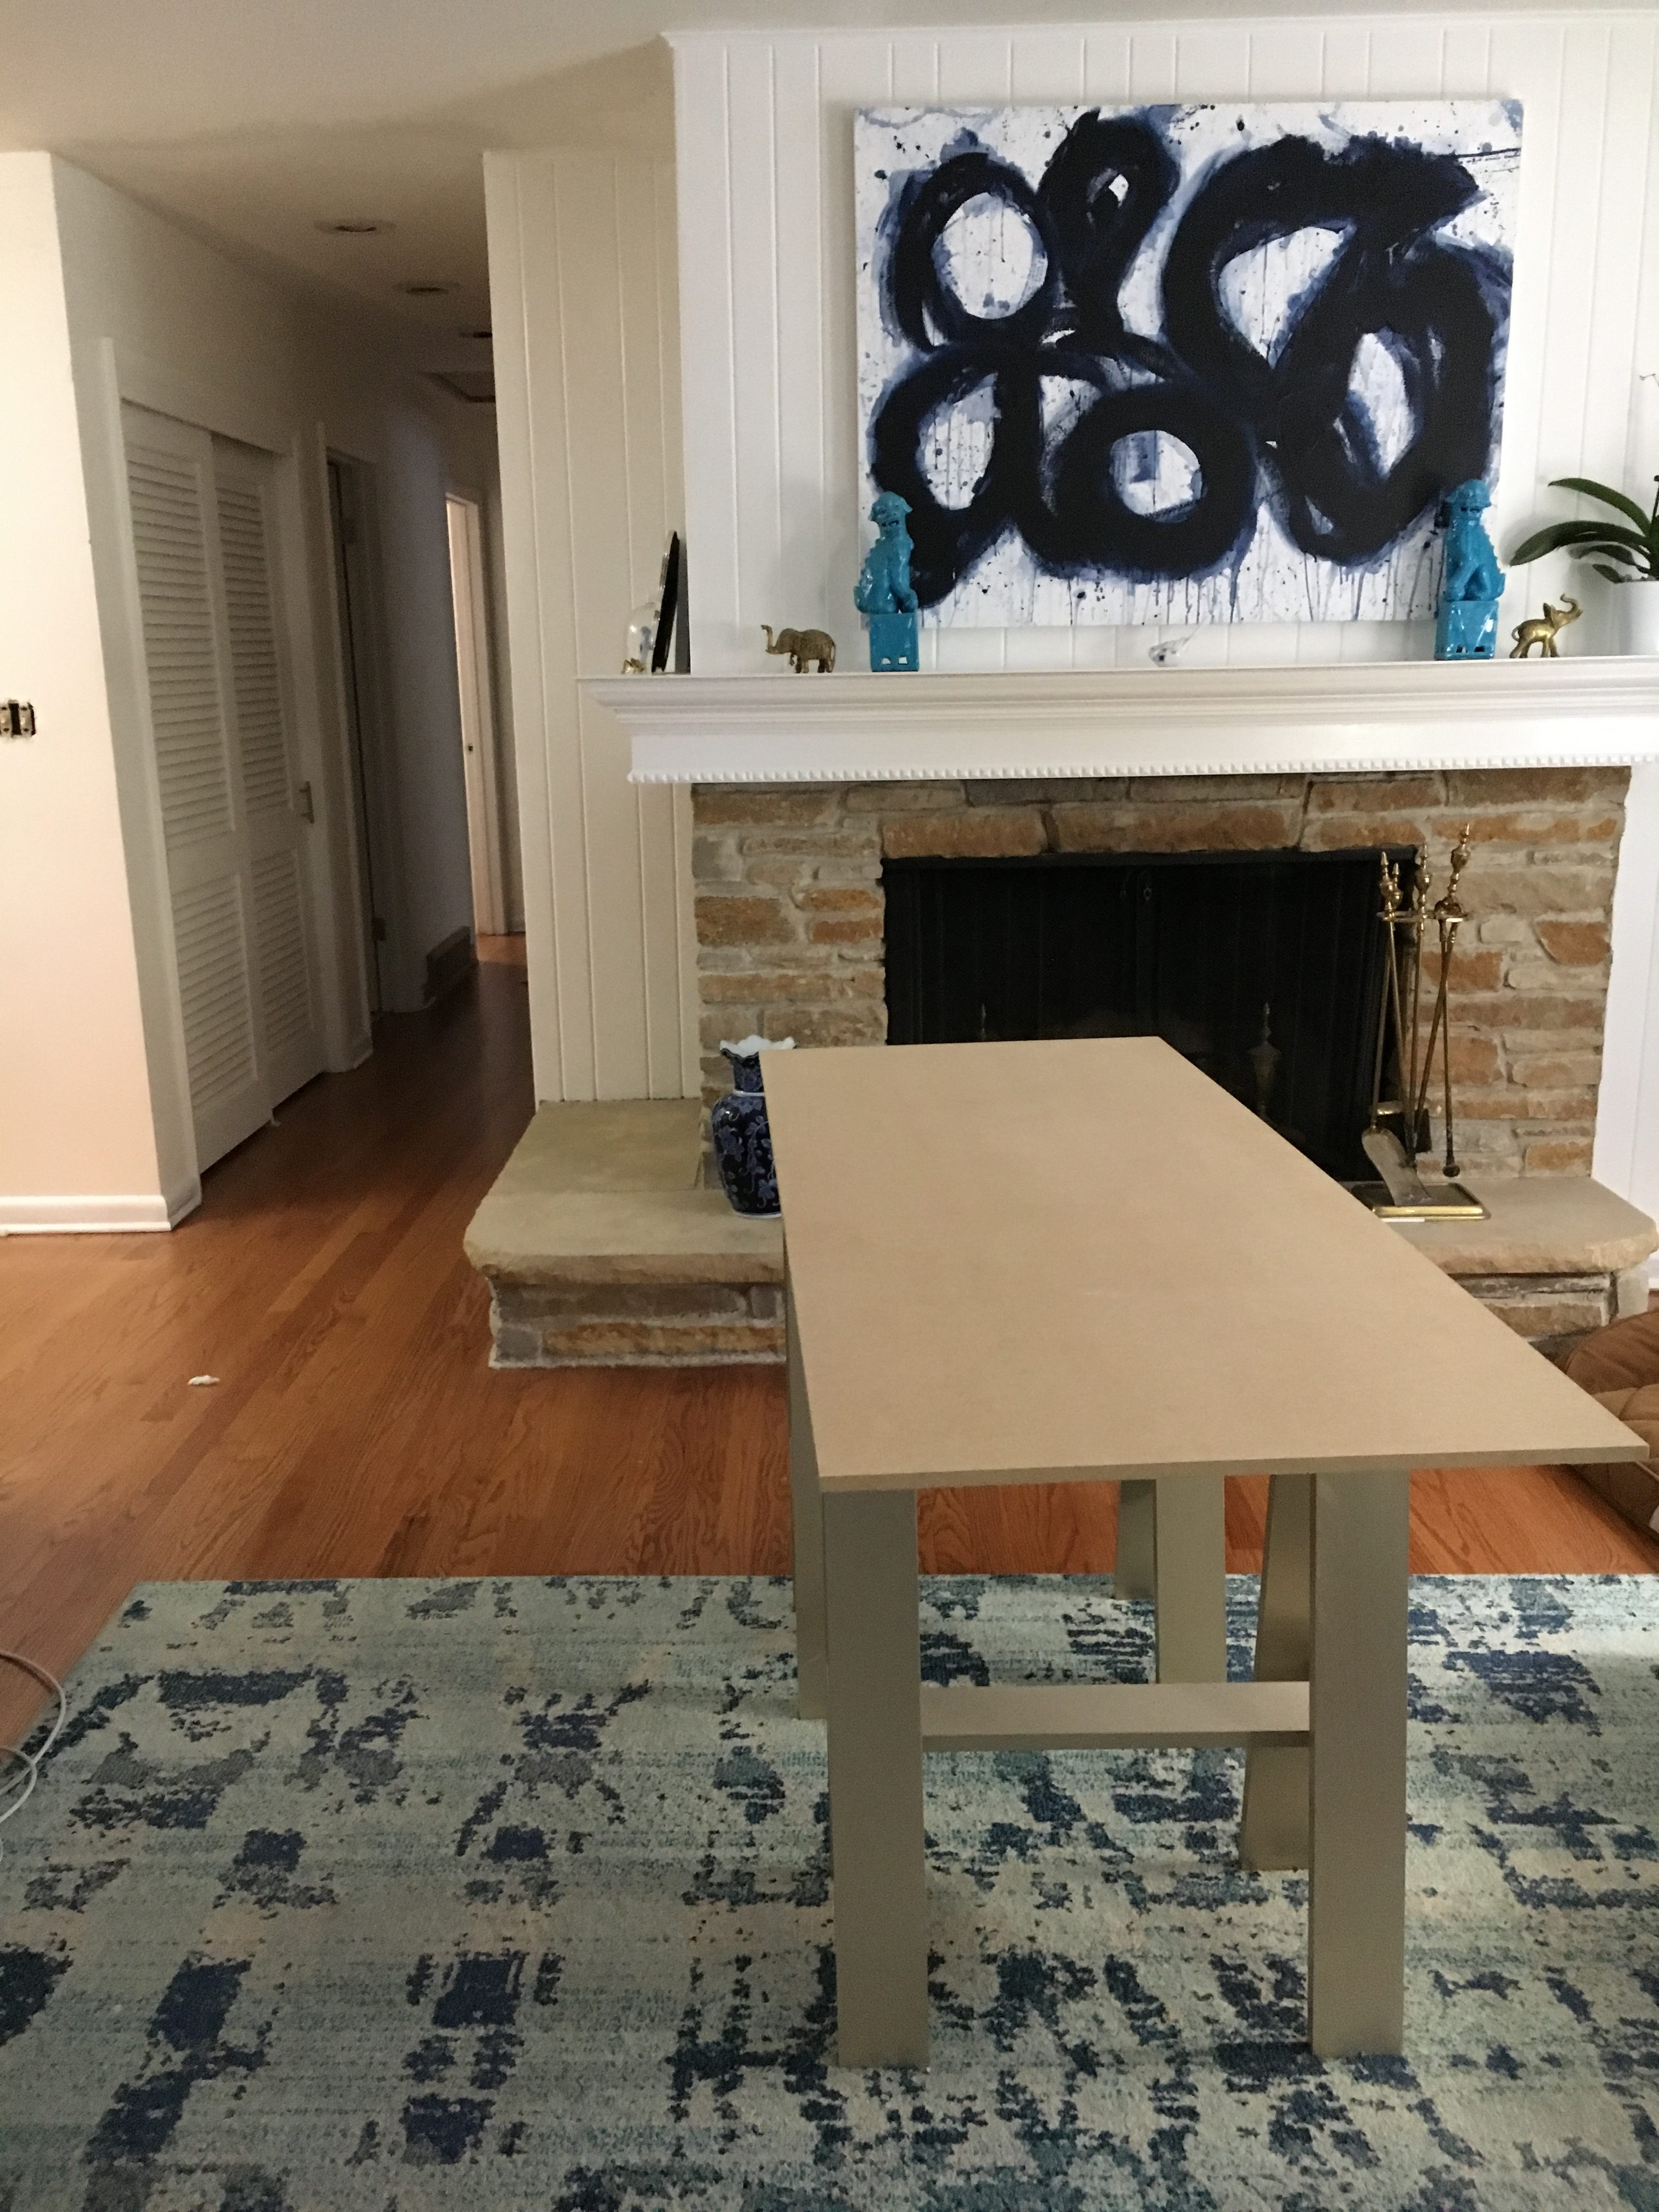
First you just start with MDF wood. I cut mine 5 feet tall. The middle was 2 feet wide and the the 2 end panels are 1 foot wide. I got mine at the home depot, and got them to cut them down for me. I find this easier because of how big they are.

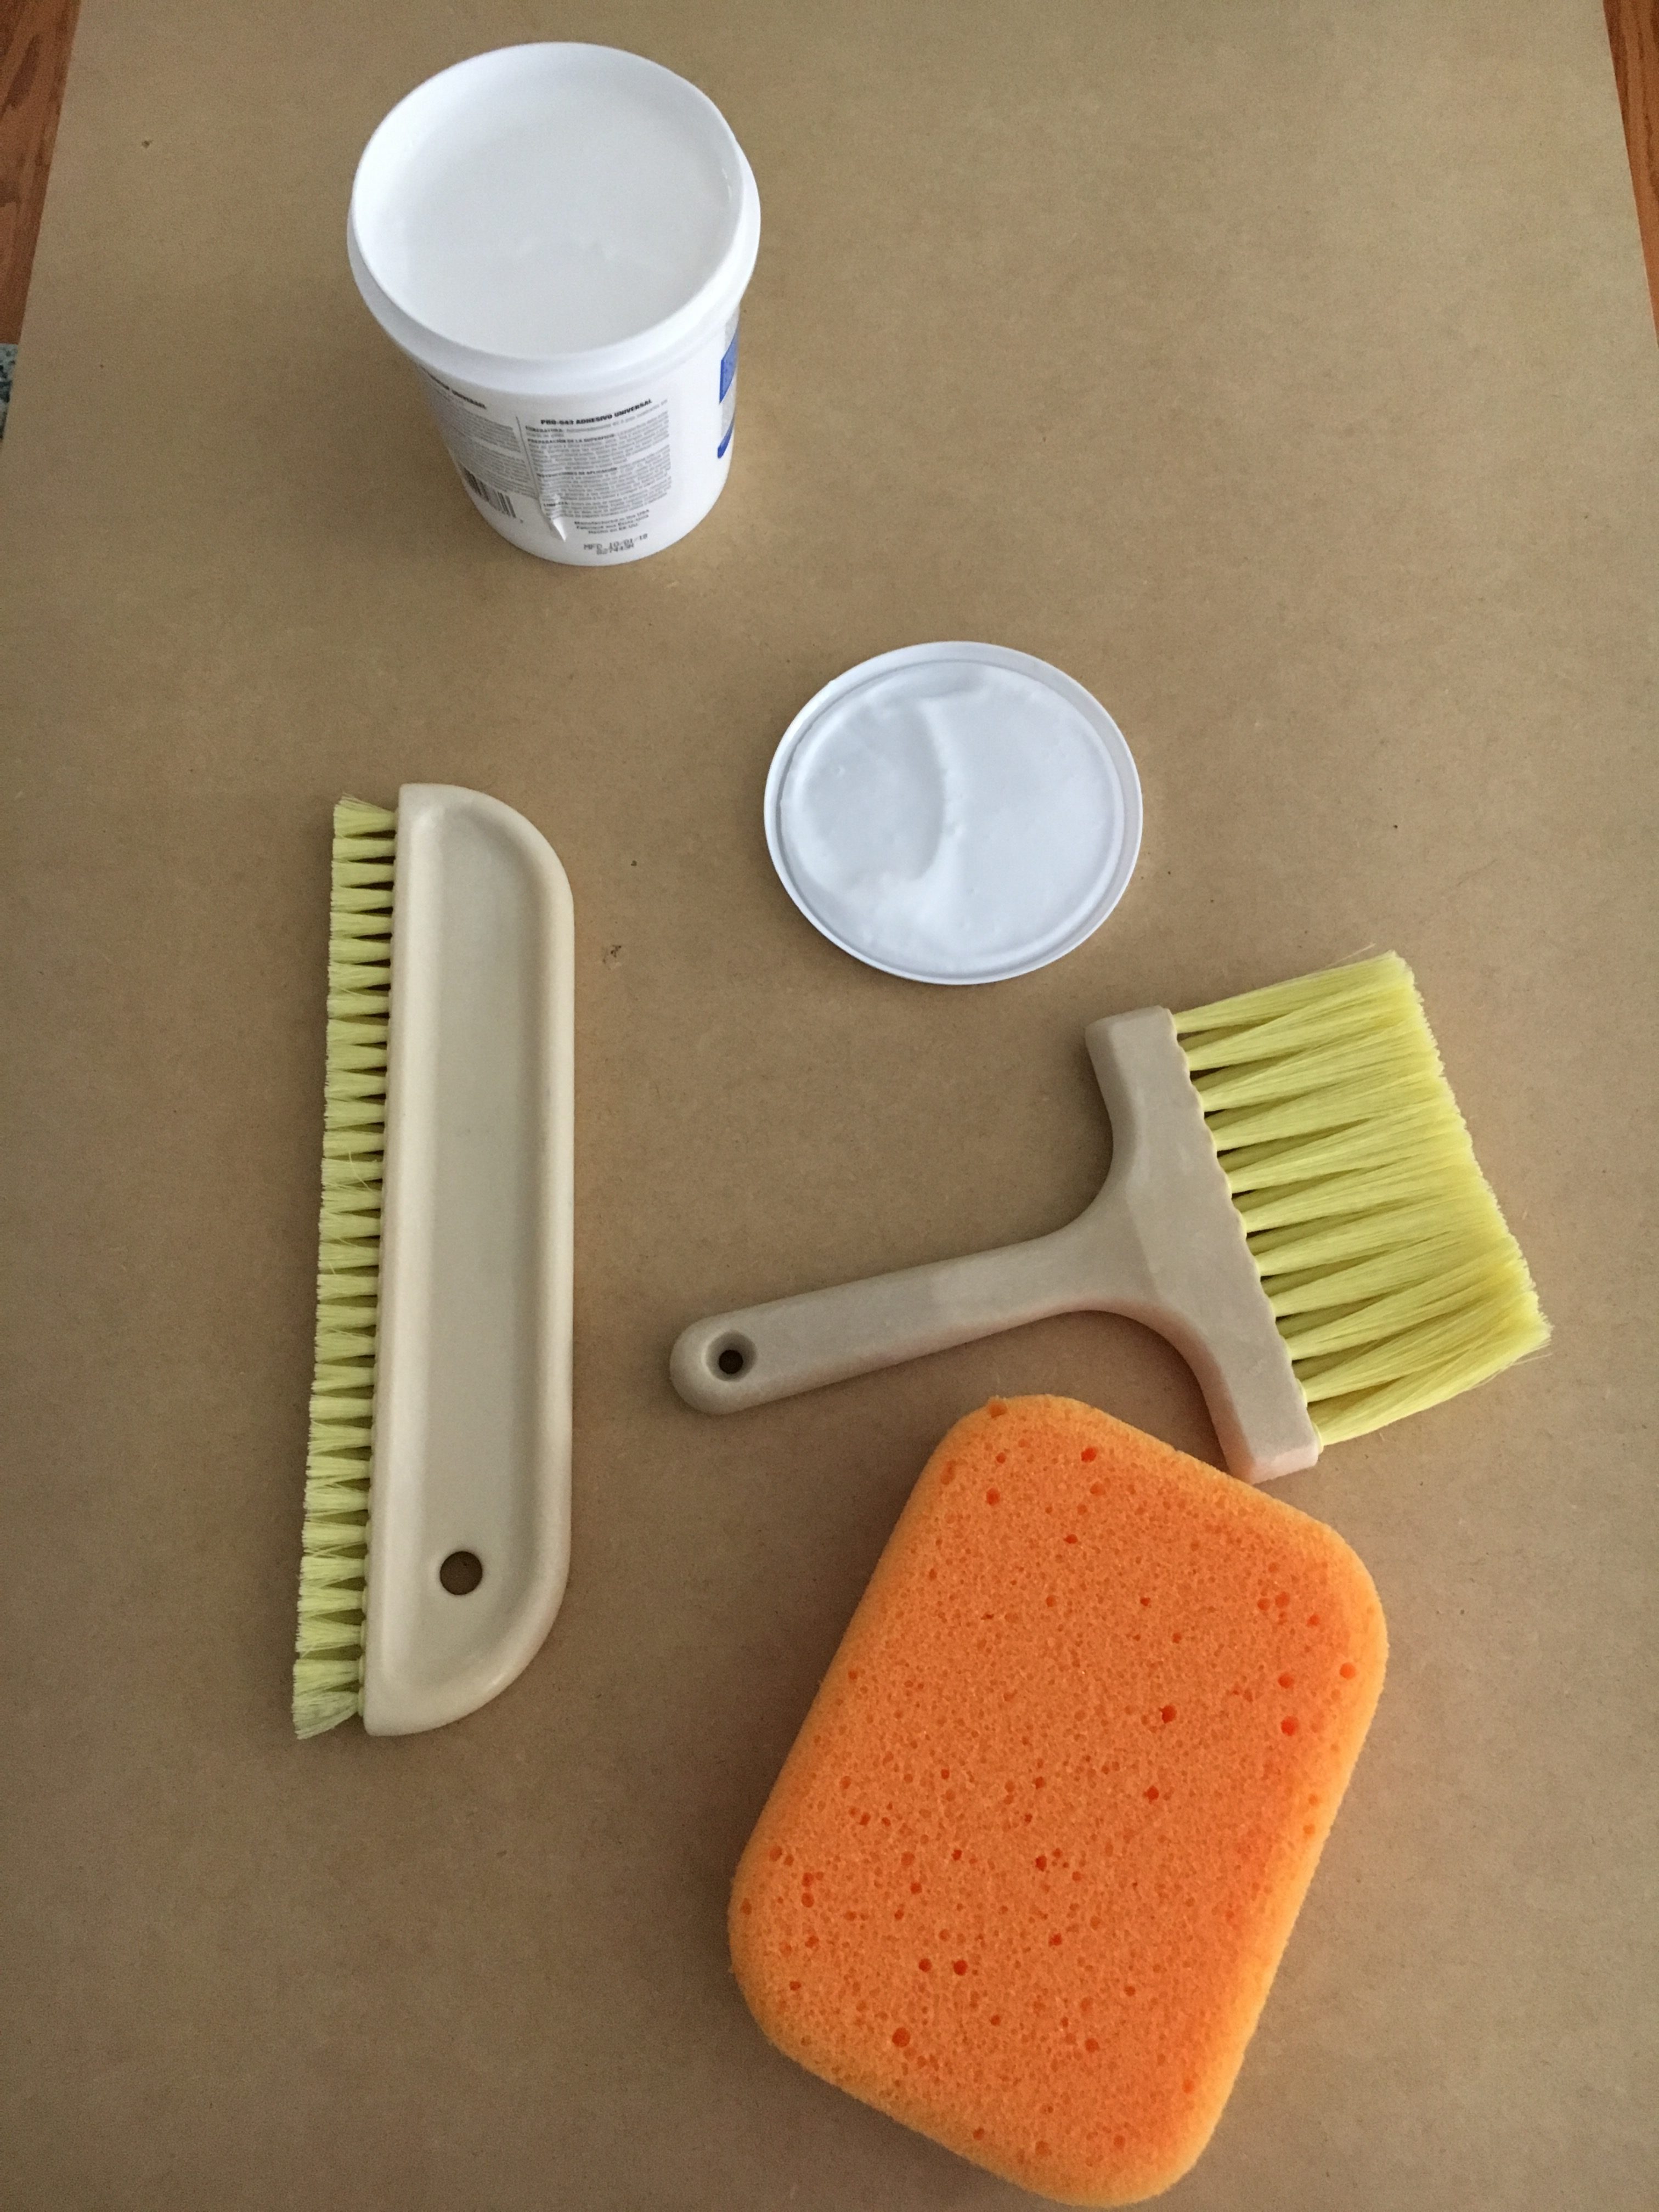
To start them out all you need are the standard wallpaper tools as shown above.

The panel is pretty small (relative to the full wall) so it’s pretty easy to get it done right by yourself. If you have never wallpapered just remember a couple things. Loosely lay it down in the spot you want and then start at one end. work from the middle out using the wallpaper brush with the short bristles. Then go back over with a plastic wallpaper smoother in the same way using your hand to feel for air bubbles.

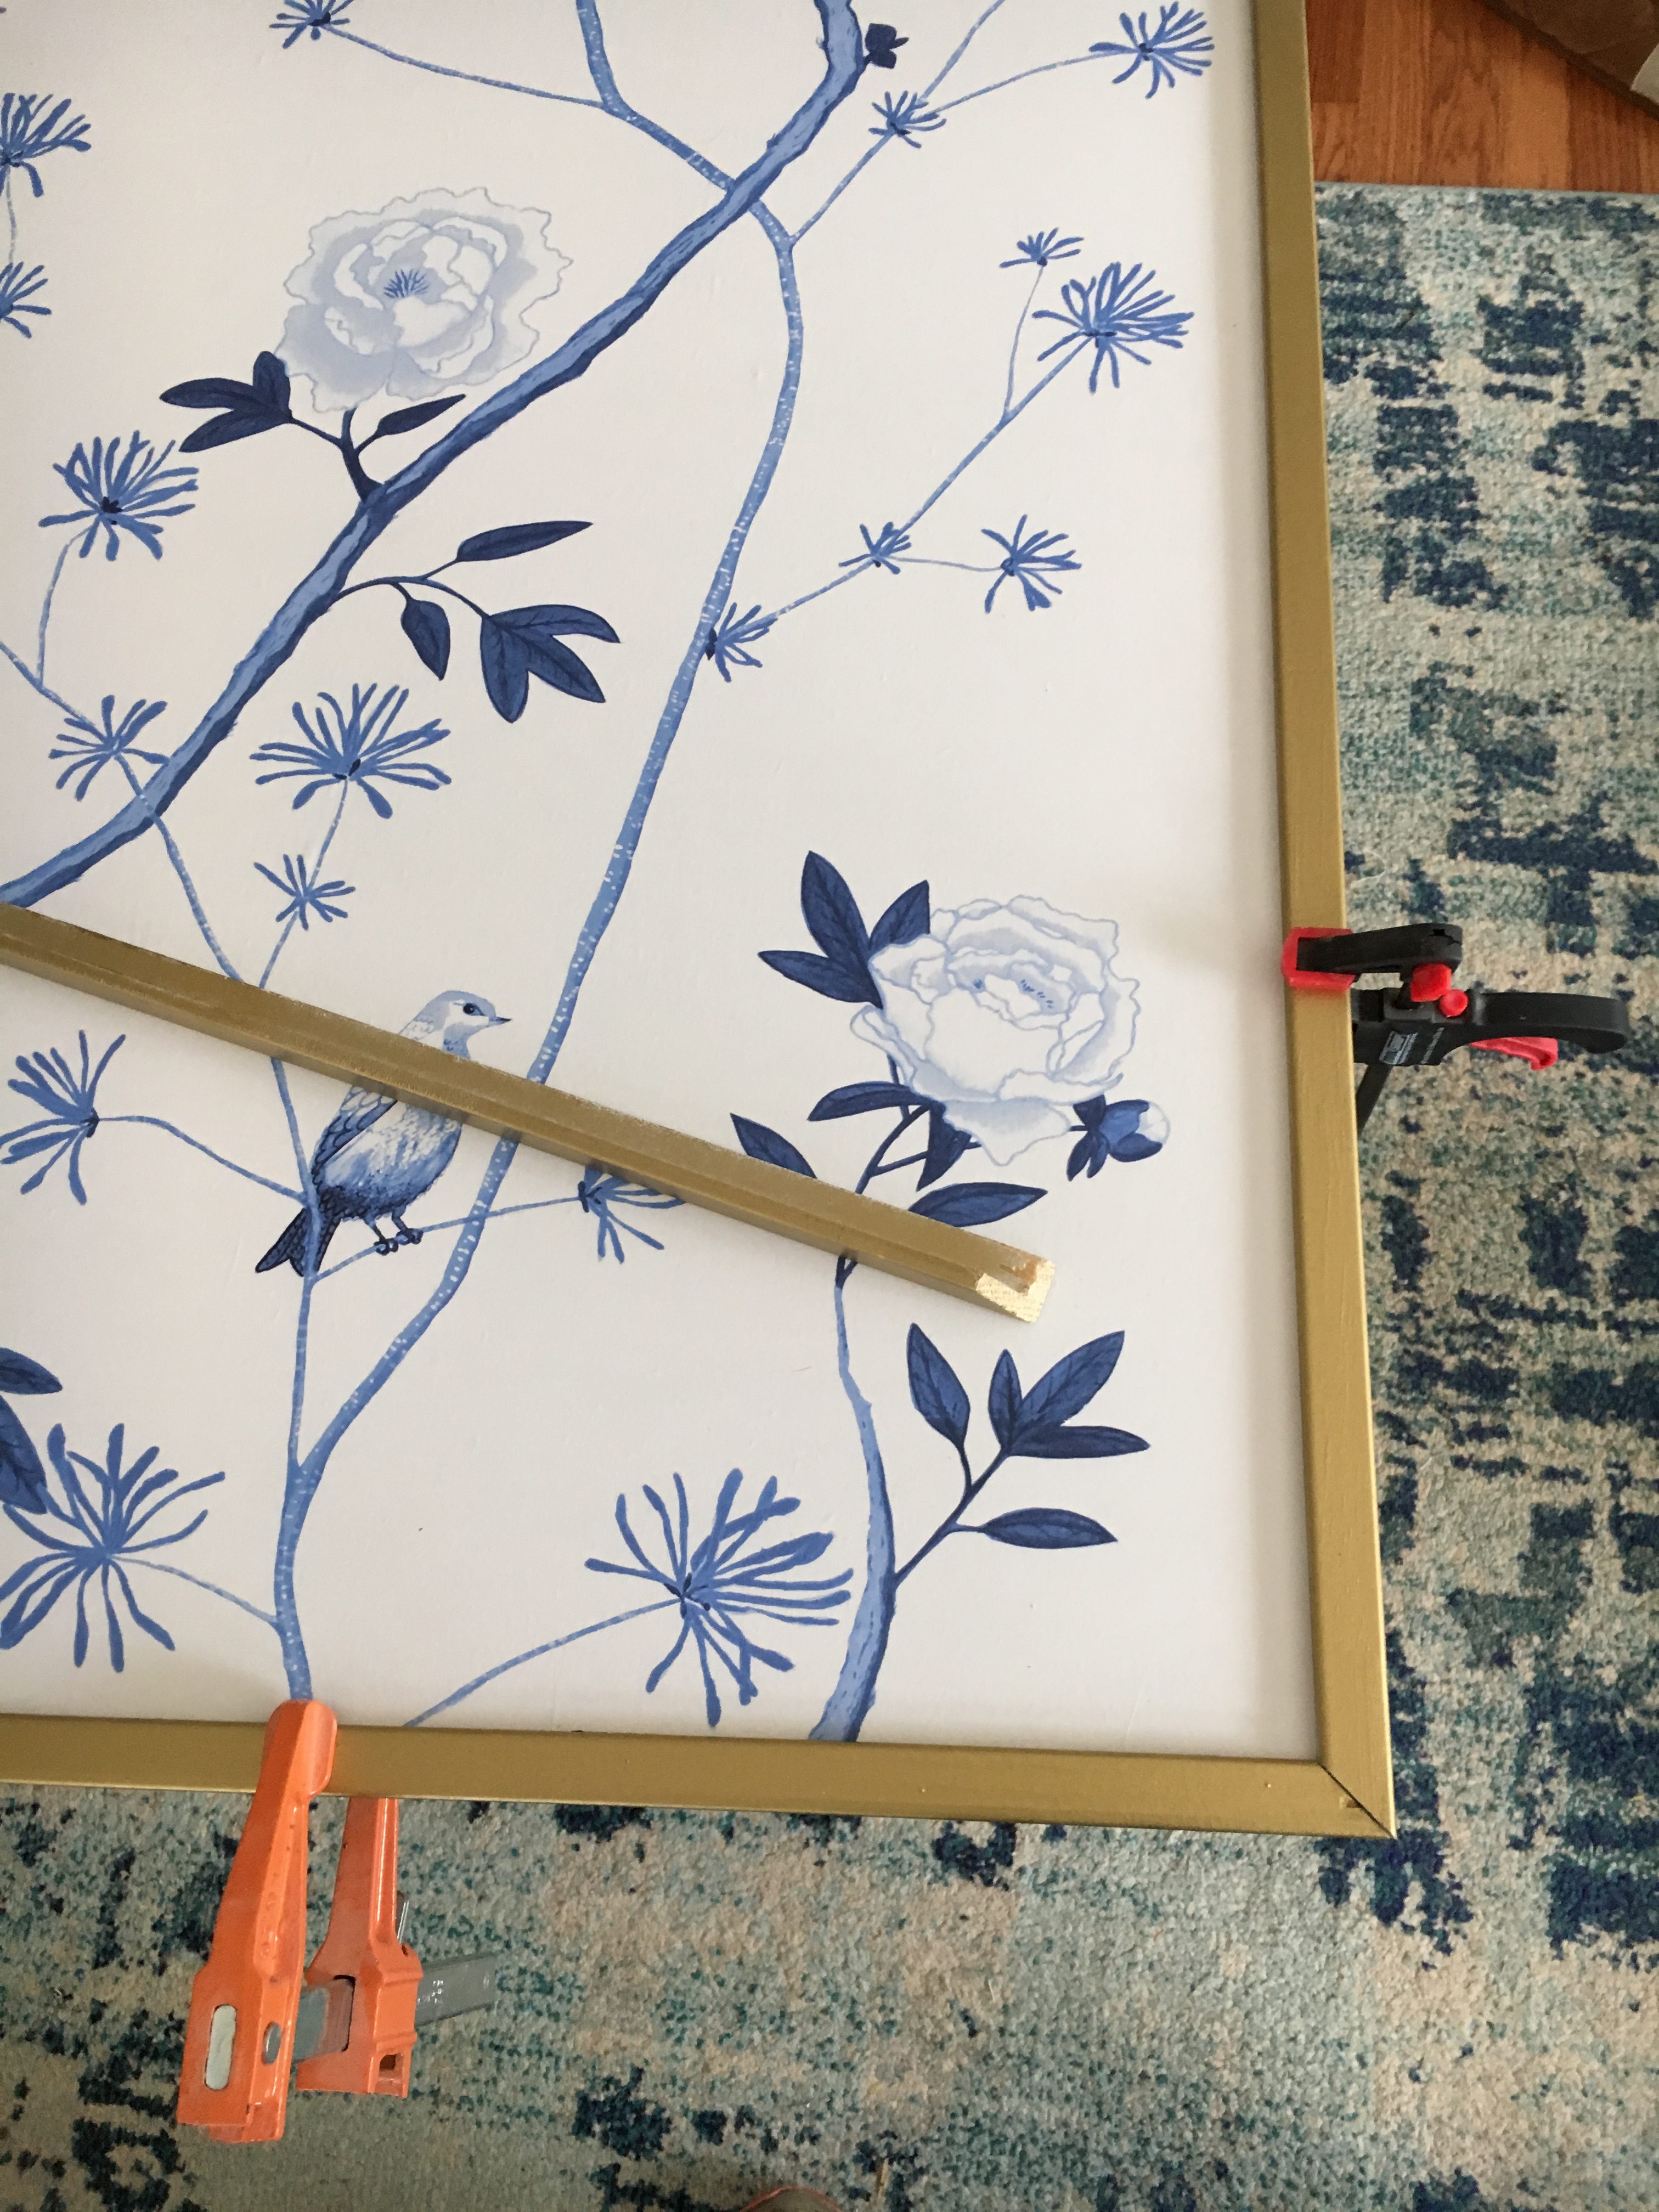
Next step. Trim. I bought corner trim as shown above. Cut down to size. I sprayed it with gold spray paint and then used liquid nails to glue onto the side.

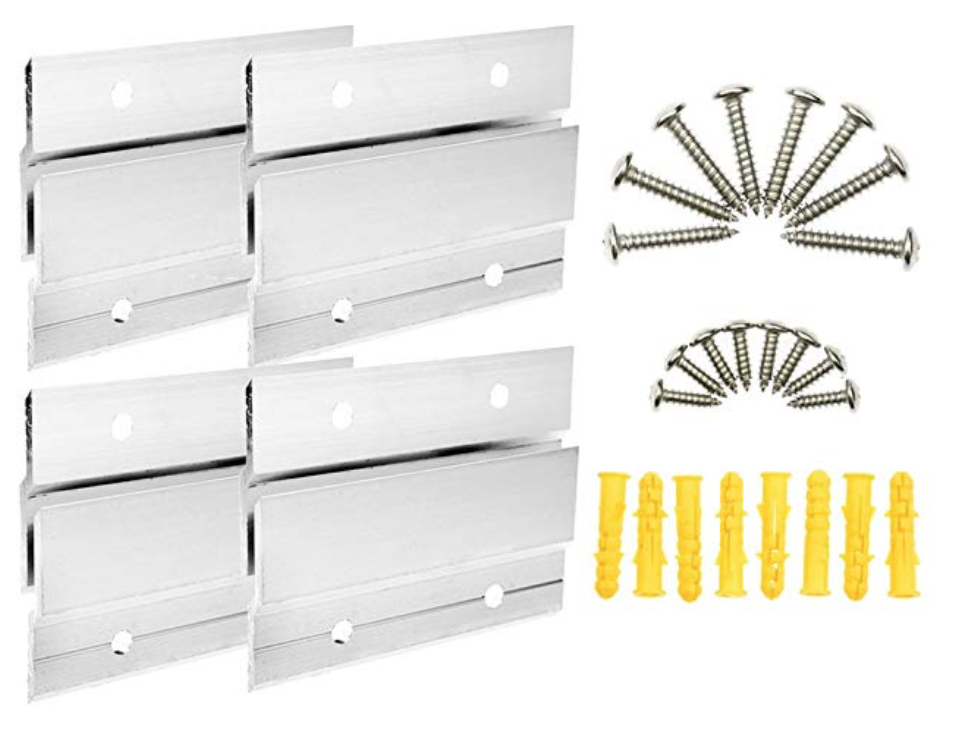
Chris helped me adhere hangers to the back. We used French Cleats. See a pic below. We got an easy to use little kit from Ace Hardware. And Chris said they made it super easy to hang.
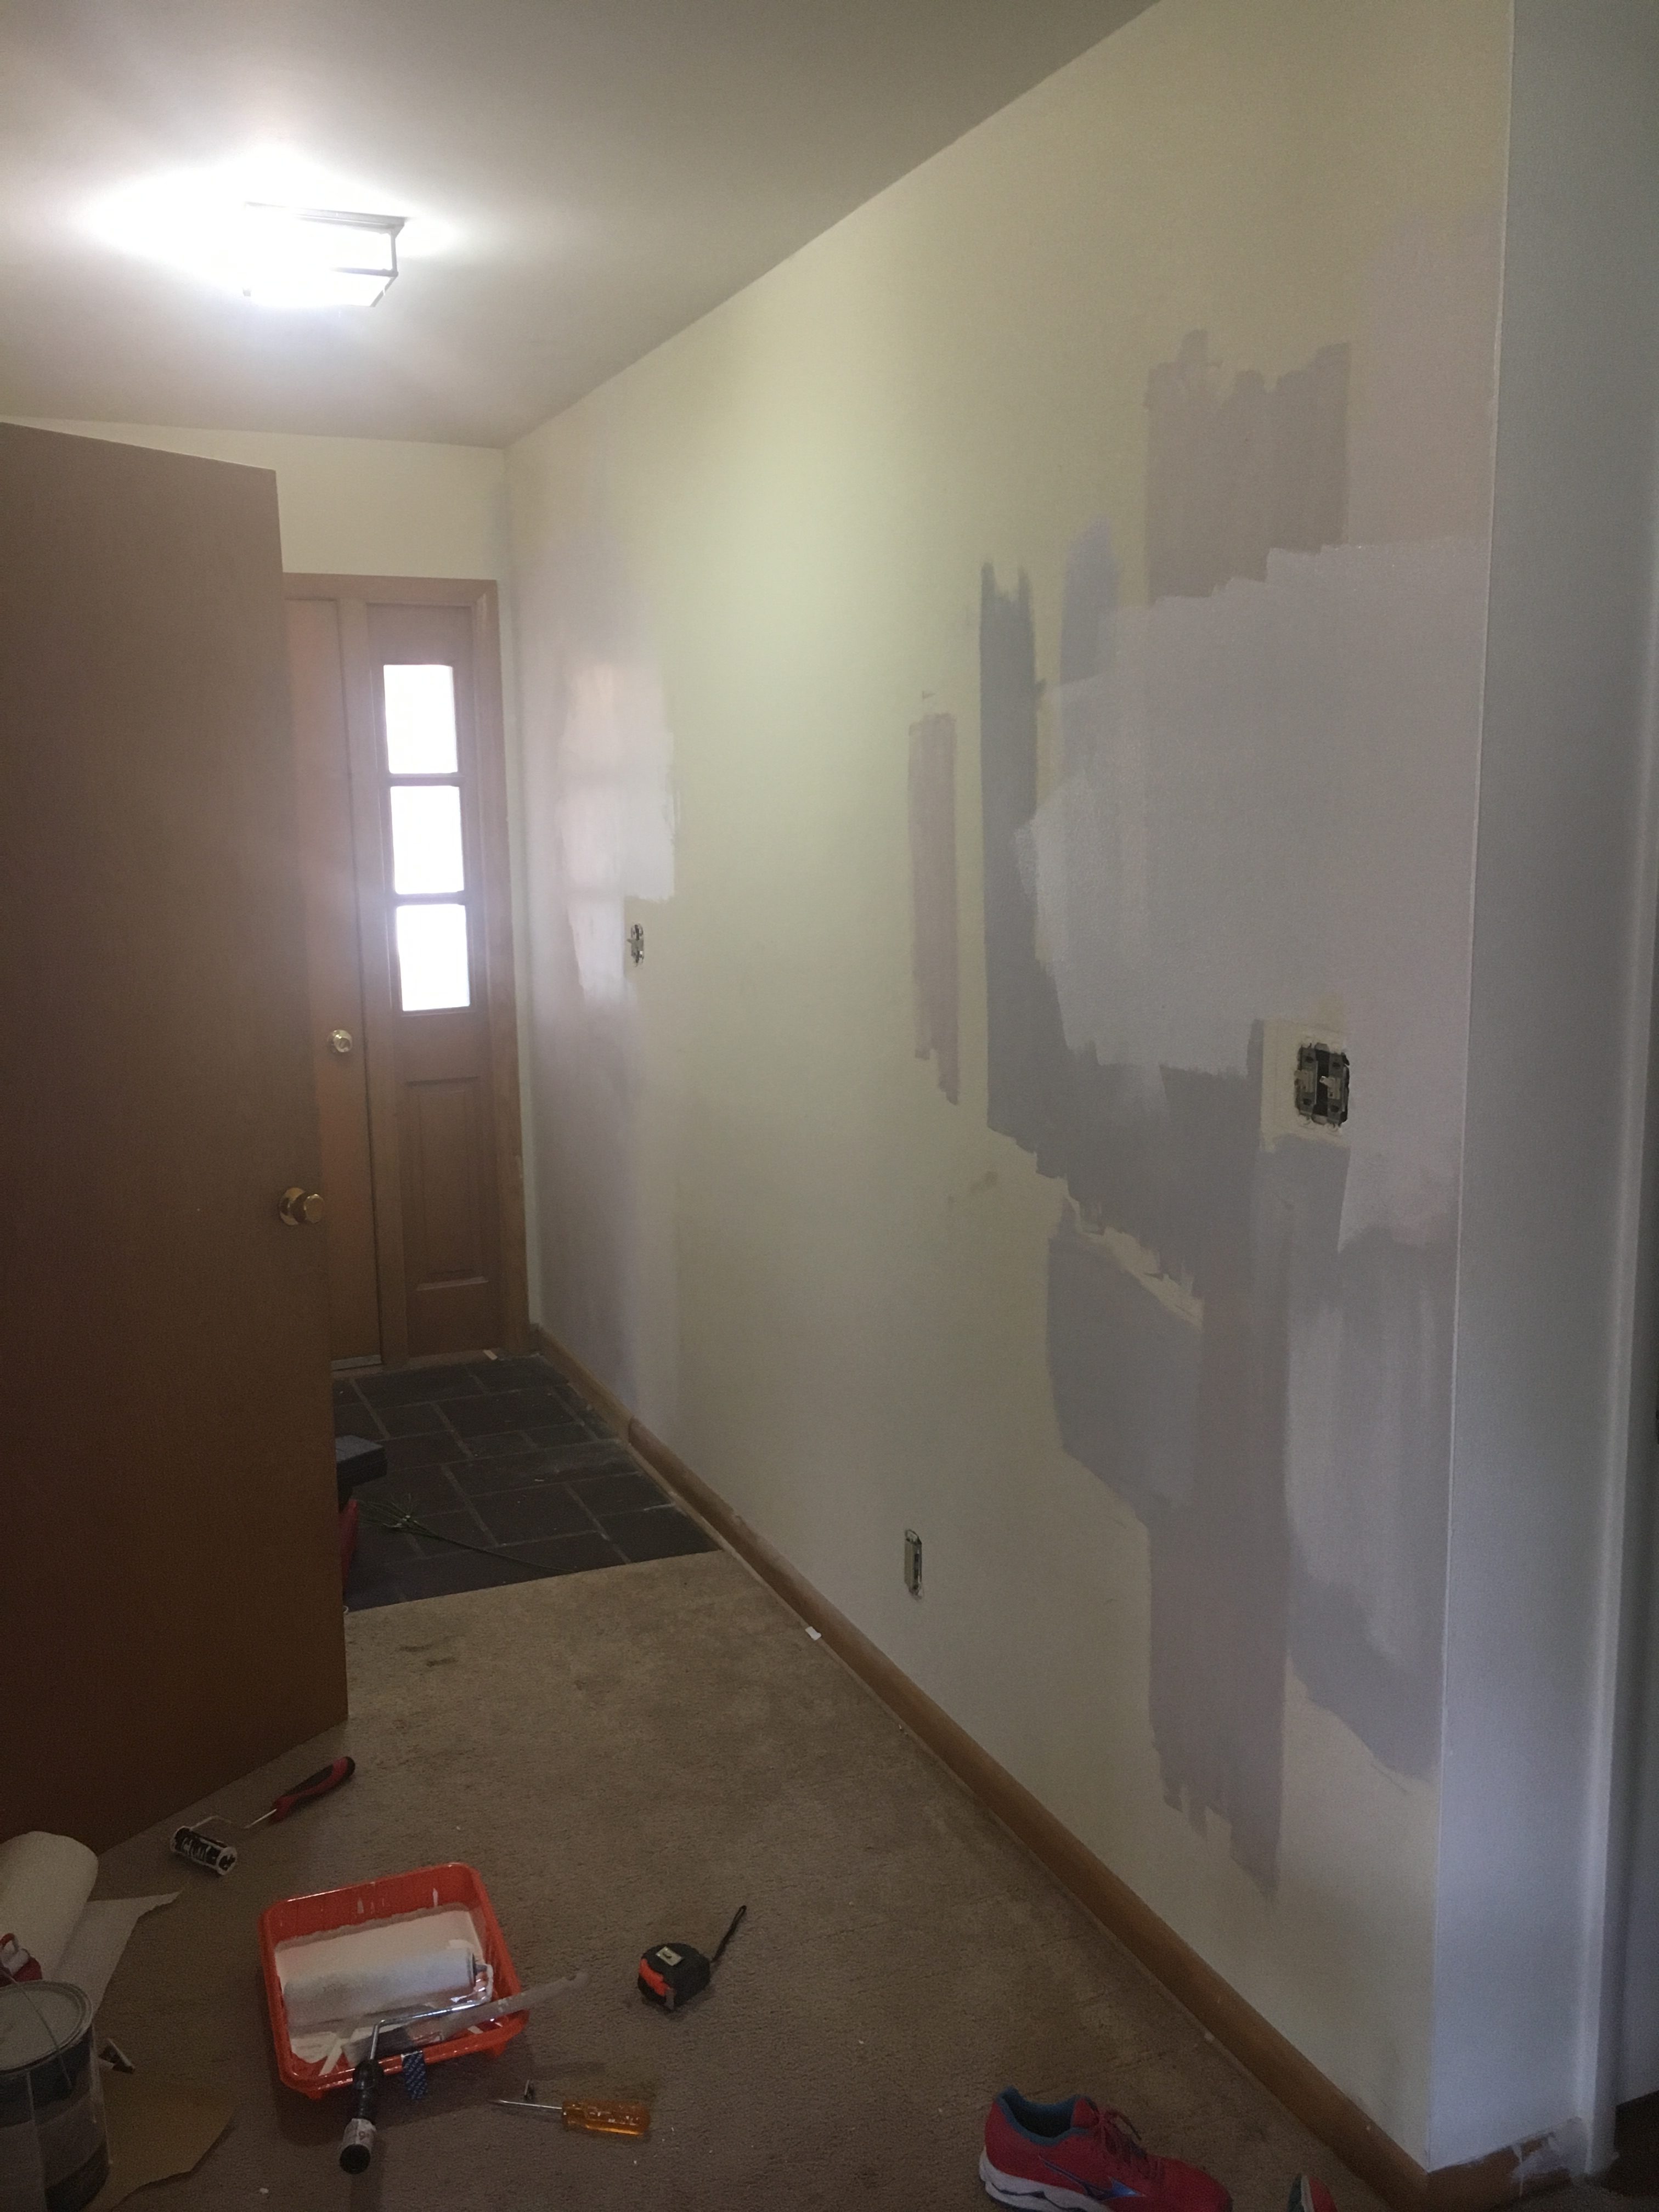
Here is the hallway as it looks today. I got this bench on craigslist. As you can see I un-upholstered and waiting for the fabric to make it a bit prettier. So stay tuned for how this comes together. In general we still need some sprucing but it does look much better than before. Things still to do: skim coat wall, update electrical outlets, paint exterior wall, and the laundry closet is still only roughed in.

For now it’s much better. I also like that the bench will be on the opposite wall of the future laundry closet. It will be an easy spot to put a laundry basket. Good luck with your panels!

Little Yellow House: Kitchen Plans

Hey All. Today, I am both excited and nervous. We are about to totally deconstruct our kitchen. We are almost at our 3 year mark on the house. We have done a lot, come a long way, but sometimes it feels like we still have a lot to do. A big project being the kitchen. And this weekend is go time.

We were lucky because although the kitchen isn’t glamorous it was nice that the appliances hung in there till the end (even with a leaky dishwasher it still worked!).

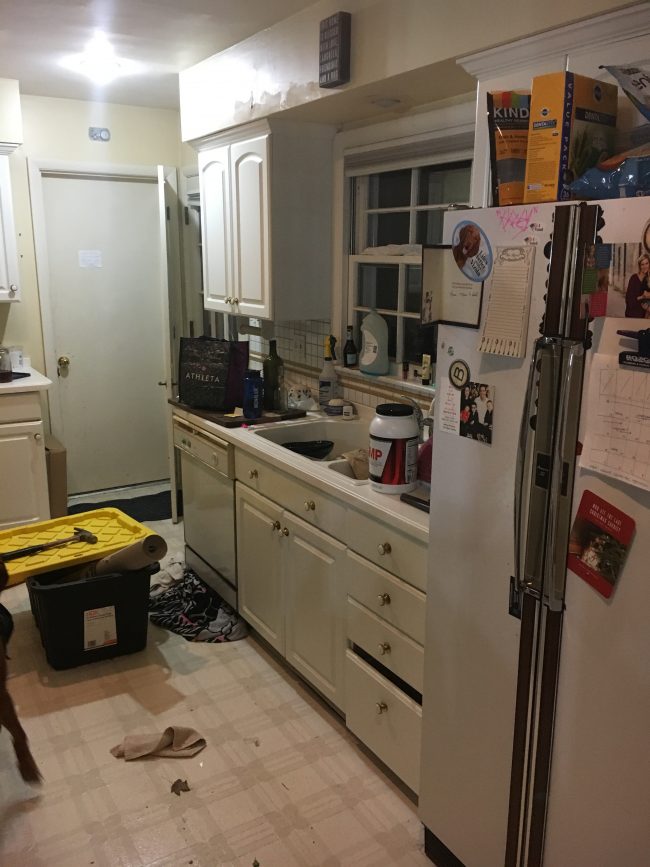
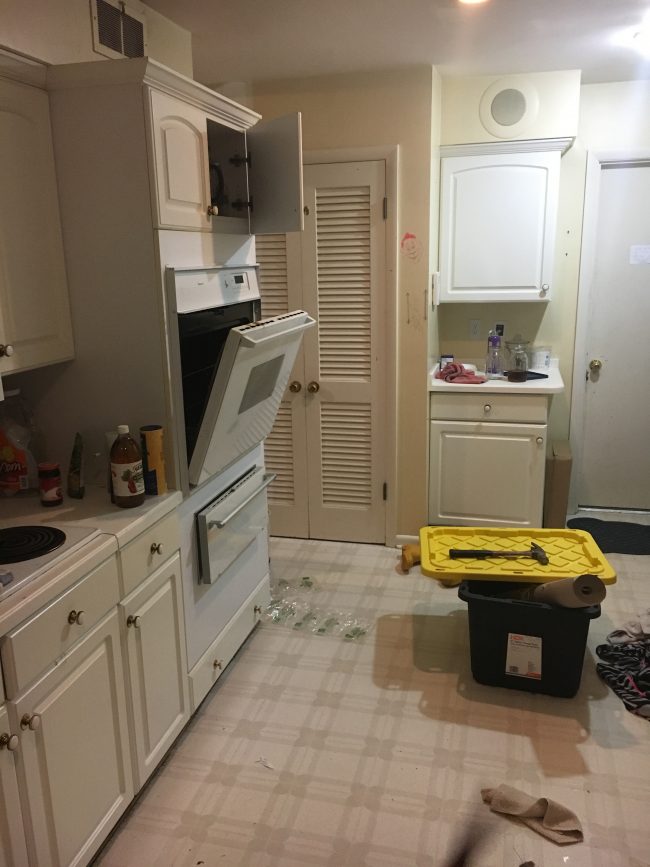
So, these before pics are pretty bad (I took them when we were half way through packing everything up)….but here we go.

See this below pic? The door right in the back there goes right out to the garage. Which is hard for organization. You will also notice that although it’s pretty big kitchen, there really is very little counter top space. It’s all these small fragmented spots. Difficult for cooking.

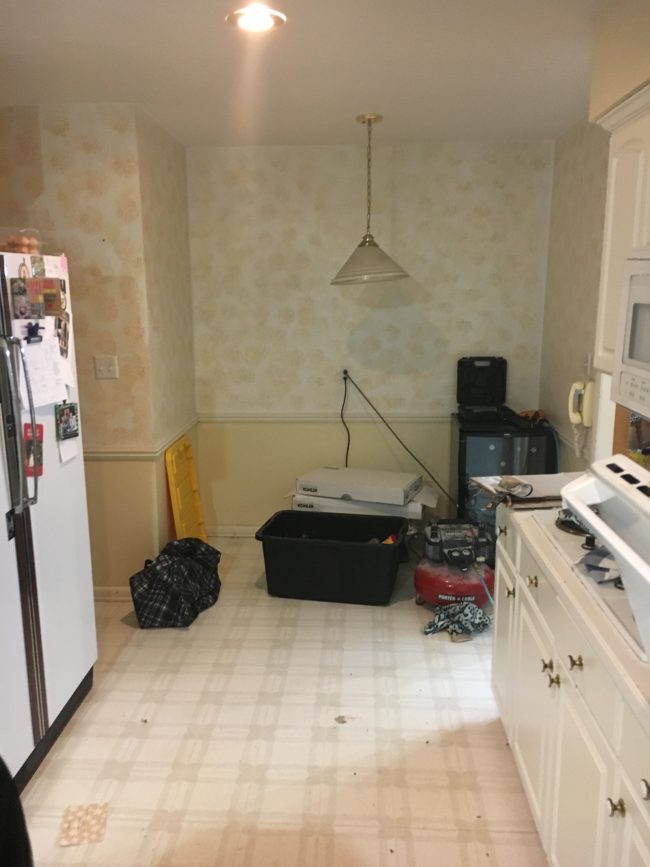
Here is a pic of the opposite end. Potentially there was a dinning nook here once?

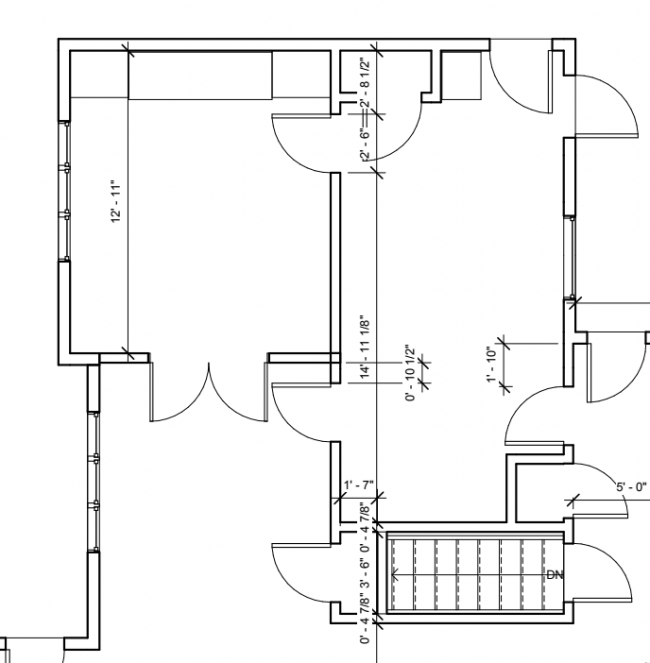
Here is the current layout. The space on the right side of this is where the kitchen is today. See the room on the left? That seriously was, what I think was a cocktail room. Full built ins, not big enough for a dinning room space.

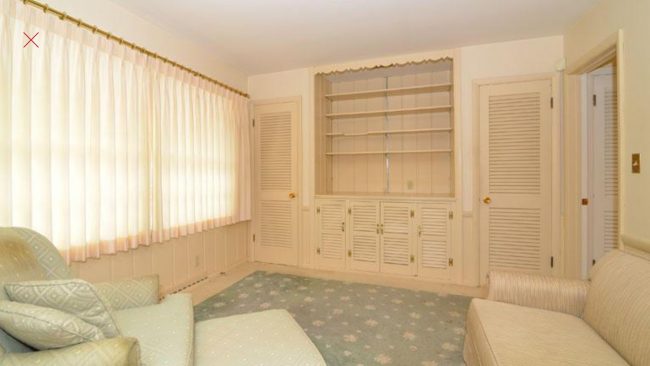
Here is a pic of the room mentioned above that was “on the left side” Again this room was right off the kitchen and a hard space to actually use.

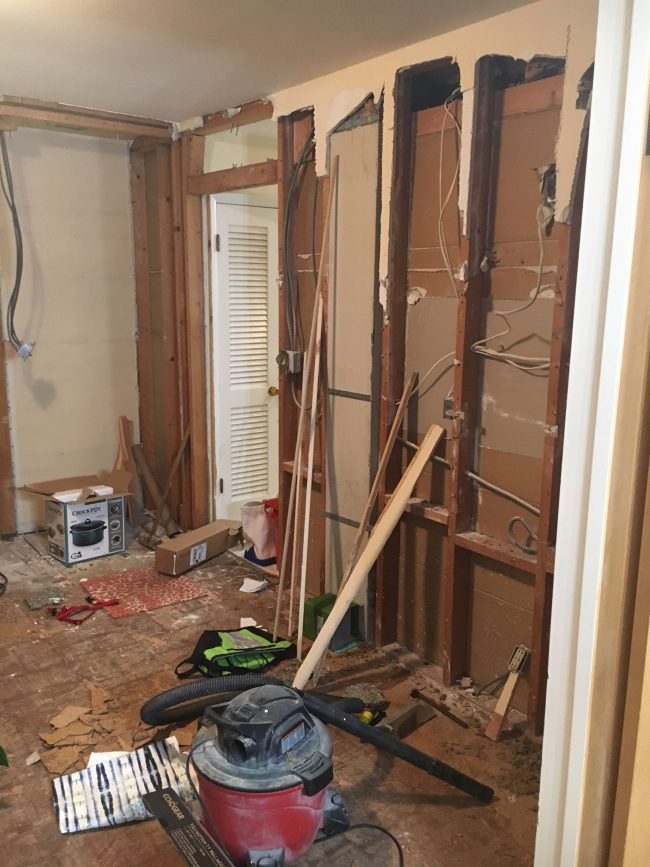
Here you can see we have already demo’ed this space. Since we weren’t using it for anything it was easier to start on at our leisure before we were really in high gear.

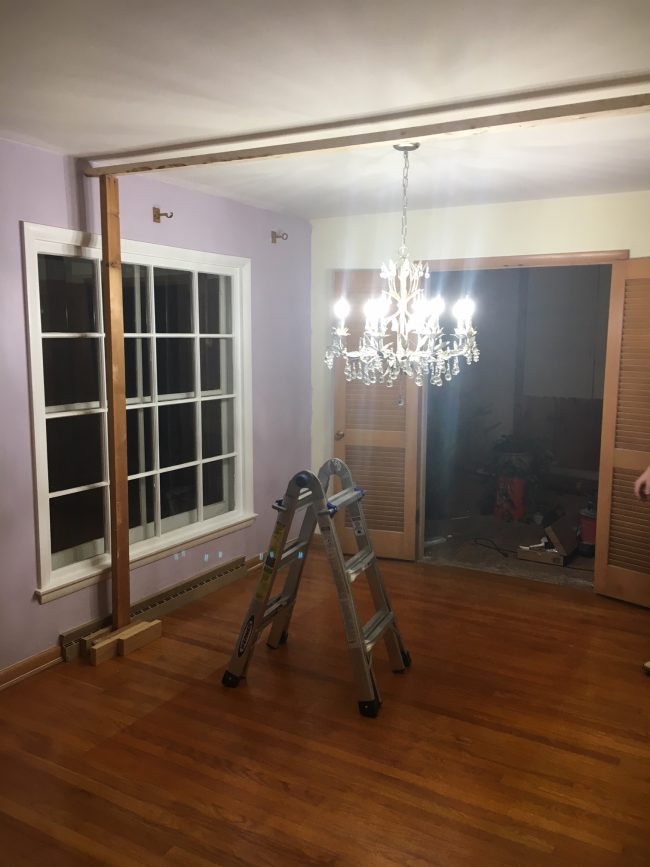
The “weird cocktail room” opens up to where our kitchen table is, through the double doors….

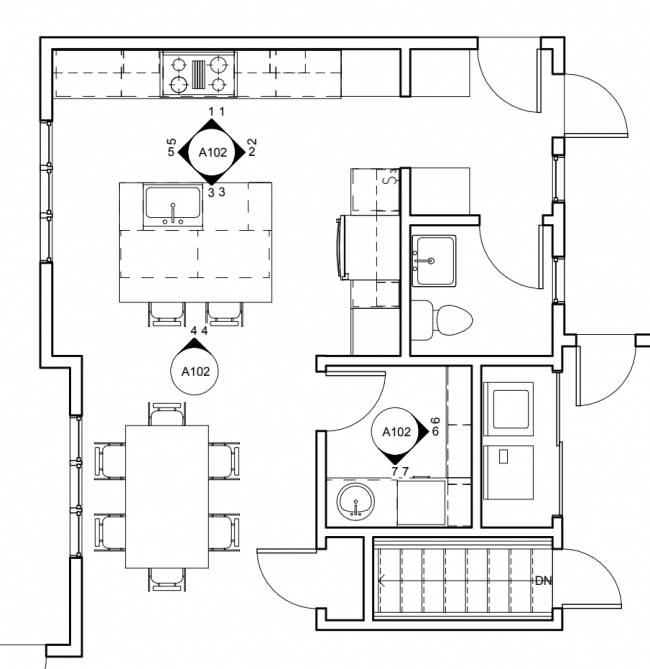
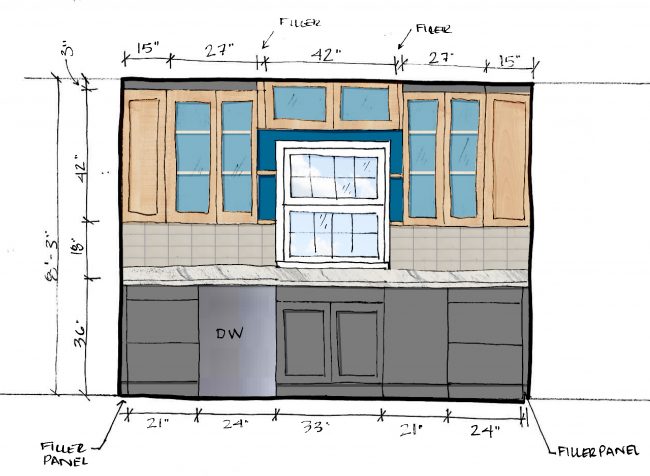
My sister is an architect so she created the perfect use of this space.

And now the today. Here is the plan!

This new layout gains us a couple things.

1. It allows us to have a little mud room off the garage before entering the kitchen. Today the kitchen is always a mess because everything gets dumped right when we get home from work.

2. It opens up the kitchen to the dinning area and right into the rest of the living room.

3. It adds a half bath.

4. It also adds a…..butlers pantry! because we all know I have a dish problem!

5. And it adds laundry on floor vs. in the basement.

So pretty much my sister is the shit and utilized the space 100% better than it was being used before.

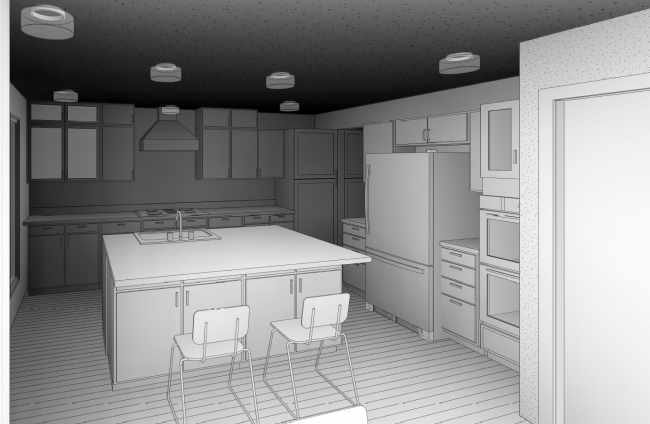
My sister was even able to do a cool 3D rendering.

Wish us luck and be sure to follow along on instagram for the progress!

@lianna_utley

In the next week or so I will show you some inspiration pics on what we are going for with all the finishings in this space!

Sister’s Kitchen Renovation

Hey Friends!

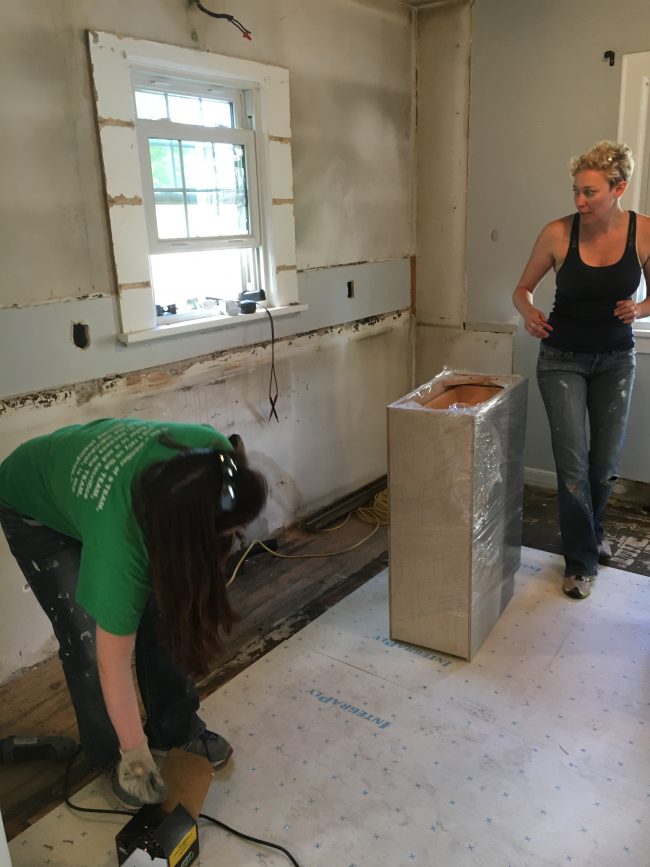
This past weekend I was at my sisters house as she and her husband started renovating their kitchen! We had a great weekend and we lovingly named it #familydemo day. We had a whole crew there. Both sets of parents, sisters, brothers, and some friends. Since it’s a kitchen they were trying to do the renovation as fast as possible so they aren’t out of a kitchen too long.

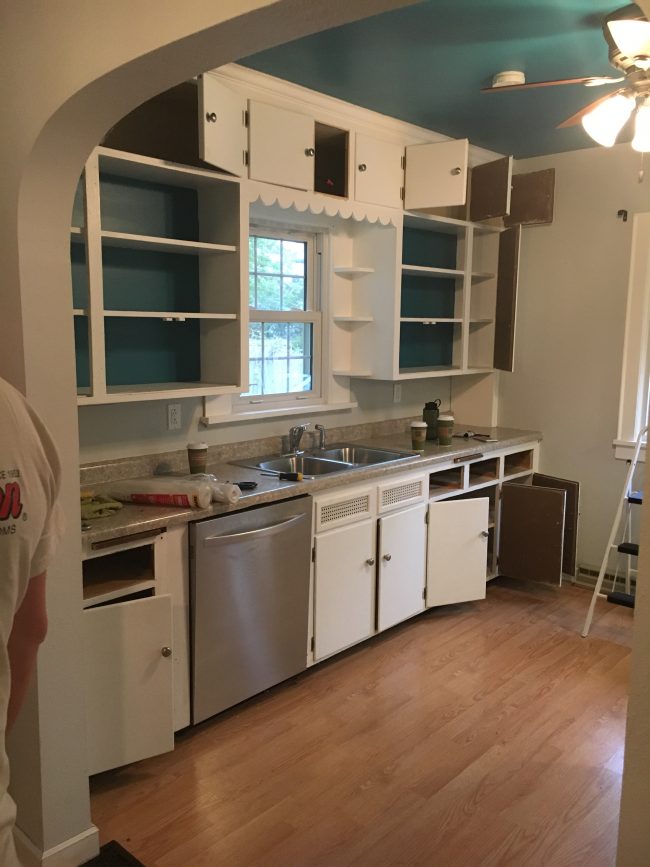
This was the before of the Kitchen.

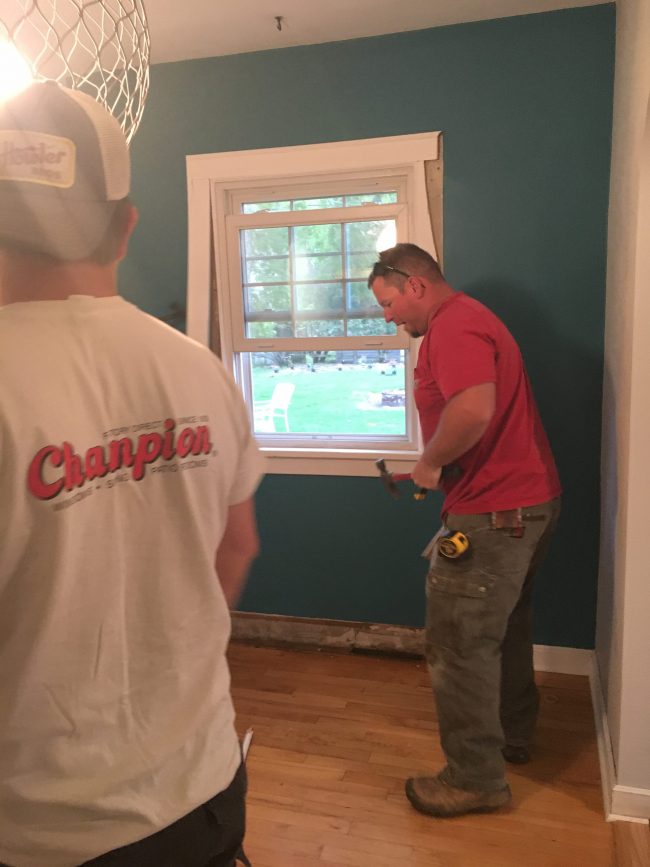
And here was the dinning room.

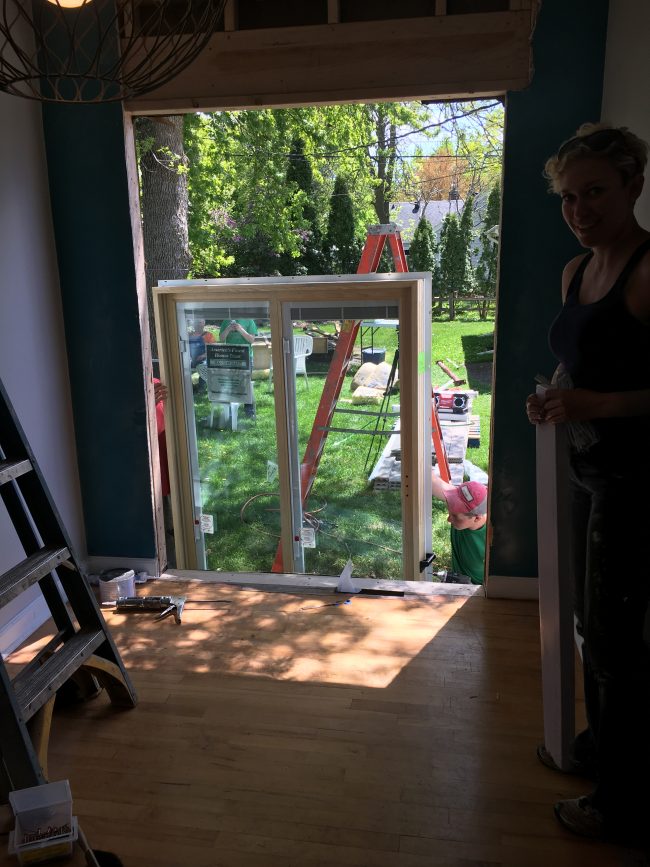
The kitchen was taking out all the cabinets and fully gutting down to fully replace everything. Also in the dinning room the goal was to remove the window and replace with all full sliding glass door to go outside to a new deck! Big project.

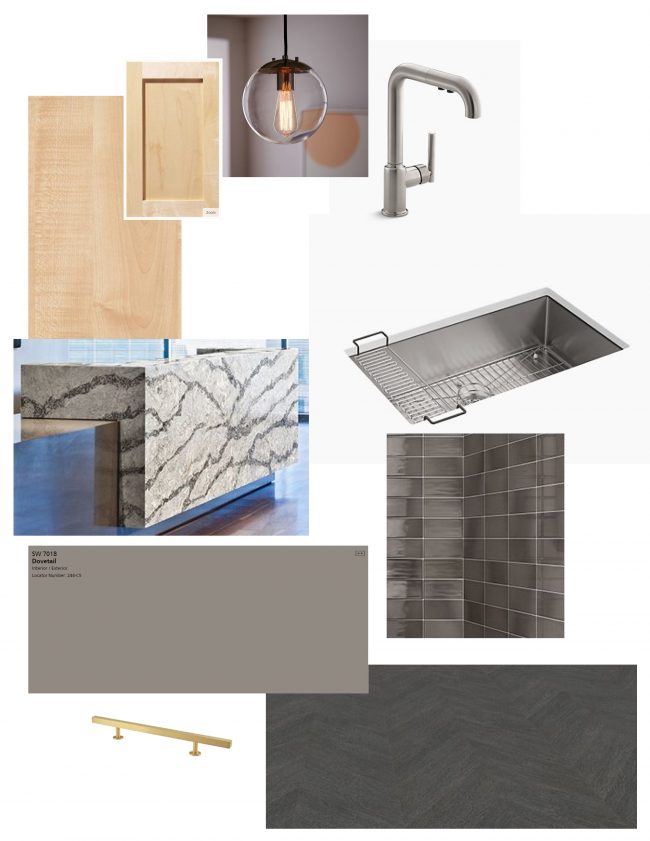
Here was my sister’s inspiration board.

We are a ridiculous family – so naturally we were all up by 5:30AM and we had the full kitchen demo’ed by 8:30AM!

And by the end of the day the window was prepped and put in.

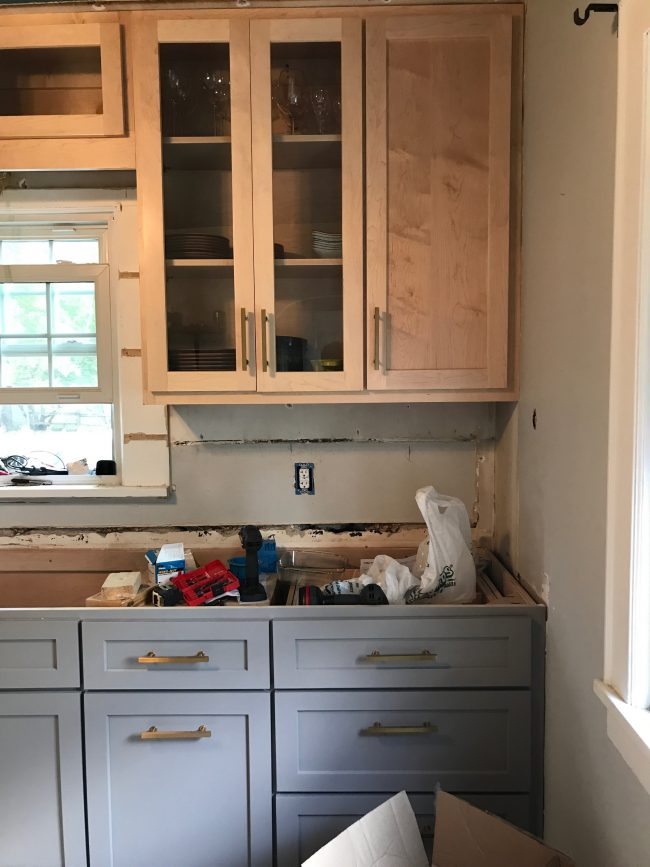
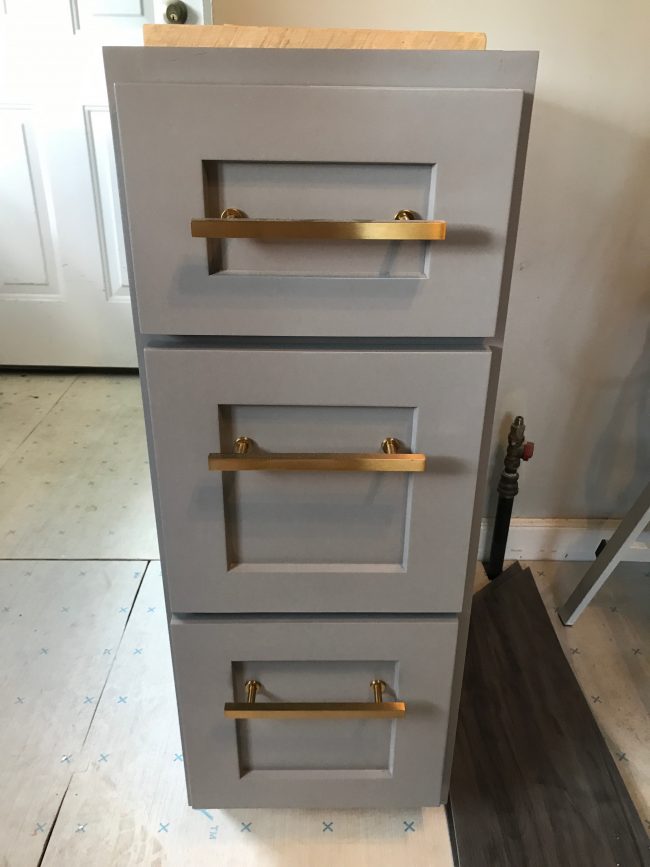
Then the next day we got the rest of the cabinets in and my sister and I got the hardware on.

I love the hardware she picked out. It’s so fun!

Stay tuned over the next couple weeks, they still have a bit more to do. Flooring, Deck off the back of the house, backsplash, lighting updates, and of course of a bunch of detailing to do. I was pumped on how much we got done and the whole space is already looking fantastic!

Little Yellow House: DIY Curtains

When we first moved into the house the number one priority was curtains. But I could never find prints I really wanted myself so I knew from day 1 I would have to make them myself.

TNPLH: Curtain DIY

I follow the tutorial by Design Sponge. The one thing I would say is that the pleating tape was pretty difficult to work with. If I made pleated drapes again, I think I would just try to them from scratch – the old fashioned way. My mom tried to convince me to do the that way to begin with, but I didn’t listen 😉

See it here.

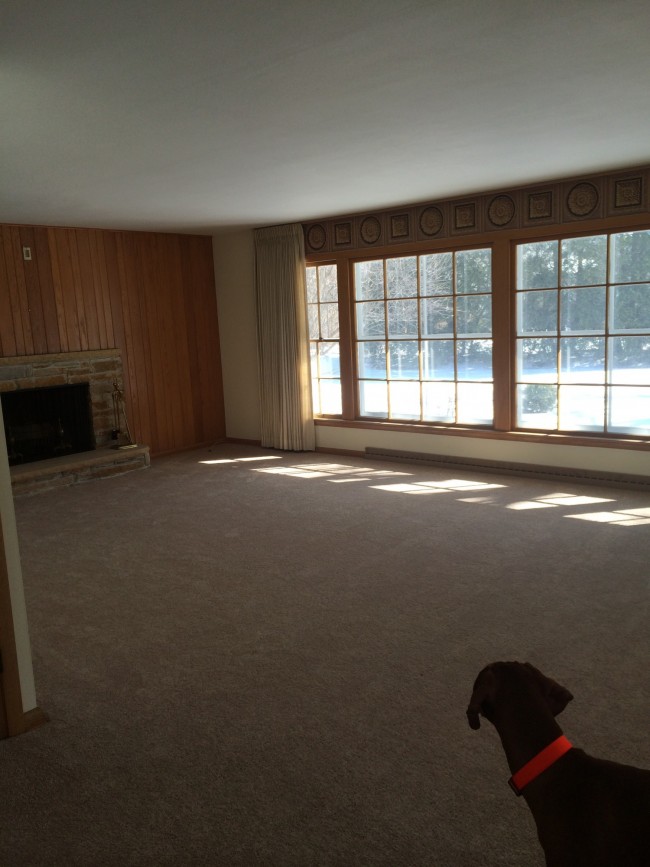
TNPLH: Little Yellow House Living Room Before 2

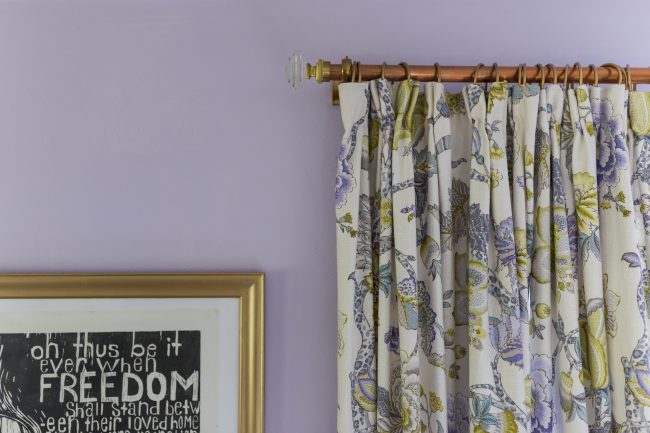
Just as a reminder – I have one very very large window in the living room (17 feet long!). and then I have one window that is connected in the dinning room. So I needed an economical solution for the 17ft window on the curtain rod. If I bought a curtain rod in the store it would be so expensive. So instead I bought a 20 foot copper pipe. Yep a 20ft pipe! Then I jazzed it up with fun Restoration Hardware ends. I like that it mixed copper and brass and it was economical!

TNPLH: Living Room Curtains

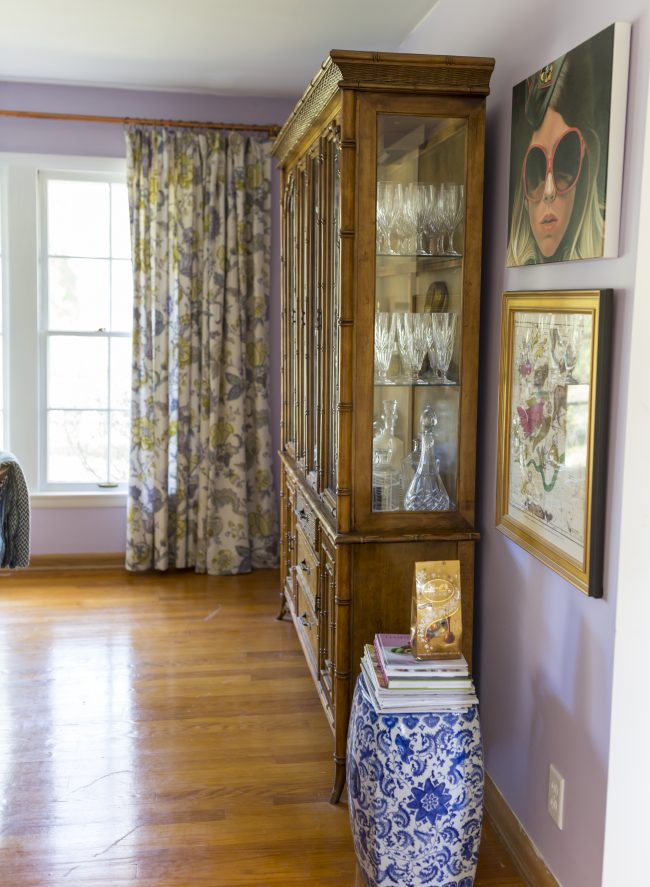
The curtains make the whole space so full and homey.

TNPLH: Curtain DIY

Curtain Estate Crystal Square Finials/Estate End Brackets/Estate Center Brackets

Mantel Art DIY

Excited to share the most recent update to our Mantel in the #littleyellowhouserefresh

TNPLH: DIY Mantel Art 2

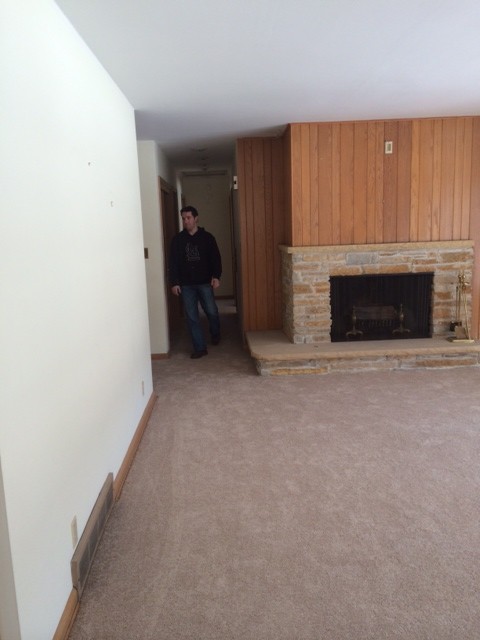
Just as a reminder. This is what it looked like when we moved in.

Little Yellow House: Firehouse Before

And this was when it looked like when we first re-did the mantel.

Little Yellow House: DIY Mantle Reveal 1

See the DIY Mantel Post here, and here.

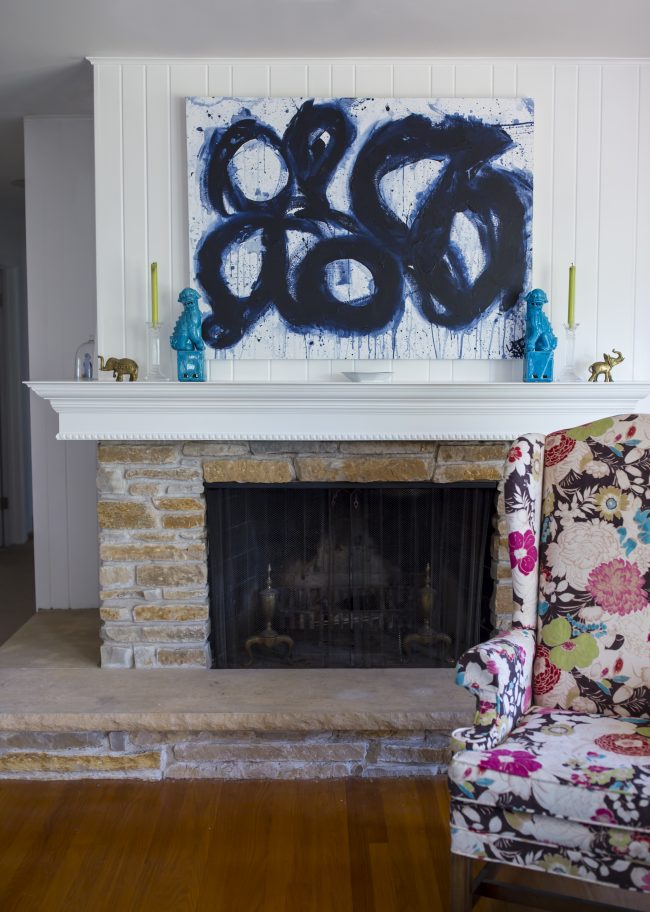
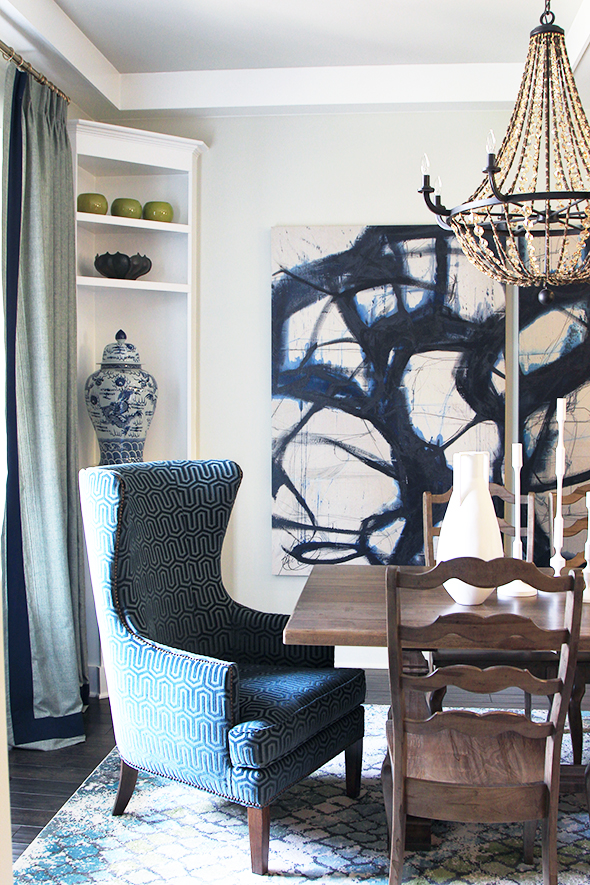
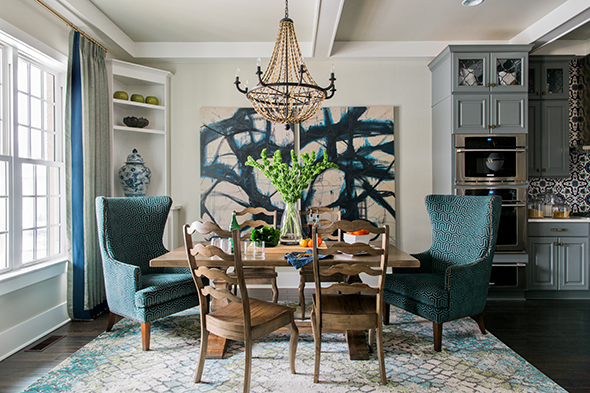
I liked the way we did the mantel at first. But there is just something about really big art that brings a level of sophistication to a room. So I got an itch to try and do a DIY piece of art. I first found the below inspiration and knew I wanted to try and re-create. It was from the HGTV Smart Home in North Carolina Last year. I love how sophisticated the large piece of art made the whole room feel.

art-inspiration

HGTV Smart Home 2016 in Raleigh, North Carolina

So, with the help of my husband we gave it a whirl.

TNPLH: Mantel Art DIY 1

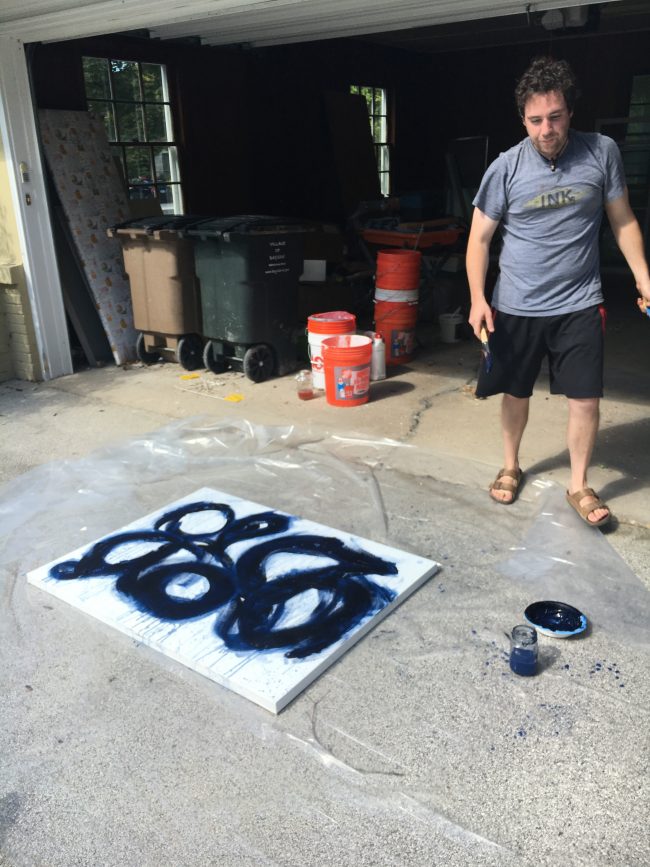
Making the art was super fun. I pulled my husband in, he was a double major in multi-media and fine art in college. So he was a huge help in the process.

img_0336

img_0337

TNPLH: DIY Mantel Art 4

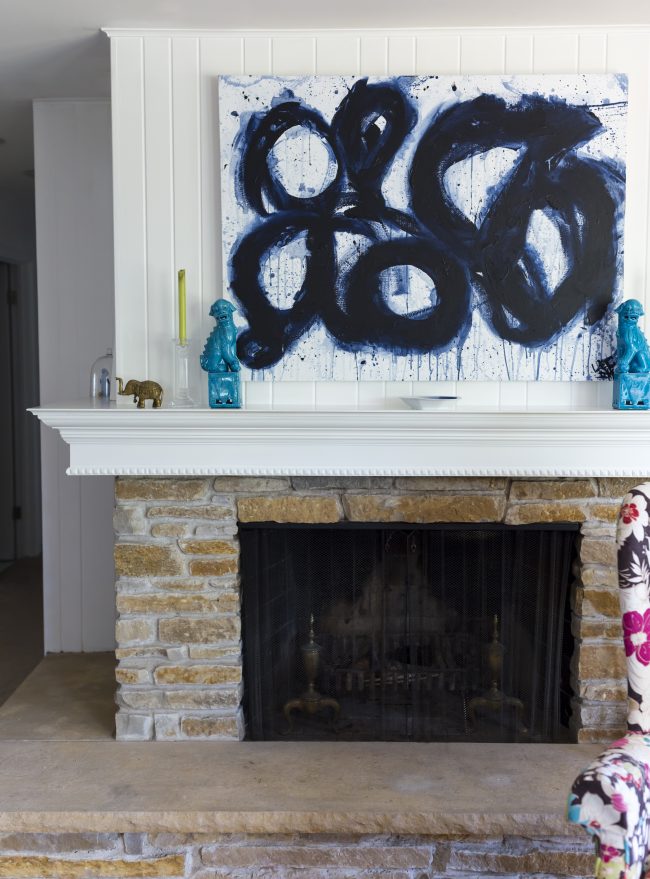
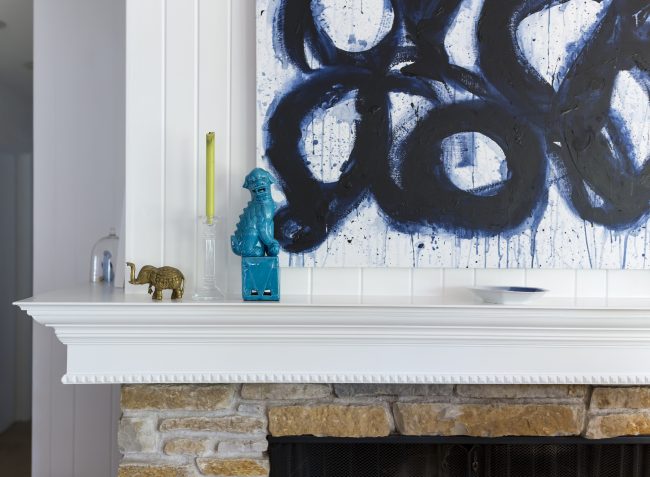
I love the crisp blue tones with the white and the pop of green. Can’t wait to decorate the mantel for Christmas!!!