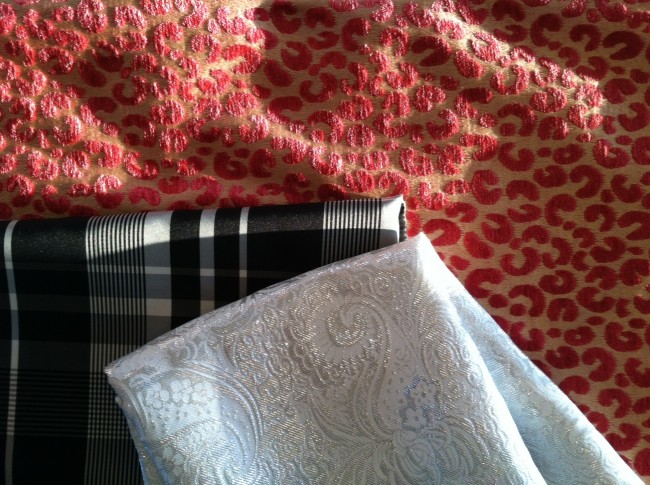
This year I decided I needed to get my first stockings, however after much shopping I was having a hard time finding any that I really liked – and lets be honest they are all really expensive! So I decided to make my own. First to get the fabric.
I ended up with black plaid and silver for the cuff. I had left over pink leopard from an upholstery project so I decided to use that for the inner lining. I am not the best sewer – I am still learning (and I don’t have my own sewing machine) so I enlisted the help of my sister Laura who is not only a great sewer but she has a machine!
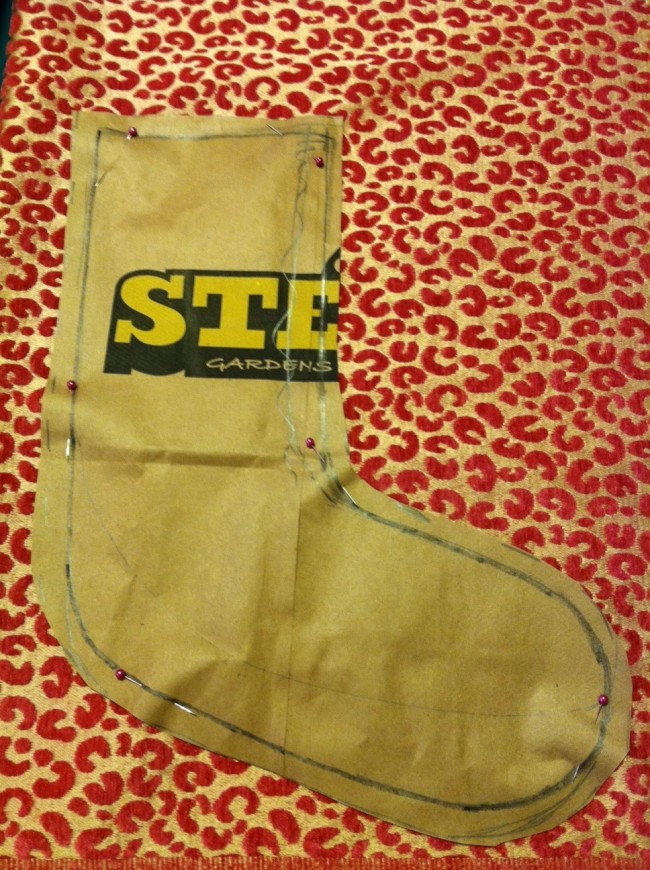
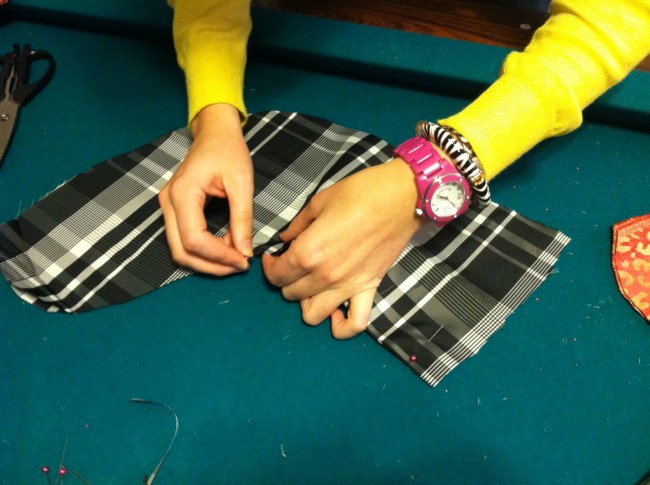
After the fabric was all picked out I drew out a stencil on a brown paper bag and pinned it to the outer lining.
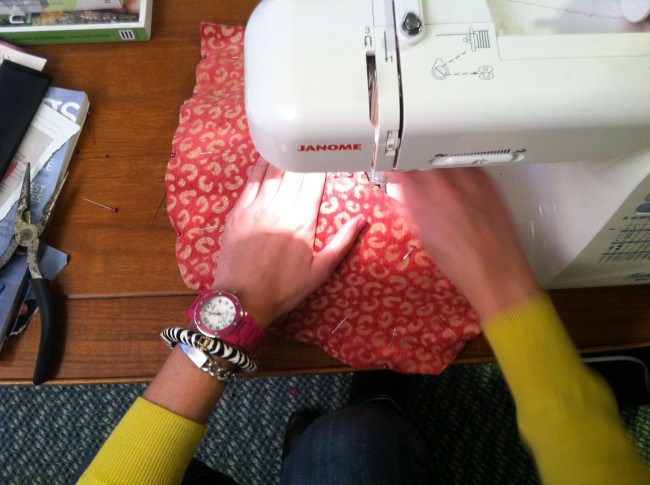
Sewing the inner lining pieces together!
Next was pinning and sewing the outer lining. After both pieces were cut and sewn we sewed just the top of the stockings together to avoid too much bulk.
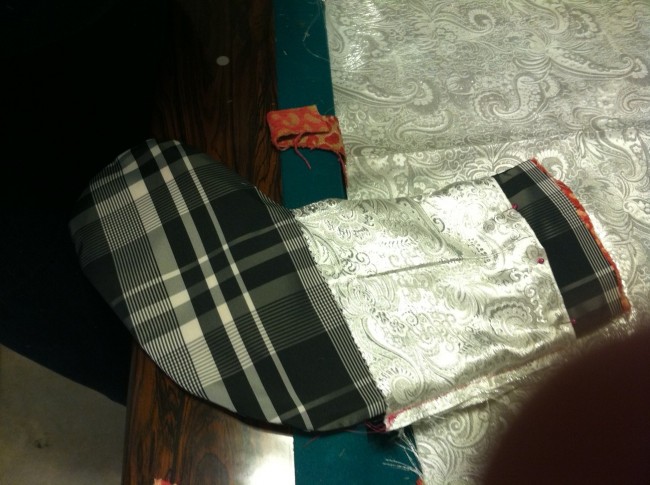
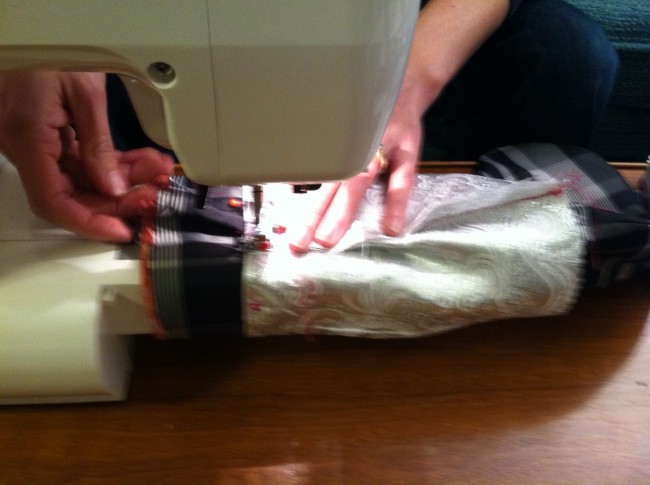
Next we sewed the silver piece to create a cuff that could go over the whole stocking and sewn to the top. This part was a bit tricky so I enlisted Laura to work her magic.
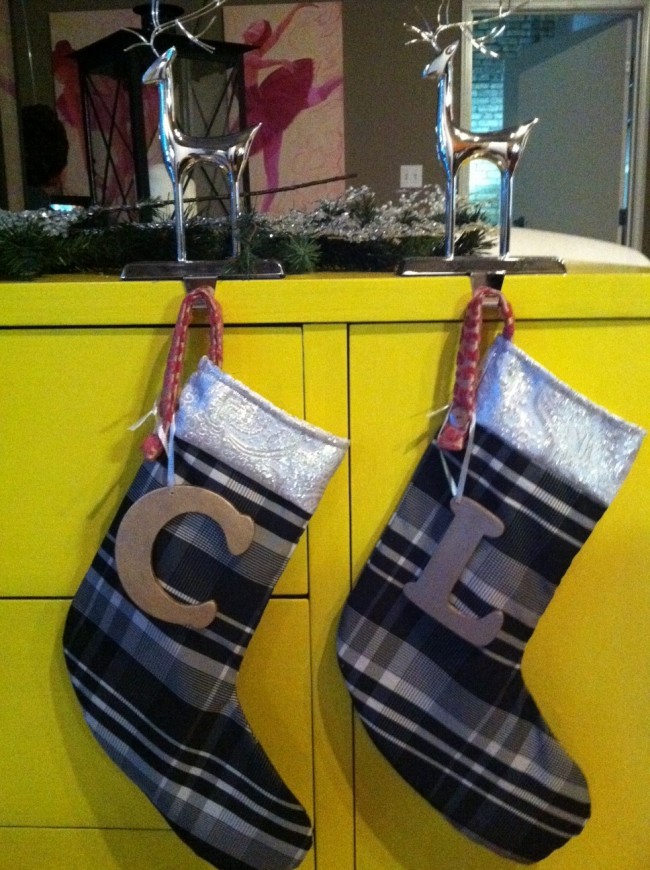
The final touches were to sew the hanging loop on by hand. We sewed on a little button on the outside to add a fun little detail. Finally I painted some wood letters I got at Michaels and put some ribbon through to monogram them and viola – the stockings were all done! Aren’t they fun? I love the way they turned out and (with the help of Laura) turned out great. Thanks Laura! It was fun to learn a bit more about sewing too.
